How to Start a Raised Garden: A Complete Guide with Pro Tips and Soil Mixing
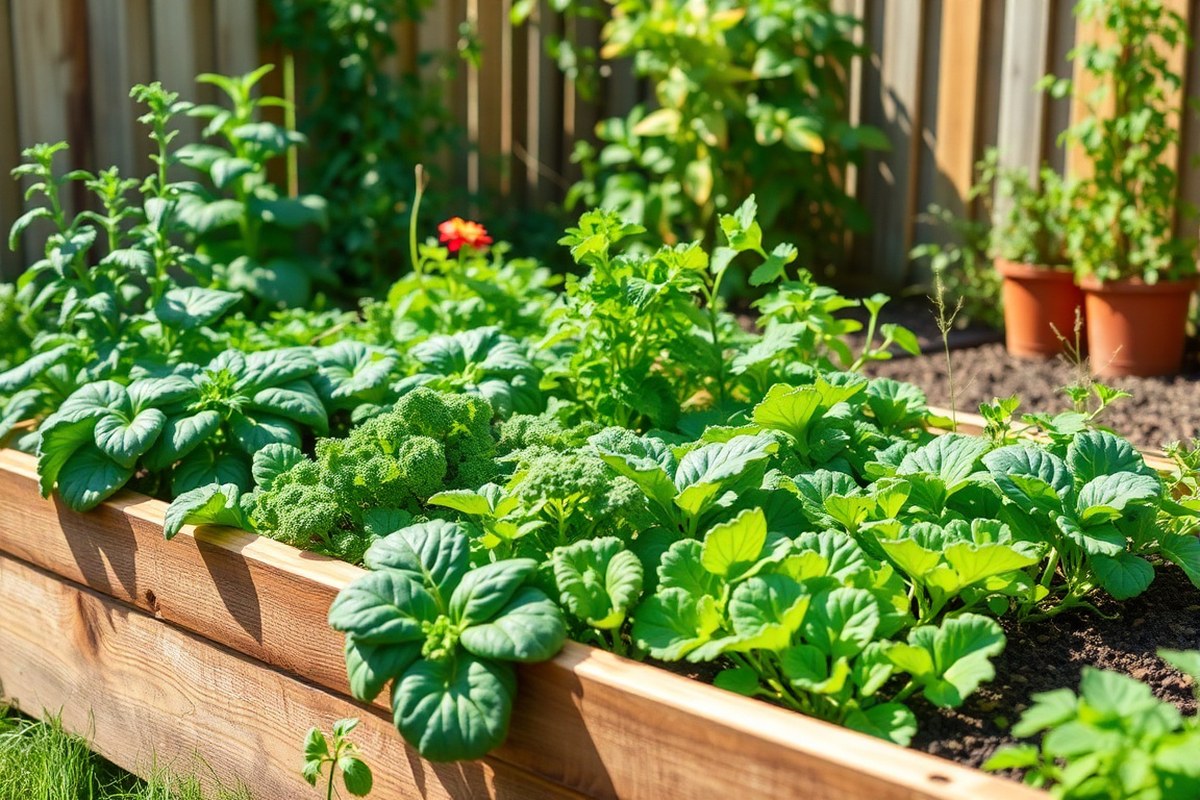
Figuring out how to start a raised garden is easier than you think. First, pick a good spot with enough sunlight and flat ground for your bed.
First, measure and plan the size of your raised bed frame. Use wood or ready-made kits to build a strong frame in the size you want.
Next, fill your bed with the right soil mix. That means combining garden soil, compost, and other nutrients for healthy plant growth. It works because raised beds drain well and warm up faster in spring.
Remember to plan how deep and wide your bed should be before buying materials. Too shallow won’t suit your plants, and too wide makes reaching the center tough. Starting smart saves time and effort later.
Key Takeaways
- Choose a sunny, level spot to place your raised garden bed.
- Build your frame 3.5 to 4.5 feet wide for easy access from all sides.
- Make your bed length between 5 and 8 feet long for enough growing space.
- Fill raised beds with 12 to 18 inches of soil for most vegetables.
- For root vegetables, use at least 12 inches of soil depth.
- Consider using raised garden bed kits for faster setup.
What Is a Raised Garden Bed and Why Start One
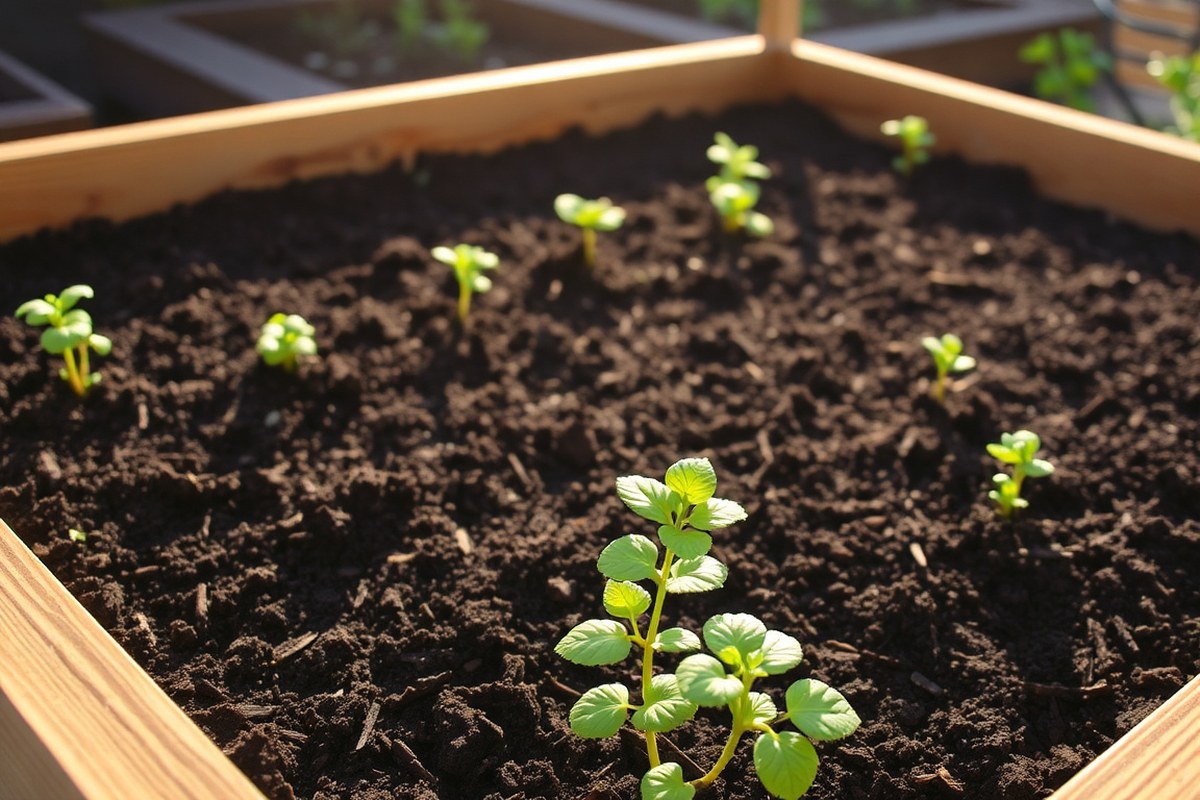
A raised garden bed is a framed container sitting above ground. It holds soil and plants, usually 12 to 18 inches deep. The sides are open at the bottom so roots can grow into the ground if needed.
You get much better control over soil quality in a raised bed. Poor or compacted native soil won’t stop your plants from growing well. You fill the bed with fresh, fertile soil.
That gives your plants the nutrients they need. This also helps with drainage, especially if your yard has heavy clay or low spots.
Raised beds let water drain freely, cutting down root rot risks. The soil in these beds doesn’t dry out too fast because the raised sides hold moisture. Plants shade the soil surface, which reduces evaporation and keeps roots happier.
Growing in a raised bed means fewer weeds and pests bothering your plants. The frame acts as a barrier, making weed control easier. It also keeps crawling pests out better compared to a flat garden space.
Raised beds stand above the ground, so you don’t bend as much. This helps reduce strain on your back and knees. Keep the bed 4 feet or less wide to reach the middle easily.
With raised beds, it’s simpler to correct problems if plants don’t do well. Small soil areas mean you can adjust nutrients or water quickly. Plus, these beds make good use of small spaces or spots with no soil at all.
Building and filling a raised bed requires some upfront work and expense. An 8-foot by 4-foot bed that is 1 foot deep holds 32 cubic feet of soil. This shows how to measure soil volume for your raised bed.
Use length times width times depth to find cubic feet. Buying quality soil mix may cost around $10 per bag. But it’s a good investment for better plant growth.
Vegetables, herbs, and flowers all thrive in raised beds. Root crops like carrots and beets like at least 12 inches of soil depth here. These beds give plants a better start and often yield more than traditional ground planting.
Choosing the Best Location for Your Raised Garden Bed
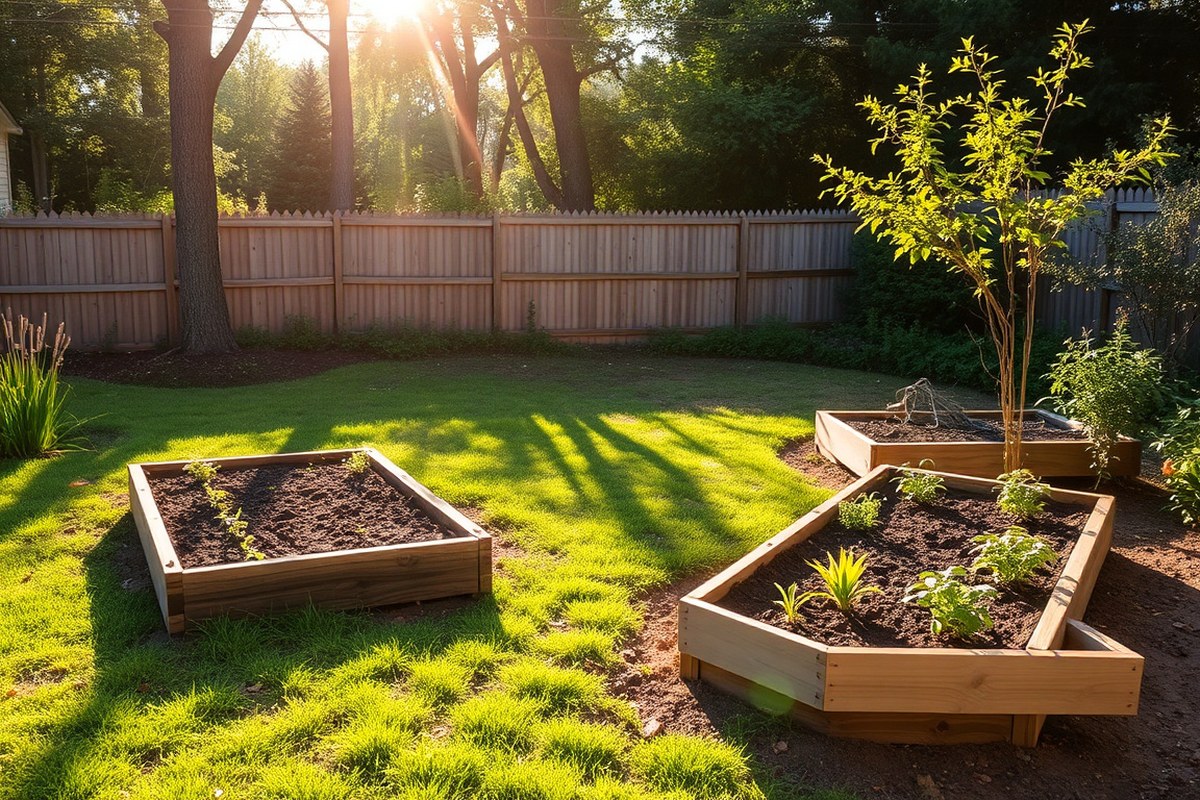
Choose a spot that gets 8 to 10 hours of direct sunlight daily. Make sure it is clear of shade most of the day. Sunlight is key for healthy plant growth.
Most veggies and herbs need that much light to grow well. Avoid shady areas under trees or near tall buildings that block the sun.
Good drainage is key. Place the bed on level ground that doesn’t collect water after rain. Avoid low spots where puddles form.
Your soil may be compacted or uneven. Dig down 6 to 12 inches and remove rocks and debris. This clears the way for your raised bed.
- Choose a sunny spot with at least 8 hours of sun
- Pick level ground with good drainage to avoid waterlogging
- Prep compacted soil by loosening it and removing rocks
- Avoid placing beds in high foot traffic areas
- You want to place the bed over grass? Dig down into the soil to add extra depth. This helps roots grow better below the bed.
- Consider a soil barrier if you want to separate native soil
Hard garden soil needs preparation first. Till or dig it before you build the raised bed. This loosens the soil for stronger plants.
This allows roots to reach deeper and helps your plants handle dry spells better. When you set the frame directly on garden soil, roots can grow below the bed. So depth is less of a concern.
Avoid spots where people walk often. Foot traffic compacts soil and affects roots.
Choose quieter corners of your yard to keep soil loose and healthy. Good prep upfront saves you work and gets your plants off to a better start.
Don’t place your raised bed where water pools after rain. Poor drainage can kill plants quickly.
Selecting Materials and Building Your Raised Bed Frame
Choosing the right materials for your raised garden bed affects its durability, safety, and cost. Wood is common, but blocks, bricks, and kits offer other options. Let’s see what works best for building raised beds.
You can build a simple wooden frame. Then fill and plant it fast.
Common Materials for Raised Beds
Wood boards, especially cedar, redwood, and pressure-treated lumber, are popular for raised beds. Blocks and bricks provide a sturdy, long-lasting option without wood’s natural wear. You can also buy ready-made kits for raised beds.
These come in materials like galvanized steel. Composite wood kits are also common.
For a 4×8-foot bed, get four 2×6 boards, each 8 feet long. Add corner posts if you want taller beds.
Landscape fabric lines the bottom to block weeds. Kits vary but often include all supplies and hardware.
Pros and Cons of Each Material
| Material | Pros | Cons | Estimated Cost for 4×8 Bed | Durability |
|---|---|---|---|---|
| Cedar Wood | Natural rot resistance, safe for food, easy to cut | More expensive than other woods, can weather over time | $40-$70 (four 2×6 boards) | 5-10 years |
| Pressure-Treated Lumber | Low cost, durable against rot and insects | May contain chemicals; use food-safe rated only | $20-$40 (four 2×6 boards) | 7-15 years |
| Concrete Blocks/Bricks | Long-lasting, no rot, excellent stability | Harder to assemble and move, can be pricey | $30-$60 (blocks or bricks for 4×8) | 20+ years |
| Raised Bed Kits (Metal/Composite) | Quick to assemble, attractive, durable materials | Cost varies widely, not always customizable sizes | $70-$150 and up | 10+ years |
Cedar woods resist rotting naturally and are best for growing food. Treated wood can last longer but check if it’s rated safe. Blocks and bricks don’t rot but weigh more and require solid ground prep.
Step-by-Step Assembly of a Basic Wooden Bed
Building a wooden raised bed is simple and fast with basic tools. You need a drill, screws, and the cut boards ready. Assemble the frame first to create a sturdy container for your soil and plants.
- Cut two boards to 8 feet and two boards to 4 feet for the sides.
- Lay out the boards in a rectangle on a flat surface.
- Attach the short boards between the long boards at the corners.
- Pre-drill holes to prevent wood splitting.
- Drive 3-inch galvanized or stainless steel screws into each corner.
- Check all corners for square and tighten screws as needed.
- Optionally, attach 4×4 posts inside the corners for extra strength.
- Line the frame bottom with landscape fabric to block weeds.
This process takes 20 to 30 minutes for most 4×8-foot beds. You can stack boards or use taller posts to increase bed height. Once built, fill the bed with your prepared soil mix before planting.
Determining Ideal Raised Bed Size and Depth for Your Plants
| Crop Type | Ideal Soil Depth | Ideal Bed Width | Ideal Bed Length | Raised Bed Depth on Concrete |
|---|---|---|---|---|
| Leafy Greens and Herbs | 6 to 8 inches | 4.5 feet | 5.5 to 8 feet | 3.5 to 5 feet |
| Root Vegetables (Carrots, Beets) | 18 to 24 inches | 4.5 feet | 5.5 to 8 feet | 3.5 to 5 feet |
| Tomatoes and Squash | 12 to 18 inches | 4.5 feet | 5.5 to 8 feet | 3.5 to 5 feet |
A raised bed around 4.5 feet wide lets you reach the center from both sides without stepping in. Beds between 5.5 and 8 feet long give space for various plants and tools.
Keeping the width and length in those ranges makes gardening easier. It also helps you grow more crops comfortably.
Leafy greens and herbs grow well with 6 to 8 inches of soil depth. Tomato plants, squash, and similar crops need 12 to 18 inches of soil. Root vegetables like carrots and beets need a lot of space.
They require about 18 to 24 inches of soil depth. This helps them grow properly.
When placing the raised bed on bare soil or grass, loosen the ground. Use a garden fork to loosen soil 8 to 12 inches deep. Pour your soil mix into the bed, leaving about 2 inches from the top.
If your bed sits on concrete or hard surfaces, you need deeper soil. The soil depth should be at least 3 feet for good growth.5 to 5 feet for root crops to grow well.
Mixing and Filling Your Raised Garden with Optimal Soil
Fill your raised bed with soil up to near the top. Leave a few inches of space. Add mulch on top of the soil later.
Mix quality compost, topsoil, and peat moss to support healthy plants. Layer the soil right, especially over grass or poor ground, for best root growth.
Calculating Soil Volume and Requirements
Measure your raised bed’s length, width, and depth in feet. Multiply these three numbers to calculate cubic feet of soil needed.
For example, a bed 4 feet by 8 feet and 1 foot deep needs 32 cubic feet of soil. That’s from multiplying 4×8×1 = 32.
Many garden nurseries can help you order the correct bulk soil amount. Add a few extra cubic feet to allow for settling over time and space for mulch. Raised bed soil tends to shrink as organic matter breaks down.
Ideal Soil Mix Ratios Explained
Use a simple recipe mixing 60% topsoil, 30% compost, and 10% peat moss or coconut coir. This blend keeps soil loose, drains well, and holds moisture for healthy roots. Compost constantly feeds your plants as it breaks down.
Adding 2 to 3 inches of compost each spring replenishes nutrients. Avoid using heavy garden soil alone as it can compact and invite weeds. Make sure to buy or mix clean, high-quality materials to avoid pests and diseases.
Filling Techniques and Bed Layering Tips
Put landscape fabric under your bed if it’s on grass. It blocks weeds but lets water through. This helps keep the bed cleaner.
Avoid filling very deep beds entirely with soil; use a lasagna layering method instead. Alternate layers of organic matter like straw, leaves, and grass clippings to build soil below.
Fill the bed with your soil mix after layering or placing fabric. Level the soil surface by hand or rake to create an even planting area.
Don’t fill completely to the top. Leave 2 to 3 inches free to add mulch or more organic matter later.
- Measure the bed’s length, width, and depth in feet.
- Calculate soil volume: length × width × depth = cubic feet.
- Choose a soil mix with 60% topsoil, 30% compost, 10% peat moss.
- Add compost yearly to maintain nutrients and soil health.
- Lay landscape fabric on grass before adding soil to suppress weeds.
- Use lasagna layering method for beds deeper than 4 feet.
- Fill bed with soil mix, leaving 2, 3 inches space at the top.
- Level soil and add mulch or compost on top as needed.
Don’t fill beds directly on poor soil or grass without barriers. Barriers stop weeds and soil compaction. Use fabric or cardboard to protect the soil.
Planning and Planting Your Raised Garden for Maximum Yield
Choosing plants suited for raised beds and proper spacing will boost your garden’s yield. You can use a clear layout for your raised bed. Follow careful planting steps to get the most from your space.
This helps you organize plants well and save room. Crop rotation matters too, as it keeps soil healthy and plants thriving year after year.
Best Plants for Raised Gardens
Many vegetables and herbs grow well in raised garden beds. Leafy greens like lettuce and spinach grow well in raised beds. Root crops such as carrots and radishes also do well.
Herbs like basil and parsley thrive there too. Tomatoes, peppers, and bush beans also thrive thanks to good soil drainage.
Raised beds are great for plants needing well-drained soil and warmer soil temperatures. Perennials such as asparagus or chives can also work well, adding variety to your garden. Small fruit plants fit nicely in raised beds.
Strawberries are a good choice for a compact, productive garden. This keeps your garden space efficient and fruitful.
Effective Plant Spacing and Layouts
Spacing plants properly keeps them healthy and prevents overcrowding in raised beds. A common layout uses a 4×8-foot bed with rows spaced 12 inches apart for most vegetables. Space smaller plants like lettuce 4 to 6 inches apart.
This spacing lets you fit more plants in the same area. It helps you maximize your garden’s yield.
The Seeding Square method divides your bed into 16 squares. Each square is one foot across, perfect for limited space. This layout keeps planting organized and efficient.
Plant different crops in each square, spacing depending on the plant’s size. This helps you plan and keep track as you rotate crops yearly to protect soil.
Avoid cramming root vegetables too close or stacking tall plants where they shade others. Leave space for walking alongside raised beds. Reach into beds without stepping on the soil to keep it tidy.
This prevents soil compaction and protects plants. Design your layout to make watering and harvesting easy and efficient.
Planting Seeds vs. Transplants
Planting transplants instead of seeds often means a quicker start and better yields in raised beds. Tomatoes and peppers grow best from transplants. Seedlings have a better chance in good soil mix above ground.
Transplanting helps them start strong and healthy. For crops like carrots, direct sowing seeds is usually best, they dislike being moved.
Start by loosening the soil and removing stones or debris from each planting spot. Plant seeds at the depth shown on their seed packets. Usually, this is 2 to 3 times the seed’s width.
This ensures proper germination and seedling growth. For transplants, dig a hole just big enough for roots.
Set the plant in and firm soil gently around it. This removes air pockets and helps roots settle.
Time your planting according to local frost dates. Cold-sensitive plants like tomatoes go in after the last frost.
Cool-weather crops like peas or spinach can be planted earlier. Water your new plants well right after planting to settle soil and start healthy growth.
Watering, Maintaining, and Caring for Your Raised Bed Garden
Raised beds dry out quickly because water drains well through them. Water deeply two or three times each week, depending on your weather. Check if soil feels dry by poking your finger 1 to 2 inches in it.
Water early in the morning to reduce evaporation loss. Use a soaker hose or drip irrigation for steady, gentle water that reaches roots directly. Avoid overhead watering to minimize leaf diseases and water waste.
Keep your raised bed soil fertile by adding compost or well-rotted manure each season. Spread 2 to 3 inches of organic matter on top of the soil.
Work it lightly into the soil to mix it in a bit. This feeds your plants and helps retain moisture better.
Mulching with straw or shredded leaves lowers weed growth and keeps soil moist. Apply a 2 to 3-inch layer on bare soil surfaces. Mulch also helps protect soil life and temperature fluctuation.
Pull out weeds as soon as you see them to prevent competition for nutrients. Reach into the beds carefully, avoiding soil disruption that damages plant roots. Mulch and clear paths between beds make weed control easier.
Pests can hurt your garden. So check plants regularly for signs like holes or sticky residue.
Handpick insects or spray with insecticidal soap when necessary. Encourage beneficial bugs like ladybugs by planting flowers nearby or avoiding harsh chemicals.
Raised beds need seasonal upkeep. In fall, clear dead plants and spread a fresh mulch layer to protect soil over winter. Loosen compacted soil lightly, but don’t overwork it, or you’ll harm its structure.
The soil warms earlier in raised beds, giving you a head start in spring. But early watering is critical since quick-drying soil can stress seedlings. Adjust water frequency based on rainfall and daily temperatures to keep plants healthy throughout the season.
Troubleshooting Common Raised Garden Bed Problems
Water pooling after rain or watering means poor drainage in your bed. It happens when soil gets too dense or the bed base lacks gravel or coarse sand. Mix one-third coarse sand or fine gravel into your soil.
Add drainage holes under the bed if placed on hard ground. This helps stop water from pooling.
Soil compaction stops roots from spreading and blocks nutrients. This happens when you step in the bed or the soil gets dry and hard. Avoid stepping inside your bed by using wide paths or stepping stones around it.
Loosen compacted soil gently with a hand fork once a year. Add organic matter like compost to keep the soil soft. This improves root growth and drainage.
Plant crowding steals nutrients and airflow, leading to weak growth and disease. Space your plants according to seed packet instructions. Thinning seedlings early also helps.
Crowded beds make pests and molds spread quickly. So plan enough room and remove extra plants.
Signs of watering trouble show quickly. Yellowing and wilting leaves hint at overwatering or poor drainage. Dry, drooping leaves mean underwatering.
Stick your finger about two inches into the soil to check moisture before watering. Raised beds dry faster. So watering every 1 to 3 days may be needed in hot weather.
- Mix coarse sand to improve drainage and avoid soggy soil.
- Use stepping stones or paths to prevent soil compaction inside beds.
- Space plants well to avoid nutrient depletion and disease.
- Check soil moisture by feel before watering your plants.
- Loosen compacted soil yearly with a hand fork to help root growth.
- Remove weak or crowded seedlings to keep plants healthy.
Never step inside your raised bed, it compacts soil and harms roots.
Soil nutrients run out after a season or two of planting. Add fresh compost or slow-release organic fertilizer each spring to restore nutrients. Avoid adding too much fertilizer, or plants can burn and growth will suffer.
Good soil looks dark, crumbles easily, and smells earthy. Soil that feels hard or dusty needs some compost or loosening.
You can add compost to improve its texture and nutrients. Use a garden fork to break it up gently.
Step-by-Step Action Plan for Your Raised Garden Bed
Follow these steps to get your raised garden bed ready and growing well. Each step includes a way to check your progress.
- Before You Build: Choose a sunny, level spot that drains well. Check it gets 6 to 8 hours of sun daily.
- Day 1: Assemble your raised bed frame using untreated wood or stone. Make sure corners are square and stable.
- Day 2: Mix soil with 40% compost and 40% topsoil. Add 20% peat or coconut coir to the blend. It should feel loose and crumbly.
- Day 3: Fill your frame with soil blend, leaving 1, 2 inches below the top. Check there’s good soil without rocks or roots.
- Day 4: Plan your plant layout with space for each plant’s mature size. Mark spots lightly with stakes or string.
- Day 5: Plant seeds or seedlings following package instructions. Water gently and check soil moisture daily for the first week.
- Week 2: Start a regular watering schedule to keep soil evenly moist. Watch for healthy, new growth on plants.
- After Month 1: Begin light feeding with organic fertilizer every 4, 6 weeks. Watch plants respond with fuller leaves or flowers.
Frequently Asked Questions
How Do I Prepare the Ground Before Building a Raised Garden Bed?
Clear your chosen spot of grass and weeds. Loosen the soil a bit to help roots grow well underneath the bed.
Can I Build a Raised Garden Bed on Concrete or Pavement?
Yes, but make sure to add a barrier like landscape fabric. This stops roots from getting too hot and stops pests from entering easily.
What Tools Do I Need to Build a Simple Raised Garden Bed?
You’ll need a saw, drill, screws, measuring tape, and a level. These tools help you cut and assemble the bed properly.
How Soon Can I Plant Vegetables After Filling My Raised Bed with Soil?
You can plant right after filling the bed if the soil mix is ready. Avoid using untreated compost to prevent plant diseases.
Can I Reuse Soil from Old Raised Beds for New Ones?
You can reuse soil but refresh it. Mix in compost or new soil to add nutrients and improve drainage.
How Can I Prevent Weeds in My Raised Garden Bed?
Use mulch on top of the soil to block weed seeds from growing. Regularly check and pull out any weeds early.
The Bottom Line
Your raised garden bed is your new growing space for fresh vegetables and herbs. Spend a few minutes each day checking soil moisture and plant health. Start by planting your first seeds or seedlings this week to see your garden come alive.