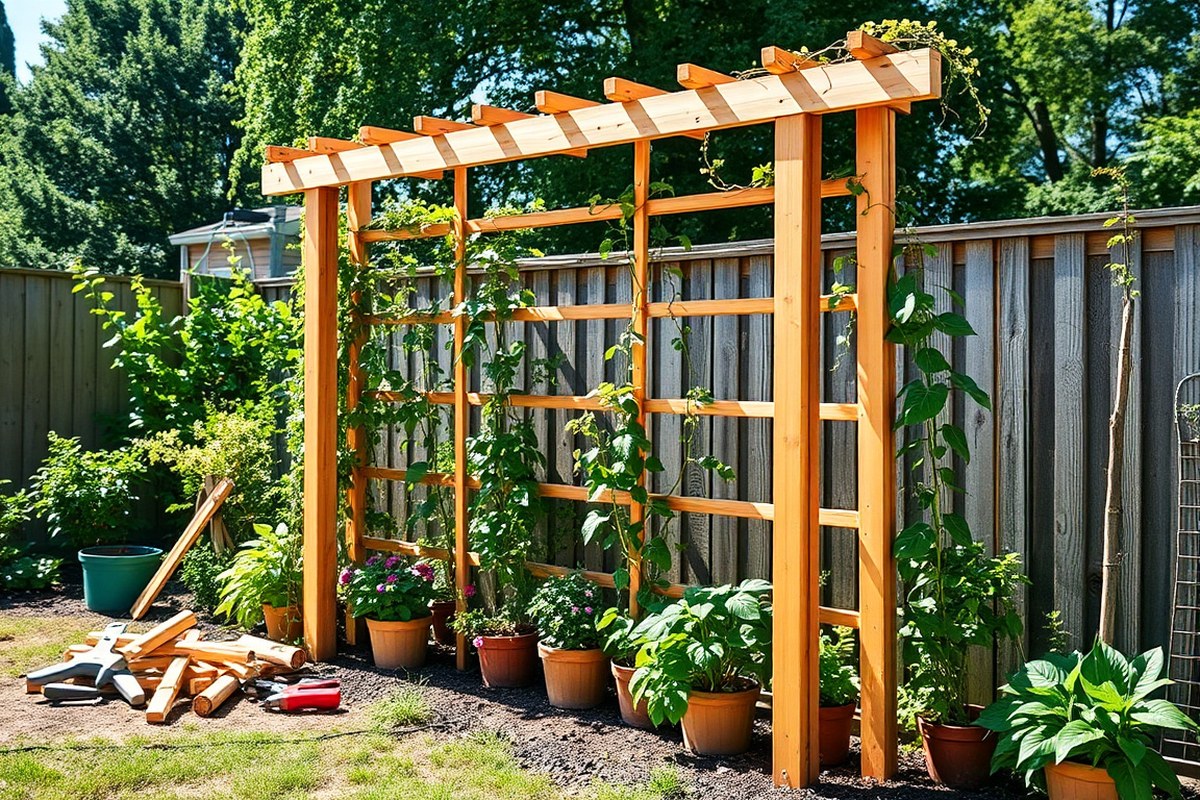
Do It Yourself Garden Trellis: A Complete Guide with Proven Methods
Using a do it yourself garden trellis is a smart way to grow climbing plants. It saves money compared to store-bought trellises and fits your garden space perfectly.
A simple homemade trellis made from wood or PVC works well. It can support your plants and last many years.
Start by choosing the right trellis size for your plants. Beans may need 6 to 8 feet tall support. Cucumbers usually do fine with 3 to 4 feet.
Choosing cedar or bamboo works best for your trellis. These materials resist rot. They also look great in your garden.
Building your own trellis lets you customize its shape and design. You can use easy-to-find materials like pickets or cattle panels to keep costs low.
Make sure to anchor the trellis firmly in the ground. This keeps it steady in wind or rain.
Key Takeaways
- Choose trellis height based on the mature size of your climbing plants.
- Use cedar, redwood, bamboo, or PVC for materials that last outdoors.
- Secure vertical posts at least 18 inches deep or weight them well.
- A 3-foot tall trellis suits small plants like bush tomatoes or peas.
- DIY trellises cost much less than buying retail versions.
- Fan-shaped trellises work well and let plants spread out.
What Is a Garden Trellis and Why Build One Yourself?
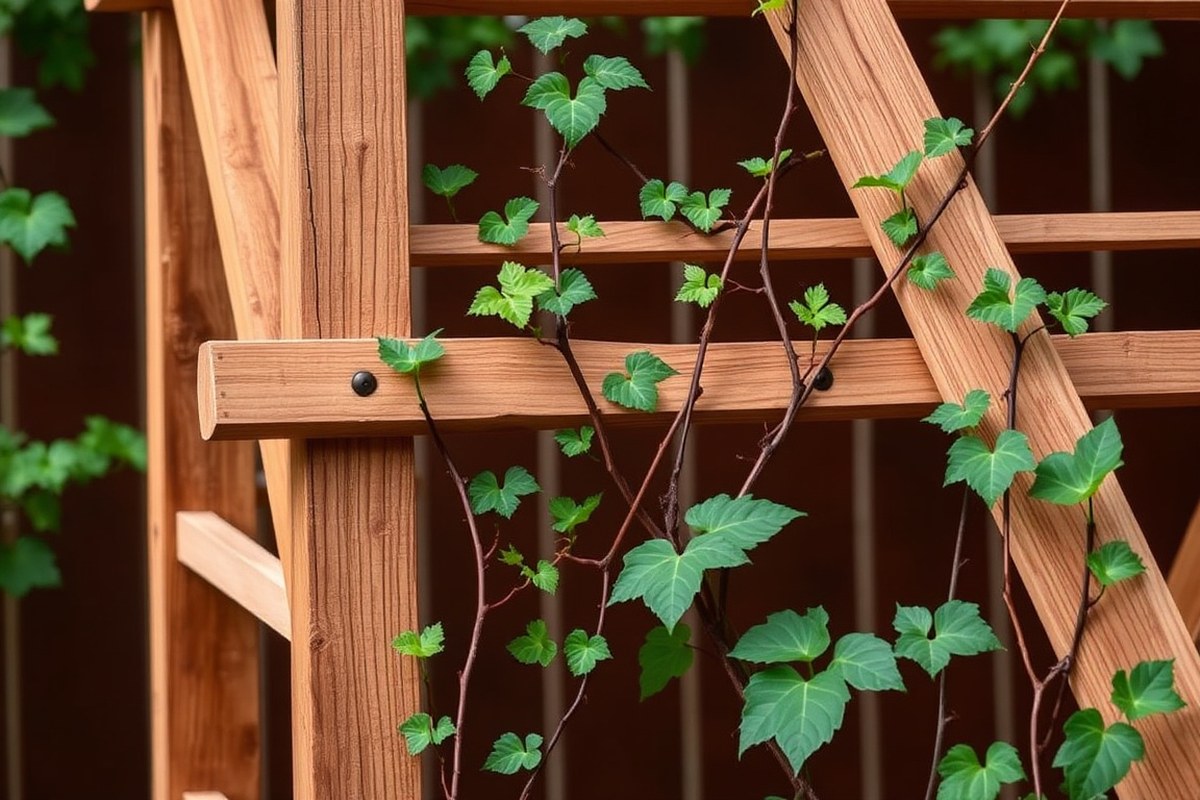
A garden trellis is a frame made of wood, metal, or other materials. It helps climbing plants grow by giving them support.
It lifts vines, vegetables, and flowers off the ground to give them room to grow upward. This lets you save space and keeps plants healthier by improving air flow.
Building your own garden trellis lets you shape it exactly to your space and needs. You can pick the size, style, and materials for your garden. It works for a small balcony or a big backyard.
DIY trellises usually cost less than buying ready-made ones. Prices range from $10 for simple bamboo to $100 or more for custom wood or metal.
Making your own trellis lets you choose how strong it is. You also decide where it should go in your garden. You can create tall vertical supports for pole beans or horizontal structures for tendril climbers.
Keeping plants off wet soil helps reduce diseases and pests. It also makes harvesting the plants easier for you.
Garden trellises also change how your garden looks. Trellises can cover blank walls or corners with green vines or flowers. This adds charm and gives you some privacy outside.
A DIY squash arch might turn a vegetable patch into a cozy, shaded walkway. You can design a trellis that helps plants grow well. It also makes your outdoor area look nicer.
Some people buy trellises to save time. But DIY gives you more control over the fit and look. Poorly chosen or sized trellises might flop or crowd plants.
Building your own lets you match the trellis to your plants’ needs. It fits your garden’s layout better this way. This careful planning helps plants grow strong and gives your garden a neat, organized appearance.
Choosing the Right Trellis Design for Your Garden and Plants
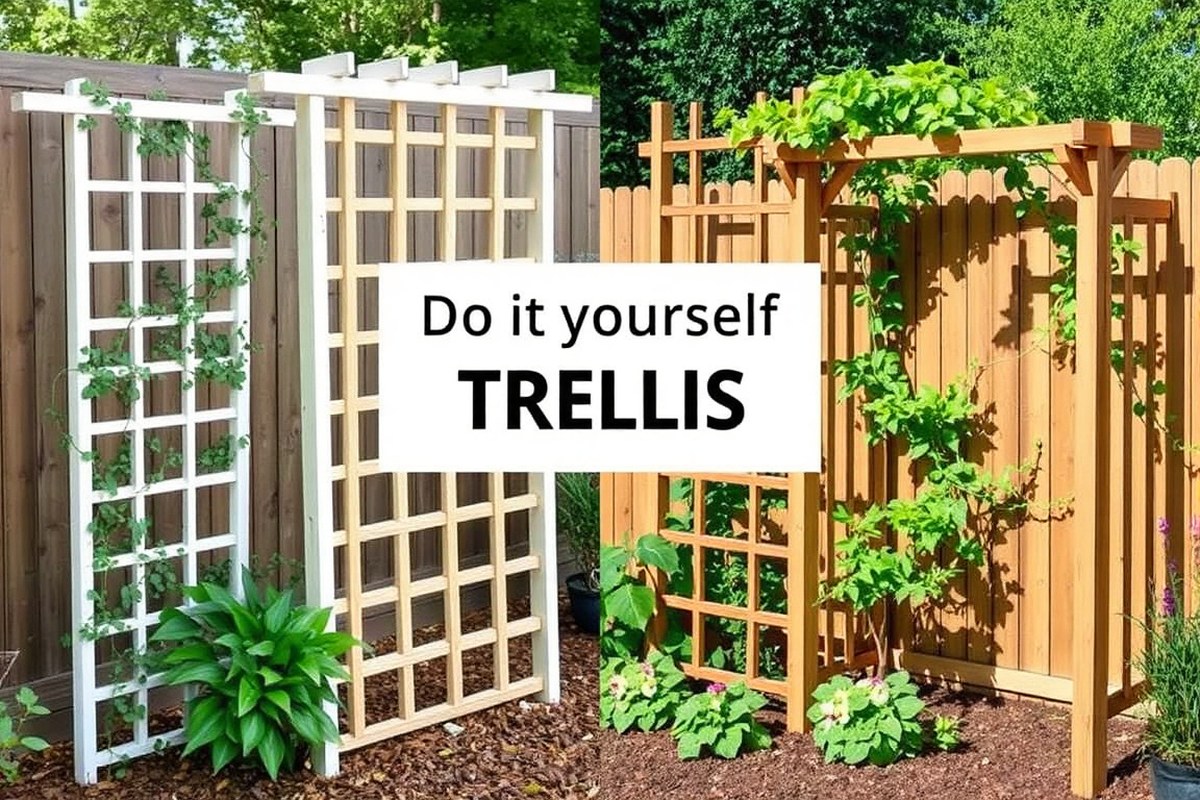
Choose your trellis design by matching it to your plants’ needs. Climbing vegetables like beans and cucumbers need tall supports, usually 6 to 8 feet high. For smaller flowering vines, a shorter trellis or A-frame design works well and saves space.
Garden size limits the trellis you pick. Small spaces benefit from vertical trellises or A-frames, which hold plants on both sides. Larger gardens can hold wide, sturdy frames like hog wire panels.
These frames support heavy vines. They help spread out plant growth evenly.
Style preferences also matter. Wood fits traditional or cottage gardens, while metal suits modern or industrial looks. For a natural vibe, try willow branches or recycled woods that blend well with organic styles.
| Material Type | Best Options | Durability | Cost | Best For |
|---|---|---|---|---|
| Wood | Cedar, redwood, pressure-treated pine, bamboo | 5-15+ years with treatment | $ – $$ | Traditional, cottage, rustic gardens |
| Metal & Wire | Galvanized steel, copper pipe, rebar, wire mesh | 10-20+ years, rust-resistant | $$ – $$$ | Modern, minimal, industrial aesthetics |
| Natural Materials | Willow branches, twigs, recycled branches | 2-5 years, biodegradable | $ | Organic, cottage, eco-friendly gardens |
This table helps you pick materials that suit your style and budget. Wood offers warmth but needs upkeep.
Metal costs more but lasts longer and looks sleek. Natural materials are cheap and eco-friendly but wear out faster.
Think about how your trellis will look in your garden space. A free-standing wood or metal trellis works well as a screen. It also adds decor near patios.
You can plant vines to climb it. An arched trellis can add shape without taking much floor space. A-frame trellises give plants room on both sides, ideal for small yards.
Place your trellis early and guide plants to climb it before they grow wild.
Materials and Tools Needed for DIY Garden Trellis Projects
Building a DIY garden trellis starts with picking the right materials. Choose tools that match your design. Also, think about your skill level when planning.
Wood, metal, and repurposed items all make good choices. Beginners need basic tools to start a trellis project.
Some extra tools help make work easier. They also improve the finish on your trellis.
Wood, Metal, and Alternative Materials
Wood is a top choice for trellises because it’s simple to use. It fits well in most gardens. Plus, it gives a natural look.
Cedar and redwood resist rot well without chemicals, which suits vegetable gardens better than treated wood. You can build light frames using 1 x 2-inch lumber strips.
These are also called furring strips. They work well for simple trellis designs.
Bamboo poles and PVC pipe are budget-friendly options for lightweight trellises. Bamboo A-frame styles usually cost under $20 for materials. Similar retail trellises start at $60.
Metal like cattle panels lasts a long time and is strong. Cutting and shaping metal often requires more tools. This material needs more work than wood.
Alternative materials include repurposed wood pallets, old ladders, bike wheels, or window shutters. These add charm and often cost nothing. They also suit gardeners who want to reduce waste by recycling.
Must-Have and Optional Tools
Basic tools you need include a hammer or screwdriver, saw, measuring tape, pencil, and level. A handsaw works fine for simple cuts. You’ll also want screws or nails and some kind of drill or hammer for fasteners.
Optional tools speed up the work or improve finish. A table saw helps “rip” wood strips quickly and evenly.
A power drill with screwdriver bits speeds assembly and reduces fatigue. Sandpaper smooths rough wood, and paintbrushes help seal or decorate your trellis.
- Measuring tape and pencil for accuracy
- Handsaw or circular saw for cutting lumber
- Hammer or screwdriver for fasteners
- Power drill (optional) for quicker assembly
- Sandpaper to smooth edges
- Paintbrush if you want to seal or decorate
Basic tools cover most DIY trellises well. Optional tools are worth it if you plan many garden projects.
Eco-Friendly and Cost-Effective Material Choices
To save money and protect the environment, try using reclaimed wood or pallets. They are often free or very cheap. Old ladders and window shutters make unique, charming trellises without buying new materials.
Avoid treated wood if growing food. Chemicals can leach into soil and plants.
Instead, choose naturally rot-resistant woods like cedar or redwood. Bamboo is also renewable and grows fast, making it a green material.
PVC pipe and metal last longer but are less eco-friendly. Recycled metal or salvaged items still cut waste. Using what you already have or find locally cuts costs and your carbon footprint.
| Material | Cost | Durability | Suitability for Food Gardens | Ease of Use |
|---|---|---|---|---|
| Cedar or Redwood Wood | $10, $30 for basic lumber | High – natural rot resistance | Ideal – no chemicals | Easy to cut and fasten |
| Bamboo Poles | Under $20 for A-frame | Moderate, lasts few seasons | Good – natural and safe | Easy to assemble |
| Reclaimed Wood (pallets, old ladders) | Free to low cost | Varies – check condition | Good if untreated | Moderate – cleaning and prepping |
| Treated Wood | $15, $40 | High – chemically rot resistant | Not recommended for food | Easy to use but avoid in veggie gardens |
| Metal (cattle panels, wire) | $20, $50 | Very high | Safe if coated and clean | Harder to cut and shape |
Step-by-Step Instructions to Build Basic Garden Trellis Designs
Building garden trellises like A-frame, fan, and teepee styles can boost your plant growth. Each design suits different plants and spaces. Here’s how to build them step by step with simple materials and tools.
Building an A-Frame Trellis
An A-frame trellis works well for peas, beans, and cucumbers. It stands over your garden bed and offers sturdy support for climbing plants. Using hinges at the top makes it foldable for easy access and storage.
- Cut four wooden posts about 6 feet long each for the frame sides.
- Attach two posts with a hinge at the top to form one side of the “A.”
- Repeat to build the other side of the frame.
- Secure the bottom ends into the ground or heavy planter boxes for stability.
- Connect the two sides at the bottom with crossbars spaced 12 to 18 inches apart.
- Attach chicken wire or twine to the frame, creating a grid for climbing plants.
- Optionally, paint the wood to add color and protect it from weather.
The total cost depends on your wood choice but expect around $20 to $40 for materials. Look for sturdy wood to avoid warping. A typical project takes 2 to 3 hours for basic assembly.
Constructing a Bean Teepee Trellis
A teepee trellis offers a simple vertical structure perfect for beans or peas. Bamboo poles or garden sticks make a natural, lightweight frame. The poles lean together at the top and spread wide at the base.
- Gather 6 to 8 bamboo poles about 6 to 7 feet each in length.
- Arrange the poles in a circle, standing them upright with feet spread apart.
- Tie the tops of all poles tightly together using garden twine or rope.
- Drive the poles into the soil about 6 to 8 inches for firm support.
- Train your climbing plants to grow up inside the teepee frame.
This basic trellis costs under $20 if you already have poles. It takes less than one hour to set up. Make sure the tied top is tight to prevent wobbling as plants grow.
Assembling a Fan-Shaped Wooden Trellis
A fan trellis shows off your plants and fits well near fences or walls. Using five 60-inch wooden slats, you make a frame.
The frame spreads out and supports vines on chicken wire or twine. It can be built from a single wooden fence picket using a simple hack.
- Cut five wooden slats, each about 60 inches long.
- Lay the slats flat and space them evenly in a fan shape.
- Secure the wider ends together using screws or nails.
- Attach chicken wire or twine across the slats for the vines to climb.
- Anchor the narrow ends into the ground or attach the base to a planter box.
- Optionally, paint the fan trellis in bright colors for garden charm.
This project takes about 2 hours and costs $15 to $30, depending on wood quality. The fan design allows good airflow around plants and creates an attractive garden feature. Use screws for solid, lasting joins.
How to Properly Install and Anchor Your Garden Trellis
Drive your trellis posts at least 12 inches deep into firm soil. This depth helps resist wind and the weight of growing plants. Using concrete to set the posts adds extra strength for windy areas or heavy vines.
For windy gardens, anchor legs with landscape stakes or attach the trellis to T-posts. These supports prevent the trellis from wobbling or falling. Always position your trellis where plants get enough sunlight for healthy growth.
- Pick sturdy posts 6 to 7 feet tall to allow plant growth.
- Use a mallet or hammer to push posts deep into the soil.
- Secure trellis legs with steel ground anchors for extra hold.
- Attach garden twine between T-posts for a customizable trellis grid.
- Place trellis away from strong winds when possible.
- Allow room for mature plant size when positioning the trellis.
Lean lightweight trellises against walls only if the plants are small. For bigger vines or storm-prone spots, a deeper anchor is safer. Matching trellis strength to your plant’s weight avoids damage later.
Always size the trellis based on your plant’s full grown size, not when it’s young.
Check the sunlight direction before installation. Position your trellis to maximize light exposure. This simple step helps your climbing plants thrive with proper support and stability.
Best Climbing Plants to Grow on Your DIY Garden Trellis
Climbing plants need the right trellis size and style to grow well. Vegetables like cucumbers, beans, and peas grow best on trellises. These trellises should be sturdy and stand 3 to 4 feet tall.
A-frame or lean-to trellises work well for these crops. They provide strong support for heavy vines and hanging pods.
Flowers such as clematis and nasturtiums also climb nicely, adding color and height. These plants need a trellis that holds up to their weight without sagging.
Cedar lattice panels support plants well in your garden. They also add some privacy to the space.
Match your plant choice with trellis type for the best results. Use narrow, vertical supports for pea vines or curly cucumbers.
Wider, more open designs fit bigger plants like tomatoes and clematis. Adjust trellis width depending on plant spread and how much air and light they need.
- Cucumbers, beans, and peas: sturdy A-frame or lean-to, 3′ to 4′ tall
- Bush (determinate) tomatoes: trellis with vertical strips for tying
- Clematis and nasturtiums: cedar lattice for support and beauty
- Heavy vines need wider trellis with solid anchoring
- Container gardens benefit from smaller trellises suited to pot size
Think about the growing space when picking your trellis size. Smaller climbing plants don’t need more than 4 feet of height.
Larger or heavier crops might require wider frames or stronger materials like cedar wood. Proper trellis use keeps plants off the ground and makes harvesting easier without bending.
Use the trellis to shape plant growth too. Train new vines early by tying them gently to vertical supports.
This stops sprawling and helps plants fill the trellis evenly. Avoid overloading the frame, or it might tip or break under weight.
Customizing and Decorating Your Garden Trellis
Painting or staining your garden trellis adds color and protects it from weather damage. Use exterior-grade paint or stain for outdoor wood. It costs about $15 to $30 per quart.
This type lasts longer in weather conditions. A quick paint job takes under an hour once the trellis is dry and clean. Pick colors that match your garden style.
Soft greens blend well for a natural look. Bright blues add a bright splash of color.
Sealing with a clear outdoor wood sealer helps protect the wood from moisture and UV rays. Apply two coats and let each dry for 24 hours. Avoid painting trellises made from metal or vinyl unless the product label says so.
Stain your trellis every two years if you live in a humid area. This keeps it protected and colorful.
Adding décor improves charm and individuality to the trellis. Use lightweight pots or small solar fairy lights. Add decorative garden signs without stressing your trellis.
These keep the structure safe and charming. Attach these decorations securely with garden wire or sturdy hooks to prevent wind damage. Avoid heavy ornaments that can bend or break the trellis.
Seasonal touches make your trellis visually interesting year-round. In spring and summer, string twinkling lights or clip on artificial butterflies for a gentle look. Switch to small pumpkins, dried cornhusks, or burlap ribbons in fall.
For winter, wrap garlands of evergreen boughs or battery-powered LED candles. Remove decorations before harsh weather to avoid damage.
You can paint or stain before or after installation. But staining first usually means a neater finish. Sand rough wooden edges lightly before applying stain or paint to ensure good adhesion.
Use a brush or sprayer for even coats and apply outdoors or in a ventilated area. Check your trellis for chipped paint or peeling stain often.
Touch up damaged spots to keep it fresh. This helps it look good longer.
Decorating for safety means avoiding items that collect water or attract insects. Use weather-resistant materials, especially for decorations left on for months. A well-kept trellis brightens your garden nicely.
It becomes a standout point all year round. Maintain and decorate it regularly.
Maintaining and Protecting Your Garden Trellis over Time
Check your garden trellis every month during the growing season. Look for loose joints, broken slats, or rusted nails. Early detection helps keep your trellis strong and steady for your plants.
Common repairs include tightening screws, replacing damaged wood, and fixing bent wires. Use weather-resistant screws or nails to avoid quick rusting. Sand any rough or splintered wood before repainting or sealing.
Preparing your trellis for rainy or winter weather protects it from decay. Remove heavy plant growth that adds weight. Then apply a fresh coat of waterproof sealant or outdoor paint on wooden parts.
- Inspect trellis for damage and tightness monthly.
- Tighten or replace screws and nails as needed.
- Sand rough wood and repaint every 1, 2 years.
- Remove heavy vines before winter to prevent sagging.
- Apply water sealant before rainy or cold seasons.
- Clear debris and dirt off wires or metal parts.
- Store lightweight parts indoors if possible during winter.
Wood trellises may need sanding and repainting every 1 to 2 years. This usually costs $10 to $30 for materials but extends wood life by several years. For metal, check for rust and remove it with a wire brush before repainting.
Strong winds or heavy snow can bend or break sections, especially on tall trellises. Secure loose parts quickly using extra ties or brackets. Lean a trellis against a wall or fence in winter to limit damage.
Don’t ignore small cracks or wobbly posts; they often become larger problems fast.
Common Mistakes and Troubleshooting DIY Trellis Projects
Many beginners make the mistake of using weak or thin materials that can’t support plant weight. Choose sturdy wood, metal, or PVC pipes with at least 1-inch thickness. Choosing a lightweight material can make the trellis wobble or fall down.
Installing a trellis without a strong anchor causes instability. Drive stakes 12 to 18 inches into the ground or use heavy concrete blocks as bases. When the trellis leans, add extra ties between posts.
Put these ties at different heights. This will help support it better.
Wobbly trellises often happen because builders skip cross-bracing. Add diagonal braces using screws or zip ties. You’ll feel less sway when pushing gently from the side.
Installing extra ties takes about 30 minutes. The cost is just a few dollars. You’ll need extra screws or ties.
Some skip treating wood, which leads to rotting. Seal your wood with outdoor paint or wood preservative before planting.
This keeps your trellis strong through rain and sun for 3 to 5 years. Untreated wood can weaken within one growing season.
When plants outgrow the trellis, don’t just leave them tangled. Prune heavy vines back to maintain balance and avoid breaking wood or metal parts. You can also build an extension by attaching new sections using hooks or strong cable ties.
Planting fast-growing vines like morning glories or cucumbers means you should check them weekly. Guide new growth gently onto the trellis with soft garden ties. This keeps the plants focused on climbing the support and prevents messy falls.
Sometimes the trellis is too small for the plant’s mature size. Plan for growth by choosing a trellis at least 6 feet tall for most climbing varieties.
Shorter trellises work only for small or slow growers. Replacing or adding a taller section later costs more time and money.
Installing your trellis in soft soil without extra stability causes it to lean over time. Set posts in concrete footings about 12 inches deep whenever you can.
Concrete costs $10 to $15 per bag and lasts for years. This keeps heavy plants from pulling the trellis out of the ground during wind or rain.
Plants sometimes don’t cling well and fall off. Attach horizontal wires or strings across your trellis every 8 to 12 inches.
Plants grab these supports more easily than flat surfaces. This helps heavy or smooth-stemmed vines climb sturdier, avoiding damage or sagging.
Finally, avoid placing your trellis in a spot that blocks too much sun. Most climbing plants need 6 to 8 hours daily.
Too much shade slows growth and makes the trellis look bare. Move the trellis where it gets enough light for healthy plants and good coverage.
Creative and Recycled Materials Ideas for Unique Trellises
You can make garden trellises from recycled or found items. Use things like old ladders, bicycle wheels, and scrap wood. These materials give your garden a unique look.
These options save money and add character to your garden. Using materials you already have helps match your trellis to your garden’s style while being eco-friendly.
Using Old Ladders and Branches
Old wooden ladders make great garden trellises for climbing plants like beans and cucumbers. Their built-in rungs provide natural support without extra work. Check that ladders are in good shape before you use them.
Avoid ladders with splinters or weak spots. They might break if they hold too much weight.
Thick branches can also create rustic trellises. Find straight branches about 1 to 2 inches thick. Lash or nail them together tightly.
Make a tepee or grid shape with the branches. Treat wood with outdoor sealant to protect from weather.
Repurposing Bicycle Wheels and Fencing
Bicycle wheels make circular trellises with an industrial look. Hang a wheel vertically and secure it to a post or wall. Plants will naturally twine up the spokes for support.
Old fencing panels or wire mesh also work well for trellises. They are often sturdy and weather-resistant. Cut fencing to your desired height and secure to stakes or a frame for stability.
- Inspect materials for damage or sharp edges before use.
- Use rust-proof screws or ties to assemble recycled parts.
- Place your trellis where plants get enough sunlight and air.
- Anchor lightweight materials firmly to prevent tipping in wind.
- Clean and dry items completely before installation to avoid rot or rust.
These steps keep your trellis safe and longer-lasting when using recycled items.
Combining Natural and Industrial Materials
Mixing natural elements like branches with metal parts creates a trellis that’s both strong and attractive. For example, attach wooden poles to a metal frame for heavy vines. This blend adds texture and interest.
Use clamps or metal brackets to join different materials securely. Make sure the metal is coated or stainless steel to resist rust. This combo works well in modern or rustic gardens.
Step-by-Step Action Plan to Build Your Garden Trellis
Follow these clear steps to build and install your garden trellis successfully. Each step ensures you progress with good results.
- Day 1: Plan Your Trellis, Choose a design that fits your plants and garden space. Check that your spot has enough sunlight for your chosen climbing plants.
- Day 2: Gather Materials and Tools. Get wood, metal, or recycled items you need. Also, grab screws, nails, and a drill. Double-check all tools work before starting.
- Day 3: Cut and Prepare Materials. Measure your materials carefully. Cut them to size based on your design. Lay out parts to confirm they fit together well.
- Day 4: Assemble Your Trellis, Put pieces together using screws or nails. The structure should feel solid and won’t wobble when gently pushed.
- Day 5: Install and Anchor. Set the trellis deep in the ground. Or attach it firmly to a wall. Test stability by lightly shaking it; it shouldn’t move.
- Week 2: Plant Climbing Plants. Plant vines or creepers at the base. Choose types that fit your climate and trellis. Water them well after planting.
- Week 3 and Beyond: Maintain and Adjust. Check your trellis every week for damage. Look for loose or weak parts too. Trim plants and guide new growth onto the structure for even coverage.
Frequently Asked Questions
How Do I Choose the Best Material for a Garden Trellis?
Choose materials based on your garden style and budget. Cedar wood is traditional but avoid treated wood for food gardens. Bamboo and metal offer different looks and strength levels.
Can I Build a Garden Trellis Without Special Tools?
Yes, many simple trellis designs only need basic tools like a saw and hammer. Using ready-made panels cuts down tool needs. You can also repurpose materials to keep it simple.
What’s the Easiest Garden Trellis Design for Beginners?
An A-frame trellis made from bamboo or wood is easy to build. It requires minimal cuts and stable support. These work well for peas, beans, and cucumbers.
How Do I Protect a Wooden Trellis from Weather Damage?
Use untreated cedar or naturally rot-resistant wood to avoid chemicals. Apply a clear outdoor sealant yearly for protection. Keep the trellis clean and dry as much as possible.
Can a Garden Trellis Support Heavy Plants Like Squash?
Yes, but choose sturdy designs like cattle panel arches or hog wire frames. These handle weight and spread vines efficiently. Lightweight trellises can bend or break under heavy loads.
What’s a Simple Way to Anchor a Trellis in a Windy Garden?
Drive landscape stakes into the ground to secure the trellis legs. You can also use T-posts and tie the trellis for extra stability. This prevents tipping and damage during storms.
Wrapping Up
Building your own garden trellis is rewarding and practical. Start by picking a simple design that fits your space. Take one step at a time.
Build the trellis sturdy. This supports healthy plant growth.