What Does a Composter Do? A Complete Guide to Effective Composting
What does a composter do? It transforms organic waste into nutrient-rich soil.
It breaks down kitchen scraps, yard trimmings, and plant debris into compost. This process cuts down trash and naturally feeds your garden plants.
A composter sets the stage for tiny organisms to work. These microbes consume the waste and produce dark, crumbly compost full of nutrients.
You’ll need to keep the pile moist and turn it regularly to add air. This helps speed up decomposition.
Start by mixing green materials like vegetable scraps with brown materials like dry leaves or paper. This balance gives microbes the right nutrients to break down waste efficiently.
Avoid adding meat, dairy, or oily foods that attract pests or slow the process. Proper care keeps your composter working well and smell-free.
Key Takeaways
- Balance your compost with roughly 30 parts carbon to one part nitrogen.
- Turn your compost regularly to keep air flowing and speed decomposition.
- Avoid composting meat, dairy, and oily foods to prevent pests.
- Keep compost moist but not soggy for best microbial activity.
- Use yard waste and kitchen scraps but skip weeds with seeds and invasive plants.
- Active compost piles can reach up to 149 °F to kill seeds and pathogens.
What Does a Composter Do and How It Works
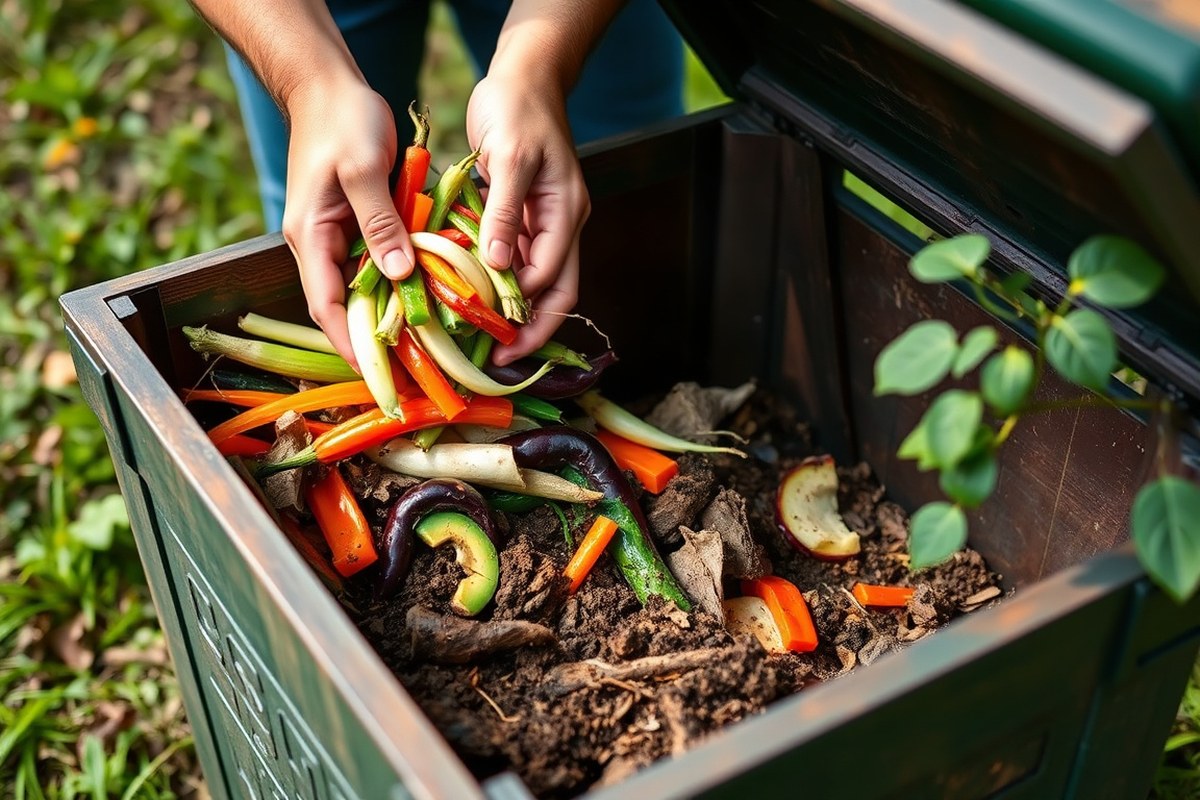
A composter is a container designed to speed up the natural breakdown of organic waste. It creates a controlled environment that uses oxygen for composting.
Oxygen supports microorganisms that turn scraps and waste into rich compost. This process enriches your garden soil and cuts down on landfill waste.
The process begins when bacteria, fungi, and worms eat the organic waste. These tiny creatures break down food scraps inside the composter. These organisms break down the materials step-by-step, producing heat and moisture in the process.
A working composter holds a good balance of browns and greens. About 30 parts carbon go with 1 part nitrogen for best results.
Inside the composter, materials pass through stages of decomposition. Microbes eat fresh scraps first, which makes the pile heat up. The temperature reaches between 110 and 160°F during this stage.
This heat helps kill off weed seeds and pathogens. As decomposition continues, the waste breaks down into a dark, crumbly substance that looks like soil.
The container keeps things neat and holds moisture well. It also allows airflow, which helps compost quickly and evenly.
Which Materials Can and Cannot Be Compost in Your Composter

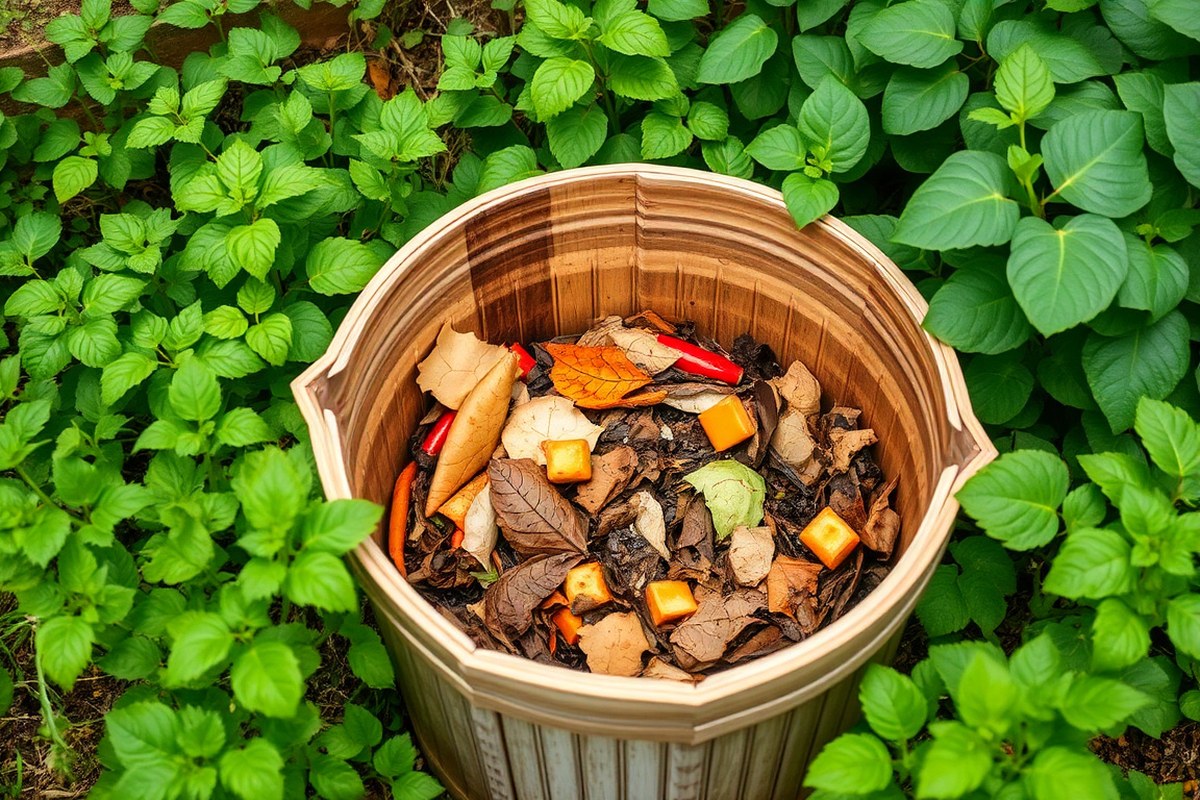
You can add kitchen scraps like fruit and vegetable peels to your composter. Yard waste, such as grass clippings and dry leaves, also breaks down well. These materials provide the right mix of carbon and nitrogen to help decomposition.
Avoid adding meat, dairy, and oily foods to your compost. These items attract pests like rodents and flies, and they produce bad odors. Leave out bones and baked goods because they slow compost down.
Coffee pods and tea bags shouldn’t go in either. They can add harmful stuff to your pile.
- Fruit and vegetable scraps
- Grass clippings and dry leaves
- Small branches and twigs
- Coffee grounds (without pods)
- Eggshells (crushed)
- Tea leaves (no bags)
- Garden trimmings and non-diseased plants
Materials treated with pesticides or diseased plants can harm your compost’s quality. They may kill the beneficial microbes that break down waste or spread illness to your garden. Keep your compost pile warm and aerated to speed up breakdown and discourage pests.
Avoid composting meat, dairy, or oily wastes to prevent pests and bad smells in your bin.
How Long Does Composting Take and What Affects Its Speed?
Composting usually takes a few weeks to several months. It moves through stages marked by different temperatures and biological activity. Factors like moisture, air flow, and the materials you add change how fast it breaks down.
Mesophilic Stage: Initial Breakdown
The mesophilic stage starts decomposition at moderate temperatures between 68°F and 113°F. Small microbes and bacteria get busy feeding on the fresh organic waste. This stage prepares materials for faster breakdown later.
This phase can last from a few days to a couple of weeks. Moisture around 40% to 60% helps tiny organisms thrive and do their job. If the pile is too dry or too wet, activity slows down, and decomposition takes longer.
Thermophilic Stage: High Temperature Phase
The thermophilic stage heats the pile from 113°F to as much as 160°F. Heat-loving microbes multiply and quickly digest tougher materials like lignin and cellulose. This stage kills harmful pathogens and most weed seeds.
Active composting usually happens here and can last several weeks to a few months. Turning your pile regularly provides oxygen, speeding up this process. Without enough air, the pile cools and breaks down slower or smells bad.
| Composting Stage | Temperature Range (°F) | Typical Duration | Main Activity |
|---|---|---|---|
| Mesophilic | 68 – 113 | Several days to 2 weeks | Initial breakdown by moderate-temp microbes |
| Thermophilic | 113 – 160 | Few weeks to months | Rapid decomposition and pathogen kill |
| Curing/Maturation | Cooling to ambient | Several weeks to months | Stabilization and humus formation |
The table shows typical times and temps you can expect during composting. These details help you know when your pile is active or needs attention.
Curing Stage: Stabilizing Compost
The curing stage cools the pile back to outside temperatures. Microorganisms finish breaking down scraps and build nutrients. The compost becomes dark, crumbly, and soil-like.
This step usually lasts weeks or months after heating drops. Using compost too soon can harm plants due to unfinished material. Moisture and aeration should stay steady during curing for the best result.
How to Set Up and Maintain Your Composter for Best Results
Set your composter where it gets some sun but stays shielded from harsh wind. Keep the materials moist, aerated, and balanced with both carbon-rich and nitrogen-rich inputs. These key actions help your compost break down faster and avoid bad smells or pests.
Choosing the Best Location
Select a spot with partial sunlight to warm the pile. Avoid full sun that dries it out quickly. Pick a level area with good drainage to stop soggy conditions.
Place the composter near your garden or kitchen for easy access. This saves trips and encourages regular adding and turning. Keep it away from high-traffic zones to prevent disturbance or accidents.
Balancing Greens and Browns
Mix equal parts of green materials like vegetable scraps and brown materials such as dry leaves. Greens provide nitrogen, and browns offer carbon needed by microbes. Layer the materials in thin alternating piles, ending with a brown layer.
Too many greens make the pile wet and smelly. Too many browns slow decomposition. Adjust the ratio as you go to keep it balanced and active.
Aeration and Turning Schedule
Turn your compost when it starts settling and heating up. This usually happens every 1 to 2 weeks. Make sure to mix it well each time you turn it.
Use a pitchfork or shovel to mix and break up clumps. This adds oxygen which speeds up decomposition and controls odours.
For tumbling composters, rotate 2 to 3 times weekly. This keeps airflow consistent and evenly mixes the pile. Regular aeration keeps the compost from going slimy or stinky.
Maintaining Proper Moisture Levels
Check compost moisture by squeezing some in your hand. It should feel like a damp sponge. Avoid it being too wet or dripping.
Add water with a watering can if it’s too dry. Cover it during heavy rain to prevent sogginess.
Dry piles slow down or stop composting. Too much water blocks airflow and causes bad smells. Keep moisture steady for smooth, fast breakdown.
Follow these steps to set up and maintain your composter for best results:
- Pick a shady, level spot with good drainage near your garden.
- Start with a layer of coarse browns like twigs for ventilation.
- Add alternating layers of greens and browns, keeping them thin.
- Water the pile to keep it as damp as a wrung-out sponge.
- Turn or aerate the pile every 1 to 2 weeks with a pitchfork.
- Cover the composter during heavy rain to avoid oversaturation.
- Monitor the smell and texture; adjust moisture and materials if needed.
- Continue adding balanced layers and maintaining moisture and aeration.
Different Types of Composters and Their Advantages
Choosing the right composter depends on your space and time. It also depends on how much effort you want to put in.
Compost bins are common and simple containers for organic waste. They work well if you have a backyard and can turn or mix the materials yourself.
Compost tumblers speed up the process by making it easier to turn the compost. They usually need less space since they’re vertical or compact.
You turn these composters regularly to mix the contents. This adds air and helps break down waste faster.
Electric composters do much of the work for you. They turn food scraps into compost in 4 to 24 hours.
These units are small and fit in apartments or kitchens. But they cost more and need power to run.
| Composter Type | Space Needed | Cost Range | Speed | Effort Required | Best For |
|---|---|---|---|---|---|
| Bin | 5 to 15 sq ft outdoor | $30 to $100 | 2 to 6 months | Turn/air regularly | Home gardeners with yard space |
| Tumbler | 3 to 8 sq ft outdoor | $50 to $200 | 1 to 3 months | Rotate 2-3 times weekly | People wanting faster compost |
| Electric | 1 to 3 sq ft indoor | $200 to $500 | 4 to 24 hours (plus curing) | Minimal, just add scraps | Indoor users, small kitchens |
Bins are often the cheapest and easiest to set up outside. Tumblers reduce your work but cost more. Electric options mostly suit those who want fast compost without outdoor space or manual mixing.
Make sure your composter is sized right for your waste volume to avoid smells or slowdowns.
How Composting Benefits Your Garden and the Environment
A garden composter cuts down the waste your household sends to landfills. Recycling kitchen scraps like vegetable peels cuts down your trash. Yard waste like leaves also helps reduce what you throw away.
This can divert a big part of your waste from the bin. This lowers the trash amount sent to landfills each week.
It also lessens the methane gas released, which harms the environment. Methane is a strong greenhouse gas causing global warming.
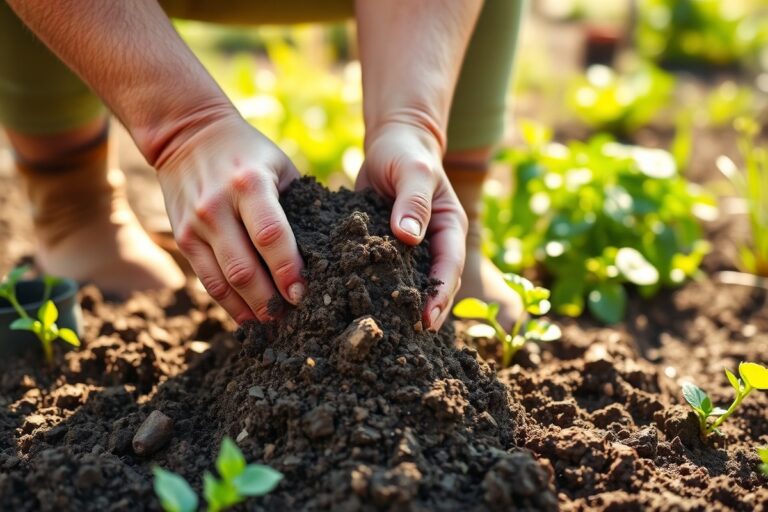
Composting also boosts soil health naturally. As organic materials break down, they create nutrient-rich compost that fertilizes plants without chemicals. Compost adds nutrients that improve your soil’s structure and texture.
It helps soil hold water better for healthier plants. Compost also supports good microbes that boost plant growth and health.
Using a composter can save you money since it reduces the need for synthetic fertilizers. You also cut down on waste collection costs if your town charges for bulky trash pickups. Composting teaches you and your family how to recycle at home.
It helps everyone learn about protecting the environment daily. This habit benefits more than just your garden’s soil.
Composting stops pests by keeping food scraps out of trash bins. Rodents are less likely to gather near your home. This keeps your garden and kitchen cleaner and safer.
Composting requires some space and a basic container, usually costing under $100 for a simple bin. Turn your compost pile every few days to mix it well.
Keep the pile moist but not soggy for best results. Compost will be ready in about two to six months.
Common Composting Problems and How to Fix Them
Strong odors usually mean the pile is too wet or lacks air. Without enough oxygen, compost breaks down without air, making bad smells. Turn the pile every few days to bring fresh air in and fix this.
Pests like fruit flies and rodents come when scraps sit on top or are exposed. Bury food scraps about 6 inches deep in the pile to hide smells. Using a tight lid or mesh screen keeps animals out.
Slow composting happens when the pile is too dry or cold. It can also occur if the material mix is wrong. You need the right balance for faster composting.
Add water if it feels dry like a wrung-out sponge. Make sure you add both green (wet) and brown (dry) waste to keep it balanced.
- Fix odors by turning the pile and adding dry materials like leaves.
- Stop pests with deep burying of scraps and secure lids.
- Speed up compost by keeping moisture moderate and adding greens and browns.
- Less moisture? Spray water evenly; don’t soak the pile.
- Too wet? Mix in shredded paper or straw to absorb water.
- Keep the pile in sunlight to maintain warmth, especially in cooler months.
Moisture problems can cause the pile to smell or slow down. A pile that’s soaking wet smells bad because it’s too wet for good composting. Throw in dry materials like shredded paper when it is this wet.
In dry weather, your compost might slow down and barely change. Spraying some water to dampen it helps without making it wet. Check the pile often to find moisture problems before they get worse.
When to Use and Harvest Compost for Optimal Results
Finished compost looks, smells, and feels very different from raw scraps. You want to harvest your compost when it is dark, crumbly, and earthy smelling. Harvesting too soon means you miss out on the best nutrients for your garden plants.
Signs Compost Has Cured
Look for a dark brown or black color in your compost. This color shows the compost is rich. It also means the material is well broken down.
It should crumble easily in your hands instead of feeling wet or slimy. The smell should be fresh and like soil, not sour or rotten.
Check that the temperature inside the pile is back down to about the outdoor temperature. High heat means the compost is still breaking down. Also, you won’t see recognizable pieces of food or yard scraps.
Harvesting Finished Compost
Harvesting means removing the usable compost without disturbing the material still breaking down. Collect compost from the bottom or front of your bin.
This is where the material has aged the longest. It is the richest part of your compost.
Follow these steps to harvest your compost the right way:
- Open your composter or bin carefully to avoid spilling loose material.
- Use a pitchfork or shovel to scoop compost out. Take the dark, crumbly stuff from the bottom or front. This part is ready to use.
- Sift the compost through a screen if you want finer soil without large chunks or sticks.
- Return any large pieces or unfinished scraps back to the bin so they can keep decomposing.
- Close the bin tightly to maintain moisture and heat for ongoing composting.
- Wear gloves if the compost feels cold or wet to keep your hands clean.
Don’t let unfinished scraps mix with your finished compost. It slows curing and harms your plants.
Storing Compost for Later Use
Store compost in a dry, shady spot to keep it from drying out or getting soggy. Use a covered container or bin with holes for air circulation to prevent mold growth.
You can keep compost for weeks or months if stored properly. Mix compost into your garden beds before planting season.
Or spread it as mulch on top of the soil. Both ways improve soil health.
Step-by-Step Action Plan to Start Composting Today
Follow these steps to get your composter working well from the start. You’ll see progress as your scraps turn into rich soil.
- Before you start: Choose a spot for your composter with good airflow and some shade. It should be easy to access regularly.
- Day 1: Add a 3-inch layer of brown materials like dry leaves or shredded paper. This balances moisture and prevents odors.
- Day 2: Add a 1-inch layer of green materials such as vegetable scraps or grass clippings. Check that the compost feels damp, not wet.
- Week 1: Turn the pile with a garden fork to mix and aerate. You should notice a mild, earthy smell.
- Week 2: Keep adding balanced layers of greens and browns as you generate waste. Monitor moisture, and add water if it feels dry.
- Week 3 to 4: Continue turning the pile once a week. Check for any bad smells; if present, add more browns and turn more often.
- After 4 to 6 weeks: Watch for dark, crumbly compost at the bottom. This means your compost is ready or nearly ready to use.
- Ongoing: Take out finished compost when ready. Move unfinished material back in. This helps the compost process keep going.
Frequently Asked Questions
How Does Adding Liquids Like Urine Affect Composting?
Adding urine to compost can speed up decomposition because it adds nitrogen. However, avoid too much liquid to keep compost from becoming soggy or smelly. Balance wet and dry materials for the best results.
What Problems Can Using a Compost Bin Cause at Home?
Compost bins can attract pests if not managed properly. Also, bins may produce odours if materials aren’t balanced or turned regularly. Proper care prevents these issues and keeps your compost healthy.
Where Should I Place My Composter in the Garden?
Place your composter in a shady, dry spot with good airflow. This helps keep moisture balanced and speeds up composting. Avoid direct sun or places prone to flooding.
How Long Does It Typically Take for Compost to Form?
Compost usually takes 2 to 6 months to decompose fully. Temperature, materials, and how often you turn it affect the speed. Balancing greens and browns can speed up the process.
What Happens Inside a Composter During Breakdown?
A composter breaks down organic waste by microbes eating it. They need oxygen, moisture, and the right mix of materials to work well. Turning the pile regularly helps air get in.
When Can I Harvest Compost from My Bin?
You can harvest compost when it looks dark and crumbly, usually after a few months. Wait until the 7th compost layer forms for the richest compost. This means it’s ready to use in your garden.
Before You Go
A composter turns your kitchen and yard waste into healthy soil for your garden. Starting is simple once you balance greens, browns, moisture, and air. Begin today by setting up your bin in a good spot and layering your first materials.