How to Care for Bell Peppers: A Complete Guide for Healthy Growth
You need to keep bell peppers at the right temperature. Also, give them enough space to grow well. This helps your peppers stay healthy and strong.
These plants dislike cold weather under 60 degrees Fahrenheit. Setting them out too early leads to weak growth and fewer flowers.
Next, space your bell peppers about 18 inches apart in well-prepared soil. Mixing compost into the top few inches helps give the roots nutrients. This setup lets your peppers grow strong and healthy, heading toward a bigger harvest.
When you plant peppers in containers, pick pots at least 12 inches wide and deep. Place them where they get at least six hours of sunlight every day. With these steps, your peppers stand a good chance of thriving.
Key Takeaways
- Set out bell pepper plants only when daytime temps stay above 60°F.
- Plant peppers 18 inches apart for enough room to grow well.
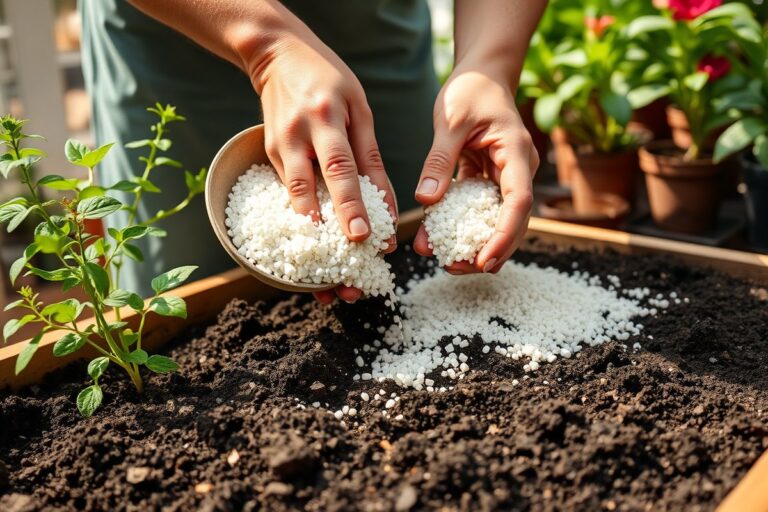
- Start by working compost into the top 3 or 4 inches of soil. This improves the garden bed before planting peppers. It gives nutrients peppers need to grow.
- Choose pots at least 12 inches wide for your peppers. The depth should be between 8 and 14 inches. This size helps roots get enough room to grow.
- Place container peppers where they receive a minimum of 6 hours of sunlight daily.
- Wait 60 to 90 days after transplanting to harvest your bell peppers.
Planting Bell Peppers for Best Growth
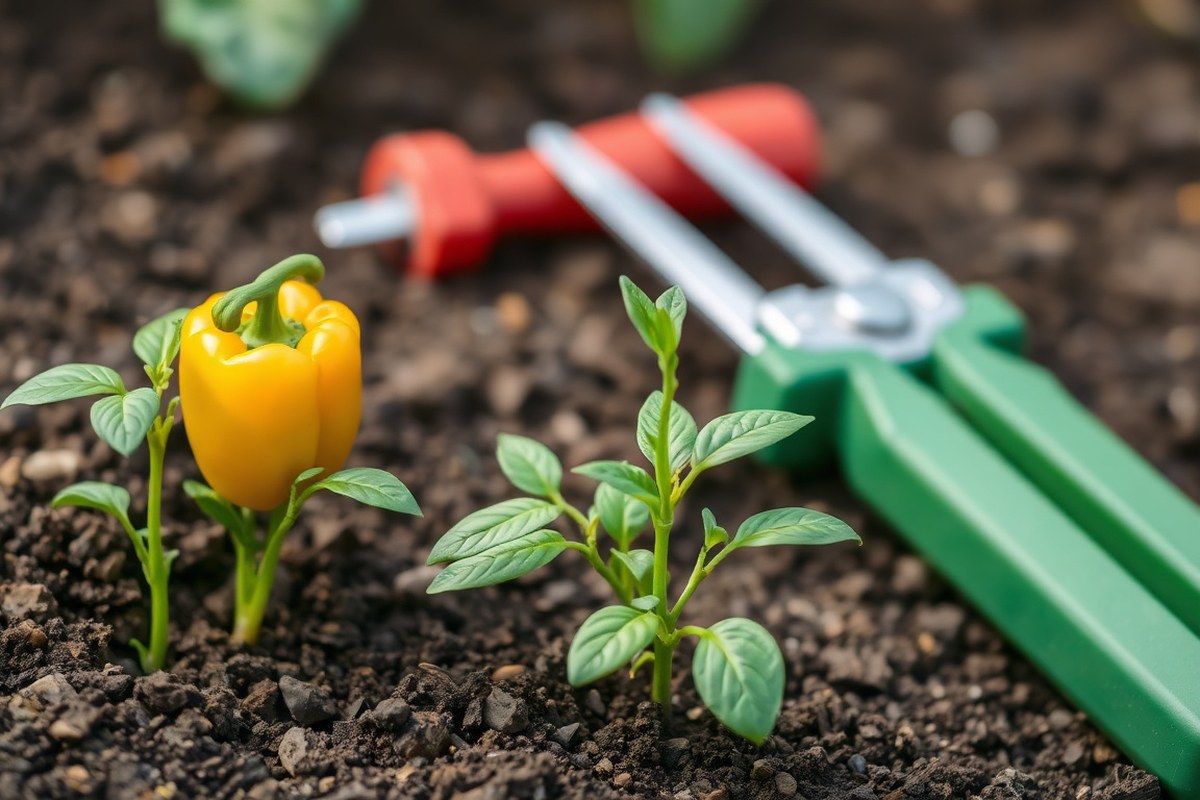
Starting bell pepper seeds indoors helps them grow before planting outside. Do this 8 to 10 weeks before the last frost date. Keep the soil warm between 80 and 85°F to encourage sprouting.
Plant each seed about 1/4 inch deep in seed-starting mix. Space seedlings 18 inches apart when moving them outside.
Rows should be 2 to 3 feet apart. Good spacing lets air circulate and helps peppers grow large and healthy.
Prepare garden soil by mixing in 3 to 4 inches of compost for nutrition and drainage. Only move seedlings outside once the soil warms to 60°F. Night temperatures should stay above 55°F for safe transplanting.
These conditions help peppers adjust without shock. This usually means planting two weeks after the last frost, when peppers won’t face cold stress.
Before planting outdoors, harden off seedlings. This means giving them time outside each day for 7 to 10 days.
Start in shade and slowly increase sun exposure. Hardening off helps seedlings adjust without shock and improves survival rates.
- Sow bell pepper seeds inside about 8 to 10 weeks before the final frost. This timing gives the plants time to grow strong.
- Keep seed starting soil warm at 80-85°F for reliable sprouting.
- Place seeds 1/4 inch deep in seed-starting mix in small pots or seed trays.
- Mix 3 to 4 inches of compost into garden soil for planting site.
- Transplant seedlings outdoors after soil warms to 60°F and night temps are above 55°F.
- Set bell peppers 18 inches apart with 2 to 3 feet between rows.
- Give seedlings outside time to adjust by slowly exposing them to sun and wind. Do this over 7 to 10 days to toughen them up.
Watering Bell Pepper Plants Effectively

Bell peppers need about 1 to 2 inches of water weekly. You should water deeply and then let the soil dry for a day or two. Overwatering can cause root problems and diseases like bacterial spot or water mold.
Water more often during hot, dry weather or when fruits start to develop. Hot spells above 90°F stress plants, making extra watering necessary. Young seedlings need gentler, more frequent watering to keep the soil moist but not soggy.
Water in the early morning to reduce evaporation and help leaves dry before evening. Avoid overhead watering to prevent disease. Instead, aim for the base of the plant and use a steady, deep soak.
- Check soil moisture by sticking your finger 1-2 inches deep before watering
- Water deeply once or twice a week, adjusting for rainfall and heat
- Use mulching to keep soil moist longer and reduce watering frequency
- In containers, water more often as soil dries faster
- Add Epsom salt (2 tsp per gallon) monthly with watering for better growth
- Avoid letting soil dry completely or stay soggy for days
Don’t water again until the top inch of soil feels dry to avoid overwatering.
Seedlings have smaller roots, so they need lighter, more frequent watering. Once plants mature, water less often but soak deeply each time. This encourages strong roots and better fruit development.
Watch for signs of trouble on your bell pepper plants. Drooping leaves can mean too much water or too little. Yellow leaves also show drought or overwatering problems.
Mushy stems often point to overwatering. Dry, wilting leaves usually show the plant needs more water.
Fertilizing Bell Peppers for Maximum Yield
Use a balanced fertilizer with an NPK ratio around 5-10-10 for bell peppers. Start feeding seedlings with a mild, water-soluble fertilizer one week after sprouting. Mature plants benefit from feeding every three to four weeks during the growing season.
Fertilizer Types Explained
Bell peppers do best with a balanced fertilizer that has more phosphorus and potassium than nitrogen. You can choose slow-release blends or water-soluble formulas depending on your preference. Organic options like compost and fish and kelp fertilizers also work well.
Organic fertilizers often improve soil health while feeding the plant. Synthetic types act faster but run a higher risk of burning roots if overused. Adjust the type based on your garden’s soil and your maintenance routine.
| Fertilizer Type | NPK Typical Ratio | Use Case | Frequency |
|---|---|---|---|
| Balanced Slow-Release | 5-10-10 or similar | Main feeding for mature plants | Every 3-4 weeks |
| Water-Soluble Fertilizer | Balanced or slightly higher P | Seedlings and quick boosts | Every 2 weeks for seedlings |
| Organic Fertilizer | Variable, e.g. Compost or fish & kelp | Soil enrichment and feeding | Every 3-4 weeks or as composted |
Shift to lower nitrogen once flowering begins to protect fruit development. Choose organic fertilizers for a gentle, ongoing nutrient supply. Synthetic fertilizers provide more precise feeding schedules but require caution to prevent burning.
When to Fertilize During Growth
Feed seedlings with a diluted fertilizer about one week after they sprout. Continue feeding every two weeks until transplanting. Once planted outside or in larger pots, space out feedings every three to four weeks.
After peppers start flowering, reduce nitrogen and increase phosphorus with fertilizers like 5-10-10. This helps flowers and fruits develop well without excess leaf growth. You can add fish and kelp fertilizer at this stage for an extra nutrient boost.
Stop fertilizing about four to six weeks before frost to help plants mature fruit. This prevents stress and wasted energy on new growth that won’t ripen. Keeping fertilization consistent helps avoid deficiencies during key development phases.
Fertilizer Application Tips
Avoid placing fertilizer too close to the plant stem to prevent root burn. Spread fertilizer evenly around the root zone. Water plants thoroughly after applying fertilizer to help nutrients soak in.
For seedlings, use a diluted water-soluble fertilizer to avoid overfeeding. Mature plants tolerate fuller-strength slow-release or granular fertilizer but still benefit from moderate amounts. Using mulch around peppers helps keep moisture and nutrients steady.
Container-grown peppers need feeding more often, typically every two weeks. Garden peppers can go longer between feedings.
Watch for yellowing or poor growth. Signs like these mean you should adjust feeding amounts or frequency.
Sunlight and Temperature Needs for Bell Peppers
Bell peppers need 8 to 12 hours of full sun for good fruit. Container peppers should get at least 6 hours of morning sun. They can handle some shade, but less sun means fewer peppers.
Peppers grow best when soil temperature stays above 65°F and nighttime air doesn’t drop below 55°F. Daytime temperatures should stay between 70°F and 85°F for proper fruit set. When night temps fall below 60°F, peppers may fail to set fruit or stop growing.
Temperatures above 85°F can also cause problems. Heat stress reduces pollination, and peppers might drop flowers before fruit forms. Watch for pale, sun-scorched patches on fruit when afternoon sun is too strong.
Plant peppers where afternoon shade protects them from strong sun. You can also let leaves cover the fruits to shield them. This helps stop stress from too much heat.
Protect peppers from frost because cold kills plants quickly. Cover them with row covers or frost blankets on chilly nights to extend the growing season. Cooler areas are good for peppers in pots since you can move them.
Take them indoors or to warmer places when temperatures drop. This keeps peppers safe from cold damage.
Put peppers near walls or fences that soak up heat in daylight. These surfaces release warmth at night, helping peppers stay warm. This helps peppers grow better in cooler spots.
Raised beds warm faster, which speeds up growth early in the season. Using black plastic mulch warms soil but keep an eye on moisture.
Pick sites with morning sun and afternoon shade if your summers are hot. This setup protects peppers from overheating in the hottest part of the day. It reduces heat stress and keeps fruits healthy.
Shade cloths can protect plants during heat waves. Check weather forecasts to decide when to cover peppers for frost.
Move potted peppers indoors or to warm spots before cold weather arrives. This protects plants from damage due to freezing temperatures.
Growing Bell Peppers in Containers vs. Garden Beds
Bell peppers grow well in containers or garden beds. But each has pros and cons.
Containers offer flexibility and better soil control but need more attention for watering and fertilizing. Garden beds provide stable growth conditions but might require soil amendments and space.
Pot Size and Soil Requirements
Bell peppers need pots at least 12 inches wide. The pots should be 8 to 14 inches deep. This size helps peppers grow well.
The container must hold enough soil for roots to spread without becoming root bound quickly. Use a rich, well-draining potting mix to avoid waterlogging and provide nutrients.
Drainage holes are a must to prevent soggy roots, which can cause rot. Heavy clay soil holds too much water. Raised beds or containers improve drainage.
This helps roots stay healthy. Deep pots keep soil temperatures more stable and support stronger plants.
| Factor | Containers | Garden Beds |
|---|---|---|
| Pot size | ≥12 inches wide, 8-14 inches deep | Depends on bed size, no limit |
| Soil quality | Rich potting mix, drains well | Amended native soil or raised beds |
| Drainage | Must have holes, use gravel or sand | Depends on soil type, may need raised beds |
| Root space | Limited by pot size | Unlimited in garden soil |
| Soil temperature | Warms faster, fluctuates more | More stable than pots |
Good pot size and soil control prevent common issues like root bound plants and soggy soil. In-ground beds suit large peppers but containers give you control over conditions. Roots need enough room to grow sturdy plants that produce well.
Watering and Feeding in Containers
Container peppers need frequent watering because pots dry out faster than garden soil. Check soil moisture daily, especially in hot weather, to keep soil evenly moist. Avoid overwatering by ensuring pots drain freely.
Fertilizing is more important in containers since nutrients wash out with frequent watering. Use a balanced fertilizer every two weeks or a slow-release type mixed into potting soil. Feed more regularly during heavy fruiting to support growth.
Watch for quick soil drying in pots and water before plants wilt to avoid stress.
In garden beds, water less often but deeply to encourage strong roots. Soil in beds holds moisture longer and nutrients stay available better than in containers.
Best Pepper Varieties for Containers
Choose compact or dwarf bell pepper varieties for containers to fit root space. Look for types like ‘Patio Baby’ and ‘Redskin Bell’ that mature early and stay smaller. These varieties handle pot life better and still produce decent fruit.
Early-maturing peppers are good in containers since they need less time to fruit. Most bell peppers take 60 to 70 days to yield green fruit. Red peppers need more time.
They take longer to ripe fully. Containers may produce as well as garden plants if cared for carefully.
Smaller pots tend to limit yield, so bigger containers help if space allows. Select varieties with shorter growing seasons if your season is brief.
Supporting and Pruning Bell Pepper Plants
Bell pepper plants often need support to keep their branches from bending under the fruit’s weight. Staking or using cages helps avoid broken stems and keeps the peppers off the ground.
You can use wooden stakes, tomato cages, or soft garden ties. Tying the branches loosely prevents damage while offering enough support.
Pruning improves airflow and lets sunlight reach fruits, which boosts quality. Removing some leaves reduces humidity and lowers disease risks. Prune during the plant’s growing season, especially before fruit sets heavily.
Also, thinning flowers or small fruits can help the plant focus energy on larger peppers. This can improve overall yield and fruit size.
Here’s a simple step-by-step pruning guide to follow:
- Look over your plant and find branches that crowd the center or shade fruits.
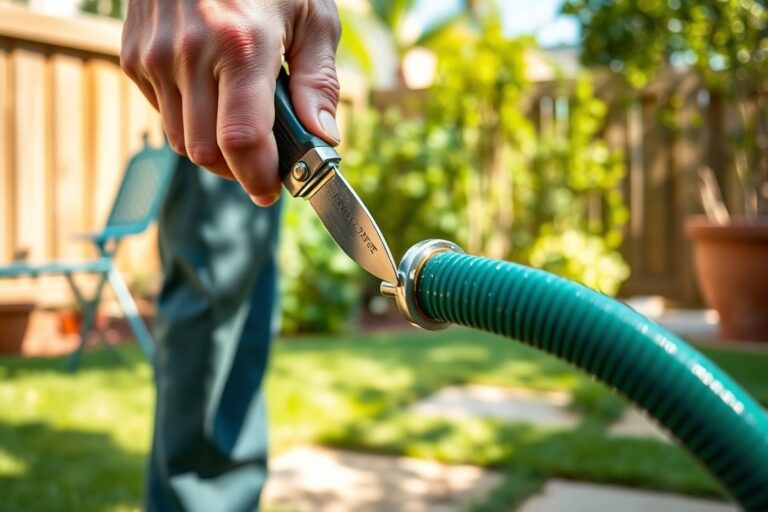
- Use clean pruning shears or a sharp knife to cut away these crowded or weak branches.
- Remove leaves that block sunlight from ripe or forming peppers.
- Thin some small flower clusters if the plant looks overloaded with buds.
- Cut off any new late-season shoots to encourage fruit ripening before cold weather.
- Check ties on your supports and adjust them to keep branches upright but not tight.
- Repeat pruning every few weeks during the growing season for best airflow.
Proper pruning and support take some work but pay off in healthier plants. Without support, heavy branches can snap and hurt your yield. Overcrowded plants trap moisture and invite pests or fungal diseases.
Regular pruning opens the plant to light and air, reducing these risks. Fruit thinning helps the plant to focus its resources, yielding bigger and better peppers.
Staking costs are low; a sturdy stake can cost around $1 to $3 each. Garden ties or soft twine are cheap and reusable. You only need to spend a few minutes per plant every couple of weeks pruning.
A well-supported pepper plant usually produces 5 to 10 peppers. Proper pruning helps it grow more. The exact amount depends on the variety and conditions.
Common Pests and Diseases Affecting Bell Peppers
Typical insects that bother bell peppers are aphids, flea beetles, climbing cutworms, and tarnished plant bugs. Aphids cluster on new leaves, causing curling. Flea beetles chew tiny holes mostly on young leaves.
Climbing cutworms nibble at stems during the night. Tarnished plant bugs lead to oddly shaped peppers. Spotting these pests early helps you reduce damage quickly.
Bacterial spot and phytophthora blight are common diseases. Bacterial spot shows as dark, water-soaked leaf spots that dry and drop off. Phytophthora blight causes wilting, black lesions on stems, and fruit rot.
Both weaken the plant and lower your yield if untreated. Checking plants weekly helps catch these problems early.
Organic treatments like neem oil or insecticidal soap work well on aphids and flea beetles. Spray thoroughly, covering leaf undersides, every 5 to 7 days until pests fade.
For cutworms, put collars around seedlings or use Bacillus thuringiensis sprays. Chemical insecticides can target tough infestations but read labels carefully and use only when necessary.
Prevent pest and disease issues through good garden hygiene. Remove fallen leaves and weeds that harbor pests. Rotate bell peppers with unrelated crops annually to stop disease build-up.
Water plants at the soil base to keep leaves dry and avoid fungal growth. Healthy, well-spaced plants resist bugs and diseases better.
- Look for curled or sticky leaves, signs of aphids.
- Tiny holes and black specks mean flea beetles are active.
- Wilting with black stem spots suggests phytophthora blight.
- Use neem oil sprays every week to control most pests.
- Apply Bacillus thuringiensis to stop cutworm larvae safely.
- Clear debris yearly and rotate crops for disease prevention.
Call a garden professional if diseases spread fast or chemicals don’t help. They can test and identify tricky infections or pest problems.
Severe phytophthora blight often needs stronger fungicides only found through experts. Acting fast can save your whole pepper crop before it collapses.
Harvesting and Ripening Bell Peppers Correctly
Harvest bell peppers once they reach your desired size and color. Green peppers usually mature in 60 to 70 days. For sweeter flavors, leave them on the plant until fully colored, usually 80 to 100 days.
Harvest Timing by Color and Variety
All bell peppers begin green. They slowly turn red, yellow, or orange depending on the type. You can harvest green peppers early for a crisper, slightly bitter taste.
Colored peppers need more time to develop sweetness and nutrients. This typically adds 10 to 20 days of ripening. Check your seed packet for exact days to maturity.
| Variety | Green Harvest (Days) | Full Color Harvest (Days) | Color When Ripe |
|---|---|---|---|
| California Wonder | 60-70 | 80-90 | Red |
| Yellow Bell | 60-70 | 80-100 | Yellow |
| Orange Glow | 60-70 | 85-95 | Orange |
| Chocolate Beauty | 60-70 | 85-100 | Brown |
Uniform, deep color means peppers are ripe and ready. Picking peppers too early means less sweetness and flavor. Patience rewards you with tastier fruit.
Harvesting Techniques
Use garden scissors or pruners to cut peppers from the plant. Cut close to the stem but leave a short stem piece on the pepper. Avoid pulling or twisting peppers, which can damage the plant.
Check your plants every 3 to 4 days to harvest ripe peppers. Frequent picking encourages more fruit to develop. You can pick green peppers earlier for more total peppers over the season.
Always use clean, sharp scissors for a smooth cut; this reduces plant stress.
Post-Harvest Ripening and Storage
Bell peppers do not ripen once picked. So allow the color to fully develop before harvest.
If you pick green peppers but want them colored, leave them on the plant longer next time. For off-plant ripening, keep green peppers at room temperature for a few days, but results vary.
Store unwashed peppers whole in the fridge at 40 to 45°F. A ventilated or perforated bag works best. This can keep peppers fresh for 1 to 2 weeks.
Wash peppers only before using to prevent mold. Handle gently to avoid bruising. Cold, dry storage preserves texture and flavor.
Step-by-Step Action Plan for Growing Bell Peppers
Follow this plan to get your bell peppers growing strong and healthy. These steps guide you from planting to harvest.
- Before planting: Choose a sunny spot or container with good soil. Check soil drains well by watering and watching if water pools.
- Day 1: Plant seeds or young plants about 18 inches apart. Ensure roots are well covered and soil is moist but not soggy.
- Week 1: Water plants deeply two to three times. Soil should stay moist without puddles; adjust watering if needed.
- Weeks 2-4: Start feeding plants weekly with a balanced fertilizer. Look for steady leaf growth as a sign of good feeding.
- Week 4: Pinch back growing tips to encourage bushy growth. You’ll notice more side shoots in the following days.
- Weeks 5-8: Support tall plants with stakes or cages. The stems should stay upright even during wind or watering.
- Weeks 8+: Watch for flower buds turning into small green peppers. Keep watering and fertilizing to help peppers grow large and firm.
- Harvest time: Pick peppers once they reach desired color and size. The fruit should feel firm and glossy, not soft or wrinkled.
Frequently Asked Questions
How Do I Protect Bell Peppers from Aphids When Growing in Pots?
Aphids are the main pest on potted bell peppers. Spray soapy water on leaves as soon as you see aphids.
Do it gently to avoid harming the plant. This helps control pests early and keeps plants healthy.
Can Bell Peppers Survive Indoors Without Direct Sunlight?
Bell peppers can grow inside your home with enough light. They need bright light for at least six hours daily.
Using a sunny window or grow light works. Use a south-facing window or grow lights for best results.
Is It Better to Start Bell Peppers Indoors or Sow Seeds Directly Outside?
Starting peppers indoors 8-10 weeks before last frost gives seedlings a head start. This avoids stunted growth from cold outdoor temps below 60°F.
Why Do Bell Pepper Flowers Drop Before Fruit Forms?
Cold temperatures under 60°F often cause flower drop. Wait to plant outside until days are consistently warm to prevent stunting and loss of blossoms.
Can Bell Peppers Grow in Poor Soil Without Added Compost?
Bell peppers grow much better with compost mixed into the soil. Compost boosts nutrients and improves texture, helping peppers develop strong roots and bigger fruits.
How Long Does It Usually Take for a Bell Pepper Plant to Produce Mature Peppers?
Bell peppers take 60 to 90 days from transplanting to mature fruit. More warmth and care often push peppers toward the upper end of that range.
The Bottom Line
Growing bell peppers takes steady care but rewards you with fresh, tasty harvests. Check your plants regularly for moisture and health. Start by setting up your spot today and get ready to enjoy your peppers soon.