How to Keep Iris Bulbs Healthy: A Complete Guide That Works
How to keep iris bulbs healthy starts with careful storage. Keep them cool, dry, and away from direct sunlight.
The right temperature and humidity levels prevent rot and pests. Avoid storing bulbs in sealed plastic bags since they trap moisture and breed mold.
Start by cleaning and drying bulbs after harvest. Trim leaves and roots, then dry bulbs in a shady, airy spot for about a week. Proper drying reduces the risk of fungal diseases during storage.
Store bulbs in breathable containers like mesh bags or cardboard boxes. Place them in a cool area with temperatures between 35°F and 50°F. Too much heat or cold can damage the bulbs and shorten their lifespan.
Moisture control is key. Aim for 40-50% relative humidity to keep bulbs firm and prevent shriveling. Check bulbs regularly for signs of rot or soft spots and remove any damaged ones promptly.
Key Takeaways
- Clean and trim leaves before drying iris bulbs for about seven days.
- Store bulbs in breathable bags or containers to allow air circulation.
- Keep storage temperatures between 35°F and 50°F to prevent rot.
- Maintain relative humidity around 40-50% for healthy bulb storage.
- Place bulbs in a dark, well-ventilated space away from sunlight.
- Check bulbs regularly for signs of mold, pests, or soft spots.
How to Keep Iris Bulbs Healthy During Storage
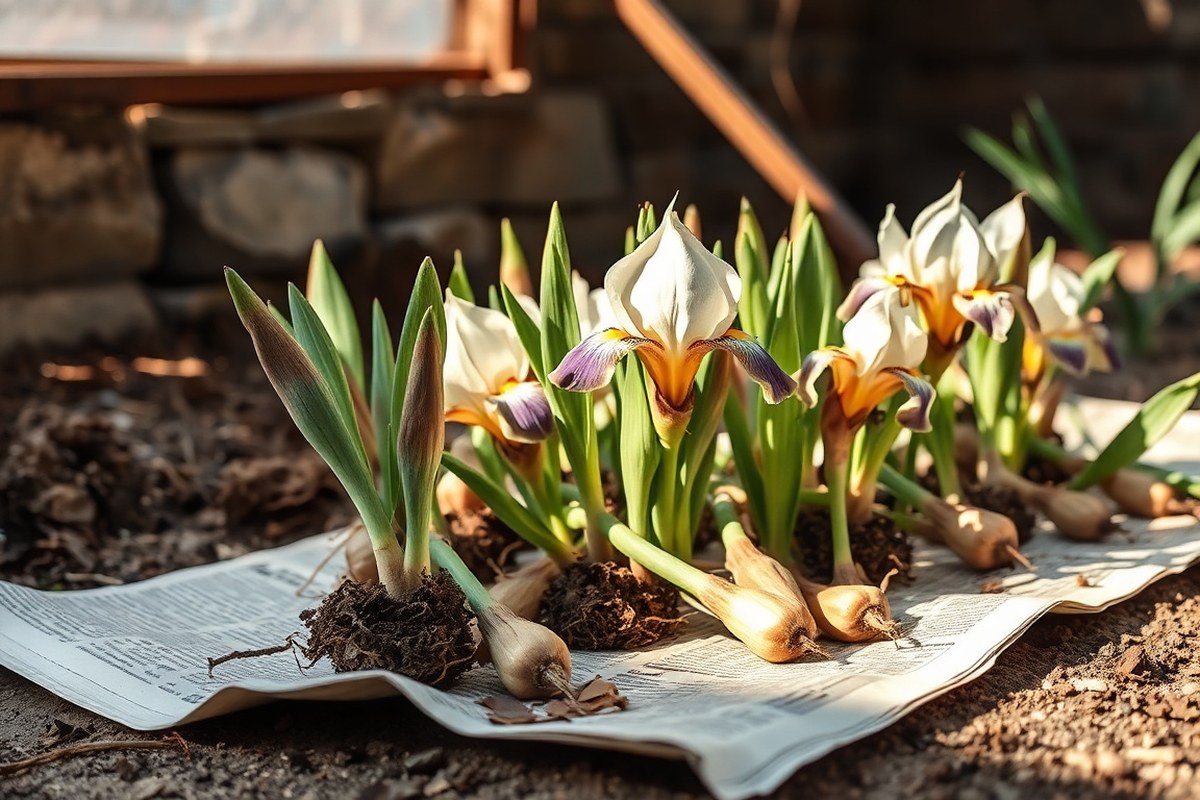
Keep iris bulbs in a cool, dry place between 40 and 50 percent humidity. This range stops them from drying out or sprouting early.
Keep temperatures near 35 to 50 degrees Fahrenheit. Use a cool pantry or a fridge left a bit open.
Handle bulbs gently to avoid damage. Check each bulb for soft spots or mold before storage, throwing away any bad ones.
Store bulbs in mesh bags or cloth sacks. This keeps airflow steady and cuts moisture buildup.
Avoid plastic bags or sealed boxes that trap dampness and cause mold. Store bulbs in dry sand inside a pot. Sand controls moisture without cutting off air.
Keep the storage place dry and well-ventilated. Use a fan or leave a window cracked.
Check stored bulbs weekly. Remove any that show signs of rot or mildew to stop spread.
Raise humidity a little or move bulbs to a cooler spot when they shrivel. Keeping them too warm or dry causes shriveling, while too wet leads to rot.
When and How to Dig Up Iris Bulbs for Storage

Dig up iris bulbs after they finish blooming and the leaves begin to die back. This timing helps the bulbs store energy and survive the dormant period. Handle them gently to avoid damage during lifting and storage preparation.
Signs Irises Are Ready to Lift
The best time to dig iris bulbs is usually 6 to 8 weeks after flowering ends. At this point, leaves start turning yellow or brown and become dry. These signs show the bulbs have stored enough nutrients for next season.
Bulbs dug too early may be fragile and not fully developed. If leaves are still green and firm, wait a few more weeks. Dying foliage signals the bulbs are ready to be lifted safely without harm.
Tools and Techniques for Digging Up Bulbs
Use a garden fork or spade to loosen soil around the bulbs carefully. Dig wide enough to avoid stabbing the bulbs straight with the tool. This prevents cutting or bruising the bulbs while lifting.
Lift clumps gently, holding them from the base without twisting or pulling hard. Remove excess soil by hand instead of shaking vigorously. Being careful keeps bulbs intact and ready for storage.
- Loosen the soil about 6 inches away from the iris clump.
- Lift the entire clump from beneath rather than digging directly at bulbs.
- Gently remove soil by hand, avoiding damage to the bulb base.
- Cut away dead or damaged roots as you clean the bulbs.
Work slowly during digging to avoid bruising your iris bulbs, which can cause rot.
Handling Bulbs Immediately After Digging
Once dug, start cleaning bulbs by trimming dead leaves and roots right away. This reduces the chance of mold or pests during storage. Avoid washing bulbs with water; brushing off soil is better.
Place bulbs in a dry, shaded location for a day or two to cure. Good airflow around the bulbs helps prevent moisture buildup. Cure them at about 70°F if possible before moving to cooler storage.
Cleaning, Drying, and Curing Iris Bulbs Properly
Start by gently cleaning your iris bulbs and trimming damaged parts. After cleaning, dry them in a well-ventilated, shaded place for a week or more.
Curing helps some types by toughening outer skins. But it’s not needed for all irises.
Cleaning and Removing Soil
Brush off soil without using water to avoid damage. Use your hands or a soft brush to prevent bruising the bulbs. Cut away any roots or foliage that look unhealthy and dry.
Damaged roots and leaves can cause rot, so trim them carefully. Use clean, sharp scissors or pruners to make smooth cuts. Leave healthy roots intact to preserve bulb strength during storage.
Drying Requirements and Duration
Place bulbs in a dry spot with good airflow but no direct sun. Shade prevents bulbs from getting sunburned or over-dried. Drying should take 7 to 14 days, depending on humidity and temperature.
During drying, check bulbs often for softness or mold. If the air is humid, extend drying time or move bulbs to a less damp spot. Properly dried bulbs feel firm and papery on the outer skin.
Curing Process Explained
Curing helps some iris types by thickening their outer layers after harvest. This process reduces moisture loss and lowers disease risk during storage. For Iris reticulata, curing is usually not necessary due to their fragile nature.
Cure bulbs for about 7 to 14 days in a cool, dry place around 60°F (15°C). Too warm or moist conditions can cause rot or sprouting, so monitor regularly. After curing, bulbs should have tough, dry skins but still feel firm inside.
Follow these steps to clean, dry, and cure iris bulbs safely:
- Brush off dirt using a soft hand brush or cloth, avoid washing with water.
- Cut away any soft, damaged, or diseased roots and foliage with sharp pruners.
- Place bulbs on a dry rack or paper towels in a shaded, airy location.
- Allow bulbs to air dry for 7 to 14 days, turning occasionally to dry evenly.
- Inspect bulbs regularly for softness, mold, or insect pests during drying.
- Cure bulbs by keeping them in cool (around 60°F) and dry conditions during drying.
- Store bulbs only after outer skins feel papery and bulbs are firm to touch.
Choosing the Best Storage Method for Different Iris Types
Bearded irises grow from rhizomes and need careful, brief storage. They don’t store well for long periods.
So you should replant them soon after dividing. Dutch irises grow from true bulbs, which handle longer storage and colder temps better.
Boxes, bags, and in-ground storage each suit different iris types and climates. Boxes or breathable containers work well for Dutch irises in dry, cool places. Bearded irises do best in shallow boxes or trays with air circulation.
Bags can trap moisture and increase rot risks, especially for rhizomes. In-ground storage suits mild climates without deep freezes, typical for bearded irises that need less drying.
| Storage Method | Best For Iris Type | Climate Suitability | Pros | Cons |
|---|---|---|---|---|
| Cardboard Box or Storage Container | Bearded Iris Rhizomes; Dutch Iris Bulbs | Cool, dry climates (35, 50°F) | Good air flow, reduces rot risk, easy inspection | Needs regular checking, not suited for humid areas |
| Paper or Mesh Bags | Mostly Dutch Iris Bulbs | Dry, mild climates | Portable, breathable, light protection | Can dry bulbs too much or trap moisture if wet |
| In-ground Storage | Bearded Iris Rhizomes | Mild climates without deep freezes | No extra equipment, natural insulation | Risk of pests, rot, and freezing damage in cold areas |
Bearded irises survive storage best if you keep them dry and ventilated in shallow boxes. Cool storage near 40°F guards them against rot and drying out. If you live where winters don’t freeze hard, you can store bearded rhizomes in the ground with mulch.
Dutch iris bulbs need solid drying before storage. Putting them in breathable bags or cardboard boxes at 35 to 50°F works well.
Avoid plastic bags or sealed containers; these hold moisture and cause rot. Check stored bulbs every few weeks during storage to spot soft spots or mold.
Preventing and Managing Rot, Pests, and Disease in Stored Bulbs
Look for signs like soft, mushy spots or a foul smell. Bulbs with these symptoms often have rot. Brown or black discoloration and shriveled skin also signal problems.
Check for small holes, sticky residue, or visible insects. These point to pests such as slugs, snails, or scale insects. Yellowing or wilting leaves can mean the bulbs are stressed by disease or pests.
Good airflow and cleanliness stop many problems before they start. Store bulbs in a cool, dry, and well-ventilated place to avoid moisture buildup. Remove dead plant parts, soil clumps, and debris from storage containers.
- Inspect bulbs carefully after digging up and before storage
- Discard any bulbs that show damage, rot, or pest signs
- Keep storage areas clean and free of plant debris
- Use mesh bags or open containers for good airflow
- Check bulbs regularly during storage for new problems
- Trim leaves to a few inches above soil to prevent rot
- Avoid storing bulbs damp or in plastic bags without holes
If you see infected bulbs, remove them right away from others. Rinse and let the healthy bulbs dry again before returning to storage. For pests, try hand-picking slugs and snails or use traps that don’t contact the bulbs.
Keeping bulbs dry and well spaced helps keep fungi and bacteria away. Avoid overwatering surrounding plants during storage periods. This reduces bacterial soft rot, which is common with too much moisture around rhizomes.
Check your bulbs weekly in storage to catch any rot or pests early, stopping spread fast.
How Long and Under What Conditions Can Iris Bulbs Be Stored?
Iris bulbs can be stored safely for up to one year under ideal conditions. Some types, like bearded iris rhizomes, prefer storage for no longer than 6 to 8 months.
Louisiana and Siberian irises can store longer, up to 12 months. Keep them dry and cool for best results.
Temperature plays a big role in bulb health during storage. Keep bulbs in a cool, dry place between 35°F and 50°F. Temperatures above 60°F or large fluctuations cause bulbs to dry out or sprout prematurely. Avoid freezing, which damages the bulb’s cells and kills them.
Humidity control matters too. Aim for moderate humidity around 60% to 70%.
Too dry air causes shriveling, while too much moisture invites rot. Using breathable containers like mesh bags helps maintain the right moisture balance.
Bulbs can survive multiple years if divided and replanted every 3 to 5 years. Storage beyond one year is risky because the bulbs lose vitality without soil contact.
When kept longer, watch for signs of shriveling or mold. Such bulbs should be discarded to prevent infecting others.
Cure bulbs before storing by drying them in shade. Let them dry for around two weeks in an airy spot. This step toughens their outer skin to resist rot.
After curing, cut off old roots and any damaged parts. Store bulbs in a cool place with proper humidity.
Regular checks every few weeks stop issues early. Look for softness, mold spots, or shriveling.
Healthy bulbs feel firm and plump with a dry surface. Early intervention can save bulbs by removing bad parts or adjusting storage conditions.
How to Replant Iris Bulbs After Storage for Best Growth
Replant iris bulbs during early spring or late fall, depending on your region and iris type. Plant bulbs at the right depth and spacing to promote healthy growth and vibrant blooms. Prepare the soil well and water carefully after planting to help bulbs establish quickly.
Optimal Planting Time and Conditions
Choose early spring to replant in cooler climates and late fall in mild ones. This timing helps bulbs recover from storage and develop strong roots before bloom. For example, Dutch irises do best when planted in early spring.
Check your local frost dates to avoid planting too early or late. The soil should be moist but well-drained to prevent rot. Avoid planting after heavy rain or in soggy soil to protect the bulbs.
Planting Depth and Spacing Guidelines
Plant iris bulbs about 6 inches (15 cm) deep to encourage strong root growth. Place the bulb with the pointed end up and the roots downward. This depth helps bulbs reflower reliably the next year.
Space bulbs 12 to 24 inches apart to give each plant room for air circulation. Crowded spacing can cause disease and weak blooms. Leave the tops of rhizomes just at or slightly above soil level.
Watering and Fertilizing After Planting
Water bulbs thoroughly right after planting to settle soil around roots. After that, reduce watering to keep soil moist but not soggy. Irises dislike overwatering because it can cause rot and poor growth.
Apply a balanced fertilizer low in nitrogen after planting to encourage bloom growth. Avoid heavy nitrogen fertilizer because it can promote leaf growth instead of flowers. Reapply fertilizer once or twice during the growing season for best results.
Follow these steps to replant iris bulbs for best growth:
- Inspect each bulb for firmness and signs of rot before planting.
- Soak shriveled bulbs in water for two hours to revive them.
- Choose a site with well-drained soil and full sun exposure.
- Dig holes or trenches about 6 inches deep and spaced 12, 24 inches apart.
- Place each bulb with the pointed end up and cover with soil.
- Water thoroughly to settle soil around the bulbs.
- Apply a slow-release, balanced fertilizer around the planting area.
- Monitor soil moisture and water sparingly after the initial watering.
Common Mistakes When Storing Iris Bulbs and How to Avoid Them
The biggest mistake with iris bulbs is digging them up without a real need. Hardy irises often do better left in the ground. Digging them up when unnecessary exposes bulbs to damage and complicates storage.
Packing wet bulbs into sealed bags is another common error. This traps moisture and leads to rot quickly.
Always make sure bulbs are dry before storing. Also, avoid washing healthy bulbs before storage, since excess water invites decay.
- Don’t cut or trim into growth points; it hurts the bulbs.
- Keep different iris varieties separate to avoid cross-contamination.
- Store bulbs loosely; tight packing stops air flow and causes rot.
- Never leave bulbs in full sun after digging, they dry out and shrivel.
- Check stored bulbs frequently to catch rot or shriveling early.
- Avoid fertilizer contact with bulbs; it can burn or cause rot.
Inspect your bulbs about once a week while they’re stored. Spot soft spots or mold? Remove those bulbs right away.
Too many rotten bulbs can spread problems fast. Shriveling starts?
Add some dry peat moss or sawdust to control moisture. Avoid adding water; overwatering is a quick route to root rot.
Place a simple reminder near your storage area to check bulbs weekly for early problems.
Rot spreads a lot? It’s best to throw away the affected bulbs. Trying to save badly rotted or dried-out bulbs often wastes time.
Good bulbs feel firm and look plump. Shrivelled or soft bulbs won’t grow well and won’t survive the winter.
Use a breathable container like a cardboard box with ventilation holes. Storing iris bulbs in plastic tubs can trap moisture. Using sealed plastic bags causes the same problem.
Gardeners report this can lead to up to 80% loss. Good airflow helps keep bulbs healthy during storage.
Step-by-Step Action Plan for Storing Iris Bulbs
Follow these steps to keep your iris bulbs healthy during storage. Each step helps you prevent rot and maintain strong growth for next season.
- After blooming: Wait until iris leaves yellow and die back naturally. This lets bulbs gather energy for storage.
- Digging day: Carefully dig up the bulbs, avoiding cuts or bruises. Healthy bulbs look firm and plump.
- Cleaning phase: Shake off extra soil and trim dead roots. Check bulbs for soft spots or mold and discard any bad ones.
- Drying phase: Leave bulbs in a warm, shady spot for about 7 days. Bulbs should feel dry to the touch before storage.
- Before storing: Dust bulbs with a fungicide or cinnamon powder to prevent rot and pests. This keeps them healthier.
- Storage setup: Place bulbs in breathable containers, like mesh bags or paper boxes. Store in a cool, dry place around 50°F (10°C).
- Check weekly: Look over bulbs for softness or mold every week. Remove any infected bulbs to protect the rest.
- Replant time: Plant bulbs outdoors after the last frost, when soil is workable. Firm soil around bulbs to help roots grow strong.
Frequently Asked Questions
How Do I Save My Iris Bulbs for Next Year?
Dig up the bulbs after foliage dies back, then clean and dry them. Store them in a container that lets air pass through, like a mesh bag.
Keep the container in a cool, dry place. This helps stop rot and pests.
How Many Years Do Iris Bulbs Last?
Iris bulbs can last several years if stored and cared for properly. Regularly check them for softness or mold and discard any damaged bulbs to protect the others.
How Long Can Iris Bulbs Be Out of the Ground Before Replanting?
You can store iris bulbs out of the ground for several weeks. Make sure they stay dry.
Also, keep them in a ventilated area. Avoid storing them in sealed plastic, which traps moisture and encourages rot.
Can You Leave Irises in Pots over Winter?
Yes, fibrous-rooted or moisture-loving irises can stay potted over winter. Keep the iris roots moist, but avoid making them wet.
Store the pots in a cool place. The spot should be free of frost to keep bulbs healthy.
How to Keep Iris Bulbs from Rotting During Storage?
Keep bulbs dry and store them in breathable containers with good airflow. Avoid high humidity and check regularly for soft spots or mold to catch rot early.
Are Iris Bulbs the Same as Rhizomes?
No, iris bulbs differ from rhizomes. Bulbs are true bulbs, while bearded irises grow from rhizomes. Each needs different storage methods suited to their type.
The Bottom Line
Healthy storage is key to strong iris blooms next year. Begin preparing your iris bulbs right after blooming. Start digging and drying your bulbs this week to keep them in great shape.