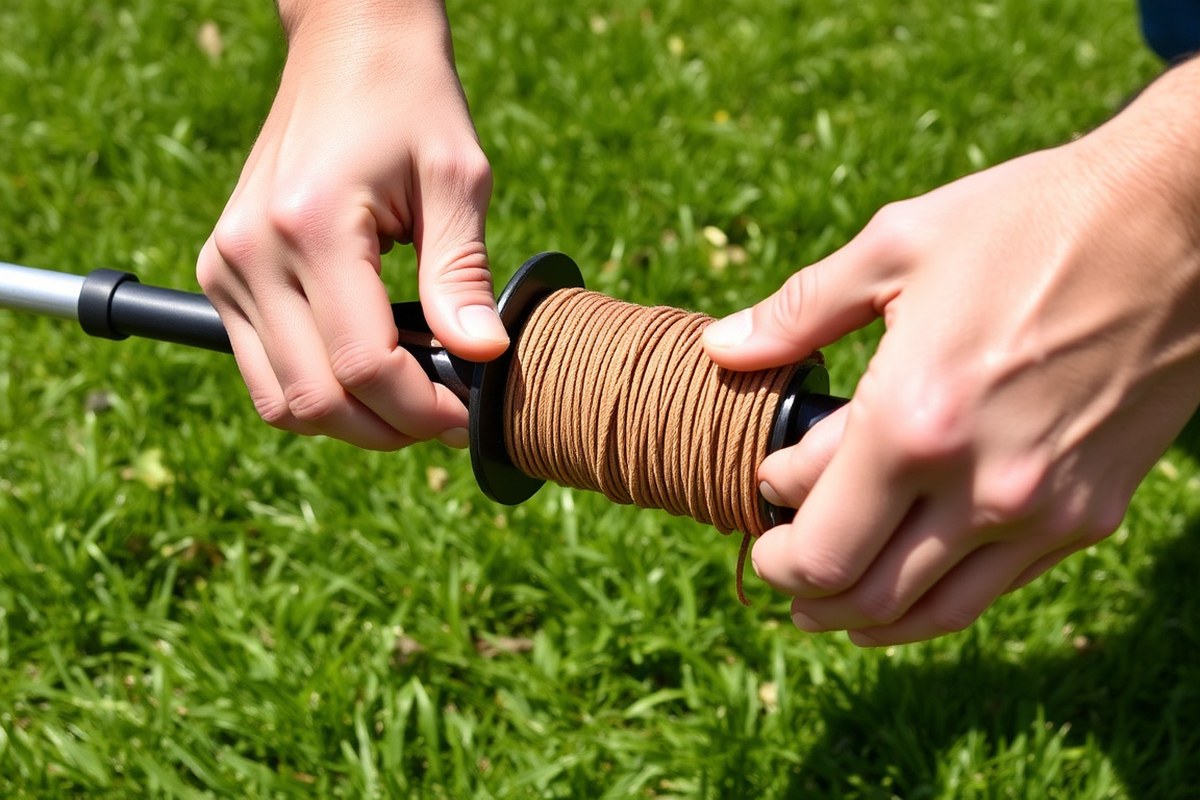
How to Restring a Trimmer: A Complete Guide for Fast, Reliable Results
Knowing how to restring a trimmer saves time and keeps your yard neat. The key is cutting the right length of line and winding it tightly on the spool.
You want about 10 to 20 feet per side. This depends on your trimmer’s size and the type of weed.
Start by removing the spool. Soak the nylon line for 30 minutes if stiff.
This makes winding easier and prevents jamming during use. Then, wind the line evenly in the direction marked on the spool.
Leave about 5 to 6 inches loose at each eyelet. This helps the trimmer feed line smoothly. That way, you avoid frustrating stops and get fast, reliable results every time you trim.
Key Takeaways
- Cut two equal line pieces, usually 15 to 20 feet each, for a dual-line head.
- Always wind the line tightly and evenly, following the spool’s arrow direction.
- Restring your trimmer when line wears down to about 3 to 4 inches left.
- Use fresh round nylon line around 0.095 inches for most suburban lawn trimming.
- For thick brush, pick a line thicker than 0.80 inches to handle tough weeds.
- Soak nylon line in water for 30 minutes before winding to reduce stiffness.
How to Restring a String Trimmer Step by Step

Restringing a string trimmer means taking off the spool first. Then cut the right length of line. Wind it on correctly and put the spool back in place.
Following the correct steps avoids jams and breakage. You only need a few tools like gloves and safety glasses to get started.
Removing the Trimmer Spool Correctly
Always cut power to the trimmer before you start. Let the trimmer cool if it just ran, to avoid burns. Locate the spool cap, which usually snaps or unscrews off.
Turn the cap counterclockwise or press tabs to unlock it, depending on your model. Pull the spool out gently to avoid breaking the line holders or damaging the spool. Place the spool on a clean surface to keep parts organized.
- Turn off and unplug or disconnect your trimmer’s power source.
- Let the trimmer cool down for at least 10 minutes if it was recently used.
- Find and release the spool cap by unscrewing or unclipping it.
- Gently pull the spool straight out of the trimmer head.
- Set the spool aside on a clean, flat surface.
Measuring and Preparing the Trimmer Line
Check your owner’s manual or the spool for the exact line diameter needed. Use the right thickness to avoid jams or damage. Cut about 13 to 16 feet of new line for most trimmers.
Some manuals say use up to 20 feet. Follow your manual for the best length.
Soak the cut line in water overnight if you want better flexibility. This prevents brittleness and helps keep even tension when winding. Avoid using old or brittle line as it breaks easily during trimming.
- Identify the correct line diameter stated on your trimmer or manual.
- Measure and cut between 13 and 16 feet of new line.
- Place the cut line in water and soak it for about 24 hours.
- Dry the line slightly before you begin winding it onto the spool.
Winding and Threading the New Line
Look for the arrow on the spool; wind the line in that direction only. Keep the line tight and even to avoid tangles and feeding problems. Leave about 5 to 6 inches of tail loose for threading through the eyelets.
Catch the line ends in the small notches on the spool to hold them securely. Thread each loose end through the eyelets on the trimmer head carefully. Check that the line moves freely without binding before reassembling.
- Hold the spool firmly and wind the line tightly following the arrow direction.
- Distribute the line evenly across the spool to fill all grooves.
- Hook the line ends into the notches designed to hold them in place.
- Thread the ends through the eyelets on the trimmer head carefully.
- Make sure the line can move smoothly without catching or extra slack.
Reinstalling the Spool and Final Checks
Place the wound spool back inside the trimmer head carefully without twisting the line. Snap or screw the spool cap back on fully. Give the spool a gentle tug to ensure it is seated securely.
Test your line feed by bumping or tapping the trimmer head according to your model type. Watch the line extend evenly and retract without jamming. Check for unusual noises or resistance, and fix those before trimming fully.
- Insert the spool back into the trimmer head without twisting the line.
- Secure the spool cap by snapping or screwing it back into place.
- Pull gently on the line to check that the spool is properly seated.
- Test the line feed by tapping the trimmer head lightly on the ground.
- Look for smooth lengthening of the line without jams or snapping.
- Fix any issues before resuming trimming work.
Choosing the Right Trimmer Line for Your Needs
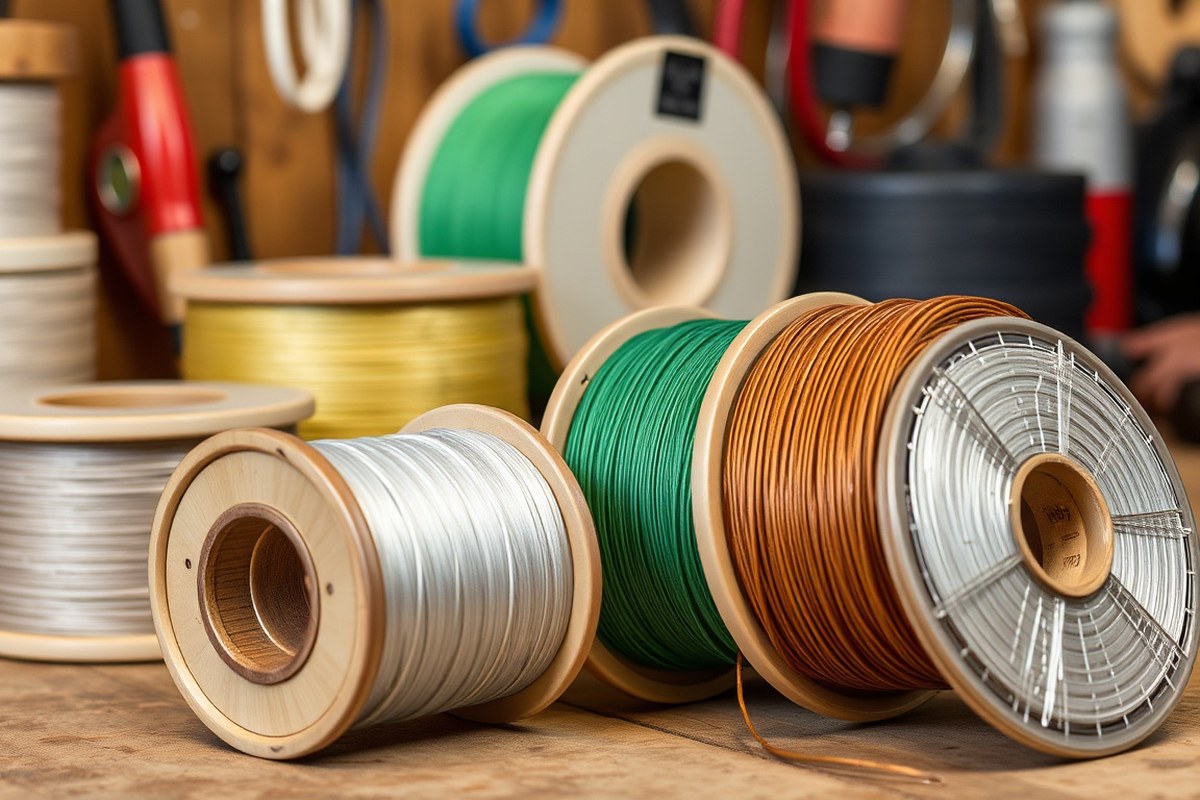
Pick a trimmer line that fits your trimmer’s power. Match the diameter to the plants you cut. This prevents issues and improves cutting.
Use thinner lines for delicate grass and thicker ones for tough weeds or brush. Also consider different shapes and materials for better durability or cutting power.
Choosing the Right Line Diameter
Check your trimmer’s manual for the line diameter it supports. Smaller electric models use 0.065 to 0.070 inches, which suits light grass and edging. Mid-size battery and smaller gas trimmers run well on 0.080 to 0.085 inches for average lawns and mild weeds.
For thick weeds, tall grass, or tough brush, pick 0.095 to 0.105 inches, mainly used on gas or high-power battery trimmers. Don’t use a line thicker than your trimmer allows.
It can strain the motor. It also may cause feeding problems.
Line Shape and Cutting Efficiency
Round trimmer lines are common and work fine for regular lawn grass. Twisted or star-shaped lines provide sharper cutting edges, letting you clear weeds faster and easier. These shapes do wear out quicker but cut more cleanly, especially on fibrous plants.
Choose round lines to save money and prolong line life. Choose twisted or star-shaped lines for thick brush.
They cut cleaner and need less work. This helps with tough mowing jobs.
Material Differences in Trimmer Lines
Nylon is the most common trimmer line material due to its flexibility and reasonable strength. Copolymer lines mix nylon with tougher plastics for better wear resistance when hitting hard surfaces. Titanium-coated lines add a thin metal layer to increase durability and cut toughness.
Plain nylon lines work well for everyday lawn work. They usually cost $5 to $10 per spool. They get the job done on most grass.
Copolymer or titanium-coated lines cost about twice as much. They last longer on rough terrain or thick weeds. This saves time in the long run.
Matching Line to Vegetation Type
Use thinner, lighter lines around 0.065 to 0.080 inches for grass and delicate plants. These cut cleanly without excessive strain. For thick brush, tall grass, or fibrous weeds, switch to 0.085 to 0.095 inches at minimum.
Bigger diameter lines hold up better in dense weeds. They cut down the need for restringing.
This saves effort and time while working. Always check the maximum line size your trimmer supports before upgrading.
Mixing Brands and Compatibility Tips
Generally, any nylon or copolymer line works if the diameter fits your trimmer head. Always use the line type your trimmer’s maker recommends. This gives the best performance.
It also helps avoid jams and damage. Mixing brands is fine as long as you match the diameter and line shape.
Pre-cut lengths for dual-line heads are usually 10 to 25 feet per spool side. Always cut the line to recommended lengths, as too long can cause feeding issues.
Always match your line diameter to the trimmer’s specifications to avoid feeding problems and motor damage.
How Different Trimmer Head Types Affect Restringing
String trimmers come with three common head types: bump feed, automatic feed, and fixed-line. Each type needs a different restringing approach and line management. Understanding these differences helps you keep your trimmer working smoothly and cuts down frustration.
| Feature | Bump Feed | Automatic Feed | Fixed-Line |
|---|---|---|---|
| How Line Advances | Tap head on ground | Feeds line continuously | Pre-cut line fixed in place |
| Control | Manual | Hands-free | None |
| Common Issue | Forgetting to tap; occasional jams | Uses line faster; sometimes feeds too much | Line breaks or pulls out |
| Best For | Users wanting control over line feed | Users wanting convenience | Simple light trimming jobs |
Bump Feed Head Restringing
Start by removing the spool from the head, then clean any old line debris. Cut two pieces of line around 10 to 15 feet each for dual-line heads. Wind each line onto the spool in the shown direction.
Keep the tension firm. Don’t make it too tight.
Insert the line ends into the spool eyelets. They hold the lines in place. Set the spool back in the trimmer head and thread the line through the holes.
Put the cover back on. Tap the head on the ground. Check the lines advance without sticking.
Keep the line length trimmed to about 12 inches after restringing to avoid feeding issues. Avoid winding unevenly or crossing lines, as this causes jams during operation. Regularly check the spool for cracks or wear before restringing.
Automatic Feed Head Restringing
Remove the spool from the trimmer head carefully and unwind the old line. Follow the spool’s direction marks carefully. Wind the new line evenly.
This helps prevent tangles. Use the recommended line diameter for your model to ensure smooth operation.
After reloading, reinsert the spool in the head and check the line’s tension by hand. Automatic feed heads often have a spring mechanism that resets when the line is pulled out. Run the trimmer briefly at low speed.
Check that the feed is steady. It shouldn’t release too much line.
Clean any dust or debris that could jam the feed mechanism before installing new line. Check for worn parts or stuck springs. These cause common problems if the feed overfeeds too much.
Fixed-Line Head Restringing
This head uses pre-cut line pieces inserted directly. Cut line sections to the length in your manual. Usually, this is about 6 to 8 inches.
Push each line into the fixed holes firmly. Insert until it locks or stops inside the head.
Make sure the line is secure to prevent it from pulling out during use. Don’t twist or bend the line during insertion.
It will weaken and can cause breakage. After installation, trim any excess line flush with the head to keep it balanced.
Fixed-line heads are best for light trimming jobs. They don’t feed line automatically, so you’ll replace the pieces often.
Check the line ends for fraying or splinters first. This avoids feeding issues and uneven cutting.
Safety Precautions Before and During Restringing
Start by turning off the trimmer completely. Wait at least 15 minutes for the gas engine to cool down first.
Only start working once the engine is no longer hot. This step stops accidental starts and prevents burns from hot parts.
Wear gloves to keep your hands safe from sharp edges and rough parts. Safety glasses rated ANSI Z87.1 protect your eyes from flying debris or tangled string that might snap free.
Wear long pants for extra protection during the restringing process. Closed-toe shoes also help keep your feet safe.
Clear all obstacles from your workspace before starting any work. Find a flat surface for your tools and parts. Keep everything organized before you begin.
Keep bystanders, especially children and pets, at least 30 feet away. This distance limits their risk from sudden flying debris or unexpected movements during the job.
Handle the trimmer head gently to avoid damaging threads or plastic parts. Use needle-nose pliers when needed rather than forcing components apart with your hands. Follow the trimmer’s manual or look for grooves and notches that guide you in proper disassembly.
Position the trimmer so its shaft faces upward or lies stable on a flat surface. Hold the trimmer head parallel to the ground while restringing. This helps the line feed evenly.
It also prevents putting extra strain on the spool. Avoid pushing or twisting parts too hard to save the equipment from damage.
By taking these simple steps, you’ll keep yourself safe and protect your trimmer from harm. These precautions also save time by reducing mistakes and the chance of breaking parts during restringing.
How to Prevent and Fix Common Line Feeding Problems
Line jams or no feed usually happen when the line is wound too loosely. Too many overlapping loops cause the string to tangle inside the spool. To fix this, rewind the line with steady tension, keeping the coils tight and evenly spaced.
Leave about a quarter inch of space under the spool edge. Overfilling blocks the cap and stops line feeding.
Breakage often comes from worn or sharp spots on the eyelet or spool edges. These act like tiny blades cutting the line quickly. You can smooth rough edges with fine sandpaper or replace damaged parts.
The line snapping at the eyelet means it’s rubbing against something rough. It could also mean you are using the wrong type of string. Check the surface and string type to fix it.
Sometimes, the line melts inside the spool. It happens when the trimmer spins against hard objects or idles too fast, generating heat. Stop the machine immediately if you smell burning.
Clean the spool chamber well before putting in new line. Replace the fused line with fresh, good-quality string. Make sure the string fits your trimmer model.
Adjusting the winding tension is key to preventing these problems. Pull the line firmly but don’t over-tighten. Excessive tension can damage the spool or cause the line to snap early.
When winding, wrap the line smoothly and tightly around the spool. The line should fill the spool evenly. Avoid pressing the line too hard on the sides.
If the line won’t advance, the loops may be loose. Rewind the line with tight tension to fix it. This is a common cause and solution.
Line breaks repeatedly might mean sharp edges, smooth or replace the spool. Melted line signals overheating, clear debris and avoid idling.
Snapping at the eyelet shows rubbing, check line type and spool condition. Feeding issues often stem from poor winding, keep tension moderate and coils even.
Always cut the trimmer line clean with pruning shears. Frayed ends cause jams and breaks in the line. Clean cuts help the line feed properly.
How Much and How Often to Restring Your String Trimmer
Cut two equal lengths of line for a dual-line spool. Each piece is usually 10 to 12 feet long. This length fits most string trimmers well.
Check your trimmer’s owner’s manual for the exact recommended length, since spool sizes vary. Using too much line can cause tangles, while too little wears out faster.
How often to restring depends on how much you use the trimmer and the vegetation type. For occasional yard work, restring every few weeks during growing season.
You should replace the line more often when trimming thick, wet grass. Heavy weeds also cause the line to wear down faster.
Look for signs like uneven cuts or patches of grass left behind. The trimmer needs restringing if it doesn’t cut cleanly. A dull cut shows the line is worn out.
Check if the line is too short while you use the trimmer. Also watch for line breaking quickly, which means it’s worn out.
Seasonal changes affect line life. Grass grows faster in spring and summer, prompting more frequent restringing. In cooler months when growth slows, you can go longer between restringing jobs.
To measure line lengths accurately, use a measuring tape or line gauge before winding. Cut two equal pieces for dual-line heads, then wind each evenly onto its spool section. Proper winding helps maintain smooth feeding and extends line life.
Cleaning and Inspecting Your Trimmer Head During Restringing
Start by removing any grass, dirt, or debris from the trimmer head. Use a soft brush or cloth to reach inside all openings and grooves. Clearing these out stops jams and feeding problems.
Next, look over the entire trimmer head for cracks, deep scratches, or broken parts. Check the spool and surrounding mechanisms for damage or worn spots. Small burrs or grooves on metal eyelets can cut the line faster, causing it to snap.
Run your finger around all edges to feel for rough patches or sharp bits. These act like tiny blades that weaken the trimmer line. A smooth surface means your line will last longer and feed properly.
Inspect the trimmer line itself before restringing. Replace it if it feels brittle, thin, or uneven in thickness. Using the wrong diameter or old line reduces cutting efficiency and can harm the motor.
If the trimmer head parts are cracked, heavily worn, or the spool doesn’t fit correctly, swap them out. Replacement parts usually cost between $10 and $30. Repairing damaged parts takes longer and may not fix feeding issues.
Cleaning regularly after each session helps the head last longer and perform well. Dirt and old string bits can wear down components over time. Store your trimmer in a dry place to prevent rust and corrosion on the metal parts.
Checking your trimmer head every 5 to 10 hours of use keeps it working smoothly. Fresh, properly sized line combined with a clean, damage-free head gives you better cutting power. This small care step saves you time and money in the long run.
Special Considerations for Gas vs Electric Trimmers
Gas and electric string trimmers differ in restringing mainly due to their power and design. Gas models often use bump-feed heads that handle thicker line. Electric units usually have simpler spool designs with thinner line.
For example, gas trimmers commonly take 0.095 to 0.105-inch line diameter. But electric trimmers might use 0.065 to 0.080-inch line. The thicker line on gas models lets you cut tougher grass but also wears out faster.
Electric trimmers typically need less cooling time during restringing. Gas trimmers heat up more because of the engine. So you should let them cool 5 to 10 minutes before working.
This avoids burns or damage. Electric models don’t produce engine heat, so you can restring soon after running them.
You don’t usually need special tools for electric trimmers beyond needle-nose pliers and a utility knife. Gas models sometimes require a screwdriver to open the head or remove the spool.
Power level affects how you restring too. High-power gas trimmers have heavy-duty heads that need care. Keep the line length balanced and tight.
This prevents problems during use. Lower-power electric units tend to have a simpler reload process because their heads spin slower. Both types need you to cut the line evenly to prevent jams or uneven wear.
With gas, you might use a pre-wound spool. But electric users often cut and wind fresh line onto the spool themselves.
| Feature | Gas Trimmer | Electric Trimmer |
|---|---|---|
| Line Diameter | 0.095, 0.105 inches | 0.065, 0.080 inches |
| Head Type | Bump-feed common | Spool reload or fixed line |
| Cooling Time | 5, 10 minutes before restringing | Not usually needed |
| Tools Needed | Pliers, knife, sometimes screwdriver | Pliers, knife only |
| Power Impact | Requires careful line tensioning | Easier winding, slower head rotation |
Safety for gas trimmers means checking the fuel is off and the engine cool. Gas fumes can catch fire, so avoid smoking or sparks near the trimmer. Electric trimmers require you to unplug the battery or power cord before restringing.
This prevents accidental starting. Also, wear gloves for both types to protect your hands from cuts or debris. Keep your work area clean and use a stable surface for restringing.
Let a gas trimmer cool fully before restringing. Unplug electric trimmers first. This avoids burns or accidental starts.
When to Call a Professional for Trimmer Restringing
Call a professional if your trimmer keeps jamming or feeding line poorly. Persistent feeding problems can mean worn bump knobs or weak springs inside the head. A pro can check and replace these parts safely without risk of further damage.
Look for physical damage like cracked or broken trimmer heads or bent shafts. These issues go beyond simple restringing and need expert repair. Also, a technician can handle unusual or complex trimmer heads well.
They know the proper way to deal with these types. This prevents damage and keeps your tool working right.
Avoid DIY restringing if your trimmer is under warranty. Only attempt it if the manual approves. This helps keep your warranty valid.
DIY work might void the warranty or cause safety concerns. Professionals follow manufacturer guidelines closely.
They use the correct parts for your trimmer. This keeps your tool safe and working well.
Find a trusted repair service by checking local outdoor equipment shops or garden centers. Ask about costs before you start. Most restringing jobs cost between $20 and $50.
Price depends on parts and labor needed. Some shops include a full inspection to spot hidden problems, adding value to the service.
A helpful way to decide if you need a professional is a simple checklist. Look out for frequent jams during use. Check for visible damage on the head or shaft.
Also, make sure line and head instructions match your trimmer. Also, consider how comfortable you feel opening and working on small parts with tools.
Professionals often fix bump feed knobs, springs, or caps. These parts hold the line in place. Repairing them keeps your trimmer working smoothly.
Sometimes, pros clean debris that sticks inside the head, which improves feeding. A service shop can handle damaged shafts or gearboxes.
They offer more advanced repairs or replacements. This keeps your trimmer running well.
Good repairs make your trimmer feed line smoothly. The right line length is usually about 6 meters long. This length suits typical 2-inch diameter trimmer heads.4 mm lines.
Expect quick turnaround, around 30 minutes to one hour. Poor repairs might cause constant jamming or rapid line breakage, wasting your time and money.
Step-by-Step Action Plan for Restringing Your String Trimmer
Follow these steps to keep your trimmer cutting smoothly and avoid frustrating line jams. Each step helps you check that your work was done right.
- Before You Start: Turn off and unplug your trimmer or remove the battery. This keeps you safe while working.
- Day 1: Remove the trimmer head cover and clean out old line pieces. A clean head helps the new line spool smoothly.
- Day 1: Choose the right line thickness for your model. Check your owner’s manual or the trimmer label to match it.
- Day 1: Wind the new trimmer line tightly and evenly onto the spool. Proper winding prevents tangles and feeding issues.
- Day 1: Reattach the spool and cover securely. Give the trimmer a quick pull of the starter. Bump the feed once. This tests if the line releases properly.
- First Use After Restringing: Cut a small patch of grass. Watch the line feed and cut well. Adjust if the line is too short or too long.
- After 2 Weeks: Check the line length again and add new line if needed. Regular checks keep your trimmer ready for action.
- Monthly: Inspect and clean the trimmer head during scheduled yard work. This keeps the entire cutting system working smoothly.
Frequently Asked Questions
Can I Use Any Type of String Trimmer Line for Restringing?
No, you should use the line size and type recommended for your trimmer model. Using the wrong line can cause poor cutting or damage. Check your manual or the original packaging for guidance.
How Do I Know When the Trimmer Line Is Wound Correctly on the Spool?
The line should be evenly wound without overlaps or gaps. It should lay flat and fill the spool but not be tightly jammed. This prevents feeding issues and line breakage during use.
Can I Cut the Trimmer Line to a Specific Length Before Putting It On?
Yes, but follow your trimmer’s instructions for line length. Usually, 10 to 25 feet per spool side is best. Too long or short line can affect performance and cause jamming.
Does Restringing My Trimmer Require Any Special Tools?
Most trimmers don’t need special tools, just your hands and sometimes a screwdriver. Some models have easy-open caps or bump-feed spools for quick restringing. Always check your manual for model-specific needs.
Can I Store Leftover Trimmer Line for Later Use After Restringing?
Yes, you can save extra line and keep it in a dry place. Coil it loosely to prevent kinks or tangles. Proper storage keeps the line flexible and ready for your next string trimming.
Is It Safe to Restring My Trimmer If I Have No Experience with Power Tools?
Yes, restringing a trimmer can be simple and safe if you follow instructions. Always disconnect power or fuel and wear gloves for protection. Take your time and watch helpful videos if unsure.
Wrapping Up
Restringing your trimmer properly keeps your yard neat and your tool lasting longer. Spend a few minutes today checking your trimmer line.
Do a quick restring if it’s worn. This small step makes a big difference for your mowing day.