How to Root Mother in Law Tongue Plant: 8 Proven Propagation Methods & Timelines
How to root mother in law tongue plant starts with choosing healthy leaves or divisions. Insert leaf cuttings 1 to 2 inches deep into a well-draining potting mix for best results. Avoid soil that stays soggy to reduce the risk of rot and fungal problems.
Keep humidity steady and avoid overwatering to prevent rot and support root growth. Place cuttings in bright, indirect light but away from direct sunlight that can scorch leaves. Use a spray bottle to mist leaves daily if the air is dry.
Using mature leaves about 4 to 6 inches tall speeds rooting and plant survival. Soak cuttings in water or mung bean extract for 30 minutes. This helps roots grow longer and increases the number of shoots.
Cover cuttings with a plastic bag if the air is too dry for the first month. Remove the cover briefly every few days to avoid mold buildup. Rooting usually takes 3 to 4 weeks under proper care.
Key Takeaways
- Use mature, healthy leaves at least 4 inches long for cuttings.
- Insert cuttings 1 to 2 inches deep in well-draining soil.
- Soak leaf cuttings for 30 minutes to boost root growth.
- Keep cuttings humid by covering with a plastic bag if air is dry.
- Avoid watering too much to stop rotting during root development.
- Divide plants after stopping watering the parent plant for 3 weeks.
1. How to Root Mother-in-Law Tongue Plant Step-by-Step
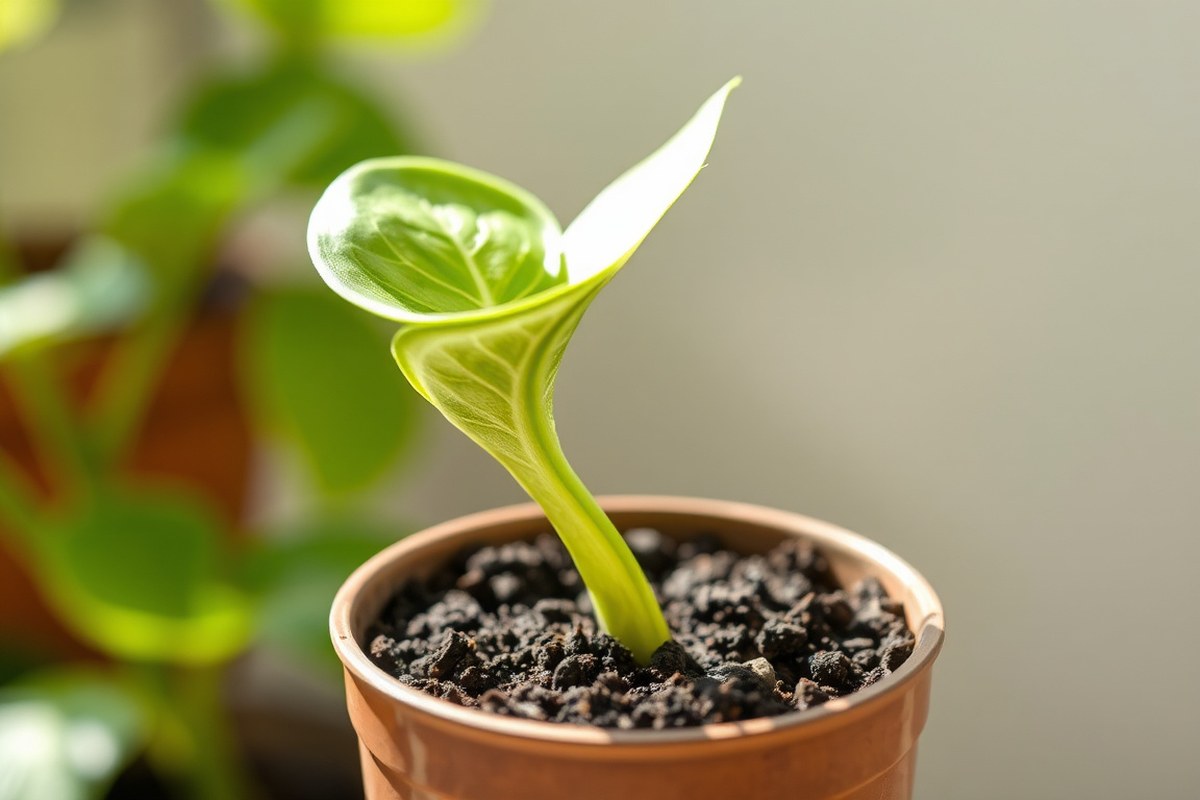
Rooting a mother-in-law tongue plant can happen two easy ways: leaf cuttings or division. Leaf cuttings take longer but are simple and cheap. Division works faster and keeps the new plants the same as the original.
Preparing Leaf Cuttings for Rooting
Pick healthy, mature leaves from your snake plant. Avoid any that look bruised, dry, or damaged; these won’t root well.
You can plant whole leaves or cut them into 2 to 3-inch sections. Cutting helps manage space and speeds up the rooting.
Let any cuttings dry or callus at room temperature for 24 to 48 hours. This step lowers the chance of rot when you plant them.
- Choose a healthy leaf near the base of your plant.
- Cut the leaf cleanly, about 0.5 inch above the soil line.
- Slice the leaf into 2 to 3-inch pieces, cutting the bottom end at an angle.
- Place the cuttings on a dry surface away from direct sunlight.
- Let the cut ends dry for 1 to 2 days to form a callus.
Rooting Leaf Cuttings in Soil or Water
For soil rooting, plant cuttings 1 to 2 inches deep with the angled end down. Keep the soil lightly moist but not soggy.
For water rooting, submerge the bottom 1 to 2 inches of the leaf in clean water. Change water every 1 to 2 weeks to prevent bacterial growth.
Water rooting generally shows roots in 4 to 8 weeks. Soil rooting takes 6 to 12 weeks but has better long-term success.
- Fill a pot with well-draining cactus or succulent soil.
- Plant the leaf cutting 1 to 2 inches deep, angled end down.
- Water lightly and place the pot in indirect light.
- Keep soil moist for the first week, then reduce watering.
- Or place the angled end of the leaf cutting in a glass of water.
- Change the water every 1 to 2 weeks to stay fresh.
- Wait for roots to grow 2 to 3 inches before potting.
Using Division and Rhizome Propagation
Division is best when your plant is crowded or has many offshoots. It creates new plants instantly with roots attached.
Cut rhizomes into 2 to 4-inch sections with at least one growth bud. Dry the cut end for up to 48 hours before planting to prevent rot.
After dividing, plant each section in well-draining soil and water lightly. Keep them in moderate light and avoid overwatering until new growth appears.
- Remove the whole plant carefully from its pot.
- Gently pull or cut the roots to separate the plant into smaller sections.
- Cut rhizomes into 2 to 4-inch pieces, each with a growth bud.
- Let the cut ends dry for 1 to 2 days to callus over.
- Plant the sections in pots with fresh, well-draining soil.
- Water lightly and place pots in indirect light.
- Wait 10 to 21 days for new growth before increasing watering.
2. Best Conditions for Rooting Mother-in-Law Tongue Cuttings
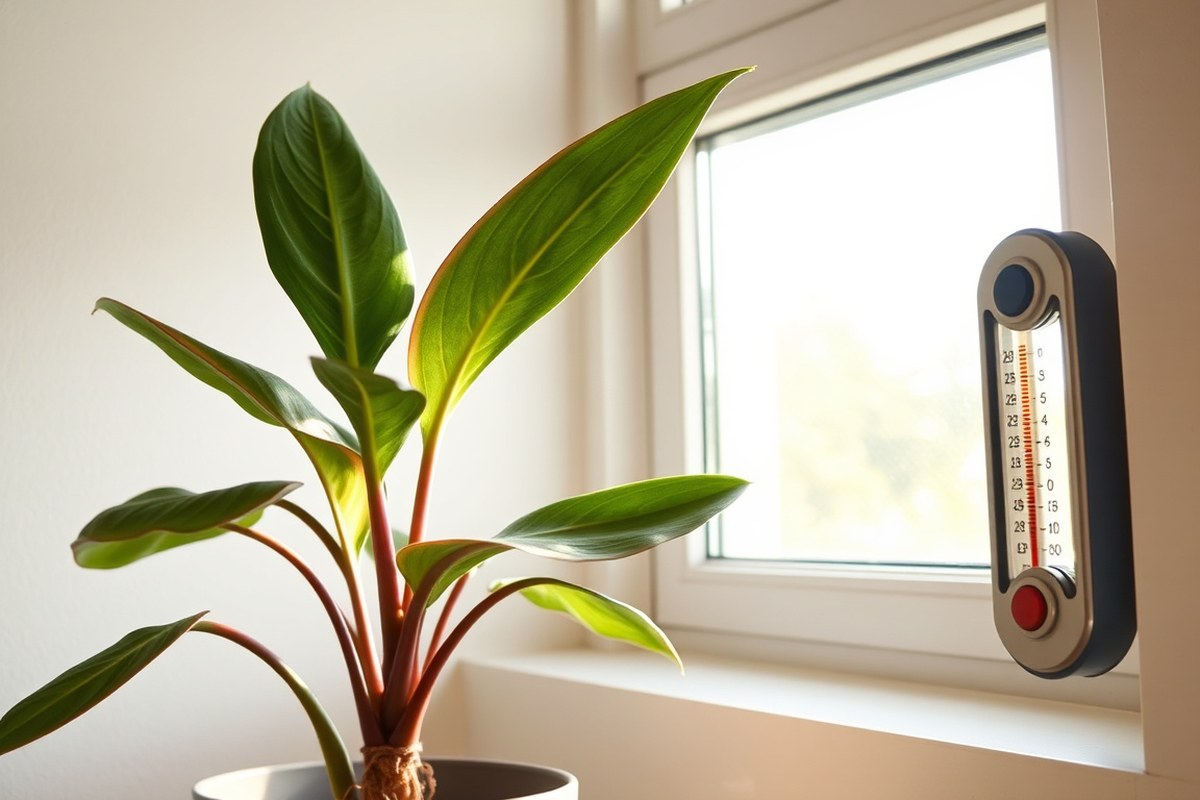
Light Levels That Encourage Rooting
Mother-in-law tongue cuttings root best in indirect, bright light. Too much direct sun can dry out the cuttings or soil fast. Low light slows root and shoot growth but does not stop it.
Place your cuttings near a window that gets filtered sunlight. Avoid harsh midday sun, which may burn the leaves and dry out the soil. A shaded spot near an east or north-facing window works well.
Ideal Temperature Range for Growth
Keep the temperature between 60 and 85 degrees Fahrenheit (18 to 27 degrees Celsius) during rooting. This range lets roots develop and shoots grow steadily. Colder or hotter temps slow the process.
Use a warm room or a heating mat set low if your home is chilly. Avoid spots close to vents or drafts, which cause quick temperature swings and stress cuttings.
Humidity and Its Role in Rooting
Moderate humidity helps with root formation but too much can cause rot. Around 50 to 60 percent humidity supports steady moisture without waterlogging the soil. Dry air slows rooting and growth.
You can raise humidity with a clear cover or plastic bag loosely over the cuttings. Remove the cover daily for fresh air to avoid mold. Keep humidity consistent for about 6 to 8 weeks.
Choosing Soil to Prevent Rot but Hold Moisture
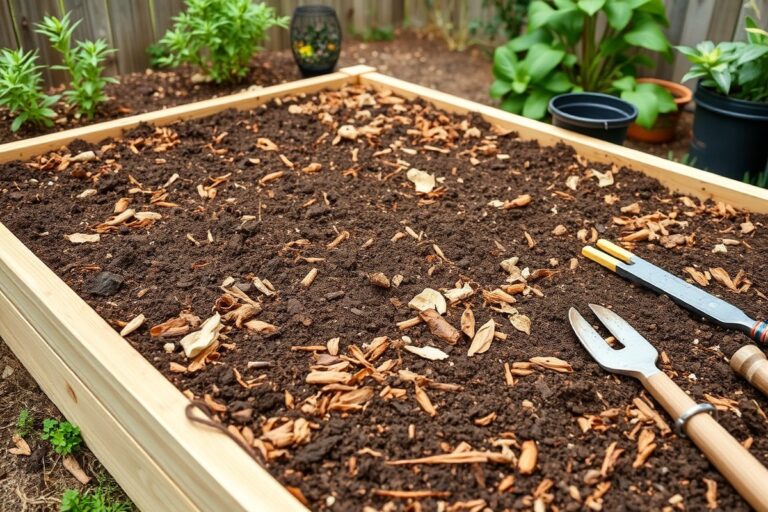
Use a fast-draining mix to avoid soggy soil, which leads to root rot. A 1:1 mix of potting soil and compost speeds shoot formation and retains enough moisture. Add perlite or sand to lighten heavier soils.
Water the soil enough to keep it slightly moist. Let it dry a little before watering again.
Overwatering is a common mistake that causes rot. Well-drained soil provides oxygen to roots and stops them from drowning.
Label the bottom end of each cutting to plant it correctly and avoid failed rooting.
3. Timing and Growth Expectations for Root Development
Roots start growing two to six weeks after placing the cutting. You can use water or soil to propagate mother-in-law’s tongue. Check for root growth regularly during this time.
Before that, the cutting needs to develop a callus, which typically takes one to two weeks. New shoots often appear four to eight weeks after roots start growing.
Callusing Phase: What and When
After you make your cutting, it needs time to callus. This means the cut end dries out to form a protective layer. Callusing takes about 7 to 14 days.
This helps stop rotting. It forms when you put the cutting in soil or water.
During this period, keep the cutting in a dry, warm spot with indirect light. Avoid watering or submerging it until the callus forms. This step is important because a fresh cut without healing can rot quickly.
Root Development Timeline in Water vs. Soil
Roots generally begin to show within two to six weeks in both water and soil. In water, you can see roots directly, starting as tiny white or light tan strands. This visible growth can motivate you to keep going.
In soil, roots form underground. So you can test progress by gently tugging the cutting after about four weeks.
Soil rooting tends to take longer but results in stronger roots. Usually, soil cuttings root well after about four to six weeks given proper moisture.
Emergence of New Shoots and Leaf Growth
New shoots typically sprout four to eight weeks after roots develop well. The timing depends on how fast the roots spread and the season’s warmth. Warmer temperatures around 70°F to 85°F speed up new leaf growth.
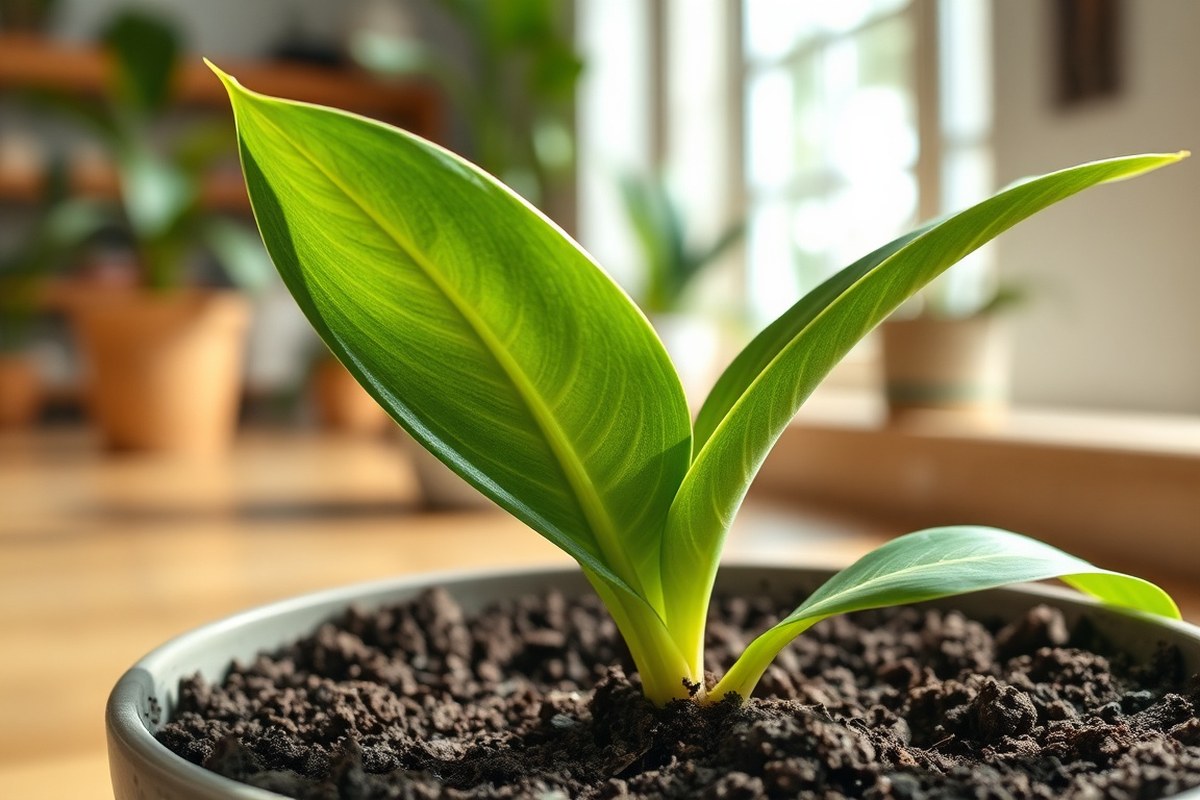
When the cutting is healthy and has roots, new leaves will grow. Fresh green leaves will push up from the base.
This shows the plant is ready. This is your sign to start treating the cutting as its own plant.
When to Pot Up or Treat Cuttings as Independent Plants
Cuttings move to individual pots once roots grow 1 to 2 inches long. This gives the plant space to grow. Be gentle when transplanting the cuttings.
This often means waiting about six to eight weeks total. Transplanting too early risks damaging weak roots or causing transplant shock.
Plant cuttings in a well-draining pot with 1-2 inch deep soil. Handle the roots gently when transferring. Let the new plant adjust in low light.
Keep the soil lightly moist for the first few weeks. This helps the plant settle in well.
Factors That Make Rooting Time Vary
Rooting times change because of the method, season, and cutting type. Water rooting is quicker to show roots but might produce weaker plants. Soil takes longer but builds stronger, heartier roots.
Temperature and light also affect timing. Cooler seasons or lower light slow growth, extending rooting time past eight weeks.
Using leaf cuttings usually takes longer than root or division methods. Patience is key here.
4. Compare Propagation Methods: Division, Leaf Cuttings, Rhizomes
Division is the fastest way to root a mother-in-law’s tongue plant. It gives visible roots in two weeks or less. Leaf cuttings need four to twelve weeks to grow roots.
Pups then show up after three to eight months. This process takes time and patience.
Rhizome propagation fits when you want to grow new plants from the underground parts. It needs rhizomes with tiny white bumps called root primordia. These show where roots will start, so handling the rhizomes properly speeds rooting.
| Propagation Method | Success Rate | Rooting Time | Complexity | Best Use Case | Care Needed |
|---|---|---|---|---|---|
| Division | 95% (in ≤ 2 weeks) | 1, 2 weeks | Moderate (needs mature multi-crown plant) | Mature plants with crowded pots or rhizome bulges | Regular watering, watch for root rot |
| Leaf Cuttings | Varies, can be lower than division | Roots develop within four to twelve weeks. Pups emerge between three and eight months. These timelines vary with conditions. | Easy (cut leaf pieces, insert base down) | When few mature plants are available | Keep soil moist, avoid rot; patience needed |
| Rhizome Propagation | High with visible root primordia | 2+ weeks depending on rhizome health | Moderate (requires identifying and cutting rhizomes) | Growing multiple plants from root sections | Keep rhizomes moist, avoid drying or overwatering |
Division uses mature plants with several crowns. Each section should have three or more healthy leaves and one inch of rhizome. Cut at rhizome bulges and plant quickly to keep roots alive.
Leaf cuttings need the base inserted downward. This supports the auxin flow that activates root growth.
Use healthy leaves and watch soil moisture closely. Rooting here takes patience and steady care.
Rhizomes must have tiny white bumps to show growth points. Cut sections that include these bumps and keep them moist. This method suits you if you want many new plants from one setup.
5. Common Mistakes and How to Avoid Them When Rooting
Overwatering is the biggest mistake when rooting mother-in-law’s tongue cuttings. Too much moisture makes the cuttings rot quickly. Water only when the soil feels dry an inch deep, avoiding soggy conditions that kill roots.
Using unsterilized tools can spread diseases to your plants. Always wipe scissors or knives with rubbing alcohol before cutting. This simple step stops bacteria and fungi from infecting your cuttings and slowing root growth.
Not letting the cut ends callus properly is another common error. Cuttings need 2 to 7 days in a warm, shaded spot to dry and seal. Skipping this leaves raw edges prone to rot and infections.
- Overwatered soil causes root rot; water only when soil is dry
- Use clean, sterilized cutting tools to prevent infection
- Let cut ends callus for 2, 7 days in shade before planting
- Avoid direct sunlight during propagation to protect callus
- Don’t propagate in winter; wait for warmer months
- Use rooting hormone for faster root development
- Stop watering the parent plant weeks before dividing for healthier cuttings
Rot and fungal infections happen when cuttings stay wet too long. Avoid watering leaves or cut ends directly.
Good airflow and moderate indirect light keep them healthy. Warmer temps near 70°F speed drying and root growth safely.
Keep the cut ends dry and out of direct sun to prevent rot and fungal infections.
Following these steps helps your cuttings root fast and strong. The goal is a dry callus, minimal moisture, and clean cuts. This lets new roots grow while cutting off rot and disease risks quickly and clearly.
6. Expert Tips to Improve Rooting Success and Speed
Rooting hormone powder can speed up root growth, but it’s not required. Use it by dipping the cut end in the powder before planting in soil. This helps the cuttings form calluses faster.
It speeds up root growth too. You might wait one or two weeks less. Hormone powder costs around $5 to $10 and lasts through many uses.
For natural rooting boosts, willow water works well. Soak fresh willow twigs in water for 24 hours and use this to water the cutting. Willow contains natural rooting hormones that encourage growth without chemicals.
Honey also helps by protecting the cut from infection and promoting root development. Apply honey as a light coating on the cut end before planting.
The soil mix matters a lot. Aim for two parts regular potting soil mixed with one part perlite or vermiculite. This blend holds moisture yet drains well, preventing rot.
Add coarse sand to improve drainage. You can also use a succulent mix.
It should have 50% cactus soil, 30% perlite, and 20% coarse sand. Avoid dense soils; Mother-in-Law Tongue roots prefer loose, airy soil.
After roots form in water, transplant shock is common. To reduce this, gently move the plant to soil when roots just start branching. Then keep the soil slightly moist and provide indirect light.
Over 7 days, gradually expose the cutting to normal indoor light and watering routines. This slow acclimation avoids stress from sudden changes in moisture and light.
Plant cuttings horizontally just below the soil surface for natural root growth. Make sure room temperature stays above 60°F, or the plant might slow down or suffer damage.
Water only when the soil feels dry to the touch to avoid overwatering. Reducing water in cooler months helps prevent root rot once the cutting has rooted.
7. Aftercare for Newly Rooted Mother-in-Law Tongue Cuttings
Water new mother-in-law tongue cuttings lightly, then wait 7 days before watering again. The soil should feel dry to the touch to avoid overwatering. This slow watering helps the roots establish without rotting.
Place the rooted cuttings in bright, indirect light indoors to avoid sunburn. Gradually move them to more sunlight over 1 to 2 weeks. This slow adjustment prevents leaf scorch and stress.
Use a mild cactus fertilizer every 4 to 6 weeks during the growing season. Apply at half the strength recommended on the label. This feeding supports steady, healthy growth without overloading the plant.
Repot your mother-in-law tongue when the roots look crowded or the plant becomes top-heavy. A common sign shows roots circling the pot’s bottom. Choose a container that’s 1 to 2 inches bigger than the old one.
This gives the roots room to grow. Avoid pots that are too large, which can drown roots.
Before repotting, water your plant well to reduce stress. Gently take the plant out of its pot. Shake off the extra soil.
Put the plant in fresh, well-draining potting mix. This step promotes quick root recovery and growth.
8. How to Identify Successful Rooting and Troubleshoot Problems
You can’t see roots at first, but a gentle tug reveals progress. After four to eight weeks, try pulling the cutting carefully.
You feel resistance when the roots have probably started to grow. This method avoids damaging the plant while testing root growth.
Look for firm, pale-yellow rhizome sections with dormant buds if you used rhizome cuttings. Healthy cuttings stay firm and hydrated, showing steady leaf growth. Weak or rotting cuttings often turn brown, mushy, or floppy, especially at the base.
The cutting probably rotted if it looks soft or wilted. It may smell sour or have black spots. Remove those cuttings quickly to stop rot spreading.
Try again if there is no root resistance after two months. Also, start over if the cutting rots early.
Keep an eye out for pests like mealybugs or spider mites on young cuttings. These insects can stress the plant or spread disease.
Protect your cutting with insecticidal soap. You can also gently wipe pests off with a damp cloth.
Check moisture levels often. Soaking wet soil stops roots from growing and causes rot.
Aim for soil that’s moist but well-drained. This balance lets roots breathe and grow without suffocating.
Don’t tug too hard on cuttings before four weeks; this will damage fragile roots. Always check soil moisture and pests during rooting to avoid hidden problems.
Step-by-Step Action Plan for Rooting Mother-in-Law Tongue
Follow these steps to root your mother-in-law tongue plant and see it thrive. Each phase tells you what to do and what to expect.
- Before You Start: Choose a healthy leaf or division. Look for firm, pest-free leaves or a clump with roots.
- Day 1: Cut the leaf base cleanly with a sharp knife. Let the cut end dry for 2 days to form a callus.
- Day 3: Plant the callused end in well-draining soil. Water lightly to keep soil moist but not wet.
- Week 1: Place the pot in bright, indirect light. Avoid direct sun that can scorch the leaf.
- After 2 Weeks: Check for new roots by gently tugging. Resistance means roots are growing well.
- Weeks 3-4: Grow on by watering once soil dries out completely. Watch for signs of leaf growth.
- After 6 Weeks: Slowly move the plant to more light if roots and leaves look healthy. Continue regular care.
Frequently Asked Questions
What Is the Best Soil Mix for Rooting Mother-In-Law Tongue Cuttings?
Use a well-draining soil mix rich in organic matter. It prevents waterlogging that can cause root rot, which mother-in-law tongue plants dislike. Mixing potting soil with sand or perlite helps improve drainage.
Can I Root Mother-In-Law Tongue in Water Instead of Soil?
Yes, you can root it in water, but soil usually works better. Water encourages root growth but can cause rot if stagnant. Change water every few days to keep it fresh and oxygenated for healthy roots.
How Long Does It Take for Roots to Appear on Mother-In-Law Tongue Cuttings?
Roots typically show in about 2 to 6 weeks. Timing varies based on conditions like temperature and humidity. Cooler or drier environments slow rooting, while warmth and moisture speed it.
Can I Speed Up Rooting with Plant Hormones?
A mild dip in rooting hormone can help. Synthetic hormones or natural extracts like mung bean sprout help plants grow. They boost root length and improve shoot growth.
These substances speed up development for many houseplants. However, mother-in-law tongue is resilient enough to root without them.
Should I Remove Leaves from Cuttings Before Rooting?
No, cuttings should keep their leaves intact for photosynthesis. Leaves supply energy needed for root development. Just cut the leaf cleanly about half an inch above the soil line.
Does Light Affect the Success of Rooting Mother-In-Law Tongue?
Bright, indirect light is best for rooting cuttings. Direct sunlight can dry out cuttings or cause stress. Keep cuttings in a warm spot with filtered light to encourage steady growth.
The Bottom Line
Rooting a mother-in-law tongue is a slow but rewarding process. Start with a good leaf and proper soil. Next, watch your plant for new growth and keep it cozy in bright, indirect light.