How to Revitalize Soil: 8 Proven Strategies for Healthier Gardens
Knowing how to revitalize soil helps you turn tired dirt into healthy garden ground. The fastest way to do this is by adding organic amendments like compost or well-rotted manure. These materials feed soil life and improve soil texture, making roots grow stronger.
Start by spreading 2 to 4 inches of compost on soil. Mix it into the top 6 to 12 inches. This improves soil health and fertility.
Work the soil when it feels slightly moist, so it’s easier to handle. Avoid soggy soils because compost won’t mix in well and can cause clumps.
Organic matter adds nutrients slowly and holds water well, which keeps your garden thriving through seasons. Using healthy compost also brings beneficial microbes that fight soil diseases. This natural boost revives tired soil without harsh chemicals.
Key Takeaways
- Incorporate 2-4 inches of compost or manure into the top 6-12 inches before planting.
- Work soil when it’s slightly moist, not waterlogged, for easier mixing.
- Aim for about 30% organic matter in your soil with regular compost additions.
- Spread compost evenly over beds and gently mix it into the soil.
- Compost improves soil texture, water retention, and supports beneficial microbes.
- Well-rotted manure can replace or complement compost for adding nutrients.
1. How to Revitalize Soil with Organic Amendments
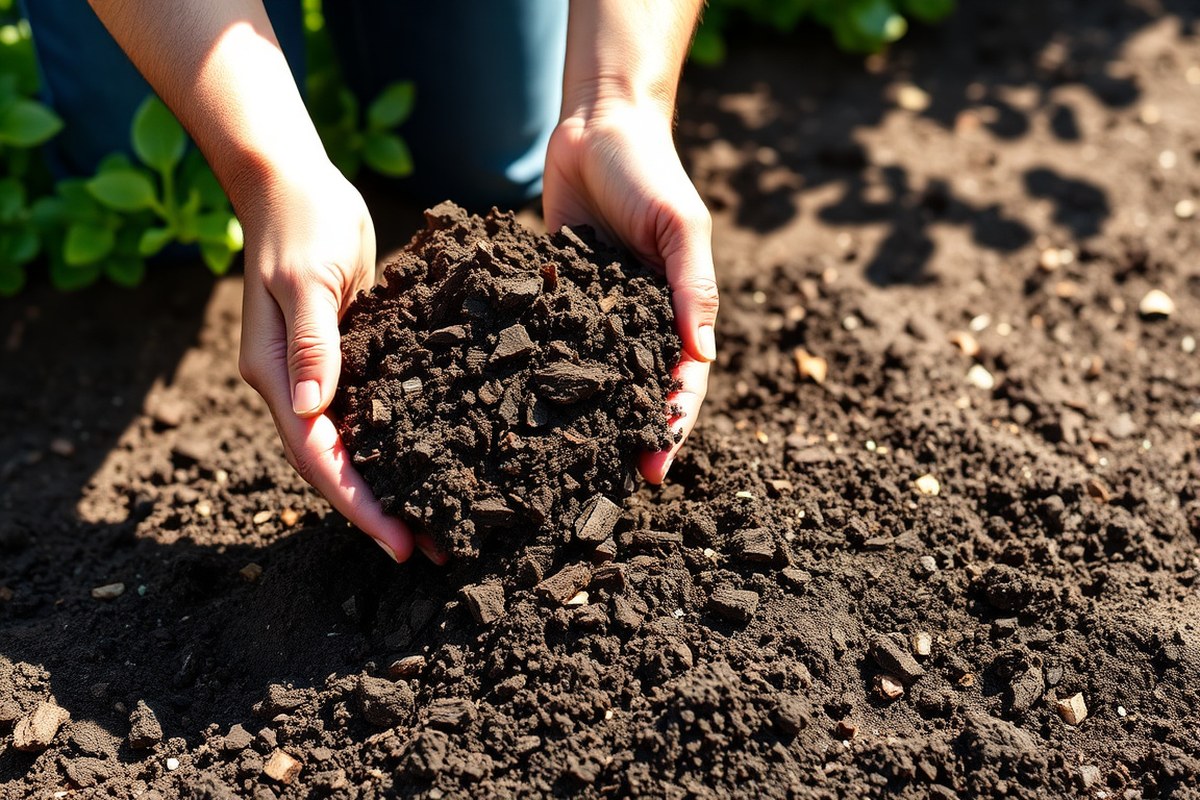
Adding organic amendments like compost and manure improves soil fertility and structure quickly and naturally. These materials add nutrients, boost water retention, and create a healthier environment for plants. Use 2 to 4 inches of well-rotted amendments.
Work them into the top 6 to 12 inches of soil. Do this before you plant.
Types of Organic Amendments
Common organic amendments include compost, well-rotted manure, leaf mold, biochar, and worm castings. Compost adds nutrients and improves soil texture. Well-rotted manure supplies high nitrogen and builds humus, which holds moisture and nutrients.
Leaf mold helps with soil structure and moisture retention. Biochar improve nutrient retention in nutrient-poor soils. Worm castings enrich soil biology and won’t burn plants, supporting healthy root growth.
Incorporation Techniques and Amounts
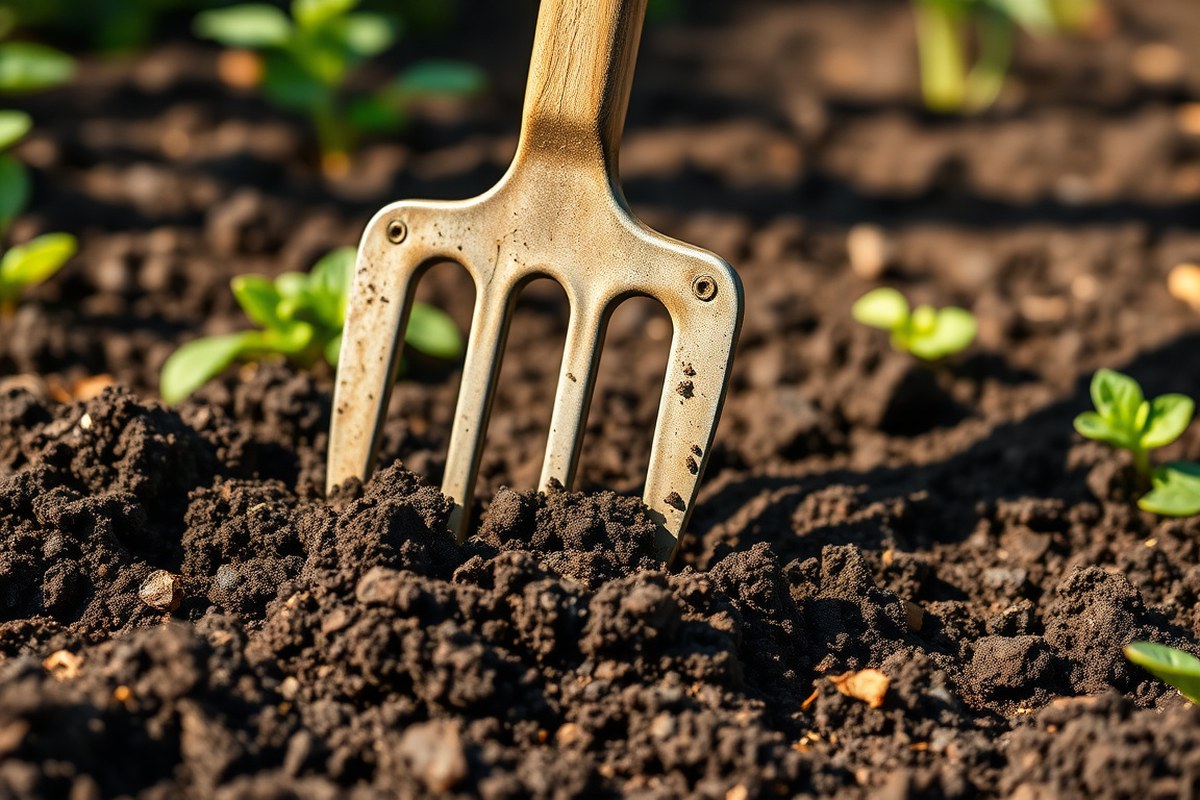
Spread 2 to 4 inches of your chosen amendment evenly over the soil surface. Use a spade, hoe, or garden fork. Mix the amendments into the top 6 to 12 inches of soil.
Make sure it’s well combined. This improves soil structure and promotes root access to nutrients.
Too shallow mixing limits benefits, and too deep can disturb soil life. Start with 1 to 2 inches of compost. Or use 1 inch of aged manure.
This works for most gardens. Adding more works for severely depleted soils but may take more effort.
- Clear the area of weeds and debris.
- Spread 2 to 4 inches of organic amendment evenly.
- Use a spade or fork to loosen the top 6 to 12 inches of soil.
- Incorporate the compost or manure by mixing thoroughly.
- Rake the area smooth to prepare for planting.
- Water the amended soil lightly to settle it.
Timing and Seasonal Considerations
Incorporate organic amendments a few weeks before planting, ideally in early spring or fall. This timing lets soil organisms break down materials and release nutrients. Working amendments into cold or frozen soil doesn’t help and slows decomposition.
Apply amendments after checking soil moisture. Avoid adding them when soil is too wet to prevent compaction. For fall gardens, add compost or manure right after harvest to improve soil before winter.
2. Using Cover Crops and Crop Rotation to Restore Soil
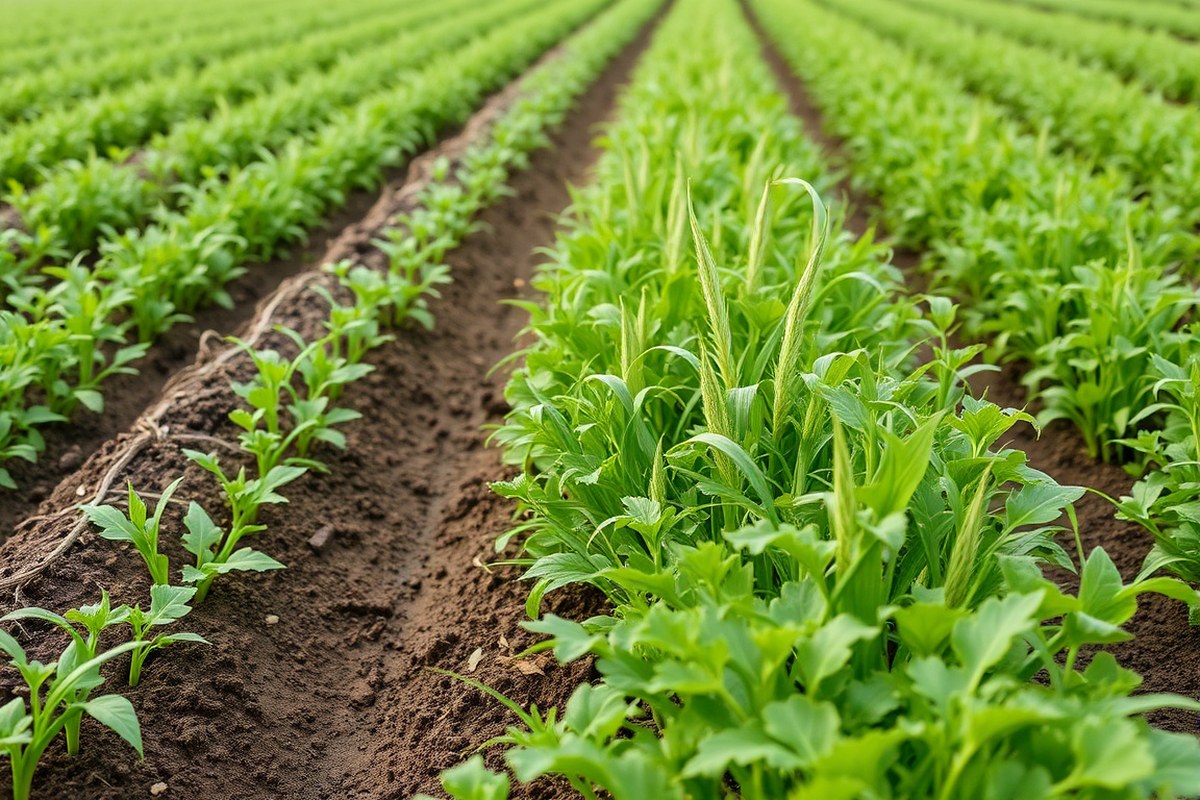
Cover crops and crop rotation work together to rebuild soil nutrients and life. Cover crops protect the soil surface and add organic matter once turned in. Rotating crops helps balance nutrient use and breaks pest cycles.
Types and Benefits of Cover Crops
Legumes, like clover and peas, fix nitrogen from the air into the soil. Grasses such as rye add a lot of organic matter, improving soil structure. Mustard cover crops can reduce harmful soil pathogens, protecting future plants.
Each cover crop type plays a unique role in restoring soil health. Legumes boost nitrogen, which most plants need to grow well. Grasses help soil hold moisture and resist erosion better.
| Cover Crop Type | Benefit | Rotation Cycle |
|---|---|---|
| Legumes (Clover, Peas) | Nitrogen fixation | 3 years |
| Grasses (Rye, Oats) | Organic matter addition, weed suppression | 3 years |
| Mustard | Pathogen reduction | Seasonal |
Mixing these cover crops gives balanced results. You protect soil from erosion while feeding soil life!
How to Plant and Incorporate Cover Crops
Plant cover crop seeds after harvesting your main crop, usually in late summer or fall. Lightly rake seeds into the soil or broadcast them and then water well. Let cover crops grow until flowering or just before they set seed.
Cut down cover crops with a mower or sharp blade before they go to seed. Turn them into the soil by tilling or using a spade. This green manure breaks down in a few weeks.
It adds organic matter to the soil. It also supplies nutrients for better plant growth.
Don’t let cover crops go to seed or they might become weeds next season.
Generally, cover crops grow for 6 to 12 weeks before incorporation. Grow times vary by species and climate.
Planning Crop Rotations Effectively
Plan to rotate crops with different nutrient needs and pest risks each season or year. For example, follow heavy feeders like tomatoes with legumes that fix nitrogen. This balances soil nutrients and lowers pest problems naturally.
Rotating also keeps soil life diverse and active, improving resilience. Use a 3-year rotation cycle, moving among legumes, heavy feeders, and cover crops for best results. This avoids nutrient depletion and pest buildup.
| Strategy | Crop Type | Benefit | Rotation Cycle |
|---|---|---|---|
| Crop Rotation | Legumes, heavy feeders, cover crops | Nutrient balance | 3 years |
| Companion Planting | Marigolds, lettuce | Pest control, shade tolerance | Seasonal |
Adding companion plants each season can help control pests and improve growth conditions. Combine rotation with cover crops for stronger soil health over time.
3. Soil Testing and Nutrient Balancing for Better Results
Test your soil every two to three years to keep your garden healthy. A soil test shows your pH level and key nutrients like nitrogen, phosphorus, and potassium. It helps you add the right amendments and improve soil vitality safely and clearly.
Collecting Soil Samples Correctly
Take samples when soil is moist but not wet for accurate testing. Avoid sampling too close to paths, compost piles, or fertilizer spots. Mix several small samples from different spots in one bed to get a good average.
Follow these steps to collect a reliable soil sample:
- Use a garden fork or trowel to dig 6-8 inches deep in each spot.
- Take 10 to 15 samples evenly spaced across the garden bed.
- Remove debris like roots, stones, or mulch from each sample.
- Combine all samples in a clean bucket and mix well.
- Allow the mixed soil to air dry on a clean surface, if needed.
- Place about 1 to 2 cups of dried soil in a clean container or bag.
- Label the container with your garden location and date.
- Send the sample to a local extension service or soil lab for analysis.
Interpreting Nutrient and pH Results
Good garden soil pH ranges from 6.0 to 7.0, which suits most vegetables. Below 6.0 means soil is too acidic, and above 7.0 it’s too alkaline. Extreme pH can lock up nutrients, making them unavailable to plants.
Soil tests usually show levels of nitrogen (N), phosphorus (P), and potassium (K). Low nitrogen makes leaf growth poor. Phosphorus boosts roots and blooms.
Potassium supports overall plant health. Look for “low” or “deficient” marks on your report for these nutrients.
For example, a soil report showing pH 5.5 and low phosphorus means you need to raise pH and add phosphorus. A pH near 7 with good NPK means no major pH or nutrient fixes are needed. Use the lab’s notes for specific amendment suggestions.
Adjusting Nutrient Deficiencies and pH
Raise acidic soil pH with lime, applied at 5 to 10 pounds per 100 square feet. Apply lime a few weeks before planting to allow soil time to adjust. For alkaline soil above pH 7, add sulfur or organic matter like compost.
Fix nitrogen shortages with compost, manure, or blood meal. Add rock phosphate or bone meal for phosphorus if tests show low levels. Potassium can be improved with wood ash or potassium sulfate according to the test guidance.
Gypsum helps loosen compacted clay soils but doesn’t change pH. Add soil amendments carefully based on exact lab results. Over-applying can harm plants and soil biology, so follow recommendations closely.
4. Reducing Soil Compaction and Improving Structure
Hard, compacted soil stops water and air from reaching plant roots. It makes digging tough and roots struggle to grow well.
Detect compaction by pressing a screwdriver or a metal rod into the soil. When the probe barely goes in or meets strong resistance, soil is compacted.
Using the right tools helps loosen soil without damaging its layers. A garden fork or a broadfork lifts and aerates soil gently. Avoid heavy tilling, which can destroy soil structure and harm beneficial soil life.
- Garden fork: loosens soil deeply without flipping it
- Broadfork: lifts and aerates several square feet at once
- Handheld aerators: best for small patches or lawns
- Spading fork: for breaking very hard, shallow soil
- Avoid rototillers: they disrupt soil structure and microbes
To prevent future compaction, keep heavy tools and foot traffic off wet soil. Use raised beds where foot traffic is limited. Mulch keeps soil safe from erosion and compaction.
Cover crops do this too. This makes soil easier to work later.
Good results show crumbly soil that feels loose and drains water quickly. Roots grow deeper and plants become healthier.
Over-loosening or working wet soil can create clods or worsen compaction. So make sure soil is only slightly moist before working it.
5. Integrating No-Till Methods to Protect Soil Life
No-till gardening means growing plants without turning the soil over. You avoid digging or tilling to let the soil’s natural structure and life stay intact. When you don’t disturb the soil, fungi and bacteria thrive.
Earthworms also do well and help cycle nutrients. These things improve soil health naturally.
Tilling breaks up fungal networks that move nutrients and harms tiny creatures in the soil. It also crushes soil crumbs that help air and water move well. No-till gardening keeps these networks and crumbs.
So water drains better and roots grow more easily. This improves soil structure and gradually boosts fertility.
You can add compost or leaf litter on top instead of mixing it in. Worms and microbes will slowly pull these materials down, feeding soil life over time. This also saves you from buying expensive soil tools or fertilizers.
Spread 2 to 3 inches of organic matter on your soil. Do this every season on the surface. Then let nature take care of the rest.
Sometimes, the soil is so compacted or damaged that tilling becomes needed. It helps break up hard pans or clay layers that block root growth at first.
Use deep tilling only sparingly and avoid it during wet conditions to limit damage. Afterward, return to no-till methods while improving soil with cover crops and mulches.
Test your soil’s compaction and structure before skipping tilling. This helps you decide if breaking up the soil is needed. It ensures better soil health.
For no-till beds, add layers of compost or well-rotted leaves. You can also use wood chips on top. Plant cover crops to protect the soil.
These build organic matter and protect against erosion without stirring soil. Over several seasons, your soil will get richer and hold water better. You’ll also see healthier plants without turning the soil with a spade.
6. How Mulching Supports Soil Health and Moisture
Using organic mulch is a great way to protect your soil and keep it healthy. Straw and wood chips work well because they prevent erosion and hold moisture. Apply a layer 2 to 4 inches thick depending on the material.
Thicker mulch layers help keep moisture in during dry spells. Too much mulch, though, can block air flow and cause problems.
Living mulches like clover help keep your soil healthy. They stop weeds from growing and add nitrogen to the ground. Unlike straw or chips, you plant living mulch as a cover between your main crops.
This mulch option needs care to control its growth. It adds nutrients until you mow or till it back into soil.
After preparing your soil with compost, spread mulch right away. This locks in moisture and starts feeding microbes below as it breaks down over the season. Watch your mulch closely and add more when it thins out.
This helps keep its benefits working for your soil. For example, wood chips may need reapplying once or twice a year as they decompose.
Mulching works best when the soil is moist but not soggy. Mulching in spring and fall works best for soil care.
It stops water loss in summer and protects soil in winter. Avoid mulching frozen ground since it might trap too much moisture and cause root issues.
Cover your soil evenly. Keep mulch away from plant stems by at least an inch to avoid rot. When applied well, mulch improves soil’s organic matter content over time.
Mulching improves soil aeration and helps earthworms thrive. These worms and microbes are key to good root growth.
7. Using Microbial Inoculants and Vermicompost to Boost Soil Life
Microbial inoculants are products containing beneficial bacteria and fungi that help your soil function better. Vermicompost comes from worm castings, rich in microbes and nutrients that boost plant growth. Adding these helps soil life grow.
This speeds up nutrient cycling. Soil structure also improves over time.
Pick a microbial inoculant that suits your soil and plants. Use mycorrhizal fungi to boost nutrient uptake. Try bacterial inoculants to break down organic matter faster.
Mix dry inoculants into the top 6 inches of soil. For liquid types, dilute and use as a soil drench. Compost tea means soaking finished compost in water for two days.
Then, apply the liquid to your soil or plants. This quickly increases beneficial microbes.
Apply vermicompost by spreading a 2-3 inch layer over your garden beds. Gently work it into the surface soil with a rake or hand tool.
This introduces microbes and organic matter gradually, improving soil vitality. Avoid overusing these products, especially those with high salt content, as they can harm microbes.
Results usually take a few weeks to a couple of months to appear. For example, after applying mycorrhizal fungi, nutrient uptake improves gradually over weeks. Healthy results include better moisture retention, earthworm activity, and vigorous plant growth.
Soil compaction or yellow plants call for a soil check. Look at your soil before adding more amendments.
8. Monitoring Progress and Avoiding Common Mistakes
Check your soil regularly to see if it’s getting better. Look for darker, crumbly soil that holds moisture. More earthworms are a good sign too, as they help break down organic matter.
Track soil moisture by digging 6 to 8 inches deep and squeezing soil in your hand. When it forms a loose ball but breaks apart easily, moisture is right. Too wet or too dry soil means you should adjust watering schedules.
Test your soil every few months during the growing season. Use a home kit or send samples to a lab. This helps you avoid adding too much fertilizer.
Adding wrong nutrients can also hurt soil life. You want to protect your soil, not harm it.
- Keep notes on soil texture, color, and smell each month
- Check soil moisture with the squeeze test
- Observe plant growth for signs of nutrient problems or pests
- Test pH and nutrient levels every 3 to 6 months
- Adjust amendments based on soil test results
- Avoid over-tilling which damages soil structure
- Reduce or stop using harsh chemicals to protect microbes
Over-fertilizing is a common mistake to avoid. Too much fertilizer can burn plants or reduce beneficial microbes. Add amendments little by little and see how plants and soil respond before adding more.
Ignoring soil moisture is another error. Excess water can cause roots to rot. Keep soil from staying too wet.
Too dry soil can shut down microbial activity and stunt plants. Keep soil moist, not soaked or dry, for best results.
Test soil before adding fertilizers, and avoid overdoing it to protect soil life.
Ask for advice if soil tests show extreme pH or nutrient imbalances you can’t fix. A local extension office or soil expert can guide you on specific next steps. Getting help saves time and prevents costly mistakes in soil care.
Step-by-Step Action Plan to Revitalize Your Soil
Follow this simple schedule to bring your garden soil back to life. Stick to these steps and watch your plants grow stronger.
- Before You Start: Get a soil test kit and collect samples from different garden spots. This tells you what nutrients your soil needs.
- Week 1: Add organic amendments like compost or aged manure. Mix them into the top 6 inches of soil to improve texture and nutrients.
- Week 2: Plant cover crops such as clover or rye. These protect your soil and add organic matter when they decompose.
- Week 4: Apply mulch around your plants, using straw or shredded leaves. Check that you cover the soil evenly to keep moisture in.
- Week 6: Start a no-till practice by avoiding digging or turning the soil. This helps keep soil life intact and supports structure.
- Week 8: Introduce microbial inoculants or vermicompost tea. Spray or mix them into the soil to boost helpful microbes.
- After 10 Weeks: Inspect soil moisture and softness. Loosen areas that feel compacted by gently aerating with a garden fork.
- Monthly: Rotate crops in the garden beds to prevent nutrient depletion and pest buildup. Notice healthier plant growth and fewer problems.
Frequently Asked Questions
How Often Should I Test My Soil to Keep It Healthy?
Testing soil every 2 to 3 years is enough for most gardens. This helps track nutrient levels and pH changes to guide your soil care.
Can I Revitalize Soil Without Adding New Organic Matter?
It’s tough to revitalize soil without organic matter because it feeds microbes and improves structure. Try compost or well-rotted manure for the best results.
How Do Raised Lasagna Beds Help with Soil Problems?
Raised lasagna beds improve drainage and light in shady gardens. They layer organic materials, speeding up soil rejuvenation and reducing compaction.
Is It Okay to Apply Chemical Fertilizers When Revitalizing Soil?
Chemical fertilizers can quickly add nutrients but may harm soil microbes long-term. Use them sparingly and combine with organic methods for healthier soil.
Can I Use Kitchen Scraps Directly in My Garden Soil?
Fresh kitchen scraps can smell and attract pests if added directly. Compost them first to create nutrient-rich organic matter that’s safe for your soil.
What’s the Best Way to Fix Soil Compaction in Small Garden Spots?
Use a garden fork to poke holes 6 inches deep. Do this when soil is moist, not soggy.
The holes can be up to 8 inches deep if needed. This loosens up compacted soil and improves air and water flow.
Wrapping Up
Healthy soil takes time but rewards you with better plants and fewer problems. Start with soil testing so you know what your garden needs. Take the first step today by adding compost to your soil.
Watch how it changes the feel and look of your soil. You’ll notice the difference quickly.