How to Start a Tumbler Compost Bin: Simple Steps for Fast, Quality Compost
Start your tumbler compost bin by placing it on level ground with some sun and shade. This keeps the pile warm without drying it out too fast.
Begin with a 4 to 6 inch layer of dry brown materials like leaves or shredded cardboard. This base helps air flow and prevents bad smells.
Place green kitchen scraps and yard waste on top to keep balance. Add new waste every one to two days until the tumbler is almost full. Mix by turning the tumbler every few days to introduce air and help compost form faster.
Check moisture often; it should feel like a wrung-out sponge. Too wet or too dry slows down the process or causes odors. When moisture and temperature stay right, expect good compost in 6 to 8 weeks during warm months.
Key Takeaways
- Place your compost tumbler on level ground with partial sun and shade.
- Start with 4, 6 inches of dry brown materials at the bottom.
- Add green waste every 1 to 2 days until 4 inches from the top.
- Turn the tumbler every 3 to 5 days to mix and aerate.
- Check moisture by hand; it should feel like a damp sponge.
- Stop adding waste when the tumbler reaches 80% capacity or four weeks before harvest.
How to Start a Compost Tumbler Step by Step
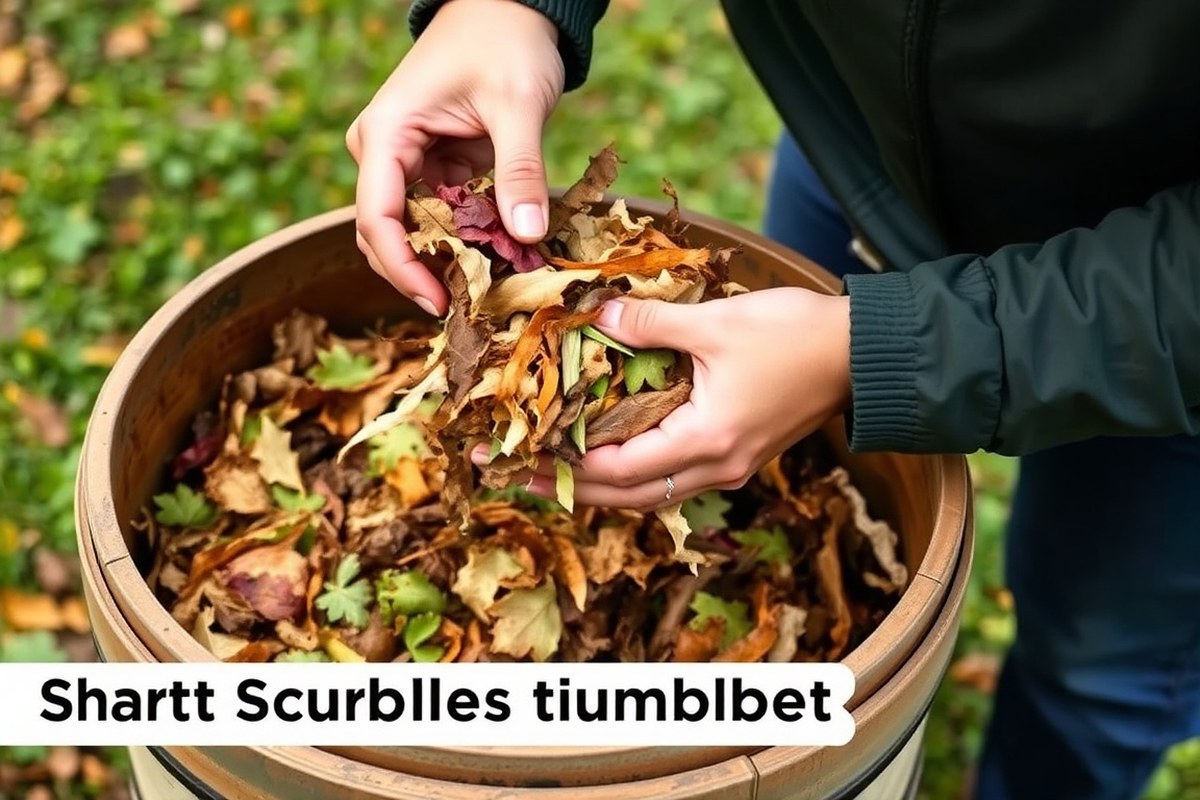
Starting a compost tumbler begins with preparing the drum and adding the right mix of materials. You want to create a balance that encourages microbes to work fast. Adding moisture and a compost starter jumpstarts the process and speeds up decomposition.
- Choose a side and open the tumbler’s hatch to begin adding materials. This ensures easy access and better mixing.
- Put a 2- to 3-inch layer of brown materials at the bottom. Use dry leaves, shredded paper, or wood chips. Keep the layer loose for airflow. These help absorb moisture and provide carbon.
- Add 2 inches of green materials on top of the brown layer. Use kitchen scraps, fresh grass clippings, or coffee grounds. Spread them evenly. These supply nitrogen, which microbes need.
- Sprinkle a thin layer of compost starter or finished compost next. This adds helpful microbes. Cover the green layer lightly.
- Spray water lightly with a bottle or hose on the mix. Stop when it feels like a damp sponge, not dripping. Check moisture by squeezing the mix.
- Continue layering brown and green materials alternately, keeping the total fill between ⅔ and ¾ full. Avoid overfilling to allow air circulation.
- Shut the tumbler and rotate it a few times. This mixes layers well. It helps spread moisture and microbes throughout.
Starting with these steps helps the microbes get busy breaking down your waste. Moisture between 40% and 60% is key. Too dry and decomposition slows, too wet and it smells bad.
Adding a compost starter supplies germs that can be low in new bins. Keeping the tumbler about 70% full leaves space for air, which microbes need to stay active.
You can adjust water during the first few days if contents seem dry. With this setup, decomposition can start within days, moving faster than static compost piles.
Balancing Green and Brown Materials Correctly
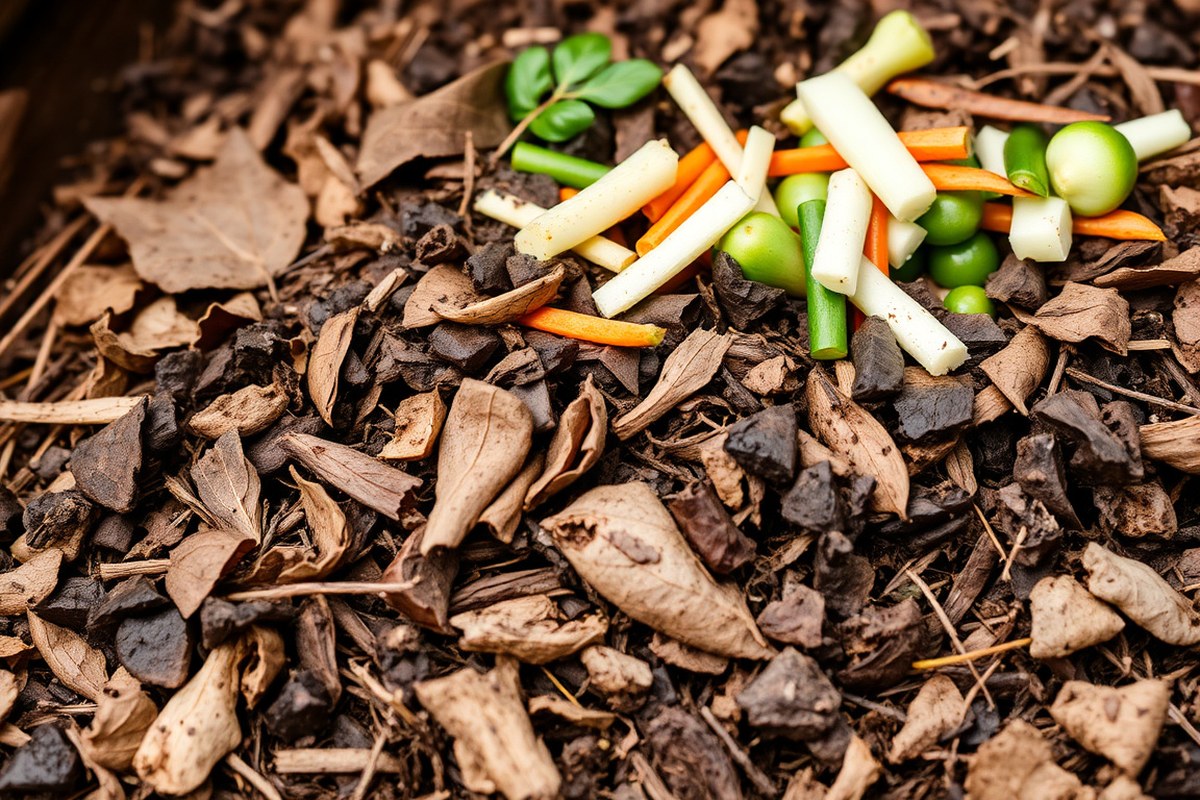
For your compost tumbler, add about 2 to 3 parts brown materials. Add 1 part green materials. Keep this ratio for best results.
Browns provide carbon, while greens supply nitrogen. This mix creates the right environment for bacteria to break down your waste fast.
Brown materials include dried leaves, straw, cardboard, and sawdust. Green materials cover kitchen scraps, coffee grounds, grass clippings, and fresh plant trimmings. Both types help maintain airflow and proper moisture inside the tumbler.
Too much green can make your compost soggy and smelly, like ammonia or sulfur. Extra brown keeps it dry and crumbly but slows decomposition. You want the compost to feel damp and dark, with a fresh earth smell.
| Material Type | Examples | Role in Compost |
|---|---|---|
| Brown (Carbon-rich) | Dried leaves, straw, shredded paper, cardboard | Absorbs moisture, balances nitrogen, provides carbon |
| Green (Nitrogen-rich) | Vegetable scraps, coffee grounds, grass clippings, fresh plant trimmings | Supplies nitrogen, feeds microbes, adds moisture |
| Ideal Volume Ratio | 2-3 parts brown : 1 part green | Supports fast, balanced compost breakdown |
| Too Dry | Pale, no decomposition | Add green scraps or mist with water |
| Just Right | Damp, dark, smells like forest floor | Maintain your current routine |
| Too Wet | Soggy, slimy, ammonia/sulfur smell | Add more brown materials like dry leaves |
Check your tumbler’s contents regularly. Stir and turn the materials to mix green and brown pieces well. This brings in fresh air and balances moisture, speeding up decomposition.
Your tumbler size affects how often you add scraps. Frequency changes how strict you must be with the ratio. Follow it based on your setup.
Smaller tumblers may need quicker balancing. Add browns often when mostly using kitchen scraps.
This helps avoid wet spots. Keep your compost balanced.
Never add large blocks of greens or browns without chopping. Smaller pieces compost faster and keep your tumbler balanced.
Placing and Setting Up Your Compost Tumbler Outdoors
Place your compost tumbler in a sunny spot that gets partial morning light. This helps warm the tumbler, speeding up composting.
Avoid spots with full shade. Compost there stays cool and breaks down slowly.
Good drainage is key. Set the tumbler where water won’t pool after rain.
Standing water can rot the compost or slow decomposition, besides making the stand unstable. Look for a slightly improve or sloped area to keep things dry.
- Flat, level ground to keep the tumbler steady when turning
- A well-drained spot away from standing water
- Easy access from your kitchen or garden for regular use
- Near garden beds, so finished compost is handy for soil improvement
- Partial sun exposure to keep compost warm but avoid overheating
- Enough space to open or reach into the tumbler without obstacles
- A spot away from strong winds to prevent damage or spilling
Prepare the site by leveling the ground. You can use pavers or compacted gravel to build a stable, hard surface.
This stops the stand from sinking into soil or tilting after rain. Anchoring the stand slightly, if possible, helps it stay put during turning cycles.
Some yards might not have perfect spots. You’re short on sun? Turn the tumbler more often to keep it warm.
In rainy areas, add a small canopy or roof. This keeps rain off.
It won’t block the airflow. Doing these extra steps keeps the compost healthy and your tumbler working well.
How Often and How to Turn a Compost Tumbler
Turn your compost tumbler every 3 to 5 days to keep oxygen flowing. Aim for about 4 to 5 complete spins each time. This movement mixes materials and helps microbes break down scraps faster by bringing in fresh air.
Hold the tumbler’s handle firmly and rotate the drum fully two or three times. Let it pause briefly between spins to avoid spills.
You want to mix all parts evenly without forcing it. Too fast or rough turning can jam the unit or scatter dry material.
Forgetting to turn your tumbler can make the pile soggy and smelly. Without enough air, microbes switch to anaerobic action, causing bad odors and slower composting. Wet clumps may pool at the bottom.
A sour scent can show up. These signs mean you need to turn it more and check drainage.
Turn the tumbler more often at first. Every 2 to 3 days works best. This helps fresh scraps break down and mix well.
As the pile stabilizes and heats up, stretch turning to once weekly. Your tumbler shouldn’t be filled past the turn bar inside. Overfilling makes tumbling harder and reduces airflow.
Keeping the right moisture helps turning work well. The pile should feel damp and crumbly, not soggy or dry.
Adjust water if your compost falls apart easily or is muddy. Regular spinning keeps moisture balanced and avoids anaerobic trouble spots.
Managing Moisture for Healthy Composting
Keep your compost moisture like a damp sponge to speed decomposition. Check often by touch since moisture shifts with weather and materials. Adjust water or dry matter to keep compost healthy and avoid odor or slow breakdown.
Ideal Moisture Characteristics
The compost should feel damp but not soggy. It holds together slightly when you squeeze it, but no water should drip out. The texture looks dark and crumbly, with an earthy smell like forest soil.
Those signs mean the microbes inside have just enough water to thrive. Moisture between 40% and 60% lets them break down material efficiently. Watch compost in dry weather, as it may dry out faster.
Signs and Fixes If Too Dry
Dry compost looks light and fluffy, breaking apart into crumbs easily. It feels dusty and may even dust off your hands when you turn it. This slows decomposition because microbes dry out.
Adding water gently helps restore moisture. Spray a little water as you spin the tumbler to avoid soaking. Also, add green materials like vegetable scraps to increase moisture.
- Check moisture by squeezing a handful of compost
- Light sprinkling of water is enough; avoid soaking
- Add more green waste to boost moisture
- Turn tumbler after watering to mix evenly
- Monitor frequently during hot, dry weather
Don’t pour water in quickly; it easily floods compost and harms microbes.
Keep an eye on moisture weekly and add water proactively for best results. Dry compost wastes time and delays your finished product.
Signs and Fixes If Too Wet
Soggy compost forms thick, muddy clumps and pools water at the bottom. It often smells bad, like ammonia or rotten eggs. This means decomposition is slowing due to lack of oxygen.
To fix this, add dry browns like shredded cardboard or dry leaves. Turn the tumbler more often to add air and mix materials. If water collects, carefully scoop some liquid out.
- Look for water pooling or slimy texture
- Add shredded cardboard, dry leaves, or straw
- Turn more frequently for better aeration
- Remove excess liquid with a small cup or towel
- Avoid adding too many green kitchen scraps at once
Too much wetness starves microbes of oxygen and causes foul smells.
Fix moisture issues quickly to keep microbes active and your compost smelling fresh. Too wet compost slows progress and can attract pests.
Common Issues and How to Troubleshoot Them
Bad smells often mean your compost tumbler is too wet or lacks air. You want it moist like a wrung-out sponge, not dripping. Too much green material or not turning the tumbler enough causes stink and slow breakdown.
Pests appear when food scraps attract flies or rodents. Avoid adding meat, dairy, or oily foods that lure pests.
The tumbler’s closed design helps keep bugs out. But crumbs or exposed scraps can invite problems.
| Symptom | Cause | How to Fix It |
|---|---|---|
| Strong bad odor | Too much moisture, lack of air | Stop adding wet scraps. Turn tumbler more often. |
| Pests near tumbler | Food scraps like meat or oily waste | Remove these items. Keep tumbler closed tightly. |
| Compost not breaking down | Too little nitrogen or not turning | Add green materials. Turn tumbler every few days. |
| Mold or slimy layers form | Anaerobic conditions from poor mixing | Increase turning frequency. Add dry brown materials. |
Try to add balanced green and brown materials in layers. Turning your tumbler every two to three days mixes air in. This prevents slimy mold and helps microbes do their job.
Keep the tumbler away from your house. Even small smells won’t bother you if it’s placed in the shade and has good airflow.
Avoid putting diseased or pest-infested plants into the tumbler. They can slow decomposition and spread problems.
After turning, check moisture by squeezing a handful. When water leaks, add dry leaves or bits of cardboard.
Dry materials stop softness that leads to smells. When things look dry, sprinkle water sparingly and evenly.
Choosing the Right Compost Tumbler for Your Needs
Choosing the right compost tumbler depends on your household waste amount. You also need to consider how often you want to compost. These two things guide your best choice.
Think about your family size, garden space, and whether you want continuous composting or batch cycles. The size, chambers, and features all affect ease and speed of composting.
Single vs Dual-Chamber Tumblers
Single-chamber tumblers hold one batch at a time. You fill it, compost until done, then empty it and start anew. This suits smaller households or gardeners who compost intermittently.
Dual-chamber tumblers let you fill one side while the other batch breaks down. This continuous system saves waiting time. Dual chambers usually come with insulation that speeds up composting.
Single-chamber models often cost less but need downtime between batches. Dual-chamber models cost more but give steady output, better for larger families or frequent composters.
Sizing Your Tumbler Correctly
Estimate your weekly compostable waste by assuming 2 to 4 gallons per person. A household of 1 to 4 people typically needs a small tumbler holding about 7.5 cubic feet or 2 to 4 gallons per week. Larger households require bigger tumblers sized for 6 to 8 gallons weekly.
Capacity lets you compost the volume your home produces without overflow. A small tumbler might be 7 cubic feet.
The largest models hit 14 cubic feet. Select a tumbler that fits your weekly waste without lots of uneven half-full rotations.
| Model | Household size | Chambers | Capacity (cu ft) | Best for |
|---|---|---|---|---|
| Jora JK125 | 1 to 4 people | Dual, insulated | 4.5 | Continuous composting |
| Jora JK270 | 4 or more people | Dual, insulated | 9.5 | Continuous composting |
| Jora JK400 | Larger households | Dual, insulated | 14.2 | Continuous composting |
| EZ Compost Wizard Jr. | Varies | Single | 7 | Batch composting |
| EZ Compost Wizard | Varies | Single | 12 | Batch composting |
This table helps match your family size and compost habits to the right tumbler. Dual-chamber models fit steady use, while single-chamber suit less frequent composting.
Additional Features to Consider
Insulation keeps compost warm inside, speeding decomposition in cold seasons. Dual-chamber tumblers often include this benefit. Single-chamber models might not have insulation.
Look for easy-turning drums or handles to avoid strain. A stable stand keeps the tumbler upright and safe from tipping.
Check for tight seals and pest-proof screens. Good pest resistance prevents rodents and insects from invading your compost. This matters if you live in a warmer or rural area.
Using Finished Compost to Improve Your Garden Soil
Finished compost has a dark, crumbly texture and an earthy smell. Use it by mixing into soil, as mulch, or making compost tea. Knowing when compost is ready helps you get the best results in your garden.
Checking If Compost Is Ready
Look for dark brown or black color and a crumbly texture. The material should not smell bad but have an earthy scent. Original scraps like leaves or food parts should be unrecognizable.
When your compost stays hot, smelly, or has bits, leave it more time. Finished compost feels loose and breaks apart easily in your hands. This means the natural breakdown process is complete.
Methods to Apply Compost
Compost can be mixed directly into garden beds to improve soil texture and nutrients. Spread 1 to 3 inches thick of mulch over the soil surface.
This helps keep moisture in the ground. Use it in potting mixes by blending one part compost with two parts soil.
Apply compost carefully around different plants for best use. Below are common methods to apply finished compost:
- Mix 2 to 4 inches into vegetable or flower beds before planting
- Top-dress established plants with a thin 1-inch layer
- Use a coarse sift (1/2 inch mesh) for shrubs and larger plants
- Use a medium sift (1/4 inch mesh) for most garden beds
- Mix fine sift (1/8 inch mesh) compost into seed-starting soil
- Add compost to container planting mixes for balanced nutrition
- Refresh soil annually with a 2-inch compost layer during planting season
Different sifter mesh sizes help match compost texture to planting needs. Thick mulch layers can smother plants, so apply moderately. Mixing compost into soil improves aeration and nutrient availability more deeply than surface spreading.
Making and Using Compost Tea
Compost tea provides a liquid nutrient boost for your garden and houseplants. Steep a bag or a handful of finished compost in water.
Stir it occasionally for 24 to 48 hours. Use the dark, cloudy liquid for watering or spraying plant leaves.
Compost tea delivers nutrients faster than dry compost but should be used soon after brewing. Follow these steps to make compost tea:
- Fill a bucket with one gallon of water
- Place 1 to 2 cups of sifted finished compost in a porous bag or cloth
- Submerge the bag in water, stirring a few times daily
- After 24 to 48 hours, remove the bag and use the liquid immediately
- Apply as a soil drench around plants or spray on leaves in the morning
Never use compost tea from unfinished compost, as it can spread plant diseases.
Step-by-Step Action Plan for Your Compost Tumbler
Follow this plan to get your compost tumbler working smoothly from the start. Each step helps you check that your compost is on track.
- Day 1: Load your tumbler with a mix of green and brown materials. Aim for a 2:1 ratio of brown to green. The pile should feel damp but not soggy.
- Day 3: Turn the tumbler to mix the materials well. This aerates the compost. You should notice no bad smell if it’s working.
- Week 1: Check moisture by squeezing a handful of compost. It should feel like a wrung-out sponge. Add water or dry materials if it’s too wet or dry.
- Week 2: Turn the tumbler every two days to speed up breakdown. Watch for smaller, darker pieces forming as a good sign.
- Week 4: Open the tumbler and smell the compost. A rich, earthy scent means it’s healthy. Spot any mold or odors? Adjust moisture and add fresh brown material.
- Week 6: Test if compost looks dark and crumbly. This shows it’s almost ready. Stop adding new materials and turn it less often to finish.
- Week 8: Scoop out finished compost. Use it in your garden beds or pots. Your soil will benefit from the nutrients and improved texture.
Frequently Asked Questions
What Materials Should I Avoid Putting in a Tumbler Compost Bin?
Avoid meat, dairy, oils, and pet waste because they attract pests. Also, skip diseased plants to keep your compost healthy.
Can I Start Composting in a Tumbler Without a Compost Starter?
Yes, but adding a starter helps jumpstart microbial activity faster. You can also add garden soil or finished compost to boost microbes.
How Do I Know When My Compost in the Tumbler Is Ready to Use?
Finished compost looks dark, crumbly, and smells earthy. It usually takes 4 to 6 weeks if you turn it often and keep moisture balanced.
Should I Open the Compost Tumbler When Turning It?
You only open it if your tumbler has separate chambers for loading. Otherwise, turn it closed to keep heat and moisture inside for faster composting.
Can I Compost in a Tumbler During Winter?
You can, but the process slows down when temperatures drop below 50°F. Keep turning it regularly and add dry material to maintain heat.
How Much Space Does a Compost Tumbler Need Outdoors?
Give it about 3 feet of clearance on all sides for easy turning and airflow. Avoid shady or soggy spots to keep compost active.
Before You Go
Starting and caring for your compost tumbler gives you rich soil for your garden. Keep turning and checking moisture to avoid problems. Now, try adding your first batch of waste to begin composting today.