What Is a Tiller Used for? A Complete Guide to Uses, Types, and Tips
A tiller is mainly used for breaking up soil before planting. It turns hard, compacted soil into loose, crumbly earth that helps seeds grow better. This process improves aeration and lets roots spread more easily.
You use a tiller to prepare flowerbeds, vegetable gardens, and farmland. It mixes compost and fertilizer evenly through the soil. It also breaks up weed roots, reducing competition for nutrients.
Tilled soil drains water better, preventing waterlogged roots and promoting healthy plants. It also incorporates organic matter, which boosts soil fertility over time.
Start tilling when the soil is slightly damp, not too wet. Wet soil forms large clumps that take longer to break down. Aim to till 4 to 6 inches deep to avoid disturbing deeper soil layers.
Key Takeaways
- Use a tiller to loosen soil for better seed contact and root growth.
- Till soil at 4 to 6 inches depth for most garden tasks.
- Operate tillers when soil moisture is about 50%, not too wet or dry.
- Mix compost or organic matter while tilling to enrich your soil.
- Repeating tilling in spring helps break up large clods and weeds.
- Choose the tilling depth carefully to avoid harming soil structure.
What Is a Tiller Used for in Gardening and Farming?
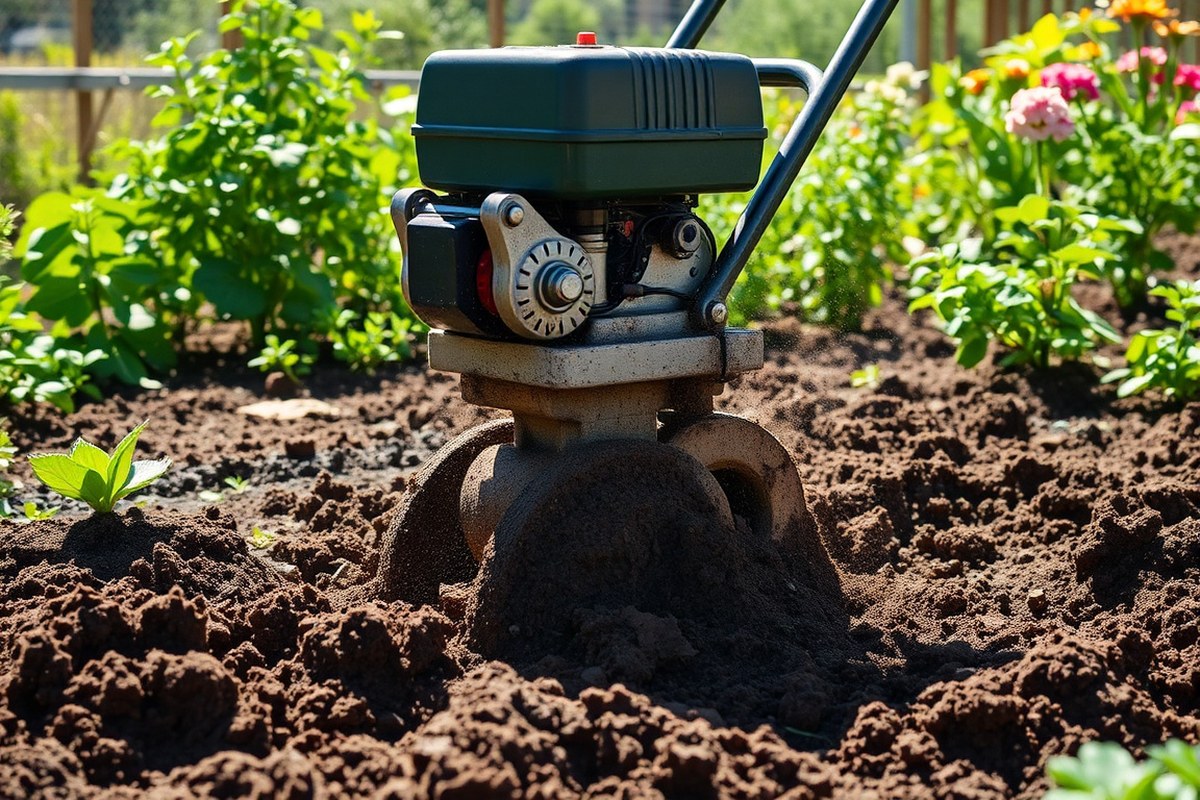
A tiller is mainly used to break up hard, compact soil. This makes the soil loose and ready for planting seeds or transplants. It also mixes in organic matter and nutrients, improving soil texture and fertility.
Rotary tillers handle both primary and secondary tillage. Primary tillage breaks up the soil deeply, usually down to about 6 inches. Secondary tillage smooths and loosens soil clods, creating a finer seedbed for better germination and growth.
Tillers work well for different garden and farm tasks. You can use one in the spring to prepare new garden beds and before planting vegetables. They also help with cultivation between growing plants.
They keep soil loose. Loose soil improves water and air flow.
A front-tine tiller suits smaller gardens and softer soils. These are easier to maneuver in tight spaces. For hard, clay-heavy soil or sod, choose a rear-tine model.
It handles digging and breaking ground easier. This takes less effort.
Using a tiller properly supports healthy plant growth by improving soil aeration and drainage. When soil is loose, roots can spread easier and absorb nutrients better. This encourages stronger, more productive plants.
Some gardeners rent tillers if they only need them occasionally. Buying one makes more sense if you till regularly. A front-blade tiller may be more affordable and still effective for most home garden uses.
Running the tiller over your soil once can often combine primary and secondary tillage. But avoid tilling too deep or too often, which can harm soil structure. Aim for a level, crumbly soil surface without large clumps.
Types of Tillers and Their Best Uses
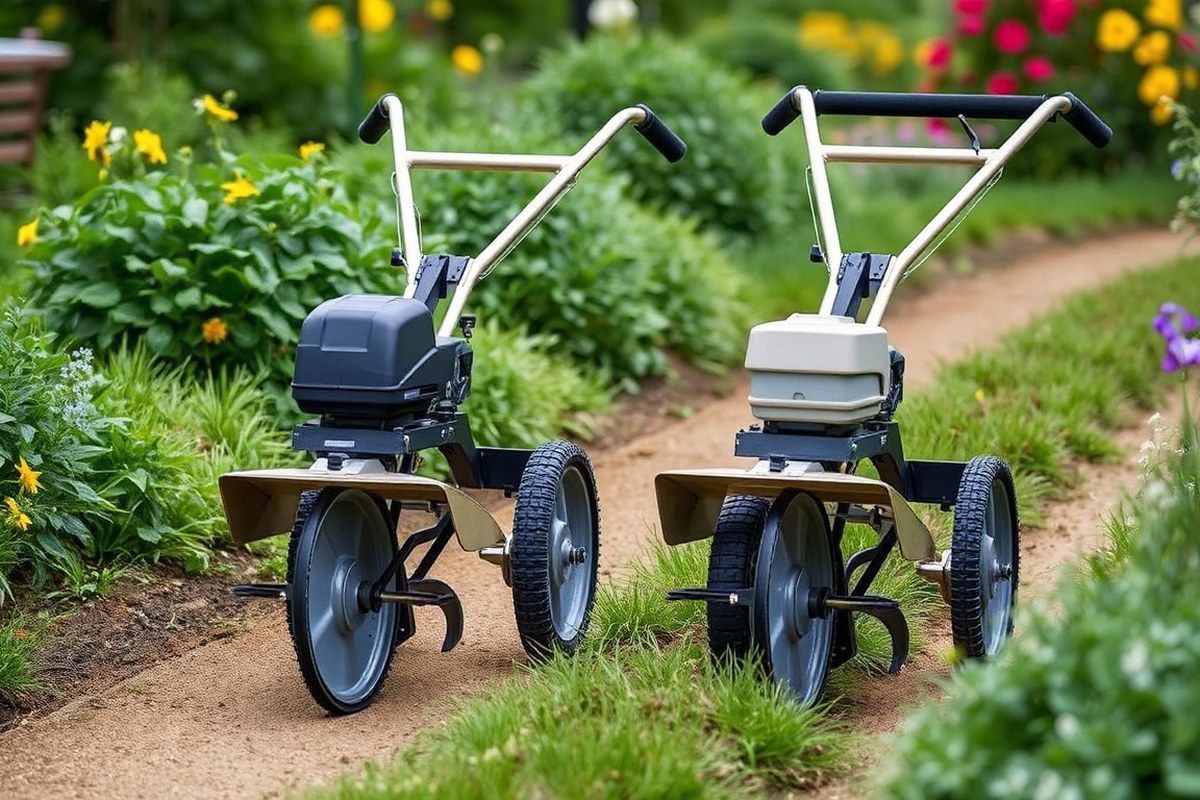
Tillers come in different types: front-tine, rear-tine, rotary tillers, and cultivators. Each works best for certain garden sizes and soil conditions. Knowing which to choose helps you prepare soil effectively without wasting effort or money.
Front-Tine Tillers: Features and Suitable Conditions
Front-tine tillers have blades in front that dig into the soil as you push forward. They suit small to medium gardens with firm but not hard soil. These tillers are lightweight and easy to maneuver, like the Troy-Bilt TB154EC.
You can use front-tine tillers for breaking up moderately compact soil and mixing organic matter. Their depth might reach around 4 to 6 inches depending on the model. Avoid very rocky or heavy clay soil since they lack enough power for tough terrain.
Front-tine tillers can get stuck in hard soil. Loosen the ground with a spade first if needed.
Rear-Tine Tillers: Power and Terrain Advantages
Rear-tine tillers put the tines behind, rotating backward as you guide them forward. They offer more power and better control over depth. This makes them great for larger gardens.
They handle tough soil well. Examples include the Honda FG110 and Husqvarna TR328.
These tillers can dig deeper, often 8 inches or more, breaking hard or rocky ground efficiently. You’ll spend less time tilling heavy clay or compacted land with a rear-tine model. They tend to be heavier and cost more, but they handle demanding jobs reliably.
Use a rear-tine tiller for deep tilling on tough soil. This helps protect your equipment from damage. They work better on hard ground.
Distinguishing Rotary Tillers from Cultivators
Rotary tillers, also called rototillers, have motorized rotating blades. These blades break up soil very well. The machine makes soil preparation easier.
They are suitable for preparing large seed beds and are often more powerful than cultivators. These machines handle primary tillage tasks on farms or large gardens.
Cultivators are smaller and lighter tools for shallow soil mixing. They also help control weeds in raised beds. Ideal for small garden spaces.
Cultivators usually don’t till as deep as rotary tillers. They can’t replace tillers for heavy-duty soil work. Use tillers for tougher jobs.
Cultivators can do some tiller jobs on soft soil patches. Avoid using them on compact or rocky land.
Tiller is better for those conditions. Using a cultivator as a tiller can lead to uneven soil and mechanical strain.
Don’t use a cultivator for deep soil breaking. It might damage the tool and waste your effort.
How to Use a Tiller for Effective Soil Preparation
Using a tiller properly means preparing soil that’s just right for planting. You want soil that’s moist, tilled to a good depth, and free of large clods. Follow a clear routine to get the best results with your tiller.
Preparing Soil Moisture and Conditions
Start when the soil is slightly damp. Aim for around 50% moisture content to avoid clumping. Too wet soil can stick and form hard lumps that won’t break down well.
Dry soil makes tilling difficult and stresses the machine. Check moisture by squeezing a handful.
It should hold shape but crumble easily when poked. Avoid tilling after heavy rains or drought.
Setting and Adjusting Tilling Depth
Adjust the tiller to dig between 6 and 8 inches deep for most garden beds. This depth mixes the soil enough to boost root growth without harming soil structure. Different plants may need slightly shallower or deeper tilling.
Use the skid shoes or depth control levers on your tiller to set this depth precisely. Test on a small patch, then adjust to get consistent soil break-up across your area. Good tilling leaves the soil crumbly and loose.
Executing Multiple Passes for Optimal Soil
Make two or more passes over the soil to chop clods and mix amendments deeply. Start slow and go straight lines, overlapping slightly with each pass. This evens out the soil and breaks up any compacted spots.
After a few passes, you should have soil that’s friable and free of big chunks. When stubborn clumps remain, till at a shallower depth last. Follow these steps for best results when using a rotary tiller:
- Check that soil moisture is around 50%, neither dry nor soggy.
- Adjust the tiller’s depth control to about 6 to 8 inches.
- Start the tiller and begin tilling the soil evenly.
- Go over the soil in straight, overlapping passes.
- Reduce depth on the last pass as needed to smooth surface.
- Turn off the tiller and inspect to confirm soil is crumbly and loose.
- Remove large rocks and roots uncovered during tilling before planting.
Common Gardening and Farming Tasks Handled by Tillers
A tiller handles many tasks that make gardening and small-scale farming easier. It breaks up hard, compacted soil to make planting easier.
This allows roots to grow strong and gives your plants better access to air and water. Untreated soil can stop seeds from sprouting or stunt plant growth.
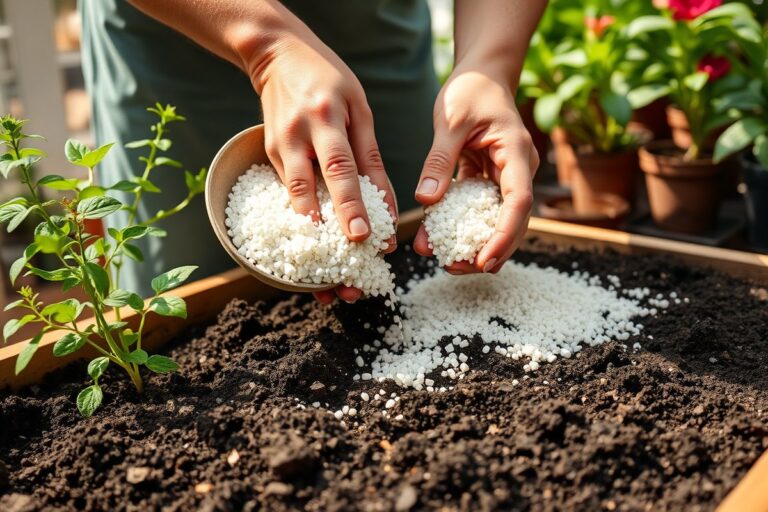
Using a tiller, you can prepare a seedbed by loosening the soil and mixing nutrients evenly. It blends compost, manure, or fertilizer into the soil, improving fertility and drainage. This step prepares the soil for planting seedlings.
It helps roots grow well. Good soil makes plants stronger.
- Breaking up hard or compacted soil
- Controlling surface weeds by uprooting them
- Preparing seedbeds by leveling and loosening soil
- Mixing compost, manure, or fertilizer into the soil
- Light aeration to help soil breathe without full overturning
- Incorporating mulch or organic matter into garden rows
In smaller gardens, a front-tine tiller is easier to handle for light tasks. You move it around in tight spots. It mixes soil amendments there.
It also helps fight young weeds. Larger gardens or farmland can require a rear-tine or tractor-mounted tiller to cover big areas faster. These models can turn over tougher soil and break up clumps more deeply.
Tillers control weeds mostly at the surface by disturbing young plants before they mature. They don’t replace deep weeding by hand or chemicals. But they reduce weed pressure effectively.
Using a tiller mixes compost and manure well. It spreads nutrients all over. This is faster than shoveling by hand.
The key is matching the tiller power and type to your soil and garden size. Heavy clay or rocky soil needs stronger tools. You should go slower and watch for damage.
This protects your equipment. Loose loam needs less force and can be tilled faster. Knowing your garden’s needs gives better results.
It stops you from overworking soil. It also protects the tiller from strain.
Limitations: Tasks Tillers Are Not Suitable For
Tillers aren’t good at removing deep-rooted weeds. Their blades mostly work the soil surface or shallow layers. Hand digging or using a hoe often works best for tough roots.
They do the job without hurting nearby plants. This method is simple and effective.
Delicate crops need gentle care, which tillers can’t provide. The aggressive spinning blades can harm seedlings and fragile roots. Use hand tools like garden forks or soft cultivators to avoid injuring young plants.
Small seeds require careful planting depth, but tilling risks burying them too deep. For example, tiny ryegrass seeds may sink too far under soil turned by a tiller. Use a light rake or a mesh drag harrow to cover seeds.
These tools help spread seeds evenly. They avoid burying seeds too deep.
Very compacted or rocky soils might strain a tiller engine if forced too hard. Avoid pushing the machine aggressively in tough spots or it can overheat or break down. Break up tough soil layers by hand or with a heavy chisel plow.
This protects your tiller from damage. The job gets done right this way.
Tillers also don’t work well in tight spots or narrow beds. Their size limits access between rows of mature plants or narrow garden strips. Use hand cultivators or small hoes in tight spaces.
They work well for weed control. You can also loosen soil easily with them.
Don’t overload your tiller; forcing it damages the engine and wastes effort.
Try to limit tilling frequency; too much tillage harms soil structure and microorganisms. Instead, try shallow cultivation only when necessary. This protects soil health and keeps your garden productive long-term.
How to Choose the Right Tiller for Your Garden Size and Soil
Pick a tiller that fits your garden size, soil type, and budget. Small gardens call for compact tillers, while large areas need bigger, stronger ones. Knowing your soil’s toughness helps decide the tiller power and tine size.
Matching Tiller Size to Garden Area
Small vegetable gardens work well with a small or electric tiller. These models are easy to handle in tight spaces and weigh less than 30 pounds. For garden plots over 1,000 square feet, rear-tine tillers are better because they cover ground faster.
You’ll find front-tine tillers fit nicely in small patches under 500 square feet. Their narrow tine widths, often 8 to 12 inches, help with precise soil work. Large gardens do well with tillers having 16 to 24-inch tine widths.
This helps cut down on passes. It saves you time working the soil.
Choosing Power and Tines Based on Soil Type
Light, loose soil can be tilled with gas or electric tillers that have smaller tines. Choose front-tine tillers with blades about 6 to 8 inches long. These work well in sandy or soft soil.
They make light work of loose earth. Use a rear-tine tiller with strong tines of at least 10 inches.
It works best on compacted or rocky soil. This kind of tiller can break hard ground.
Power matters more when breaking through hard ground. Gas tillers with 5 to 7 horsepower handle clay and rocky soil well. They work better than small electric models.
They have the power needed for tough jobs. Tines that dig 6 to 10 inches deep loosen soil for roots and water flow.
Budget Considerations and Features to Prioritize
Small electric tillers cost between $150 and $400, great for budget-minded gardeners. Gas-powered rear-tine tillers range from $500 to $1,200 and offer more muscle for tough soil. Decide what soil you’re working with before investing.
Look for adjustable tine width and depth controls for flexibility across garden sections. A foldable handle helps store the tiller in small sheds.
Avoid buying large, powerful tillers if you only have a tiny garden or soft soil. They’ll be harder to manage.
Tiller Maintenance Tips for Longevity and Performance
Change the engine oil every 50 hours or once per season. Using clean oil prevents engine damage and keeps it running well. Also, clean or swap the air filter every 25 hours to stop dirt from clogging the tiller.
Sharpen the tines regularly. Sharp blades dig into the soil better and use less fuel. Clean off soil and plant bits after using your tiller.
This stops rust and buildup on the parts. Buildup can cause your tiller to jam or break. Storing the tiller in a dry spot with a cover protects it from rain and dust.
- Check engine oil level before each use.
- Change engine oil every 50 hours or seasonal start.
- Clean or replace air filter every 25 hours of use.
- Sharpen tines monthly or if blades look dull.
- Remove debris and clean blades after every use.
- Store tiller in a dry, sheltered area when idle.
- Inspect fuel lines and spark plug for wear regularly.
Look for signs like strange noises, heavy vibrations, or soil not turning properly. These often mean blades are dull or parts need tightening. Avoid letting fuel sit in the tank for months.
It can gum up the system and cause startup problems. Simple upkeep pays off by keeping your tiller reliable and easy to use year after year.
Common Tiller Use Mistakes and How to Fix Them
One common mistake is tilling when the soil is too wet or too dry. Wet soil compacts under the tiller’s blades, damaging its structure. Dry soil can break apart unevenly, making planting harder and hurting soil health.
Over-tilling is another issue. Running the tiller deeply or too often breaks soil clumps. It also disturbs the soil’s natural layers.
Use it carefully to avoid ruining soil health. This can cause erosion and lessen the soil’s ability to hold water and nutrients.
Missing things like pipes, rocks, or cables can damage the tiller. You might also harm parts of your garden setup.
Check your garden before starting. It’s smart to mark these before you start and keep an eye on where you till.
- Check soil moisture by squeezing dirt: it should crumple, not drip or fall apart.
- Set the tiller depth shallow at first, around 3 to 4 inches, to avoid over-tilling.
- Limit tilling to once or twice a season, especially if your soil has good organic matter.
- Walk the area to mark and avoid buried pipes, cables, or tough rocks.
- Wear sturdy gloves, closed-toe shoes, and eye protection while tilling.
One key safety mistake is neglecting protective gear. The blades spin fast and can kick up debris.
Keep children and pets clear while you work. Shut the tiller off before clearing jams or adjustments.
Paying attention to soil condition and safety cuts down risk and protects your garden’s health. Avoiding common mistakes like poor timing and safety slip-ups makes tilling smoother and more productive.
Always check soil moisture before tilling. Too wet soil can harm its structure. Let the soil dry if it feels muddy or sticky.
Step-by-Step Action Plan for Using Your Tiller
Get your tiller ready and use it properly to prepare your soil well. Follow these simple steps in order to get good results fast.
- Before you start: Check the tiller’s fuel, oil, and tines. This ensures your machine runs smoothly without stalls.
- Day 1: Mark the garden area and remove large rocks or sticks. This stops damage to the tiller and makes tilling easier.
- Day 1: Set the tilling depth based on soil hardness and plants’ roots. Start shallow to avoid overworking the soil.
- Day 1: Begin tilling slowly, following a straight path. Check that soil loosens evenly and clumps break down well.
- Day 2: Water the soil lightly if it looks too dry before tilling again. Moist soil tills better but avoid mud.
- Week 1: Rethread the garden with the tiller for the second pass at a deeper setting. Soil should feel crumbly and loose.
- Week 2: Break up root balls or compact spots by spot-tilling. Use a smaller tool or hand fork if needed.
- After every use: Clean and inspect the tiller to spot worn parts. Keeping it in shape prevents breakdowns later.
Frequently Asked Questions
What Is a Tiller Used For?
A tiller is used to break up and loosen soil for planting. It helps prepare garden beds by mixing soil and compost evenly. This makes planting easier and improves soil aeration and root growth.
What Do People Use Tillers For?
People use tillers to prepare garden soil, control weeds, and mix in fertilizers or compost. They’re great for turning over large areas quickly. This saves time and effort compared to digging by hand.
What’s the Difference Between a Tiller and a Rototiller?
A rototiller is a type of tiller with rotating tines that dig deep into the soil. Not all tillers have the same digging power. Rototillers are better for tougher soil and larger gardens.
What Is Another Name for a Tiller?
Another name for a tiller is a rototiller or garden cultivator. Some people also call it a rotary tiller. These terms refer to similar tools that help loosen and prepare soil.
What Does a Tiller Look Like?
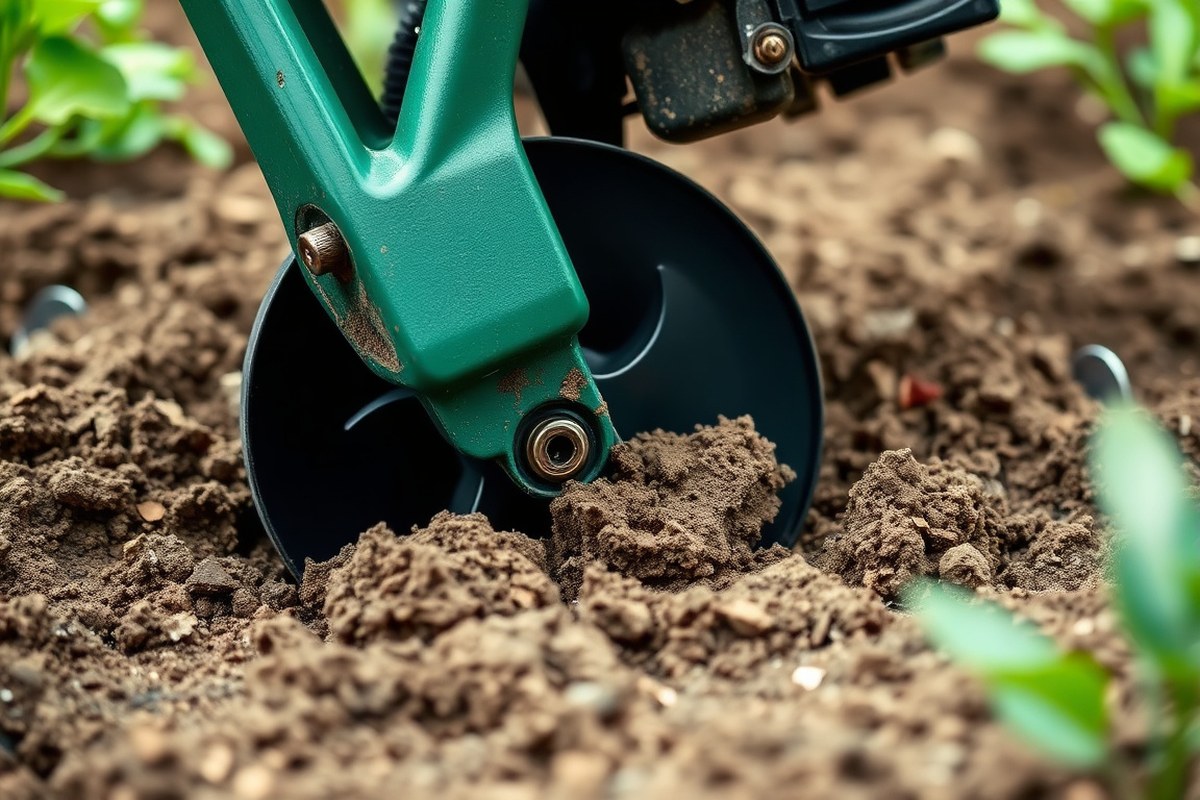
A tiller usually has a set of metal blades called tines at the front or bottom. It often has handles for walking behind and guiding the machine. Some tillers have wheels or adjustable tine settings for different soil types.
Can Tillers Be Used to Remove Large Rocks from Soil?
No, tillers aren’t made to remove large rocks from soil. Rocks can damage the tines and machine parts. It’s best to clear big stones by hand before tilling.
The Bottom Line
A tiller helps you prepare soil by loosening it and mixing in organic matter. Start with small, clear steps to avoid mistakes. Check your tiller before every use.
Use it carefully each time. This helps prepare your soil well for planting.