How to Do a Raised Bed: A Complete Guide for Easy, Long-Lasting Gardens
How to do a raised bed starts with picking the right spot and size. A raised bed helps control soil quality and drainage, making gardening easier.
You want your bed to get about 8 hours of sunlight. Most veggies and herbs need this much light daily.
Next, set a width you can reach across without stepping inside. Beds wider than 4 feet force you to walk in, which compacts soil and harms plants. Place your bed near a wall or fence.
Keep width at 3 feet or less. This makes it easy to reach from three sides.
Depth matters too. Aim for 12 to 18 inches, depending on your soil below. Dig 6 to 12 inches into the ground.
This helps you mix native soil with raised bed mix. That gives roots room while keeping soil light and rich.
Key Takeaways
- Choose a sunny spot with about 8 hours of direct sunlight daily.
- Keep bed widths 3 feet or less if access is limited to three sides.
- Don’t build beds wider than 4 feet to avoid soil compaction from stepping inside.
- Aim for bed depth between 12 and 18 inches based on soil below.
- Dig a trench 6 to 12 inches deep to blend native soil for better root growth.
- Use boards that create a final bed width about 3 inches wider than planned.
What Is a Raised Bed and Why Use One?
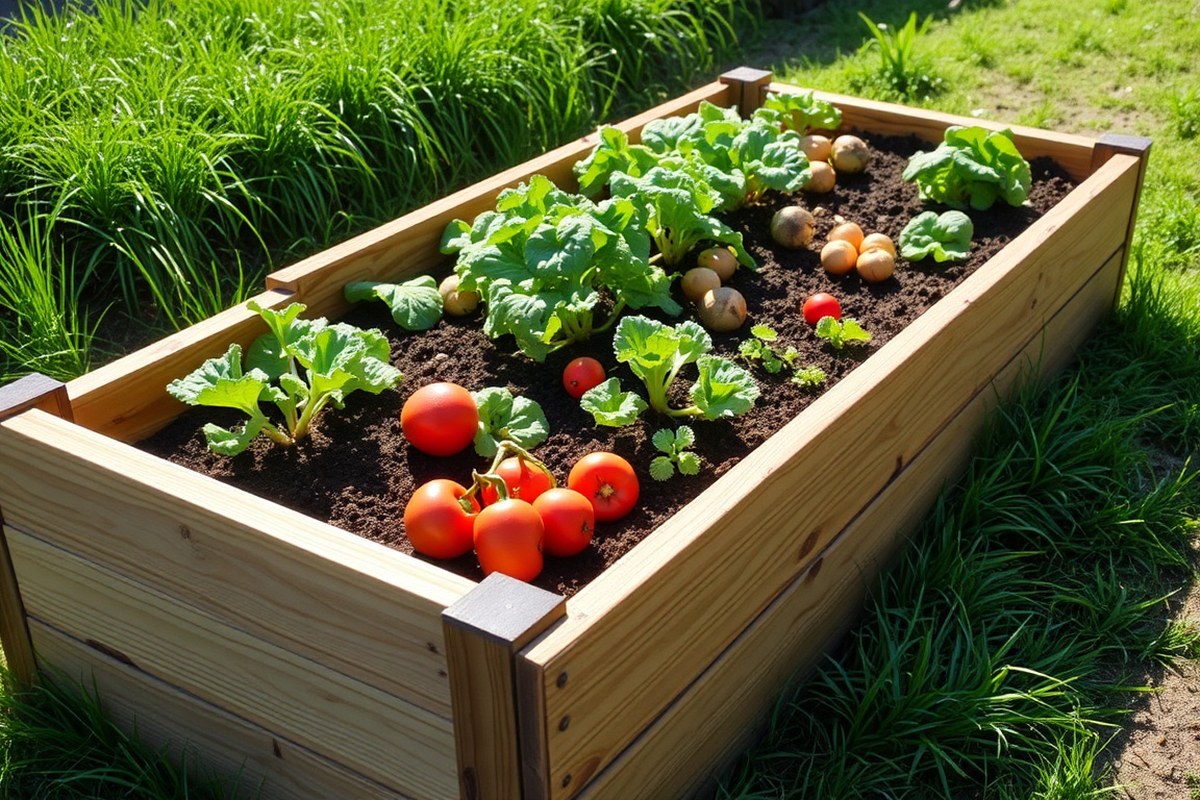
A raised bed is a gardening box built above ground level. It’s filled with specially chosen soil to grow plants. This setup differs from in-ground gardening where you plant directly in your yard’s soil.
Raised beds help gardeners control soil quality, drainage, and access. You can avoid problems like hard clay soil or spots without any soil. This control means you can plant more densely and get better harvests.
The bed usually measures 12 to 18 inches deep, enough for most vegetables. Wider than 4 feet makes it hard to reach inside without stepping in. You want plants close but still easy to tend.
Raised beds drain water better, which prevents roots from sitting wet and rotting. They also warm up faster in spring, giving you extra growing weeks. These beds keep soil from becoming compacted, which helps roots grow strong.
Gardeners use bottomless raised beds when natural soil below is okay. This lets roots grow deep while giving you control over the topsoil blend. Raised beds fix poor drainage or flooding in your yard.
They help water soak in better. Your plants will grow healthier with raised beds.
Raised bed soil dries faster than the ground but sides and plant shade reduce evaporation. It’s important to watch watering needs carefully. Each season, add 2 to 3 inches of compost back into your bed to stay productive.
You fill raised beds with a blend of garden soil, compost, and aeration material. Some gardeners take out turf under beds deeper than 20 inches. Then they add rubble to improve drainage.
This prevents water buildup around roots. This step saves good soil and keeps water moving.
This gardening method suits small spaces, spots with bad native soil, and areas lacking soil entirely. Raised beds combine soil control, drainage, and easy access. They work better than garden rows or pots.
This system helps plants grow stronger and healthier. Raised beds make gardening practical and productive for many home gardeners.
How to Choose the Best Location and Size for Your Raised Bed
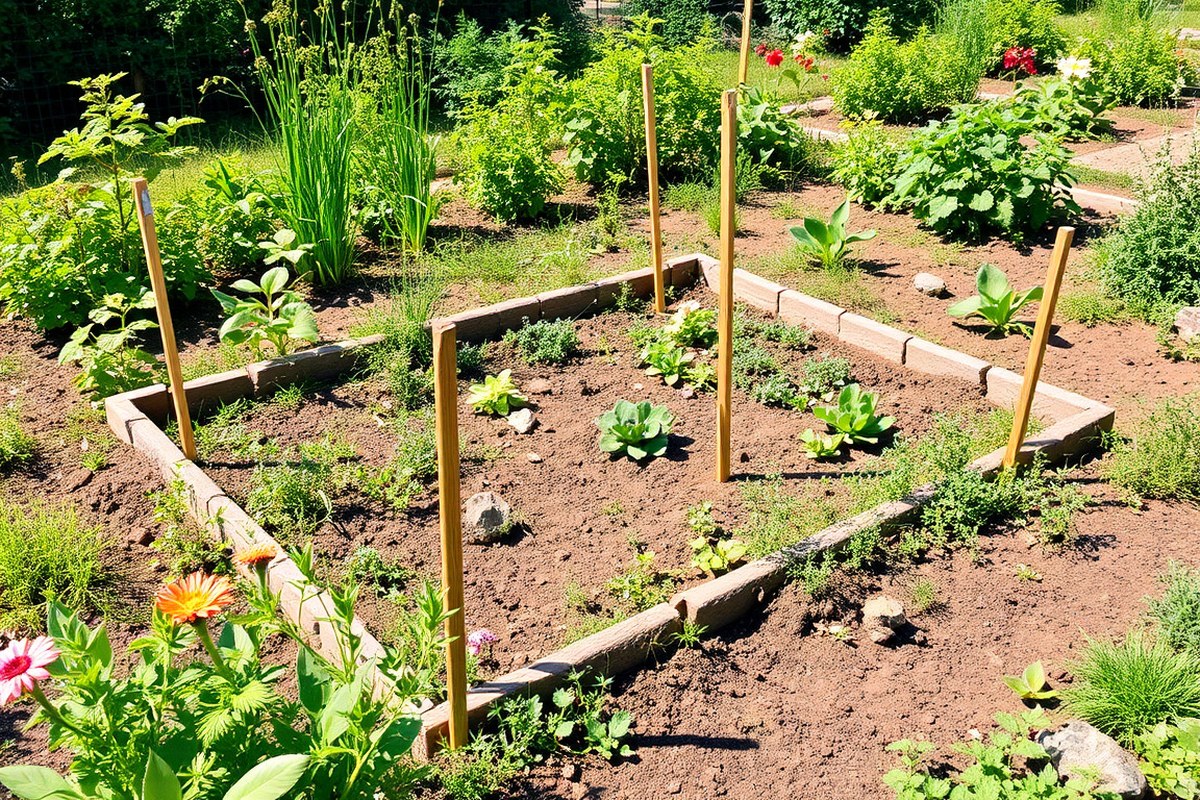
Pick a spot that gets 6 to 8 hours of sunlight each day. Choose an area with easy access and soil or grass underneath.
Aim for beds no wider than 4 feet for easy reach. At least 8 inches deep depending on your plants.
Sunlight Needs for Raised Beds
Most veggies and herbs want 8 hours of sunlight daily. A sunny location helps plants grow strong and healthy. Avoid shady spots under trees or next to tall buildings.
South-facing areas usually get the most sun in the US. Make sure the spot isn’t blocked by fences or walls. Use a handheld light meter or note where shadows fall during the day.
Surface Choices: Grass, Soil, or Hard Ground
You can place raised beds on grass, bare soil, or even concrete. Beds on grass or soil benefit if you dig 6 to 12 inches deep first. This lets roots grow through and improves drainage.
Remove large rocks and debris before filling with soil mix. Beds on hard surfaces need drainage holes for water to escape. Add a layer of gravel to stop water from pooling inside.
This helps keep your plants healthy and soil well-drained. This approach works well on patios or decks. But expect more work to keep soil moist.
Bed Widths and Lengths for Accessibility
Four feet wide is the most common width. This size lets you reach the bed’s center from one side without stepping into it.
Beds work well up to 6 feet wide when you can reach both sides. This lets you tend your plants without stepping inside the bed.
Length depends on your garden’s space but usually stays between 4 and 8 feet long. Longer beds need pathways for easy watering and maintenance. Narrower beds let you work comfortably while sitting or standing.
Choosing Bed Depth by Plant Type
Most vegetables thrive in beds 8 to 12 inches deep. Shallow-rooted plants, like lettuce or herbs, do fine with 8 inches. Root crops (carrots, potatoes) need 12 inches or more for proper growth.
Digging down into the native soil lets you add extra depth. This helps deep-rooted plants and improves soil moisture retention. Avoid beds less than 8 inches deep because roots might be cramped or dry out quickly.
Place your raised bed so you can reach all plants easily without stepping inside the bed.
Choosing and Preparing Materials for Raised Bed Construction
Choose materials that last and stay safe for growing food. Cedar wood is popular for raised beds because it resists rot. It can last up to 20 years outdoors.
This makes it a durable option for your garden. You’ll also need the right tools and accurate measurements to make a sturdy frame.
Best Wood Types for Raised Beds
Cedar wood naturally resists rot, making it the best wood for raised beds. It often lasts 15 to 20 years without needing treatment. Redwood and cypress offer similar rot resistance but come at a higher price.
Pressure-treated lumber is cheaper but can leach chemicals unless labeled safe for gardening. Avoid treated wood with toxins like creosote or old railroad ties.
Pine and fir wood decay faster. So they may only last 2 to 5 years outdoors.
For a 4×8-foot raised bed, you need four 2×6 cedar boards. Cut two boards to 4 feet for the short sides. The remaining two stay 8 feet long for the long sides.
Adding 4×4 corner posts helps if your bed is taller or you want extra support. Screw everything together with 3-inch galvanized or stainless steel screws to prevent rusting.
Non-Wood Alternatives and Their Pros
Long-lasting non-wood options include galvanized steel and composite lumber. Steel is very durable and doesn’t rot but conducts heat, which might affect root temperature. Composite boards combine recycled plastic and wood fibers and won’t rot or splinter.
Concrete blocks and bricks create strong raised bed walls. They require mortar to hold them securely in place. A solid footing is necessary under the blocks.
Logs can work but may break down faster unless sealed. Each alternative varies in appearance, cost, and installation difficulty.
Choose steel or composite materials if you want low maintenance and a modern look. Stick with wood if you like a natural feel and don’t mind occasional upkeep. Costs range from about $30 to $60 per 8-foot board depending on type and quality.
Essential Tools for Building Raised Beds
A power drill with screwdriver bits helps you drive screws quickly for assembly. A circular saw or handsaw lets you cut your lumber to exact lengths. You’ll also want a measuring tape and a carpenter’s square for accurate cuts.
A pencil marks where you need to cut. Safety goggles protect your eyes from sawdust and flying splinters. Work gloves help protect your hands from rough wood and screws.
A level helps check if your frame is even. Clamps hold boards together while you drill screws.
These tools make building easier but are not required. Having all these tools ready saves time and makes the job smoother.
Measuring and Cutting Lumber Accurately
Start by measuring the length of your boards with a tape measure. Mark cuts clearly with a pencil and use a carpenter’s square to draw straight, 90-degree lines. Double-check your measurements before cutting to avoid mistakes.
Clamp the board securely to a stable surface before you cut. Cut slowly and steadily with a circular saw for a clean edge. For handsaws, use smooth, even strokes to avoid splinters and uneven edges.
Cut all boards for multiple raised beds before assembling to save time. Keep scraps nearby to fine-tune your fit or make small fillers. Wear safety goggles and gloves during cutting and drilling for protection.
Step-by-Step Instructions to Build Your Raised Bed Frame
Building a raised bed starts with a clear, level spot and sturdy materials. You need to prepare the ground first. Then assemble the frame sides and corners.
Add supports and level the bed after that. This approach ensures the bed stays stable and well-shaped for healthy plants.
Preparing the Ground and Layout
Clear the area by removing grass, weeds, and rocks. You want a flat surface free from debris to keep your bed stable. A level site helps water drain evenly and prevents soil from washing away.
Use a shovel or hoe to loosen compacted soil and remove roots. Mark the bed layout according to its intended size. Leave enough space around it for easy access and gardening tasks.
Assembling the Frame Sides and Corners
Lay your wood pieces on the prepared site or a flat surface nearby. Start with the longer boards, which usually make the sides. Position two 2x6x8 boards parallel and about 3 feet apart for a common width.
Cut the shorter boards for the ends if needed, making them about 3 inches shorter. This adjustment allows everything to fit correctly when you join the corners. Secure the corners by overlapping the ends and screwing them firmly together.
Adding Supports and Leveling
Support longer beds with additional braces to prevent bowing. For beds longer than 6 feet, add a brace in the middle. Use a galvanized steel mending brace for this.
This goes on the longest side. Attach it using exterior-grade screws to keep the frame solid and straight.
Set the frame on the level ground and adjust it with a carpenter’s level. Check across all sides and corners.
Use shims or soil to raise low spots, so the frame is perfectly level. This avoids uneven soil settling and plant stress later.
- Clear and level the site, removing all vegetation and debris.
- Lay the two long boards parallel to mark bed length and width.
- Cut the short boards to length, ensuring corners fit well.
- Screw the boards together at the corners for a firm frame.
- Place the frame on the site and check with a level tool.
- Add a galvanized steel brace centered on long sides if over 6 feet.
- Adjust the frame height using soil or small shims if needed.
- Add a thin layer of gravel inside the frame for drainage.
How to Prepare and Fill Soil for Optimal Raised Bed Performance
Start by clearing the ground beneath your raised bed frame. Remove any grass or weeds first. Then use a fork to loosen soil.
Go about 6 inches deep. This step improves drainage in your raised bed.
It also helps roots spread. Especially important if soil is poor.
Use a soil mix rich in organic matter for the best raised bed performance. A common recipe includes 40% topsoil, 40% compost, and 20% coarse sand or perlite.
To fill a 4-foot by 8-foot bed, 12 inches deep, you’ll need about 10.7 cubic feet of soil. That breaks down to roughly 4.3 cubic feet each of topsoil and compost, plus 2.1 cubic feet of sand or perlite for drainage.
Layer the soil materials if you want extra drainage and nutrient control. Start with a 2-inch layer of coarse material like small stones or mulch at the bottom. Add your soil mix on top next.
Fill to about one inch below the frame. This layering prevents soggy soil that can harm plants like lettuce and spinach.
Adding compost is essential for ongoing fertility. Mix in about 3 to 4 inches of aged compost each spring and fall. This keeps nutrients available and soil lively without overwhelming your plants.
You can boost soil based on your crop needs. For example, leafy greens prefer slightly richer soil than root vegetables.
Keep soil loose and well-drained. Avoid heavy clay loops. Add vermiculite or sand in wet areas.
Hotter regions may need soil that holds more moisture, so increase organic matter accordingly. Adjust soil types to match your region to avoid water stress in plants.
Over time, refresh your raised bed soil. Remove old plant debris first. Add fresh compost and soil mix.
This maintenance keeps your bed fertile and healthy season after season. Regular loosening with a garden fork also prevents compaction and promotes root growth.
Don’t overfill your raised bed. Leave about an inch of space below the edge for watering and soil expansion.
Planning Plant Layout and Choosing the Right Crops for Raised Beds
Root vegetables like carrots, beets, and radishes grow best in beds at least 12 inches deep. Most annual flowers need 8 to 12 inches of soil depth to develop healthy roots. To grow larger vegetables or perennials, plan deeper soil.
Also, give plants wider space to spread. This helps them grow healthy and strong.
Keep raised beds no wider than 4 feet to reach all plants easily. Space plants based on their mature size. Lettuce and herbs need 6 to 12 inches apart.
This spacing helps avoid overcrowding. Tomatoes and peppers need 18 to 24 inches between them.
This space prevents crowding and lets air flow better. Good airflow reduces disease risk.
Put tall plants like tomatoes or beans on the bed’s north side. This keeps smaller plants from being shaded. It helps all plants get enough sunlight.
Place shorter crops such as lettuce and radishes toward the front or south side. This layout saves space and makes it easier to care for each plant.
Companion planting helps improve growth and deter pests. Pair basil with tomatoes to improve flavor and reduce bugs.
Marigolds planted near vegetables can repel harmful insects. Avoid planting onions next to beans, as they can stunt each other’s growth.
Here’s a simple planting template: plant root crops 3 inches apart in rows 12 inches apart. Leafy greens like spinach can be spaced 6 inches apart.
For herbs, plant 8 to 12 inches apart depending on size. Keep companion plants close to their partners but allow enough room for growth.
You can grow vegetables, herbs, and flowers all in raised beds. Strawberries and herbs like chives and thyme thrive with moderate spacing.
Choose plants suited for your climate and sun exposure to maximize success. Matching your soil mix to crop preferences boosts plant health and yield.
Maintenance, Watering, and Seasonal Care for Raised Beds
Water your raised bed once or twice each week with 1 to 2 inches. Stick your finger 1 to 2 inches into the soil to check moisture. If it’s dry, water using a hose with a nozzle or drip irrigation.
Add compost or aged manure every season, ideally in early spring before planting. Spread 1 to 2 inches of compost on top of the soil. Gently work the compost into the soil surface.
Avoid disturbing the roots of your plants. This replenishes nutrients lost during the growing season and improves soil texture.
Mulch around your plants with straw, leaves, or wood chips about 2 to 3 inches thick. Mulching keeps the soil moist, cut down on weeds, and lowers the chance of pests. Pull weeds by hand regularly before they set seed to stop them from spreading.
To manage pests, use physical barriers like garden fabric or row covers, especially for young plants. Raised beds make it easier to spot insect damage early. Removing affected leaves promptly helps prevent bigger infestations without heavy pesticides.
Cut back dead plants before winter arrives. Add a layer of mulch or straw on top. This helps protect the soil and plants during cold months.
This protects soil from erosion and traps moisture for spring. You can also plant cover crops like clover or rye to improve soil health during winter.
Build hoop frames over your raised beds for season extension. Cover the frames with clear plastic or frost cloth. This setup helps keep plants warmer.
Hoop covers warm the soil and shield plants from frost. This lets you plant earlier in spring or later into fall. It protects plants from cold damage.
Raised beds warm up 2 to 4 weeks sooner than regular soil. This helps crops like onions and carrots grow better and faster.
Common Mistakes and Troubleshooting Raised Bed Gardening
Poor plant growth happens because soil is too shallow. It also happens if soil is compacted. Both make it hard for roots to grow well.
Soil less than 16 inches deep may restrict root growth and reduce water retention. You can check soil depth by pushing a stick or trowel into the bed. You meet resistance quickly when digging.
This means soil could be too shallow. Or it could be packed too tight.
Drainage problems cause water to pool and roots to rot. Beds with no drainage cause problems. Some are placed on concrete which makes this worse.
Adding gravel or perlite can help water drain better. Installing a barrier under the bed stops weeds but may also block water flow. So avoid solid plastic liners.
Frame problems include instability and wooden rot. Frames that wobble often have loose corners. Tighten screws or add corner braces to fix this.
Untreated wood rots in wet soil. Use rot-resistant wood or line the inside with plastic. Check frames yearly for damage and replace rotten boards promptly.
- Use a mix of soil and compost to improve soil quality.
- Install drainage material like gravel to prevent waterlogging.
- Construct beds at least 16 to 18 inches tall for deeper root space.
- Allow the bottom to touch native soil to aid drainage unless on concrete.
- Aerate soil regularly using a garden fork or broadfork.
- Seal wooden frames with exterior-grade paint or stain to prevent rot.
- Add mulch on top to keep soil moist and cool.
Soggy patches and bad smells show poor drainage. These signs tell you your bed’s water isn’t flowing properly. Remove some soil and mix in coarser material.
Plants that look stunted or pale need soil loosened. Use a garden fork to break up compacted soil. This helps roots get air and water.
Sun-exposed frames may dry out soil fast. Shade the bed or water more often during hot days.
Make sure raised beds have secure corners and waterproof treatments to last several years.
Step-by-Step Action Plan
Follow this plan to build and care for your raised bed successfully.
- Day 1: Choose your raised bed location with good sunlight and level ground. Confirm there’s at least 6-8 hours of sun daily.
- Day 2: Gather materials, such as untreated wood or concrete blocks, and hardware. Check that all pieces fit the planned bed size.
- Day 3: Build the raised bed frame following the step-by-step instructions. Make sure corners are square and the frame is sturdy.
- Day 4: Prepare the soil by mixing compost, peat moss, and garden soil in equal parts. Test soil moisture to be damp but not soggy.
- Day 5: Fill the bed evenly with the prepared soil mix, leveling the surface carefully. Ensure no gaps or low spots remain.
- Week 2: Plant your chosen vegetables or flowers according to the layout plan. Seeds or seedlings should be spaced properly for growth.
- Ongoing: Water the bed deeply once or twice weekly, more in hot or dry weather. Check soil moisture with your finger and adjust watering.
- Monthly: Add mulch to retain moisture and control weeds. Inspect plants for pests or diseases and address problems early.
Frequently Asked Questions
How Long Does It Take to Build a Raised Bed Frame?
Assembly is the fastest part. A 4×8-foot frame takes 20, 30 minutes with a drill and screws. You just need to prepare materials before starting.
Can You Build a Raised Bed Wider Than 4 Feet?
It’s best not to make a bed wider than 4 feet. You will have to step in, compacting the soil and hurting plant roots. Stick to 3 or 4 feet wide for easy access.
How Deep Should I Make My Raised Bed?
Raised beds should be about 12 to 18 inches deep. It depends on what’s underneath. More roots need deeper soil, less need shallower beds.
What Happens If I Build My Raised Bed on Grass?
You can dig 6-12 inches down and remove large rocks. Mixing in the raised bed soil helps improve depth and root growth. It keeps plants happy in grass areas.
How Much Soil Do I Need for an 8×4 Foot Raised Bed?
You’ll need about 32 cubic feet of soil for 1 foot deep. That is roughly one cubic yard if you fill it to the top. Make sure to leave a couple inches from the top.
Is It Okay to Build a Raised Bed Against a Fence?
Yes, but keep the width to 3 feet or less. You can only reach it from three sides. Narrow beds prevent soil compaction from reaching plants.
Wrapping Up
Building and maintaining a raised bed improves your garden’s productivity and ease. Start by picking a sunny spot and assembling your frame this weekend. Your new garden bed will be ready for planting in less than a week.