How to Check pH Balance in Soil: 8 Essential Steps for Accurate Testing
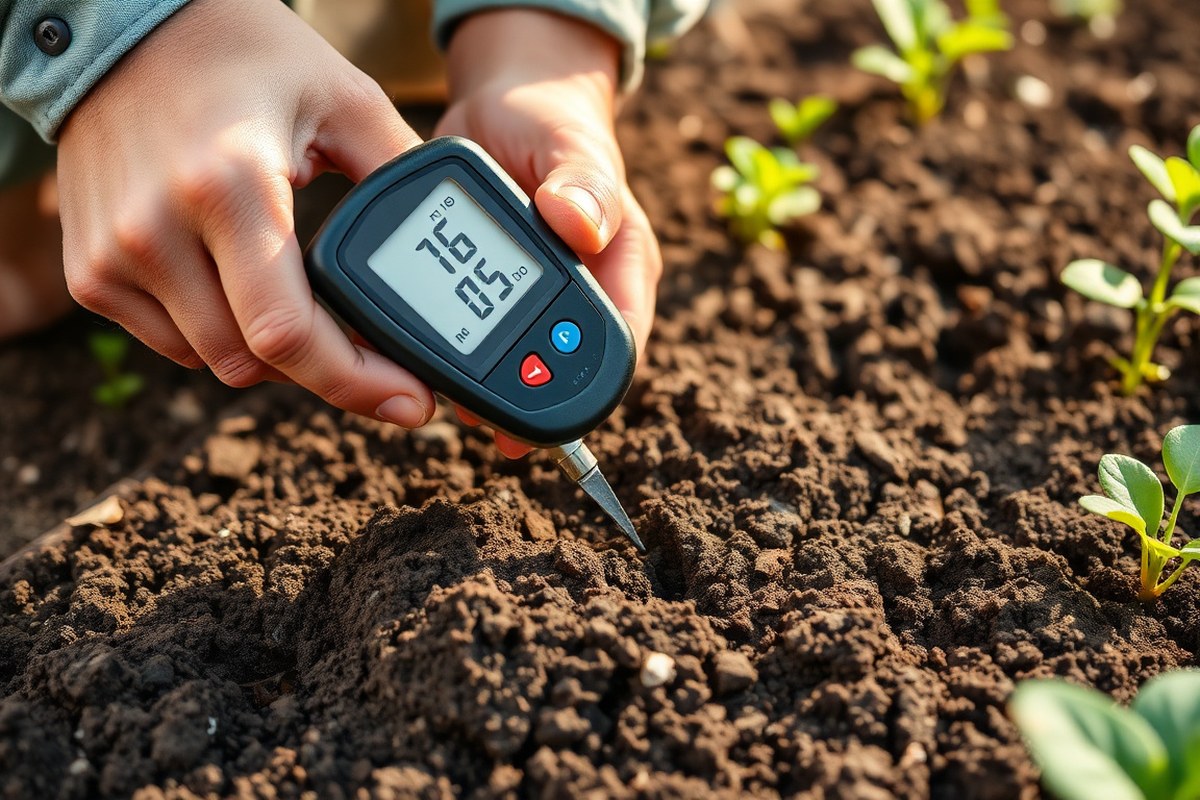
Knowing how to check pH balance in soil can save your plants from trouble. You simply need to test your soil’s acidity or alkalinity. Use a pH test kit for a quick soil check.
You can also send soil to a lab. Labs give precise pH results.
Start by collecting soil from several spots in your garden about 2 to 4 inches deep. Avoid areas with stones, roots, or mulch for a true soil reading. Testing at soil temperatures around 65 to 75 degrees Fahrenheit gives the best accuracy.
Using distilled water mixed with soil helps produce a clear reading. Let the mix settle before dipping the test strip. This method ensures you get a reliable pH value to guide your planting decisions.
Key Takeaways
- Collect soil samples 2-4 inches deep from different garden spots.
- Remove twigs, roots, and debris before testing to avoid errors.
- Combine equal parts soil and distilled water. Stir until the mixture looks clear. This helps measure pH accurately.
- Test soil pH when temperatures are between 65 and 75 degrees Fahrenheit.
- Use fresh soil samples for the most accurate pH readings.
- Simple pH test kits cost $15 to $25 and offer multiple uses.
1. How to Check Soil pH: Essential Testing Methods Explained
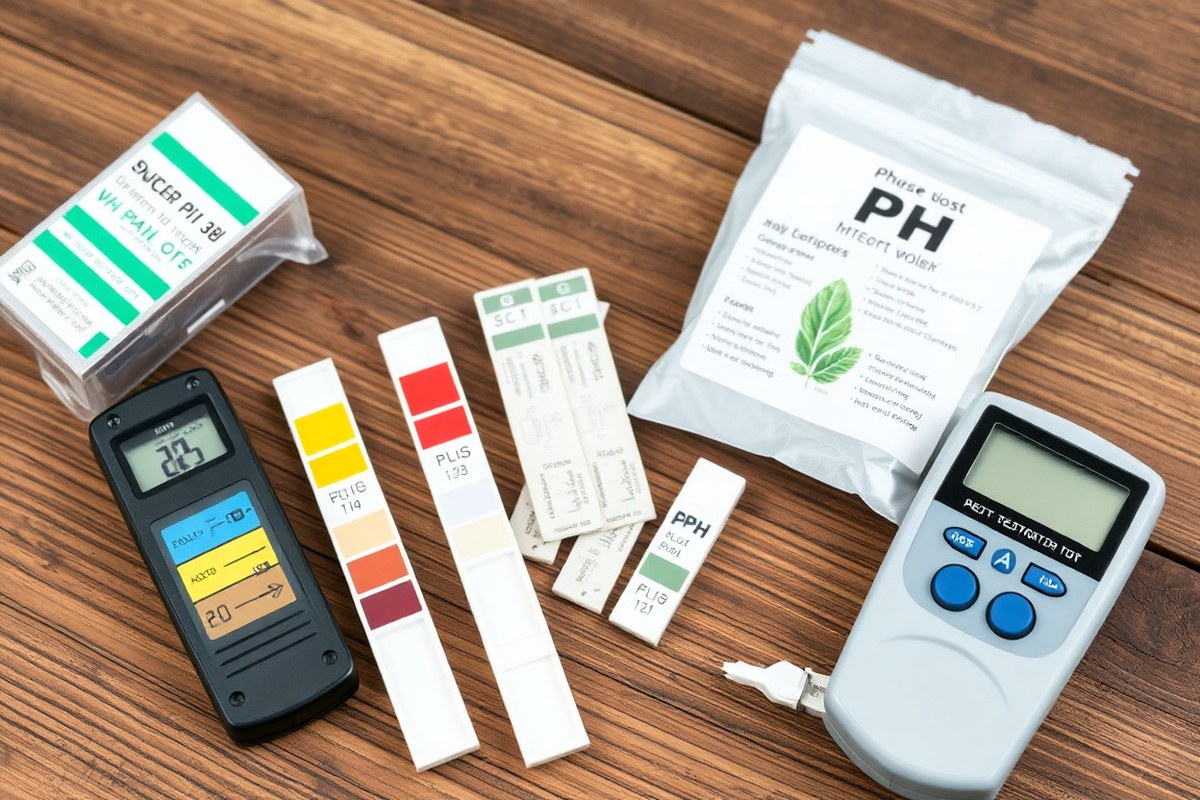
Testing soil pH helps you know if your plants get the right nutrients. You can test soil pH at home or use lab services.
Home methods vary from simple chemical kits to digital meters. Labs offer detailed and accurate results but take longer.
A digital pH meter gives you quick and precise readings. Take a sample of soil for testing. Mix it with an equal amount of water.
Use about ½ cup soil and ½ cup water. Stir well and let it sit for 10 to 15 minutes before inserting the meter’s probe. Clean the probe after each test to keep it working right.
| Method | Cost | Time for Results | Accuracy | Ease of Use | Steps |
|---|---|---|---|---|---|
| Digital pH Meter | $20-$50 (reusable) | Minutes | High | Moderate | Mix soil with water, wait 10-15 min, insert probe |
| Home Test Kit (chemical strips) | $15-$25 | Minutes | Medium | Easy | Mix soil with water, apply solution to strip, read color |
| Lab Test (mail-in) | $15-$20 per sample | 1-2 weeks | Very High | Easy | Collect soil sample, send with form, wait for report |
You start a lab test by getting a clean soil sample. Pack it as instructed in the kit or guidelines from your local extension office.
Send it to the lab and wait about one to two weeks for detailed results. Labs provide recommendations for specific plants, which can help you be more precise about adjustments.
For beginners, home test kits with chemical strips are the simplest. They give quick, easy readings without extra tools.
Digital meters cost more but work well if you test many areas often. Lab tests suit gardeners wanting detailed info and specific advice for their plants.
2. How to Collect Soil Samples for Accurate pH Testing
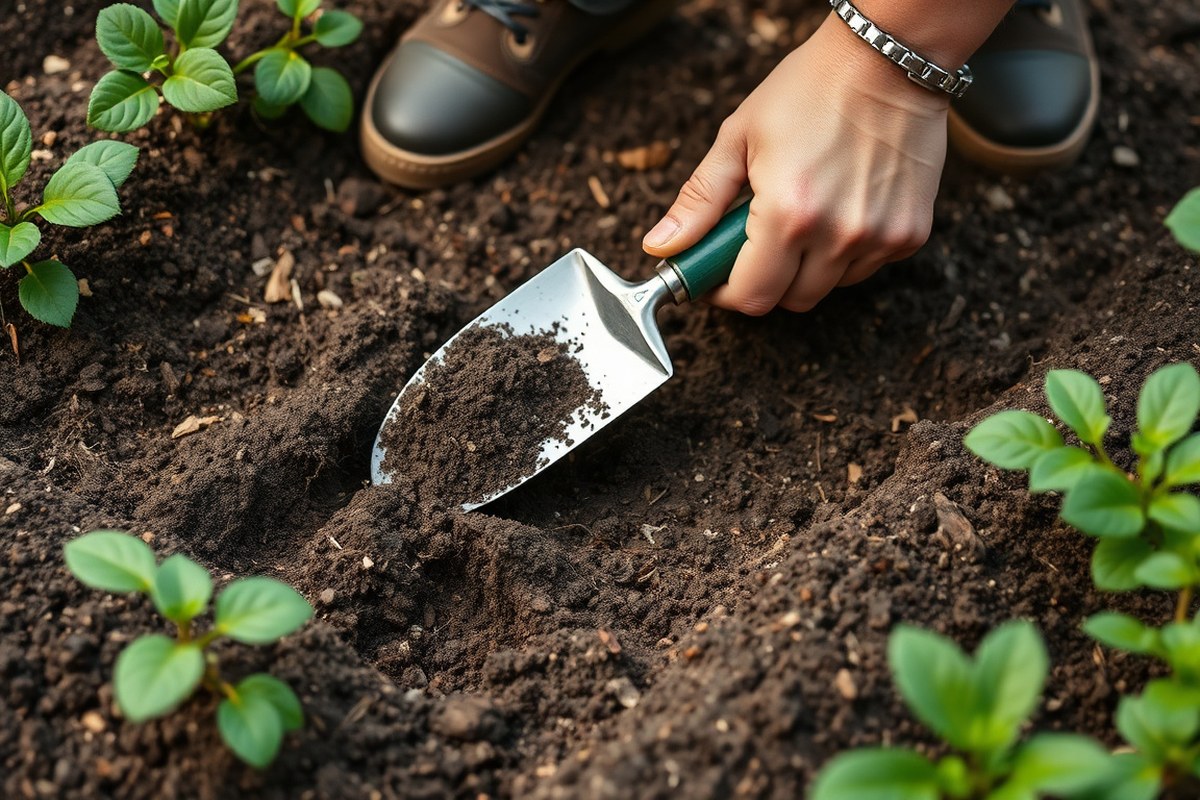
Collecting soil samples properly is key to accurate pH testing. The depth and place where you dig depend on your garden type. You also need several samples to get a clear picture of the soil’s condition.
Sampling Depth and Location
Dig in to the right depth for your plants. For vegetables, take soil from 4 to 6 inches deep.
Lawns require shallower samples, around 2 to 4 inches. Trees and shrubs need samples from 6 to 8 inches deep to capture their root zone.
Clear the surface of leaves, grass, or other debris before you start. Mixing soil from different spots in one area balances out pH variations.
Avoid sampling after heavy rain or soon after fertilizing. This could alter the results.
- Use a clean, non-metal tool like a trowel or soil probe
- Dig a hole to the right depth depending on your plants
- Remove surface debris before collecting soil
- Take soil from the same depth each time for consistency
- Mix soil from multiple spots for a representative sample
Don’t sample within 2-3 days of rain or fertilizer application.
Number of Samples to Take
Collecting multiple samples is needed because soil pH can vary across your garden. For a small garden bed, take 5 to 10 samples from different spots. In larger areas, take more to cover the space well.
Combine all these samples in a clean bucket or bag to mix them evenly. Then take a small portion from that mix for your test. This method gives a more accurate picture than testing one spot alone.
Preparing Soil for Testing
After collecting the soil, spread it out on a clean paper or tray to air dry. Let it dry for at least 24 hours at room temperature. Avoid oven drying or heating as this can change the pH levels.
Remove stones, roots, and debris once the soil is dry. Crush any clumps gently to get a fine, even sample. Store the prepared soil in a clean, labeled container or bag until testing.
- Air dry samples for at least 24 hours
- Do not heat or oven dry the soil
- Remove debris and crush clumps evenly
- Use clean containers for storage
- Label samples with location and date
Testing dry soil gives clearer, more reliable pH readings than wet soil does.
3. How to Interpret Soil pH Test Results Effectively
The pH number tells you if your soil is acidic, neutral, or alkaline. Reading these results helps you know how well your soil holds nutrients. You can match your soil to what your plants need to grow strong.
Understanding the pH Scale
Soil pH runs on a scale from 0 to 14. Numbers below 7 mean acidic soil.
7 is neutral, and above 7 is alkaline soil. For example, a pH meter reading of 6.5 shows your soil is slightly acidic but close to neutral.
Values closer to 0 are strongly acidic, possibly harming plants by locking up nutrients. On the other side, readings above 7 can also make some nutrients unavailable. Most garden soils are best kept between 6.0 and 7.0 to support healthy plant growth.
Plant Preferences by pH
Different plants like different pH levels. Blueberries and azaleas prefer acid soil, around 4.5 to 5.5. Meanwhile, tomatoes and carrots do well in slightly acidic soil between 6.0 and 6.8.
Lavender and asparagus grow best in more alkaline soil, about 7.0 to 7.5. If your soil’s pH is off, your plants might not grow well even with fertilizer. Keeping soil pH in the right range helps plants take up nutrients they need.
Nutrient Availability and pH
Soil pH changes how easily plants get nutrients like nitrogen, phosphorus, and potassium. In very acidic soil, nutrients such as phosphorus get locked up and become hard to absorb. On alkaline soils, elements like iron can be less available, causing nutrient shortages.
Applying fertilizers won’t fix problems if the soil pH is wrong. Testing shows if you need to add lime to raise pH or sulfur to lower it. That way, nutrients become easier for plants to use and your garden stays healthy.
4. Common Mistakes When Testing Soil pH and How to Fix Them
Using metal tools when collecting soil can ruin your pH reading. Metal reacts with the soil sample and gives a false result. Always use plastic or ceramic tools to avoid this contamination risk.
Soil moisture and temperature impact results too. Test soil while it’s damp but not wet. Soggy soil can throw off readings.
PH meters and strips might show the wrong numbers. Temperatures between 65 and 75°F balance the chemical reactions for best accuracy.
Collecting a poor or uneven sample often leads to wrong readings. Mix several samples from different spots in your garden or field before testing. This slurry method helps average the pH and accounts for natural soil variability.
- Don’t test soil that is extremely dry or soaking wet.
- Use distilled water to make the soil slurry; tap water may alter pH.
- Rinse equipment between samples to avoid cross-contamination.
- Check for clear, color changes on test strips within the kit’s time frame.
- Repeat tests if results seem off or don’t match plant health signs.
- Store test kits and meters in a cool, dry place to keep them accurate.
Invalid results often occur when timing is off or kits expire. Follow instructions carefully for reading times and solution mixing. Test several times to confirm unusual readings before taking soil adjustment action.
Spot-check your test kit with a known pH solution or standard. Results that don’t match expected values could mean your kit is old.
A faulty kit might also cause odd results. Replacing or recalibrating your digital meter improves reliability.
5. When and How Often Should You Test Soil pH?
Test soil pH before starting a new garden or vegetable plot. This step helps you pick plants suited to your soil’s natural balance. For established gardens, test every 2 to 3 years to catch slow changes.
Container gardens need more attention. Check their pH every 2 to 3 weeks since their soil changes faster.
Soil temperature affects test accuracy. Aim for 60°F to 80°F, avoiding frozen or overly wet soil.
Testing during early spring or fall works best. Soil then feels moist but not muddy, which helps get reliable readings.
Avoid testing right after heavy rain or irrigation. You want soil moisture near field capacity, just damp enough without pooling water.
- For new beds, test once before planting
- Established beds need testing every 2-3 years
- Vegetable gardens benefit from annual testing
- Check container soil every 2-3 weeks
- Test soil in spring or fall when soil is moist and 60°F-80°F
- Avoid testing after heavy rain or when soil is frozen
- Adjust frequency if plants show stress or yellowing leaves
Test soil when it feels moist but not soggy for accurate results.
Keep notes of your tests to track trends and spot problems early. You don’t have to spend more than $10 on basic test strips. More detailed professional tests cost around $20 to $40 but give precise numbers.
Choose your timing and method based on how often you plant and type of garden. Regular pH checks help you adjust soil properly and keep plants healthy.
6. How to Adjust Soil pH After Testing
Amending soil pH is key to healthier plants and better nutrient absorption. You can raise pH by adding lime, which makes soil less acidic. To lower pH, elemental sulfur works well, as soil microbes convert it into acid.
Apply amendments during spring or fall once soil is warmer than 55°F. For new beds, blend the amendment evenly into 6 to 8 inches of soil. For existing plants, sprinkle amendments on soil surface and gently mix into top 2 inches.
| Amendment | Purpose | Application Rate |
|---|---|---|
| Agricultural lime (calcium carbonate) | Raises soil pH (reduces acidity) | 5 to 10 pounds per 100 sq. Ft. |
| Dolomitic lime (adds magnesium) | Raises soil pH and adds magnesium | 5 to 10 pounds per 100 sq. Ft. |
| Wood ash | Raises soil pH (less acidic) | Use sparingly, about 1 to 2 pounds per 100 sq. Ft. |
| Elemental sulfur | Lowers soil pH (increases acidity) | 0.5 to 2 pounds per 100 sq. Ft. Depending on pH |
Don’t add amendments all at once if plants are sensitive. Use about one-quarter the full rate and wait 7 to 10 days before adding more. This avoids shocking plant roots.
- Test your soil pH in early spring or fall to plan amendments.
- Choose the right amendment: lime or wood ash to raise pH. Sulfur to lower it.
- Measure the area of your garden bed to calculate how much amendment you need.
- Spread the amendment evenly over new beds. Till it into the soil about 6 to 8 inches deep.
- For beds with plants, scatter amendment on soil surface and mix into the top 2 inches.
- Water the soil well after applying amendments to help them dissolve and work.
- Wait several weeks and retest soil pH before planting, or before adding more amendments.
7. Factors That Influence Soil pH and Test Accuracy
Soil type greatly affects pH levels. Clay soils often hold more acidic or alkaline cations than sandy soils. Organic matter acts as a buffer, helping soil resist sudden pH swings.
Finding fewer than ten earthworms in a handful suggests low organic matter or off pH in your soil. Checking moisture helps too.
Wet soils can temporarily lower pH readings. So test when the soil is moderately dry for better accuracy.
Rain and snow gradually lower soil pH by leaching nutrients such as calcium. Soil acidity varies as temperature and moisture levels change throughout seasons.
Don’t test soil within three months of applying lime, fertilizer, or organic matter to avoid skewed pH results. Allow soil to settle for several months so pH stabilizes and test results are reliable.
Temperature influences the accuracy of pH tests. Soil temperatures near 50 to 77°F (10 to 25°C) provide the most reliable measurements. Extreme cold or heat affects the chemical reactions in the test.
Let your soil samples reach room temperature before testing if they feel too cold or hot. Also, let soil particles settle in water during test preparation. This prevents staining on test strips that could obscure the reading, ensuring clearer results.
8. Choosing Between Home Testing and Professional Soil Analysis
You can check soil pH at home or send samples to a lab. Home tests give fast results but labs provide more detail. Choose based on budget, accuracy needs, and plant importance.
Advantages of Home Testing
Home soil test kits and digital meters cost less. They usually range from $10 to $30 per kit. Most give results in 5 to 30 minutes.
These tests are easy to use in your garden anytime. You just mix soil with water and testing solution. The color or meter reading shows the pH quickly.
They work well for routine checks or small garden patches. But results may vary if the soil sample is not well collected. Also, they measure pH only, not nutrients.
Benefits of Professional Lab Tests
Labs provide detailed pH plus nutrient and mineral analysis. Tests cost about $10 to $25 per sample, though prices vary. Local extension services often offer affordable lab testing.
Turnaround time usually takes 1 to 3 weeks. You mail soil to a lab, like your county extension office. Labs use precise chemical methods to measure many soil factors.
This helps for complex problems or preparing important plantings. Lab reports include specific pH levels, nutrient content, and recommendations. Complete results aid in adjusting soil properly.
| Test Type | Cost per Test | Accuracy | Turnaround Time |
|---|---|---|---|
| Home Soil Test Kit | $10, $30 | Moderate, pH only | Minutes |
| Professional Lab Test | $10, $25 | High, pH + nutrients | 1, 3 Weeks |
A clear understanding of costs, accuracy, and timing helps choose your test method. Labs cost less than you might expect for detailed information. Home testing stays handy for quick checks.
When to Consult Experts
Send soil samples to a professional lab for critical plantings. This includes fruit trees, large vegetable gardens, or lawns. Lab results guide precise soil amendments.
Persistent plant problems or unclear symptoms need lab analysis. Your local extension office can help interpret results and advise treatments. For example, Cornell Soil Health Lab processes samples professionally.
Consult experts if you want thorough nutrient profiles beyond pH. They also recommend amendments tailored to your soil’s needs. This reduces guesswork and avoids costly mistakes.
Collect soil samples carefully to represent your garden bed evenly before testing.
Step-by-Step Action Plan for Testing and Adjusting Your Soil pH
Follow these steps to test your soil pH accurately. Then, make changes that help your plants thrive.
- Day 1: Collect soil samples from different spots in your garden. Mix them for a good average.
- Day 2: Use a home pH test kit or send samples to a lab. Choose based on your budget and trust.
- Day 3: Record your test results carefully. Note if soil is acidic, neutral, or alkaline.
- Week 1: Decide how to adjust your soil pH. Add lime to raise it or sulfur to lower it.
- Week 2: Apply the chosen amendments evenly to your soil. Follow label instructions for amount.
- Week 4: Water the soil well after amendment. This helps activate the changes in pH.
- Month 2: Test your soil pH again to see if it reached the healthy zone. Adjust more if needed.
Frequently Asked Questions
Can I Test Soil pH Using Household Items?
Yes, adding vinegar to a soil sample tests for alkalinity. If it bubbles, the soil contains free calcium carbonate and is alkaline. This quick home test hints at soil pH but is less precise than kits.
How Does Soil Moisture Affect pH Testing Accuracy?
Moisture changes soil pH readings by diluting or concentrating the sample. Testing moist soil or mixing soil with distilled water helps get accurate results. Dry soil usually needs watering or waiting for moisture balance before testing.
Can Soil pH Affect Fertilizer Effectiveness?
Yes, nutrient absorption drops if soil pH is off balance. Most fertilizers work best between pH 6.2 and 7.2. Testing soil pH before applying fertilizer ensures plants use the nutrients properly.
How Long Should I Wait to Test Soil pH After Applying Amendments?
Wait several weeks for amendments to affect pH noticeably. Soil chemistry changes slowly, so test twice a season, in spring and fall. Always apply amendments when soil temperature is above 55°F for best results.
Does Soil Depth Matter When Testing pH?
Yes, soil pH can vary at different depths. For garden beds, test at root level, about 6 to 8 inches deep. This ensures pH readings reflect the soil where plant roots grow.
Can Soil pH Change During the Growing Season?
Yes, pH can shift due to rainfall and fertilizer use. Testing early and late season helps track changes and adjust soil management. This avoids nutrient problems during critical plant growth stages.
Before You Go
Knowing your soil’s pH helps you grow healthier plants. Start by testing today, so you can fix any problems early. Keep checking your soil every season to keep it in balance.