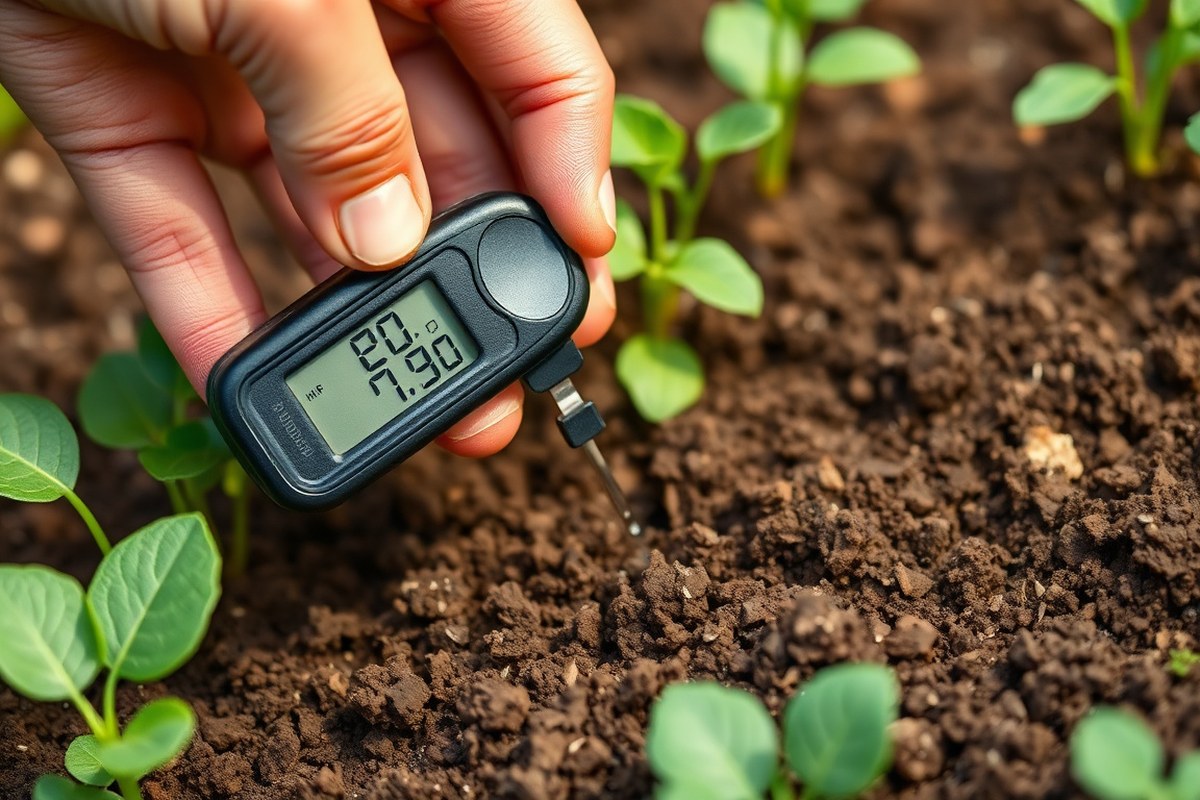
How to Check Soil pH: 8 Proven Methods with Accuracy Tips
How to check soil pH is a common question for gardeners. The quickest way is to use a home soil pH test kit. These kits give a quick pH estimate.
You mix soil with water. Then you dip in a test strip.
To get accurate results, collect your soil sample carefully from about 2 to 4 inches deep. Make sure the soil is moist.
But not soaked. Test when outdoor temperatures are between 65 and 75 degrees Fahrenheit.
Wait at least 30 minutes after mixing soil with distilled water. This helps the test show true soil pH.
This simple step improves the accuracy of most kits. So you get reliable data for your garden plants.
Key Takeaways
- Collect soil samples from several spots in your garden for better results.
- Use distilled water when mixing soil for the pH test to avoid contamination.
- Test soil moisture; moist soil gives more consistent pH readings than dry soil.
- Keep soil temperature between 65°F and 75°F during testing for accuracy.
- Let the soil-water mix settle for 30 minutes before reading test strips.
- Retest every 2 to 3 years or before planting new beds to track pH changes.
1. How to Test Soil pH at Home Accurately
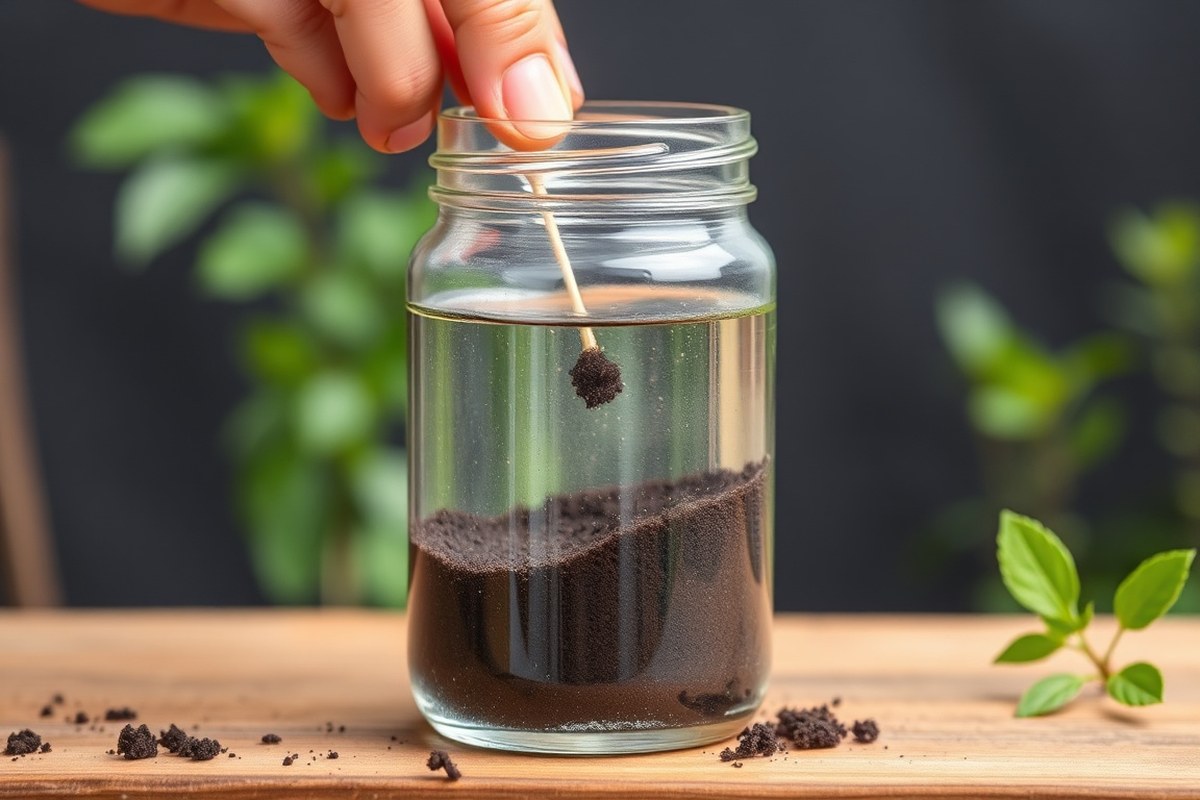
Checking your soil’s pH at home is simple with the right tools and steps. You can use a digital pH meter, test strips, or a kit. Each gives fairly accurate results for gardening.
These options are easy to use at home. Some gardeners even create a soil slurry with distilled water for better testing consistency.
You may wonder if a kit is necessary. Test kits or meters avoid guesswork in checking soil pH. You can also try DIY methods using household items.
These methods can work in a pinch. However, these homemade tests give more of a rough estimate.
So using a quality test kit is better for accuracy. Properly preparing the soil sample before testing always improves your results.
Follow these steps to check your soil pH accurately at home:
- Gather soil from several spots in your garden for a mixed sample.
- Remove grass, roots, and debris from the soil pieces.
- Let the soil dry for 24 hours at room temperature, then crush it.
- Mix half a cup of prepared soil with the same amount of distilled water. Stir to make a smooth slurry. This mix helps measure pH better.
- Stir the slurry well and let it sit for 15 to 30 minutes.
- Use a soil pH meter, test strips, or chemical test kit to measure the slurry’s pH.
- Compare your results with the kit’s chart or meter reading to find your soil pH.
- Clean your tools after each use for consistent accuracy in future tests.
Equal parts soil and distilled water make the slurry just right. It won’t be too thick or too thin. This balance helps give clear test results.
Avoid tap water since minerals can affect the test results. Waiting after mixing allows the soil’s pH to stabilize in the water before you measure it.
Digital pH meters cost around $15 to $50 and give you quick, easy readings. Test strip kits cost about $10 to $20. They come with color charts to read results.
These are good low-cost options for testing soil pH. Chemical test kits are usually affordable and easy to read.
You need to be careful interpreting the colors correctly. This helps avoid wrong pH conclusions.
Testing soil pH at home before planting is helpful. It makes matching crops to soil easier. This step improves your garden’s chances of success.
It also guides you if you plan to add lime or sulfur to adjust pH. For the most critical plantings, consider sending samples to a lab. But home tests handle most gardener needs just fine.
2. Collecting and Preparing Soil Samples for Accurate Testing
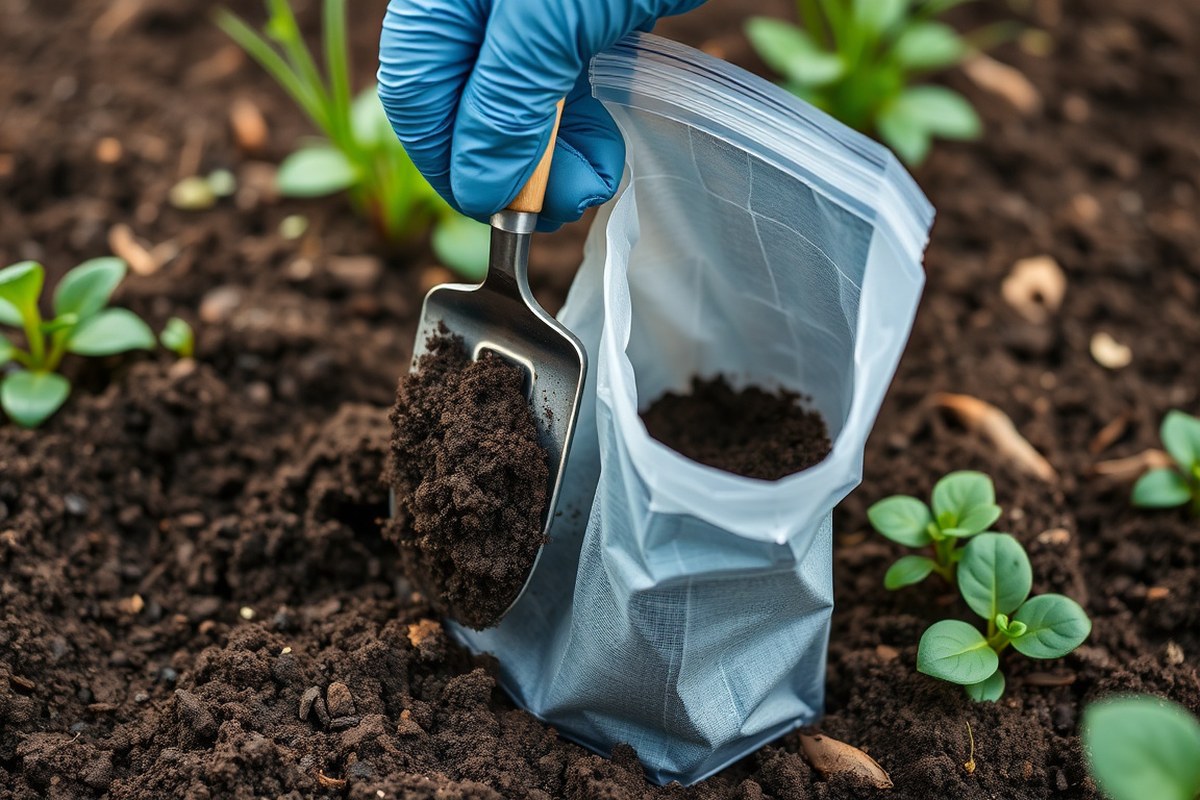
Collecting soil samples correctly is key to accurate pH testing. You want a mix of spots in your garden to get a true average. Taking soil from the right depth and handling it properly keeps the sample reliable for testing.
Number and Location of Samples
Soils can vary a lot across your garden. Taking several samples from different areas helps avoid misleading test results. You should gather at least 5 to 10 small samples for one test.
Pick spots that represent your garden’s different soil types and plant beds. Avoid sampling near compost piles, fertilizer spots, or pet areas. Collect soil evenly across sunny and shaded spots if they are both common.
- Use clean, non-metal tools like a trowel or soil probe
- Sample areas about 10 to 15 feet apart for larger gardens
- Mix samples in a clean plastic bucket to form one composite sample
- Label samples by area or plant bed for future tracking
- Follow a consistent sampling pattern every time you test
Sampling the same spots and following a routine improves results over time.
Sampling Depths by Plant Type
Check soil depth where plant roots are active. For vegetables, dig down 4 to 6 inches to capture soil roots reach. Lawns need shallower sampling, 2 to 4 inches deep.
Trees and shrubs have deeper roots. So sample 6 to 8 inches deep around their base.
Flower beds usually do well with 4 to 6 inches depth. Use your garden’s most active root zones as your guide.
Sample Handling and Storage
Keep soil samples clean and dry to avoid contamination. Use plastic containers or bags with a tight seal. Avoid metal tools or containers as they may alter pH readings.
Label each sample clearly with date and location. Test soil samples quickly. Store them in a cool, dry place.
Send them to the lab when ready. Avoid freezing the soil, as temperature swings can affect test results.
- Remove large roots, stones, and debris before mixing
- Air-dry samples if moist, spread thin on newspaper indoors
- Do not add water before testing, unless instructed by test kit
- Send samples to labs promptly following their packaging instructions
- Wear gloves to prevent oils or residues from affecting samples
3. What Affects Soil pH Test Results and Accuracy
Several factors can change your soil pH test results and make them less accurate. Soil moisture, temperature, and soil type all play a role. How you handle your soil samples before testing also matters.
Soil Moisture Content Effects
Testing soil that is too dry or too wet can give you off pH readings. Dry soil may show higher pH, while soggy soil might seem more acidic. For best results, moisten your soil sample with clean, filtered water.
Keep adding water until it feels like a damp sponge. Then you can test the soil.
Try not to soak the sample too much, as extra water dilutes the soil solution. Let your wet sample sit for a few minutes so the moisture spreads evenly. This step helps the test solution react properly and gives a more stable reading.
Temperature Influence
You want to test soil pH at about 65 to 75 degrees Fahrenheit for accuracy. Outside this range, the readings might shift slightly because chemical reactions change pace with temperature. Cold soil can slow reactions, making pH look lower than it really is.
Test soil indoors if it’s cold outside. Warm your sample for 30 minutes before testing.
Avoid heating soil too much because high temperatures can also affect pH levels. Stable, room temperature helps you get consistent results.
Soil Texture and Composition Variations
Clay, sandy, and loamy soils all behave differently in pH tests. Clay soil holds more nutrients and water than sandy soil. This can buffer changes in pH.
It may also hide how acidic or alkaline the soil really is. Sandy soils drain quickly and can show more extreme pH swings.
Organic-rich soils may have fluctuating pH because decaying matter changes acidity over time. Knowing your soil type helps you choose the right amount of amendment. This helps you reach a pH near 6.
You need different amounts depending on your soil.5. Testing each soil type separately improves accuracy, especially in mixed gardens.
4. Interpreting Soil pH Results for Your Garden
Soil pH values range from 0 to 14. Numbers below 7 mean the soil is acidic.
Numbers above 7 mean alkaline soil. A reading of exactly 7 is neutral soil, which is rare in gardens.
Understanding your soil’s pH helps you pick plants that will grow well. Most plants like soil between pH 6.0 and 7.0. This range makes nutrients in the soil easier for plants to use.
For example, a pH of 6.0 is slightly more acidic than 6.5. That small difference matters because nutrient availability changes quickly in this range.
Below is a simple guide for common plants and the pH they prefer. This table helps you see which plants like acidic, neutral, or alkaline soil. You can check your soil pH to help decide what to plant.
You can also adjust your soil to match plant needs. This helps plants grow better in your garden.
| Plant | Preferred Soil pH | Soil Type |
|---|---|---|
| Tomatoes, Carrots | 6.0 – 6.8 | Slightly Acidic to Neutral |
| Blueberries, Azaleas | 4.5 – 5.5 | Acidic |
| Lavender, Asparagus | 7.0 – 7.5 | Slightly Alkaline |
| Apple Trees | 5.0 – 6.5 | Acidic to Slightly Acidic |
| Potatoes | 4.5 – 6.0 | Acidic |
| Acacia, Walnut Trees | 6.0 – 8.0 | Neutral to Alkaline |
Use these ranges to interpret your soil test. Say you get a pH of 6.2. This soil works well for most vegetables and fruit plants.
A reading of 7.3 means the soil is slightly alkaline. So choose plants like asparagus or lavender.
Adjusting soil pH is tricky. So aim for the sweet spot, around 6.5, for the most crops.
A soil pH test tells more than just numbers. When testing, watch for fizzing or bubbling. No bubbles mean neutral or acidic soil; bubbles could mean alkaline.
Also, good soil has plenty of earthworms, usually ten or more in a handful. Fewer worms can mean the soil is not healthy, possibly too acidic or alkaline. These little clues, with pH results, guide you to better gardening decisions.
5. Comparing Home Soil pH Testing Methods: Accuracy and Cost
Home soil pH testing options differ widely in cost, accuracy, and effort. Digital meters cost $30 to $100. They give quick, easy readings.
The margin of error is about ±0.2 pH units. Chemical kits are cheaper, about $15 to $25, deliver instant results. But they typically have errors near ±0.5 pH units.
Labs give precise results with detailed reports. They cost $20 to $50. Results usually take a few weeks.
DIY methods like vinegar or baking soda tests cost very little. PH test strips are also inexpensive. These methods aren’t very reliable.
Chemical kits and digital meters suit gardeners who want fast, rough readings to guide pH adjustments. Labs benefit those needing exact data or nutrient analysis for specific plants.
Testing frequency depends on your garden’s stability. But one to two times yearly is enough for most home soils.
| Method | Cost | Accuracy | Time to Results | Ease of Use |
|---|---|---|---|---|
| Digital Soil Meters | $30 – $100 | ±0.2 pH units | Minutes | Easy; requires calibration |
| Chemical Kits | $15 – $25 | ±0.5 pH units | Minutes | Simple; multiple tests included |
| Laboratory Tests | $20 – $50 | Most accurate | 1-3 weeks | Requires sample mailing |
| DIY Methods | Low to none | Less reliable | Minutes | Easy; less precise |
Digital meters provide fast readings and often include features like electrode diagnostics. They require proper calibration before each use to stay accurate. Chemical kits let you test multiple soil samples quickly, helping spot pH differences across your garden.
Lab tests report pH and suggest care for plants like oak trees. This helps gardeners who want extra value.
Repeat tests yearly or before planting new crops to catch pH changes early.
Choose a method based on how much precision you need and your budget. A home kit or meter saves time and money for general pH ideas. For specific recommendations or nutrient analysis, a laboratory test is best despite the wait.
DIY tests work for quick checks but don’t replace proper kits or lab results. Taking good samples from different garden spots improves all test results.
6. When and How Often to Test Soil pH
Test your soil pH in early spring or fall. These seasons offer moist soil that isn’t waterlogged, making testing more accurate.
Early spring testing gives you time to adjust pH before planting. Fall testing lets amendments work over winter.
Check soil pH at least once a year to keep plants healthy. Notice plant growth problems or add new beds? Test soil first.
Some plants, like blueberries, need special soil pH. Test soil more often. Use containers with ericaceous compost if soil is not right.
Take soil samples from the same depth each time. Usually, this depth is 3 to 6 inches below the surface. Consistency helps track real pH changes over time.
Depending on your location, local weather and soil type might affect pH shifts. So watch for regional patterns.
Test soil in spring to plan amendments like lime. Lime helps reduce acidity if pH is below 6. Soil pH above 7 means the soil is alkaline.
Adjustments may be needed for acid-loving plants.5, it’s alkaline, and you may need sulfur or similar to balance it. Testing now gives you months for the changes to take effect before planting starts.
Fall testing is better if you want amendments integrated before the next season. Applying lime or sulfur in the fall means the soil absorbs it during colder months. This timing reduces stress on your plants and improves soil conditions early in spring.
Testing kits often cost $15 to $25 and measure pH plus nutrients like nitrogen or phosphorus. Using the same kit yearly maintains consistent data. Avoid testing after heavy rain because water can temporarily shift pH and give misleading results.
7. Adjusting Soil pH Based on Test Results Safely
Adjusting soil pH starts with knowing your test results. If your soil is too acidic, adding lime helps raise pH.
For alkaline soil, sulfur or organic matter slowly lowers pH. Timing and how you mix these amendments matter for safe and effective changes.
Raising Soil pH with Lime
Using lime is the most common way to make acidic soil less acidic. Spread 5 to 10 pounds of agricultural lime per 100 square feet. Mix it into the top 6 inches of soil to help it work faster.
Apply lime in the fall or early spring before planting. This timing gives it months to change the soil before roots need nutrients. Dolomitic lime adds magnesium if your soil test shows a magnesium deficiency.
Lowering Soil pH with Sulfur or Organic Matter
Elemental sulfur is a strong acidifying agent. Microbes convert it into sulfuric acid, which lowers pH. Use 1 to 3 pounds per 100 square feet depending on how much pH must drop.
Adding compost or pine bark gradually lowers alkaline soil while improving texture. Organic matter changes pH slowly, so apply it regularly. Avoid too much sulfur at once to prevent harming plants.
Maintaining Balanced Soil pH
Keep soil pH steady by testing yearly and adding small amounts of organic matter. Regular compost feedings improve soil structure and buffer pH swings. Avoid over-applying chemical amendments to prevent sudden pH shifts.
Water your garden well after adding amendments to help them blend into the soil. Mulch with organic materials like straw or wood chips to protect soil and maintain moisture. Consistent care supports healthy plants and stable soil chemistry.
Follow these steps to adjust soil pH safely and effectively:
- Check your soil pH test results carefully.
- Choose lime to raise pH if your soil is below 7.0.
- Spread lime evenly over the soil surface.
- Mix the lime into the top 6 inches of soil.
- Apply sulfur or organic amendments to lower pH if soil is above 7.0.
- Water the soil thoroughly after applying any amendments.
- Test soil again in 3 to 6 months to see if results improved.
- Add compost regularly to keep pH balanced over time.
8. Avoiding Common Soil pH Testing Mistakes
Testing soil pH can go wrong if you don’t avoid key mistakes. Using dirty or metal tools can change the result by contaminating the sample. Testing right after heavy rain can give false readings.
Fertilizer can also temporarily change soil chemistry. Wait before testing for more accurate results.
Taking too few or uneven samples often causes errors. Mixing soil from only one spot misses the garden’s variety. Spread your sampling across the area and combine several samples for a reliable average.
Testing during very hot or cold weather may skew results. Soil moisture levels and reactions change in extreme temperatures. Avoid testing in harsh weather for best accuracy.
- Wait at least 2 to 3 days after rain or fertilizing before sampling
- Use clean plastic or ceramic tools, never metal, to avoid contamination
- Collect at least 10 to 15 small samples around your garden spot
- Stir samples well to create a uniform mix for testing
- Test soil when temperatures are moderate, not during heatwaves or freezes
- Send samples to a lab only after confirming their sample process and timing
- Read instructions carefully to interpret results and avoid over-correcting pH
Conflicting test results call for retesting following the checklist above. When you retake samples, use the same method but strive for better coverage and timing.
Compare the newer results and trust patterns rather than single test numbers. Some home kits have margins of error, so cross-checking with a lab can help.
Always clean your testing tools after each use to avoid contaminating future samples.
Misreading numbers drives unnecessary changes, which can harm plants by shifting pH too far. Instead, aim for steady adjustments and retest after about a month. Add amendments only to the top 2 inches of soil.
This protects roots in established plants from shock. Deep mixing can harm root systems and plant health.
Testing soil pH well means paying attention to timing, tools, and sampling details. Taking these small careful steps can prevent frustration.
You’ll grow healthier plants and avoid guessing corrections. Careful soil care saves time and effort later.
Step-by-Step Action Plan for Testing and Adjusting Soil pH
Follow these steps to test soil pH and make effective changes for a healthy garden.
- Day 1: Collect several soil samples from different garden spots using clean tools. Mix samples well to get an average reading.
- Day 2: Use a home pH test kit or digital meter. Test the soil sample you mixed the day before. Make sure to follow the kit instructions carefully. Record the pH value shown.
- Day 3: Compare your soil pH readings to your plant needs. Note if soil is too acidic, alkaline, or just right.
- Week 1: Add lime to raise pH or sulfur to lower pH based on test results. Follow product instructions carefully.
- Week 3: Water the soil lightly and check moisture before retesting. Proper moisture helps pH results stay accurate.
- Week 4: Retest soil pH at the same spots to confirm adjustment worked. Expect small changes at first.
- Every 6 Months: Retest soil pH to catch any shifts over time. Seasonal changes can affect soil chemistry.
Frequently Asked Questions
What Tools Do I Need to Check Soil pH at Home?
You need a soil pH test kit or pH meter. Most kits include reagents and color charts for easy reading. Some digital meters offer added features like electrode calibration to improve accuracy.
Can I Test Soil pH Year-Round or Just Certain Seasons?
Testing is best in spring or fall when soil temps are above 55°F. Soil pH can fluctuate with weather and moisture. So these seasons give consistent results. Avoid testing right after heavy rain or drought.
How Deep Should I Dig to Collect a Soil Sample for Testing?
Collect soil from 2-4 inches deep to get a good reading. This depth covers the root zone of many plants. Avoid surface debris or overly wet soil for better accuracy.
Why Does Soil pH Affect Plant Nutrient Uptake?
Soil pH influences how easily plants absorb nutrients. Nutrients may become locked or less available outside proper pH ranges. This affects plant growth and health, so checking pH helps optimize feeding.
Can Soil pH Tests Help If Plants Are Unhealthy?
Yes, testing can reveal if pH is too acidic or alkaline. Unusual pH can stress plants and lower yields. Testing is a smart first step when troubleshooting poor plant performance.
How Often Should I Repeat Soil pH Tests in My Garden?
Test every 2-3 years or before planting new crops. Repeated tests track changes after adding amendments or fertilizer. This helps you keep soil pH in the best range for your plants.
Wrapping Up
Testing soil pH helps your garden plants grow strong and healthy. Act on your test results by applying the right amendments. Keep testing regularly to maintain good soil balance.