When to Plant Potatoes in Zone 5: A Complete Guide for Best Timing & Varieties
Knowing when to plant potatoes in Zone 5 matters for a good harvest. Plant them 2 to 3 weeks before your last spring frost date for best results. Usually, that means late March or early April in this zone.
Wait until the soil warms to at least 40°F before planting seed potatoes. Planting too early risks frost damage to your young sprouts. Also, keep your seed potatoes in a cool, dark place before planting to encourage strong shoots.
Space seed pieces 6 to 12 inches apart and plant them 4 to 6 inches deep. Avoid planting where potatoes or similar crops grew in the past 3 years. This helps prevent disease and ensures your plants thrive in healthy soil.
Key Takeaways
- Plant potatoes 2 to 3 weeks before your last spring frost date in Zone 5.
- Wait until soil temperature reaches at least 40°F before planting.
- Keep seed potatoes cool and dark before planting to encourage sprouting.
- Plant seed pieces 4 to 6 inches deep with eyes facing up.
- Space potato pieces 6 to 12 inches apart in rows 2 to 3 feet apart.
- Avoid planting potatoes in spots where tomatoes, peppers, eggplants, or potatoes recently grew.
When Is the Best Time to Plant Potatoes in Zone 5?
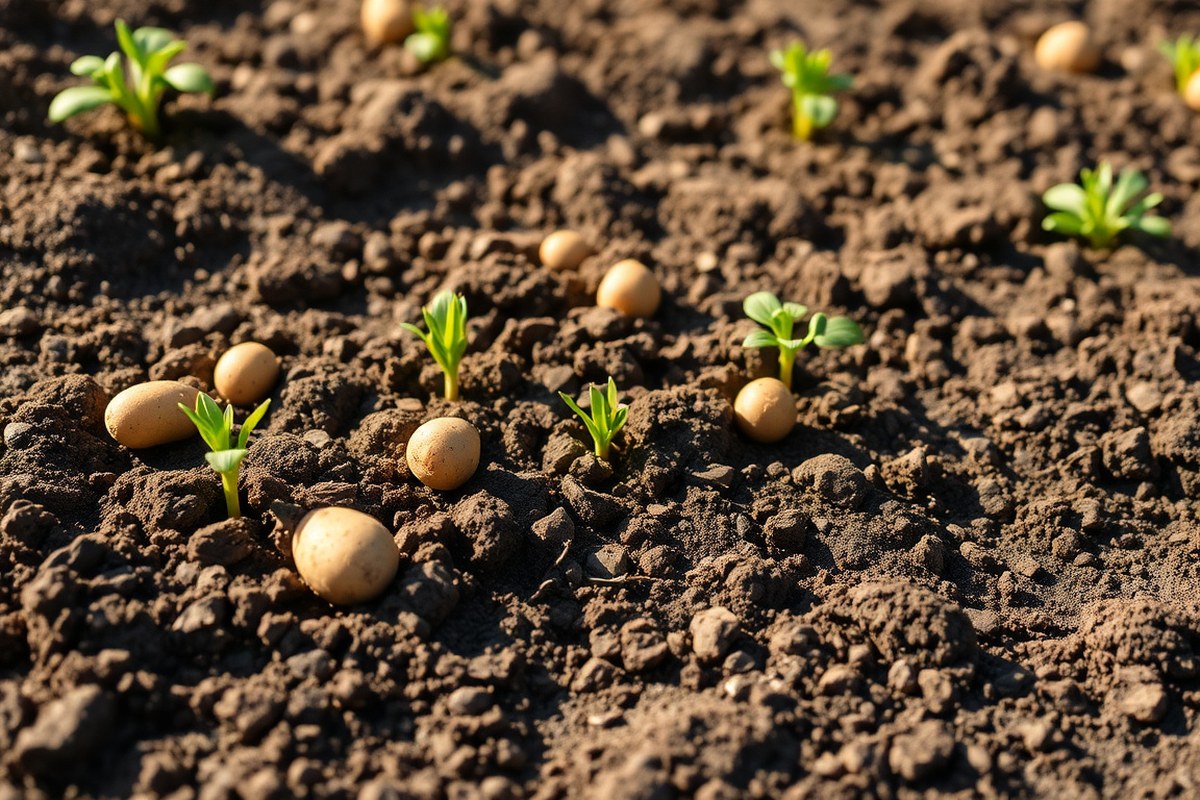
Plant potatoes in Zone 5 during early to mid-spring, around late March to early April for Zone 5b. For Zone 5a, aim for late April to May 1. This schedule fits 2 to 4 weeks before the last expected frost date in spring.
Planting before the last frost is okay as long as the soil temperature is right. Soil should be at least 45°F, ideally between 45°F and 55°F. Colder soil temperatures can cause seed potatoes to rot or have trouble sprouting. A warm soil kick-starts growth without risking frost damage.
You can plant as late as early June for early-maturing potato types. Your goal is to finish harvesting before the first fall frost hits in mid-October. Planting after June 10 usually cuts harvest short and risks frost damage on tubers.
Follow these steps to time planting potatoes perfectly in Zone 5:
- Find your average last spring frost date for your exact Zone 5 location.
- Check soil temperature with a soil thermometer at planting depth (about 4 inches).
- Wait until soil temperature reaches at least 45°F before planting.
- Count back 2 to 4 weeks from your last frost date to set planting day.
- Plant seed potatoes outdoors on that day, ensuring soil isn’t too wet or cold.
- For late planting, finish by June 10 to allow tuber development before frost.
- After planting, watch weather forecasts to protect sprouts from unexpected late frost.
Planting too early risks frost damage to sprouting potatoes. Planting too late means smaller tubers or poor yields.
Keeping soil temperature in mind helps avoid these problems. It also keeps sprouting strong and consistent, leading to a healthy potato crop.
How to Prepare Seed Potatoes Before Planting

Preparing seed potatoes well before planting helps you get healthy sprouts early. Chitting, a process to encourage shoots, improves your chances of a strong start. Selecting quality seed potatoes also matters for better growth and higher yield.
What Is Chitting and Why It Matters
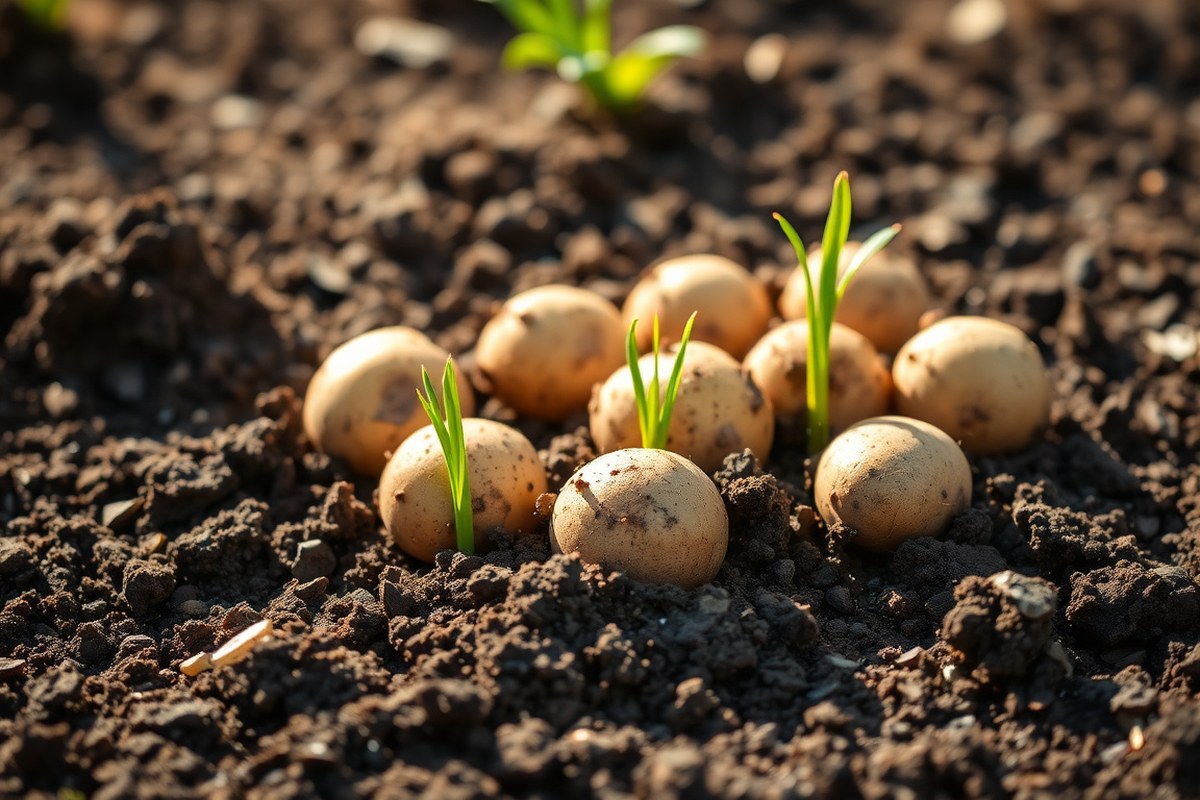
Chitting means letting seed potatoes start to sprout before planting. You move them to a cool, bright place to wake up their eyes. This encourages faster growth once they go into the soil.
In Zone 5, chitting gives you a head start during the short growing season. Early sprouts mean potatoes mature before summer heat slows tuber development. It also helps avoid seed potatoes sitting in cold, wet soil where they might rot.
Step-by-Step Chitting Process
Follow these steps about 2 to 4 weeks before planting your seed potatoes. Timing is important to get green, stubby shoots without damaging them.
- Choose seed potatoes that are firm and disease-free.
- Place them in a single layer in a shallow tray or egg carton.
- Set the tray in a cool room. Keep temperature between 50 and 65 °F. Give it lots of indirect sunlight.
- Keep them away from direct sun to prevent drying out or overheating.
- Turn the seed potatoes gently every few days to expose all eyes to light.
- Wait until shoots reach about 1/2 to 1 inch long before planting.
- Plant the chitted potatoes with eyes facing upward, 4 to 6 inches deep in soil.
Keep seed potatoes dry during chitting to prevent rot or mold growth.
Choosing the Best Seed Potatoes
Pick seed potatoes at least the size of a hen’s egg to plant whole. Smaller potatoes should not be cut because they might dry out or rot. Look for tubers without bruises, cuts, or signs of disease.
Select potato varieties suited for Zone 5’s climate and your harvest timeline. For example, Yukon Gold and Red Pontiac work well with moderate days to maturity. Avoid buying supermarket potatoes since they may be treated to prevent sprouting.
Seed potatoes stored at 40 °F or colder can slow sprout growth. Too long at this temperature may stop sprouts from growing. Watch storage time carefully.
Keep seed potatoes at 50 to 65 °F before planting. Avoid full sunlight for best results. Store them in a cool, shaded place.
Best Potato Varieties to Grow in Zone 5
Zone 5 gardeners can choose from early, mid-season, and late potato varieties. Each variety fits different harvest times and storage needs. Picking the right potato depends on your waiting time and use.
How soon you want potatoes affects your choice. How you plan to cook them matters too.
Early-Maturing Varieties
Early potatoes grow fast, usually maturing in 70 to 80 days. They have thinner skins, so plan to eat them soon after harvest. Red Norland and Superior are popular choices for Zone 5.
Red Norland has red skin with moist, waxy flesh. It often avoids the worst beetle damage because you harvest before they peak. Superior gives creamy white potatoes and delivers a heavy yield for early eating.
Mid-Season Varieties
Mid-season potatoes take a bit longer, about 80 to 90 days to mature. They store about a month and can handle the Zone 5 season well. Yukon Gold and Kennebec are favorites for mid-season planting.
Yukon Gold has yellow skin and creamy flesh, known for its all-purpose use in cooking. Kennebec has white skin and a creamy texture.
It resists diseases well. This makes it a reliable choice for your zone.
Late and Storage Varieties
Late potatoes need 90 to 120 days and store best for months. Russets are classic late potatoes, good for fall harvest and long storage. These need more frost-free days than early types.
Plant late varieties only if your season allows, typically if you can plant in late summer. They mature well before the first hard frost and keep well through winter storage. Here’s a comparison table of popular potato varieties suitable for Zone 5:
| Variety | Days to Maturity | Skin/Type | Texture | Storage Notes |
|---|---|---|---|---|
| Red Norland | 70, 80 | Early, red-skinned | Moist/waxy | Stores short-term; escapes peak beetle pressure |
| Superior | 70, 80 | Early, white-skinned | Creamy, boiling | Heavy yielder, stores short-term |
| Yukon Gold | 80, 90 | Mid-season, yellow-skinned | Creamy, all-purpose | Moderate storage, excellent fresh eating |
| Kennebec | 80, 90 | Mid-season, white-skinned | Moist, creamy | Good disease tolerance, stores about a month |
| Russet (Maincrop) | 90, 120+ | Late, brown-skinned | Fluffy, baking | Best for long-term storage, needs late planting |
Pick early potatoes if you want a quick harvest and fresh eating. Mid-season types give a balance of harvest time and storage. Late potatoes need more frost-free days but store best for winter meals.
Preparing Soil for Potato Planting in Zone 5
Potatoes grow best in loose, well-draining soil that warms quickly in spring. Heavy clay soils hold too much moisture and can cause seed rot or slow sprouting. In Zone 5, wait until soil is 45 to 50 degrees Fahrenheit.
Measure the temperature at 4 inches deep. Plant only after any hard freeze risks are past.
A slightly acidic soil pH between 5.0 and 6.0 helps potatoes thrive and reduces potato scab risk. You can test your soil pH with an inexpensive kit from a garden center.
Your soil might be too alkaline. Add elemental sulfur or peat moss to reduce pH before planting.
Amending soil with plenty of organic matter improves drainage and soil structure. Mix 2 to 4 inches of compost or aged manure into soil. Work it into the top 6 to 8 inches.
Do this in fall or early spring. This feeds soil microbes that support healthy root growth and moisture balance.
- Test soil pH; adjust to 5.0, 6.0 if needed
- Ensure soil drains well; avoid soggy spots
- Mix 2, 4 inches of compost or organic matter deeply
- Loosen soil 6, 8 inches deep for better root growth
- Avoid planting potatoes after tomatoes or peppers here
- Rotate potatoes to a new spot every 3 years
Good drainage means water should soak in without pooling. Raised beds or rows help if your garden soils are heavy.
Don’t plant potatoes where nightshade-family vegetables grew last. Crop rotation lowers risks of soil diseases and pests common in Zone 5.
Preparing soil properly can take a few hours per bed but makes a big difference. Watch for soggy soil and unpleasant smells, which show poor drainage. Good soil mix and drainage help potato tubers get oxygen.
They also keep moisture steady. This supports healthy growth.
Step-by-Step Planting Guide for Zone 5 Potatoes
Plant seed potatoes about 4 inches deep and space them 8 to 12 inches apart. Space your rows 30 to 36 inches apart for easy care and good yield. Plant the pieces with the eyes facing up to help sprouts grow straight.
Preparing Rows and Trenches
Clear the planting area of weeds and debris to make rows smoothly. Use a hoe or shovel to dig trenches. Dig 4 to 6 inches deep.
Space trenches 3 feet apart. These trenches help keep soil loose and allow roots to spread easily.
Loosen the soil at the bottom of the trench to give roots room to grow. Adding compost here boosts nutrients for better potato growth. Make sure the soil drains well to avoid rot or stuck roots.
Planting Depth and Spacing
Place seed potatoes 4 inches deep; this keeps them safe from cold and pests. Planting too shallow causes tubers to turn green.
Green tubers can be toxic. Don’t plant too deep because sprouts will struggle to reach sunlight.
Space each piece about 8 to 12 inches apart within the row. Keep rows about 30 to 36 inches apart to provide enough room for plants to grow. Early potatoes do better with 16-inch spacing, and main-crop types need about 18 inches.
Giving your potatoes room helps air flow and reduces disease risk. Crowded plants struggle and yield smaller tubers.
Orientation and Covering
Always plant seed potatoes with the “eyes” facing up to help sprouts grow straight and strong. Place the potato piece on its side when eyes aren’t visible.
Sprouts will find their way up. This simple step improves the chance for good growth.
Cover potatoes gently with soil, making sure they stay at the right depth. Mound soil around stems as plants grow. This shields tubers from sunlight.
It helps tubers stay safe and not green. This also helps new roots form along buried stems.
Plant seed potatoes before your last frost date, once sprouts are about one inch long.
Follow these steps to plant potatoes properly in Zone 5:
- Clear and level the planting site, removing weeds.
- Dig trenches 4 to 6 inches deep and 30 to 36 inches apart.
- Loosen the trench bottom and mix in compost if available.
- Cut seed potatoes into pieces with at least one “eye” each.
- Place seed pieces 4 inches deep in the trench, eyes facing up.
- Space seed pieces 8 to 12 inches apart within each row.
- Cover the seed potatoes with soil, firming lightly.
- Water the area well but avoid waterlogging.
Caring for Potatoes Through the Growing Season
Potatoes need steady moisture but not soggy soil. Water them about 1 to 2 inches weekly, more during dry spells.
Avoid overhead watering to reduce leaf diseases. Drip irrigation or watering at the soil level works best.
Hilling means piling soil around the stems of your potato plants. It protects tubers from sunlight and supports the plant. Begin hilling when plants reach 6 to 8 inches tall.
Use a hoe or shovel to mound soil 4 to 6 inches high along the base. Repeat this every few weeks as the plant grows.
Late spring frosts can harm potato plants in Zone 5. Cover young plants with frost cloths on chilly nights. Use old bedsheets for extra protection.
Do this especially before the last frost date. Remove covers in the morning once temperatures rise above 40°F. Use mulch like straw around plants to keep soil warm. Mulch also helps keep moisture in the soil.
- Water consistently, 1 to 2 inches per week
- Hill soil when plants reach 6 to 8 inches high
- Cover plants overnight if frost threatens below 32°F
- Remove plant debris at season’s end to prevent pests
- Rotate crops to avoid potato diseases and pests
Potatoes are vulnerable to pests like Colorado potato beetles. Check leaves weekly and remove beetles by hand. Insecticidal soaps can help if infestations grow.
Keep your garden clean to avoid pests. Don’t plant potatoes near tomatoes or peppers. They share diseases and pests.
Proper care helps potato plants thrive in Zone 5’s short season. You’ll spot flowers around mid-season, a sign tubers are forming underground.
Regular watering, timely hilling, frost protection, and monitoring pests are key to a successful crop. Skipping these steps risks smaller yields or damaged potatoes.
Harvesting and Crop Rotation After Potatoes in Zone 5
Potatoes in Zone 5 usually take about 15 to 20 weeks to reach harvest. Watch for yellowing and dying foliage; it signals tubers are mature. Let the potatoes stay in the ground after the vines die.
This lets their skin get tougher. Use a fork to dig them up carefully.
Harvesting too early leads to small, weak potatoes. Waiting too long risks rot and pests.
After harvest, remove all potato debris from the soil to reduce disease spread. Let the soil rest and loosen it by tilling lightly to prepare for the next planting.
Crop rotation matters when you grow potatoes. It helps stop diseases like blight. It also lowers the chance of Colorado potato beetle buildup.
Avoid planting potatoes or other nightshades in the same spot for at least three years. Switch to planting beans, peas, or leafy greens next.
These crops don’t share the same pests and diseases as potatoes. This helps keep your soil healthy.
Following these rules keeps your soil healthy and yields strong potatoes over time. Clean soil also reduces the chance of pests and disease. Skipping rotation can cause poor potato growth next season.
You may also face higher treatment costs. Rotation helps avoid both problems.
Can You Plant Potatoes in Fall in Zone 5?
Potatoes can be planted in fall in Zone 5. But it’s less common than spring planting. Fall planting should happen early enough to allow tubers to develop before hard frost arrives.
In Zone 5, the ground usually freezes solid by late October or early November. So planting should occur by early September at the latest.
Spring planting typically happens around April 15th, about two weeks before the last frost. This timing lets potatoes grow through the cool spring and early summer, avoiding frost damage. Planting in fall gives you a second harvest chance.
It comes with more risks than planting in spring. The weather and soil conditions can be less predictable in fall.
Risks for fall planting include tuber damage from early frosts and poor soil warmth for sprouting. Fall-planted potatoes might not develop fully if cold weather hits too soon.
Also, wet soils in fall can lead to rot, unlike drier spring conditions. On the plus side, fall planting can help stretch your gardening season with proper planning.
- Choose certified disease-free seed potatoes for planting.
- Plant potatoes in early September, about 8 weeks before the first expected frost.
- Cut large seed potatoes into pieces with 1-2 eyes, 2 days before planting.
- Plant pieces 3-4 inches deep in well-drained soil.
- Keep soil slightly moist but avoid waterlogging to prevent rot.
- Cover plants with mulch to regulate soil temperature and moisture.
- Watch weather forecasts closely and protect tubers if frost is predicted early.
Don’t plant fall potatoes too late. They need at least 6 to 8 weeks of warm soil to grow well.
Fall planting requires careful timing and monitoring. Soil should still be warm, above 50°F, to encourage sprout growth. Unlike spring planting, where cool soil aids development, cold fall soil slows growth.
Adjust your plan if the fall is cooler or wetter than usual. Spring planting is usually more reliable in Zone 5.
It avoids the harsh conditions of late fall and early winter. But fall planting can work if you follow these steps closely.
Step-by-Step Action Plan for Planting Potatoes in Zone 5
Follow these steps to plant your potatoes at the right time with the best results. Each step tells you what to do and how to check if it’s working.
- Two weeks before last frost: Cut seed potatoes into pieces with one or two eyes each. Let them dry for 2 to 3 days to prevent rot.
- One week before planting: Prepare soil by loosening it and adding compost. Check if soil drains well and isn’t soggy.
- Last frost date (around mid-April): Plant seed pieces 4 inches deep. Space them 12 inches apart in rows. Soil should be 45°F or warmer.
- Two weeks after planting: Check for small sprouts above the soil. Lightly hill soil around sprouts to protect tubers from sunlight.
- Mid growing season (after 4 to 6 weeks): Keep hilling the plants. Water about 1 inch per week. Watch for healthy green leaves without yellowing.
- When flowers bloom: Stop hilling and reduce watering slightly. Watch for tuber growth by gently digging near plant bases.
- About 10 to 12 weeks after planting: Start checking for mature potatoes by lightly digging. Harvest when skin feels firm and plants start yellowing.
- After harvest: Rotate your crop by planting beans or leafy greens next season. This helps avoid soil diseases and keeps nutrients balanced.
Frequently Asked Questions
When Should I Start Chitting Seed Potatoes in Zone 5?
Start chitting seed potatoes indoors in early to mid-April in Zone 5. This helps sprouts form before planting outside.
Do this in late April or May. It gives your plants a strong start.
How Long After Planting Do Potato Sprouts Usually Appear in Zone 5?
Potato sprouts generally appear about 2 to 3 weeks after planting in Zone 5. Soil needs to warm to 45 to 50°F for sprouting.
Watch for steady warming. Expect growth once this happens.
Can I Plant Potatoes If the Soil Is Still Wet from Spring Rains in Zone 5?
It’s best to avoid planting potatoes in soggy soil in Zone 5. Wet soil can make seed potatoes rot.
Wait until soil drains well. It should feel moist but not soaked.
Is It Okay to Plant Potatoes Alongside Other Vegetables in Zone 5?
Plant potatoes away from tomatoes, peppers, and eggplants to avoid disease in Zone 5. These crops share similar pests, so crop rotation helps keep your garden healthy.
How Deep Should I Plant Potatoes in Zone 5 Soil?
Plant seed potatoes about 4 inches deep in Zone 5 soil to protect sprouts from frost. Cover with soil and add extra hilling as plants grow to increase tuber production.
Can I Use Store-Bought Potatoes for Planting in Zone 5 Gardens?
Store-bought potatoes often have chemicals to stop sprouting. These chemicals make them bad for Zone 5.
Homegrown seed potatoes work better. Use certified seed potatoes to ensure healthy growth and reduce disease risk.
Final Thoughts
Plant your potatoes soon after the last frost when soil warms up. Preparing seed potatoes and soil carefully improves your harvest. Check your garden calendar and start prepping your potatoes today.