How to Plant and Grow Potatoes: A Complete Guide for Healthy Harvests
Knowing how to plant and grow potatoes is the first step for a good harvest. Start with certified seed potatoes about 4 to 6 inches deep, eyes facing up. Plant potatoes 12 to 15 inches apart.
Leave 2 to 3 feet between rows. This space helps them grow well.
Use loose, well-drained soil with a pH between 5.0 and 6.5 to help roots develop. Hill your potatoes by mounding soil around the plants when tubers start peeking out. This stops sunlight from turning them green and bitter.
Potatoes need 500 to 700 millimeters of water spread over 90 to 120 days. Don’t plant potatoes or nightshades in the same spot often.
Wait 3 or 4 years before replanting there. This keeps the soil healthy.
Key Takeaways
- Plant seed potatoes eyes up, 4 to 6 inches deep in loose soil.
- Space plants about 12 to 15 inches apart and rows 2 to 3 feet apart.
- Use soil with a pH between 5.0 and 6.5 for best growth.
- Mound soil around plants when tubers appear to protect from sunlight.
- Water evenly, aiming for 500, 700 mm over the entire growing season.
- Rotate planting to avoid disease by waiting 3, 4 years before reusing soil.
When and How to Plant Seed Potatoes
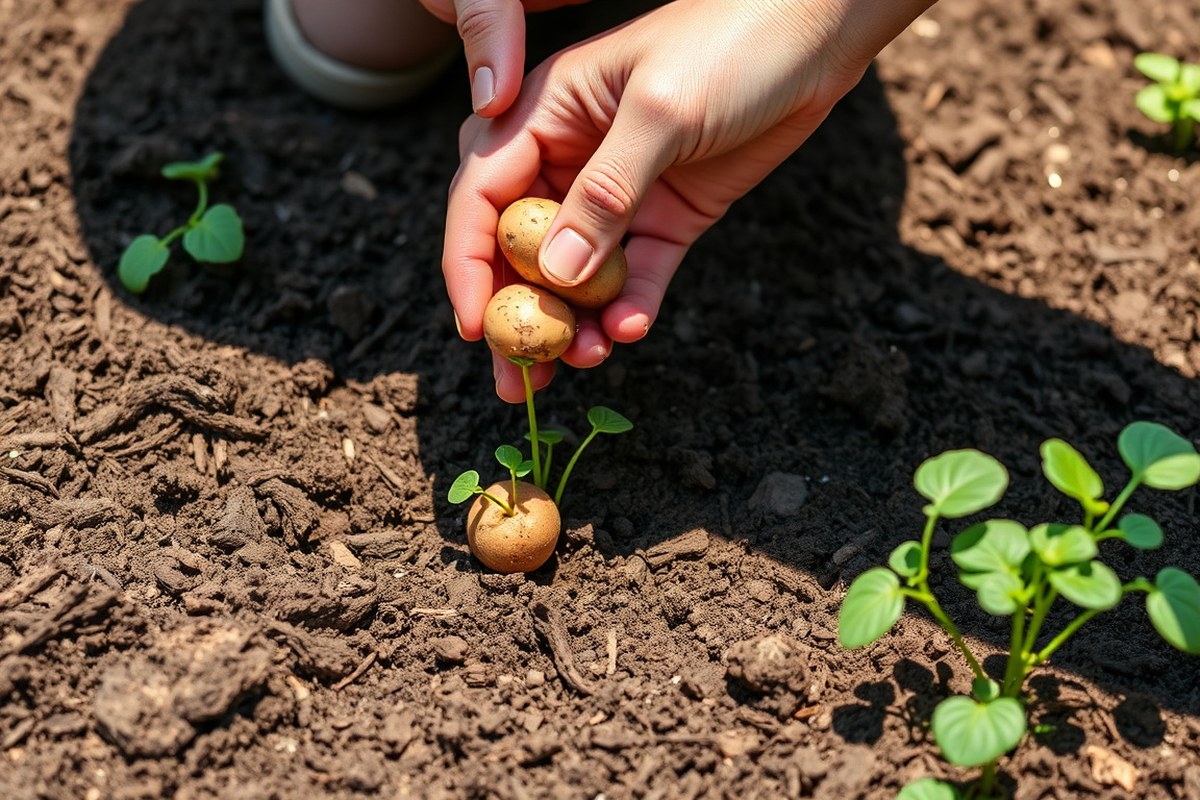
Plant seed potatoes in early spring, when the soil temperature reaches about 55°F. Prepare loose, well-drained soil with the right pH and nutrients. Cut seed potatoes into pieces with eyes facing up.
Space them 12 to 15 inches apart. Plant the pieces about 6 inches deep for best growth.
Choosing and Preparing Seed Potatoes
Use certified seed potatoes instead of regular store-bought ones to avoid diseases. Certified seed potatoes give higher yields and start healthy plants. They will have visible eyes, which are small sprouts where new stems grow.
Large seed potatoes should be cut into pieces about 2 inches square. Each piece needs at least one or two eyes.
Let the cut pieces dry for 1 to 2 days. This helps prevent rot after planting.
Chitting means allowing seed potatoes to sprout before planting. This step is more important in colder climates or wet soils.
You can skip chitting when the weather stays mild. Just plant the seed potatoes straight in the soil.
- Pick certified seed potatoes with firm skin and visible eyes.
- Cut large potatoes into 2-inch pieces, each with 1-2 eyes.
- Let cut pieces dry in a cool, dry place for 1-2 days.
- Start chitting by placing seed potatoes in a cool, light spot.
- Wait for shoots to grow about 1 inch before planting if chilling.
Ideal Soil and Planting Conditions
Potatoes grow well in slightly acidic soil with pH between 5.0 and 6.0. Loose, well-drained soil helps roots spread and prevents rot. Avoid heavy clay that holds water, or work in compost to improve drainage.
Plant seed potatoes only once soil reaches 55°F in the day. Nighttime soil should be about 45°F for good results.
Use a soil thermometer around 4 inches deep to check the temperature. Cold soil risks rotting and slows sprouting.
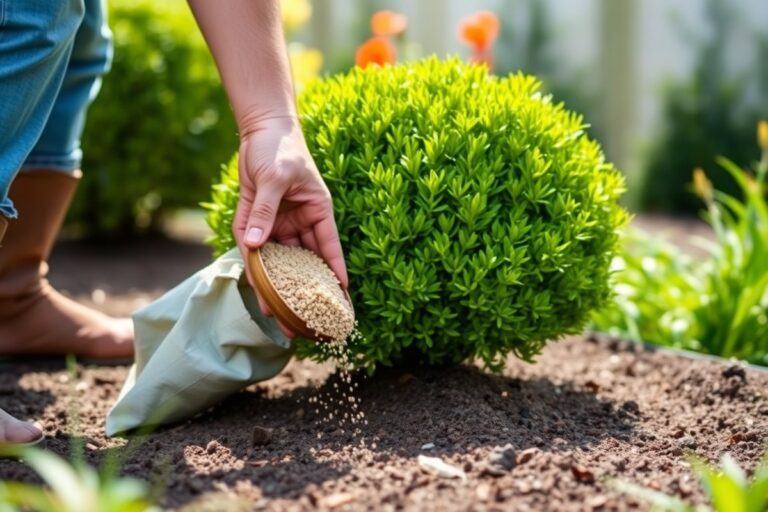
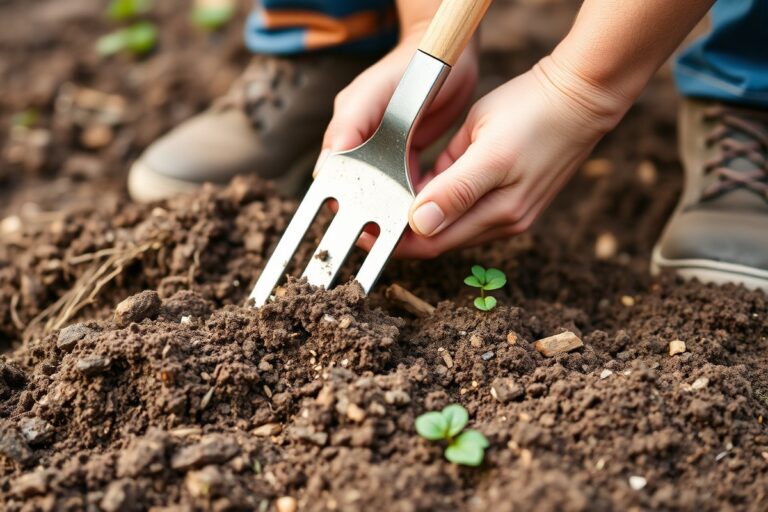
Prepare the soil by loosening it to 8 to 12 inches deep. Mix in compost or well-rotted manure to add nutrients. Clear rocks and debris that may block tuber growth or damage seed pieces.
| Soil pH | 5.0 to 6.0 (slightly acidic) |
|---|---|
| Soil Texture | Loose, well-drained, sandy loam ideal |
| Soil Temperature | Above 55°F (day), 45°F (night) before planting |
Planting Process and Spacing Guidelines
Plant seed potatoes with the eyes facing up to encourage sprouts to grow upward. Dig trenches or holes about 6 inches deep before planting. Space each seed piece 12 to 15 inches apart in rows that are 3 feet apart.
Cover seed potatoes with 3 to 4 inches of loose soil. When stems grow to 6 inches tall, add soil around the plants. This helps protect tubers from sunlight.
Keep mounding soil gently as plants grow. Proper spacing reduces competition and allows healthy tuber development.
- Dig trenches 6 inches deep and space rows 3 feet apart.
- Place seed potatoes pieces eyes up every 12-15 inches.
- Cover seed potatoes with 3-4 inches of loose soil.
- Water soil lightly but do not overwater immediately after planting.
- Hill soil around plants when shoots reach 6 inches tall.
Comparing Potato Growing Methods: Ground, Raised Beds, and Containers
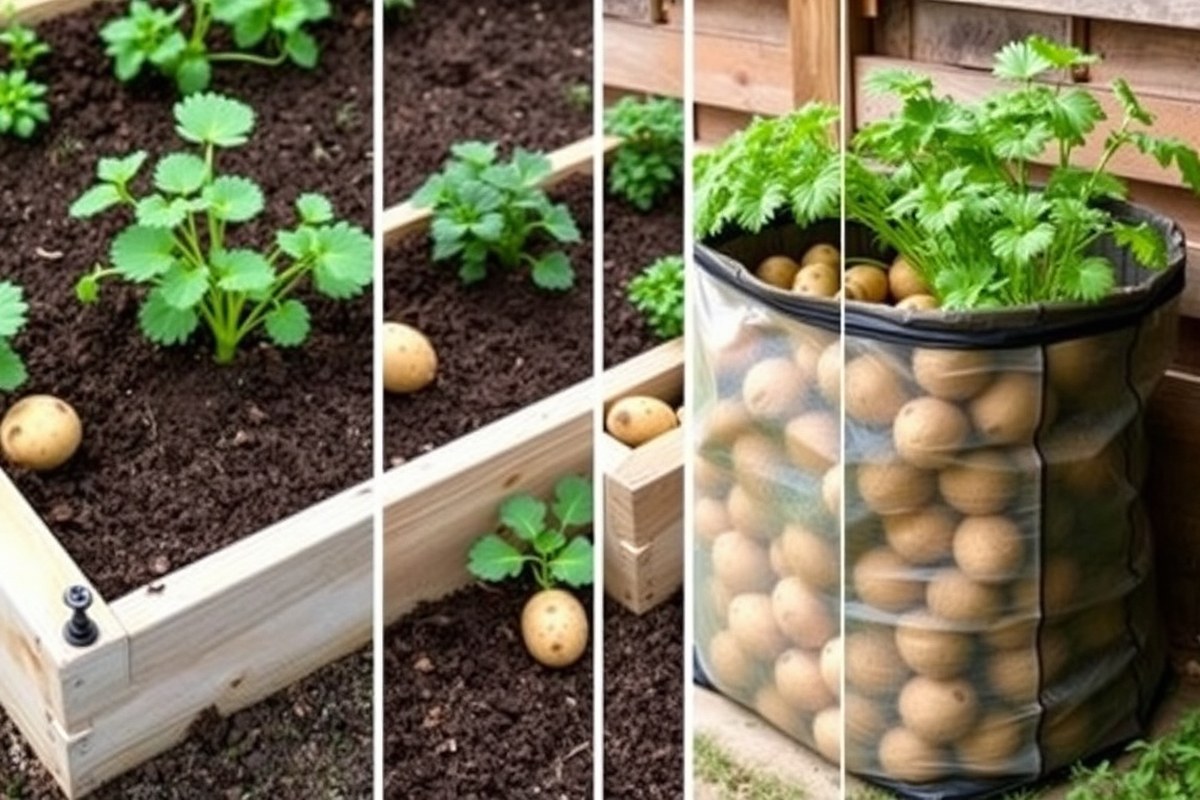
Growing potatoes in the ground needs loose, well-drained soil with good nutrition. Raised beds help if your soil is heavy or clay, letting you manage soil quality better. Containers and grow bags suit small spaces or poor soil but require more watering and fuss.
Soil type matters. Potatoes thrive in soil with a pH between 5.0 and 6.5. Raised beds and containers let you control this easily.
Ground soil risks compaction and drainage issues. Containers must hold at least 40-50 liters, planting 3-4 seed potatoes about 4 inches deep.
| Growing Method | Soil Needs | Space Required | Watering | Yield |
|---|---|---|---|---|
| In-Ground | Loose, well-drained, natural garden soil | Most space, rows or patches | Moderate, depending on soil | Good, stable in ideal soil |
| Raised Beds | Amended soil, better drainage | Less space than ground | Moderate to frequent | Good, easier soil control |
| Containers/Grow Bags | Well-draining, rich compost mix | Small space, 40-50L pot | Frequent watering, dries fast | Fair, slightly less than beds |
Container potatoes need regular watering since bags dry quickly. You add soil as shoots grow, called hilling, to protect tubers and boost yield.
Soil in containers must drain well and stay loose, often a mix of compost and soil. A pot 40-50 liters big fits 3-4 seed potatoes planted 4 inches deep.
Raised beds let you handle poor or compacted soil well. They warm faster in spring, so you can start planting earlier. Ground planting works best in deep, loose, healthy soil.
It can be harder if your garden soil is rocky or heavy. You will need extra effort in those cases.
Make sure to hill potatoes as they grow. Add 2-4 inches of soil or compost. Cover the tubers well to protect them.
Yields are highest in well-prepared ground or raised beds. Plants get more nutrients and water there. That’s why those spots work best.
Containers give you flexibility but might produce slightly fewer or smaller potatoes. Still, they work well for limited space, early crops, or heavy soil that needs avoiding.
Watering, Fertilizing, and Caring for Potato Plants
Potatoes generally need about 1 inch of water weekly to grow well. After sprouts appear, water about 2 inches each week. Check soil type and rainfall to adjust watering.
Keep soil moist but not soaked during early growth. Water deeply once or twice each week to keep the soil moist but not soggy.
Use a balanced fertilizer with equal parts nitrogen, phosphorus, and potassium when planting. Three to four weeks later, add fertilizer with more potassium. Use this side dressing when tubers begin to form.
It supports healthy potato development. Avoid too much nitrogen after sprouting since it encourages leaves over potatoes, which can lower yields.
Hilling potato plants means piling soil around their stems every week or two. Add 1 to 2 inches of soil at once to cover tubers. Continue hilling until flowers bloom on potato plants.
Keep covering tubers as needed to protect them. This shields potatoes from sunlight, preventing green spots and bitter taste.
Keep weeds away, as they steal nutrients and water from potato plants. Pull weeds gently by hand or hoe around the base without disturbing roots. Mulching with straw or grass clippings can block weeds and hold soil moisture.
Potato plants stay healthiest with full sun, at least 6 to 8 hours daily. Check soil temperature before watering or feeding. Potatoes stop growing if it’s below 45°F. Watching for yellowing leaves or wilting helps catch problems early.
Recognizing and Managing Pests and Diseases
Common pests that attack potatoes include the Colorado potato beetle and aphids. These insects chew leaves and can quickly damage or kill your plants.
Watch for yellow-orange beetles with black stripes on leaves. Check for small green aphids clumped on leaf undersides.
Early signs of potato diseases include dark, irregular spots or rings on the leaves. Early blight is caused by fungus. It shows as brown or black patches.
These usually appear on older leaves first. You might also spot wilted or yellowing foliage, which signals disease stress.
Start by removing affected leaves by hand when possible. Pick off insects carefully. This helps manage pests and diseases safely.
Organic options include spraying neem oil or insecticidal soap on plants every 7 to 10 days. Chemical pesticides are available but use them with care.
Follow label instructions closely. This helps protect beneficial insects.
Crop rotation is a key prevention step you shouldn’t skip. Plant potatoes in different garden spots each year.
Wait 2 to 3 years before replanting in the same spot. This practice helps break pest and disease cycles that survive in the soil.
Use certified disease-free seed potatoes for planting. Inspect plants weekly for pests or spots. Use organic sprays if pests rise above low levels.
Rotate crops yearly. Healthy plants develop solid, green stems and show few signs of chewing or spots.
See heavy beetle infestations or worse leaf spots? Increase how often you check and treat your plants. Ignoring these signs lets pests spread to other plants.
Diseases can also reach tubers in the soil. Acting early costs little more than your time and protects your potato yield.
How Long Do Potatoes Take to Grow and When to Harvest
Potatoes usually take between 70 and 135 days to mature depending on the type. Early potatoes can be ready in about 10 weeks.
Main crops like Russets may need up to 135 days. Harvest timing depends on what you want, new potatoes or fully mature ones for storage.
Growth Timelines for Early and Main Crops
Early potatoes, also called new potatoes, are ready to dig about 10 weeks after planting. These are smaller, tender, and harvested before the plant flowers completely. Main crop potatoes take longer, typically between 90 and 135 days to reach full maturity.
Mid-season potatoes mature in 80 to 100 days and can be harvested in late summer. Plant early in spring once the soil is dry and workable.
This sets you up for a harvest in late spring or early summer. You can stagger plantings to enjoy potatoes fresh all summer and into fall.
Indicators That Potatoes Are Ready to Harvest
Potatoes are generally ready when the foliage yellows and dies back. This usually happens around 90 to 120 days after planting for main crops.
Early potatoes are for quick eating. You can harvest when plants bloom and tubers are small but firm.
For storage potatoes, wait 2 to 3 weeks after vines die back. This lets the skins set properly. Test skin firmness by rubbing the tuber with your thumb.
If skin doesn’t peel easily, it’s time to dig. Leaving potatoes longer in the soil helps them store longer but watch for frost or blight.
Best Harvesting Practices
Harvesting potatoes carefully prevents damage that can cause rot during storage. Use a garden or potato fork to lift tubers gently from soil. Avoid stabbing them to prevent damage.
Dig at least 12 inches from the plant stems. This helps avoid poking tubers with your fork.
Follow these steps to harvest safely:
- Wait for foliage to yellow for main crops. For new potatoes, wait 2 to 3 weeks after flowering.
- Gently loosen the soil around the plants using a garden fork or spade.
- Lift the plant carefully, shaking excess soil off without pulling tubers apart.
- Remove tubers from the loose soil, watching for any hidden ones.
- Leave tubers on the soil surface for a couple of hours to dry and toughen skin.
- Brush off loose dirt but avoid washing potatoes before storage.
- Store potatoes in a cool, dark place with good ventilation to prolong freshness.
Be gentle when digging, piercing tubers causes bruises and rot during storage.
Storing and Curing Potatoes for Long-Term Use
Curing potatoes means letting them rest after harvest. Keep them warm and humid. Do this for about 10 to 14 days.
This step helps heal small cuts and bruises on the skin. It also thickens the skin to protect potatoes during storage and reduce sprouting and rot.
Place your potatoes in a dark spot. Keep the temperature from 50°F to 60°F. Maintain humidity near 85% to 90%.
A basement or garage can work if it holds these conditions. Avoid direct sunlight or cold spots because they can cause greening or shriveling.
After curing, move potatoes to a cooler area between 38°F and 45°F for long-term storage. Keep humidity reasonably high but allow air circulation to prevent mold.
Don’t wash potatoes before storing. Only brush off dirt gently to avoid removing protective skin.
Try to use stored potatoes within 3 to 6 months. New potatoes or those stored too long start sprouting or get soft and shriveled. Look at your potatoes every few weeks.
Remove any that are soft, sprouting, or rotting. This stops problems from spreading.
Don’t store potatoes near onions or in sealed plastic bags. Avoid temperatures below 38°F. These can cause spoilage or sprouting.
These cause potatoes to spoil faster or sprout before you want. Using paper or burlap sacks helps keep them dry yet aired out.
After harvest, cure potatoes in warmth and humidity. Store in darkness with good air flow. Check often to remove bad ones.
- Find a spot at 50°, 60°F with high humidity for 10, 14 days to cure potatoes.
- Move to 38°, 45°F with humidity and airflow for storage up to 6 months.
- Keep potatoes dark and dry, handling gently to avoid bruising.
- Check regularly and remove spoiled ones to keep the batch healthy.
Choosing the Right Potato Varieties for Your Garden
Choosing the right potato variety shapes your harvest success. Early or late maturity, yield, and flavor fit specific garden needs. Some varieties suit containers and small gardens better, too.
Early, Mid-Season, and Late Maturing Varieties
Potatoes come in early, mid-season, and late maturity types. Early potatoes mature fast, letting you harvest in about 60 to 70 days. Late varieties take longer, around 90 to 120 days, and often store better.
Early types produce new potatoes with tender skins, good for fresh eating. Late types develop thick skins that protect longer storage. Choosing maturity depends on your climate and storage goals.
| Variety Type | Maturity Time (Days) | Yield | Storage |
|---|---|---|---|
| Early | 60, 70 | Moderate | Short-term |
| Mid-Season | 70, 90 | Good | Moderate |
| Late | 90, 120 | High | Long-term |
Most beginners start with mid-season types for easier timing. Late varieties store well, making them ideal for winter use. Plan according to your last frost date and storage space.
Varieties Best Suited for Containers and Small Gardens
Fingerling and small round potatoes grow well in containers. These varieties need less space but still yield nicely. Containers let you control soil and moisture better.
Choose compact varieties if your garden space is limited. Smaller potatoes tend to mature quicker, fitting a shorter growing season. Expect yields lower than ground planting but harvest quality remains high.
- Pick varieties labeled as “compact” or “container friendly.”
- Use at least a 10-gallon container with well-draining soil.
- Feed plants periodically with balanced fertilizer for best growth.
Choosing Varieties by Use and Flavor
Potato texture varies from waxy to floury. Waxy types hold shape when boiled, great for salads. Floury potatoes become fluffy when cooked, ideal for mashing or baking.
Taste differs with flesh color and skin texture. Yellow-fleshed potatoes often have buttery flavor.
Red or purple types add color to dishes. Flavor is personal, so try a few varieties.
| Variety | Texture | Best Use | Flavor/Taste |
|---|---|---|---|
| Yukon Gold | Floury | Mash, Bake | Buttery |
| Red Norland | Waxy | Boil, Salad | Mild, Sweet |
| Fingerling | Waxy | Roast, Grill | Nutty |
| Russet | Floury | Bake, Fry | Earthy |
New gardeners benefit from Yukon Gold for its taste and ease. Russets suit baking and frying with a classic flavor. Match your choice to how you plan to cook your potatoes.
Step-by-Step Action Plan for Growing Potatoes
Follow these simple steps to plant, care for, and harvest your potatoes successfully.
- Before Planting: Choose seed potatoes and prepare soil with good drainage and compost. Soil should be loose and well-drained for best root growth.
- Planting Time: Cut seed potatoes into pieces with at least one eye each. Plant pieces 4 inches deep and 12 inches apart in rows 2-3 feet apart.
- Week 2: Water your potato plants regularly, about 1-2 inches per week. Check soil moisture to keep it evenly moist but not soggy.
- Week 3-5: As plants grow, hill soil or mulch around them. This protects the tubers from sunlight. Shielding tubers keeps them healthy as they develop. You’ll see the shoots grow taller, ready for care.
- Week 6-8: Watch for pests like Colorado potato beetles and signs of disease. Remove beetles by hand or use organic sprays when you spot damage.
- Week 10: Stop watering when plants flower and begin to yellow. This signals that tubers are maturing underground and ready to start curing.
- Harvest Time: Gently dig potatoes once the plant foliage dies back. Store cured potatoes in a cool, dark, and dry place to keep them fresh longer.
Frequently Asked Questions
What Month Is the Best Month to Plant Potatoes?
The best month to plant potatoes depends on your location and climate. Generally, early spring is ideal when the soil reaches about 45°F. This timing helps avoid frost and gives potatoes enough growing time before summer heat starts.
What Are Common Potato Growing Mistakes?
Common mistakes include planting potatoes too early in cold soil and not hilling them properly. Overwatering or poor drainage can cause rot. Avoid planting potatoes too close together, which limits tuber growth and reduces yields.
Can You Plant a Regular Potato to Grow Potatoes?
You can plant a regular potato, but seed potatoes from garden centers are recommended. Regular potatoes may carry diseases or be sprayed to prevent sprouting. Use certified seed potatoes for healthier, more reliable growth.
How Long Does It Take to Grow Potatoes from One Potato?
Growing potatoes from one seed potato usually takes around 70 to 120 days. The exact time depends on the potato variety you choose. Early varieties mature faster, while others need more time to grow fully.
I Tested 8 Ways to Grow Potatoes: Which Method Works Best?
No single method is best for every gardener. Growing in the ground, raised beds, and containers offer different benefits. Choose based on space, soil type, and your comfort with garden work.
Can Potatoes Grow in Partial Shade or Do They Need Full Sun?
Potatoes grow best in full sun for at least 6 hours a day. Partial shade can reduce the size and number of tubers. Aim for a sunny spot to get the best harvest from your potato plants.
Final Thoughts
Growing potatoes is easy with the right steps and care. Start by selecting quality seed potatoes today. You’ll enjoy fresh, homegrown potatoes in just a few months.