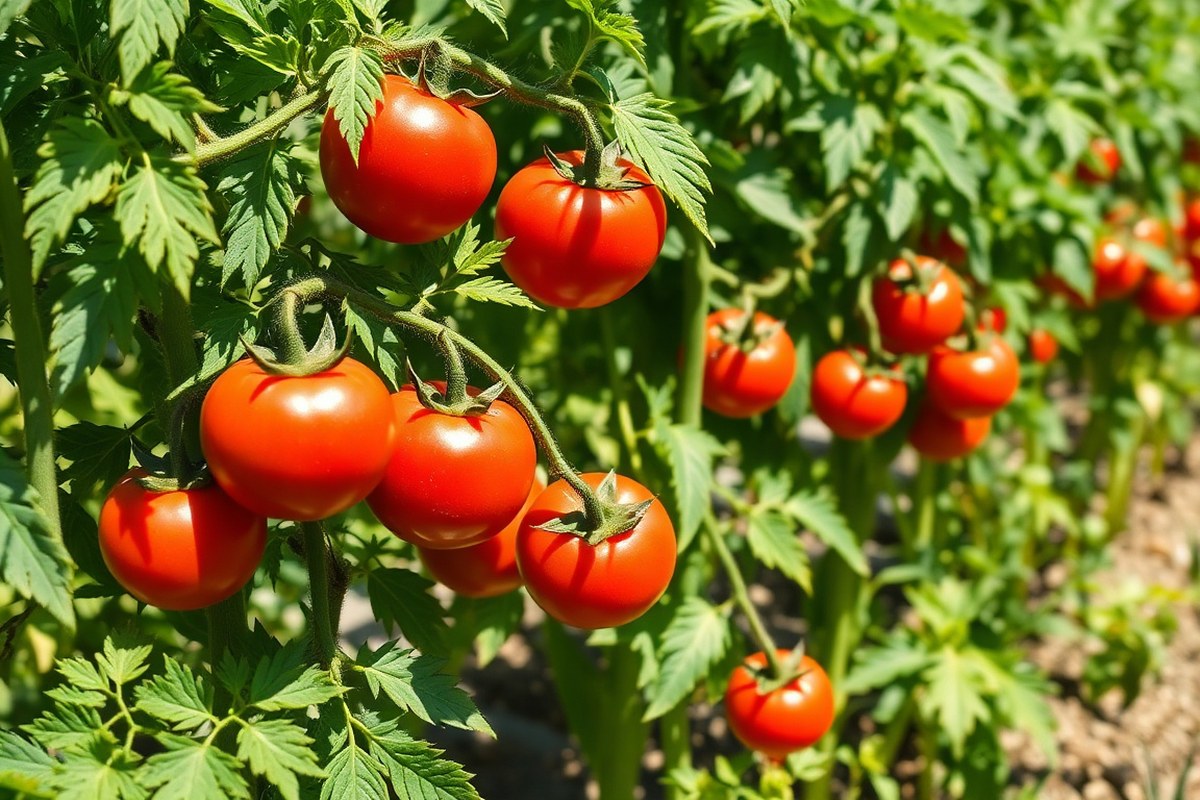
How to Grow Tomatoes in Garden: A Complete Guide with Proven Tips
How to grow tomatoes in garden starts with picking the right spot. Tomatoes need full sun, at least 6 to 8 hours a day. Plant them where soil drains well and stays warm enough for growth to avoid root problems.
Start tomato seeds indoors 6 to 8 weeks before the last frost date. Transplant them outside only when nighttime temperatures stay above 50°F consistently. Keep seedlings strong by giving them plenty of light and water, using a gentle watering method to avoid damage.
Space tomato plants about 2 feet apart to let them spread without overcrowding. This helps air flow and reduces disease risk, especially during humid weather. Choose between bush and vining types based on your garden space and care preference, using stakes or cages to support tall varieties.
Key Takeaways
- Choose a garden spot with at least 6 to 8 hours of direct sunlight daily.
- Start seeds indoors 6 to 8 weeks before your last average frost.
- Transplant seedlings outdoors when nights stay above 50°F consistently.
- Space plants about 2 feet apart to prevent crowding and improve airflow.
- Use well-drained soil that stays warm but doesn’t stay soggy.
- Decide between bush tomatoes and vining tomatoes based on space and support.
How to Plant and Start Tomatoes for Best Growth
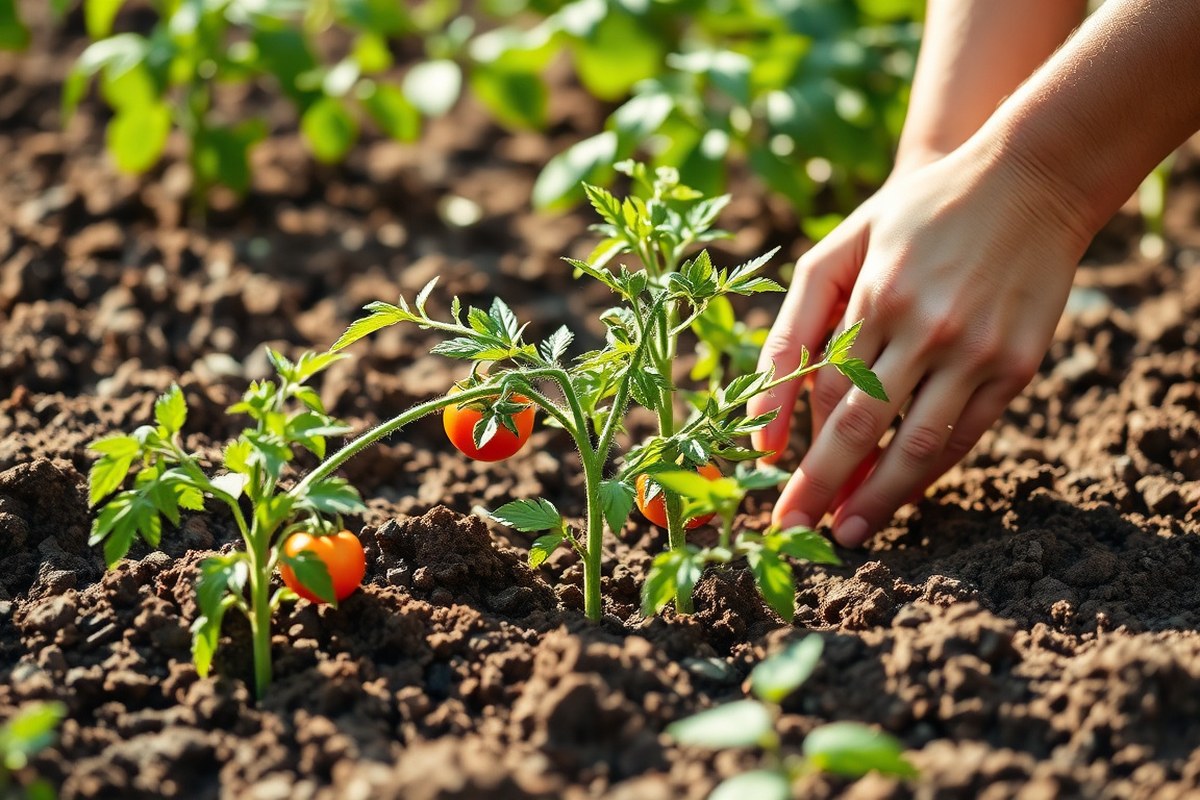
Start tomato seeds indoors about 6 to 8 weeks before your last expected frost date. This gives the plants enough time to grow strong before moving outside. The soil should stay above 50°F (10°C) at night.
This helps the transplant grow well. Cooler soil can delay or hurt growth.
Plant seeds about 1/4 inch deep in seed-starting trays filled with moist seed mix. Keep the trays in a warm spot with plenty of light. After seedlings appear, gradually move them to a sunnier location to build stem strength.
Move seedlings outside after nights stay above 50°F. Ensure soil temp is at least 55°F (13°C). This keeps seedlings safe from cold shock.
You can plant seedlings deeper than they grew indoors by burying part of the stem. This encourages more root growth and sturdier plants.
Space tomato plants roughly 2 feet (60 cm) apart in rows. This spacing lets air flow between plants, reducing disease risks and giving leaves good sun exposure. Adding mulch around plants helps keep soil moist and weed-free.
Follow these steps to start and plant tomatoes with good growth results:
- Calculate your last frost date and count back 6, 8 weeks to start seeds indoors.
- Fill seed trays with moist seed-starting mix and plant seeds 1/4 inch deep.
- Place trays in a warm, bright spot and keep soil moist until germination.
- After seedlings emerge, move them to a sunny window or under grow lights.
- Harden off seedlings over 7 to 10 days by bringing them outside briefly each day.
- Check nighttime air temperatures and soil temperature before transplanting into garden.
- Dig holes deep enough to bury part of the stem for stronger root systems.
- Space plants about 2 feet apart and mulch to retain moisture and suppress weeds.
Choosing Tomato Varieties for Your Garden
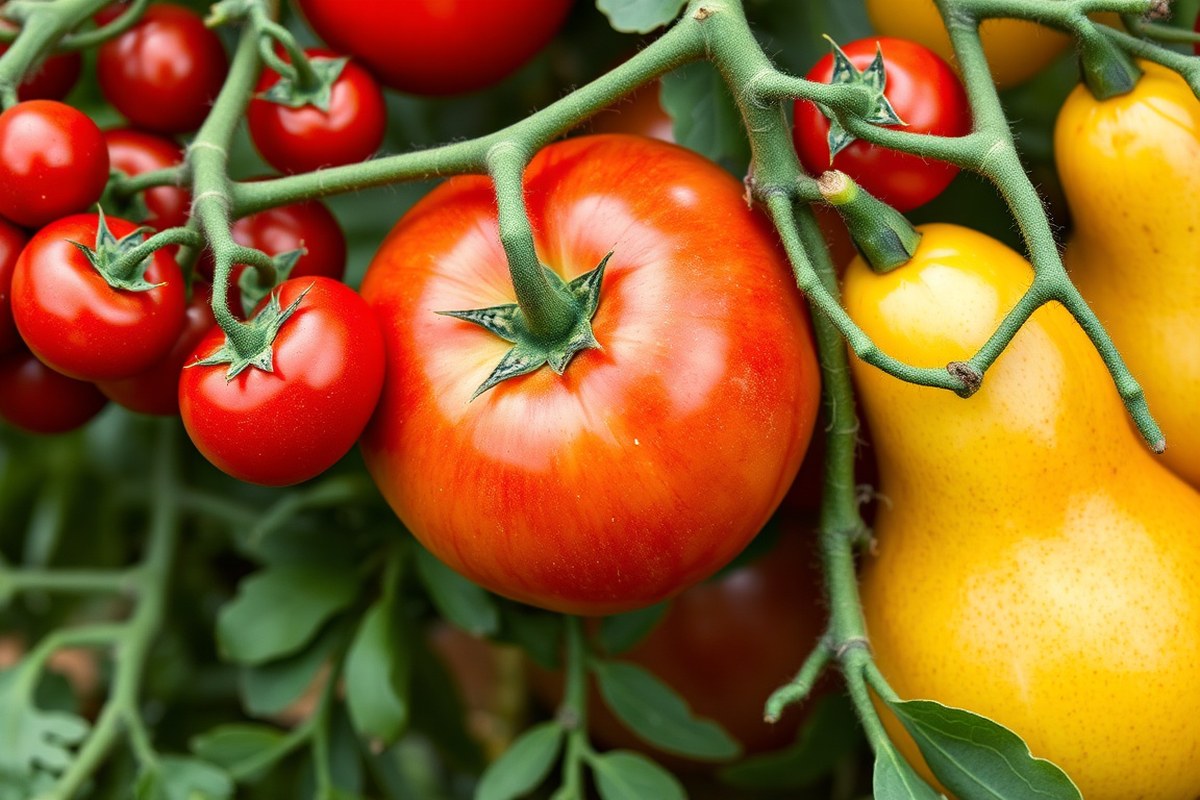
Tomatoes come in two main types: determinate and indeterminate. Determinate types grow to a set size and fruit all at once. Indeterminate types keep growing and produce fruit all season long.
Determinate vs Indeterminate Tomatoes
Determinate, or bush tomatoes, typically reach 3 to 4 feet tall. These tomatoes grow to a set height. They produce all their fruit in a short time.
After that, they stop making more fruit. These are great if you want a large harvest in a few weeks.
Indeterminate tomatoes, also called vining types, keep growing taller throughout the season. They keep blooming and fruiting as long as the weather stays good. They need stakes or cages to support their long stems.
Determinate tomatoes shine in small spaces and for canning since they give one big crop. Indeterminate kinds suit gardeners who want fresh tomatoes throughout the summer.
Early, Mid, and Late Season Varieties
Tomatoes vary in how fast they mature. Some early varieties take about 55 to 60 days from transplant to ripe fruit. These work best in short seasons or places with cooler summers.
Mid and late-season tomatoes take longer but often yield bigger fruits. Small-fruited types like ‘Yellow Mini (F1)’ mature in 57 days, making them a quick, sweet option. Larger beefsteak varieties need much more time and warmth.
Choosing early-maturing varieties can reduce the risk of frost damage. It also means you can harvest tomatoes before weather becomes too hot or dry.
Recommended Varieties for Different Conditions
For containers or small spaces, bush-type, dwarf, or compact determinate varieties work best. They stay under 4 feet tall. Varieties like ‘Yellow Mini (F1)’ resist splitting and cope well with irregular watering.
Growing tomatoes with disease resistance helps in humid or zone 6 to 9 areas. Choose types that resist early blight, septoria leaf spot, and fusarium wilt. This protects your plants from common problems.
Growing unusual tomatoes like strong-flavored cherries or yellow mini-cherries adds variety. These types can make your harvest more interesting.
Try some for a different taste experience. These often produce more fruit and resist common problems.
| Tomato Type | Growth Habit | Height | Fruit Timing | Best Use |
|---|---|---|---|---|
| Determinate (Bush) | Bushy, compact | 3-4 ft (1 m) | Fruit all at once in 4-6 weeks | Great for canning and small spaces |
| Indeterminate (Vining) | Long stems, vining | Grows continuously | Fruit all season when supported | Fresh eating all summer |
| Yellow Mini (F1) | Indeterminate | Compact cherry type | 57 days to maturity | Sweet, rain-resistant for containers |
| Early Girl | Indeterminate | Medium tall | About 55-60 days | Early harvesting, good for short seasons |
Choosing disease-resistant varieties reduces lost yield in humid or rainy regions.
Soil Preparation and Fertilizing for Healthy Tomatoes
Tomatoes grow best in soil that drains well and is rich in organic matter. The ideal soil pH is slightly acidic, between 6.0 and 6.8, which helps your plants absorb nutrients.
Start by turning the soil to a depth of 8 inches. Mix in compost or aged manure to boost fertility.
Testing your soil before planting is a simple step that guides you on needed amendments. You can buy a soil test kit. They are usually cheap.
Or, send a soil sample to your local extension service. Look for pH and nutrient levels like nitrogen, phosphorus, and potassium, which tomatoes need the most. Your soil pH might be too acidic or alkaline.
Add lime to raise pH or sulfur to lower it. Do this slowly over time.
Since tomatoes are heavy feeders, fertilizing them properly makes a big difference. Pick a fertilizer made for tomatoes. Look for a higher phosphorus and potassium ratio like 5-10-10.
This helps fruit grow and roots develop well. Put fertilizer in the soil before planting.
Then apply side-dressing every 4 to 6 weeks. This keeps nutrients steady.
- Mix a handful of organic fertilizer into each planting hole before setting plants.
- Use mulch afterward to retain moisture and prevent soil diseases.
- Feed plants every 2 to 3 weeks with balanced fertilizer during growth.
- Once fruits start forming, switch to liquid fertilizer every 1 to 2 weeks.
- Consider organic options like fish emulsion for gentle, ongoing feeding.
- Avoid too much nitrogen or your plants may grow leafy but produce less fruit.
Organic fertilizers improve soil health over time by adding microbes and humus. Chemical fertilizers usually act faster but need careful application to avoid burning roots. Decide based on your garden style and patience level.
Rich organic matter and regular fertilizing support vigorous tomato plants and big harvests. Check your plants for yellow leaves or slow growth.
These signs show nutrient or pH problems. Adjust care as needed.
Watering Techniques and Sunlight Needs for Tomatoes
Tomato plants need about 1 to 2 inches of water each week. You can measure this with a rain gauge or a simple container.
Water slowly and deeply. So the moisture reaches the roots about 6 to 8 inches deep.
It helps to water at the soil level, avoiding wet leaves. A drip system or soaker hose helps keep leaves dry. This lowers the chance of fungal diseases.
It works well for watering tomatoes. Try to water in the morning so plants dry quickly during the day.
Watch for signs of overwatering like yellow leaves or a soggy base. Underwatered plants droop and look dull. Spread watering evenly; sudden heavy watering after a dry spell can crack tomatoes.
Tomato plants need full sun with 6 to 8 hours of direct sunlight daily. More than 8 hours leads to the best fruit yields. A sunny spot keeps plants healthy and speeds up ripening.
Tomatoes can get sunburned in very hot areas. Too much heat over 85°F makes flowers drop. Extreme heat stresses tomato plants a lot.
Providing partial afternoon shade or a light cloth can protect plants on the hottest days. Too little sun, under 5 hours, results in fewer and smaller fruits.
Choose cherry tomatoes or small varieties for less sun. They do better with under 6 hours of sun. Grow these types if shade is common.
These tolerate partial sun better but still need about 5 hours daily, especially in warmer zones. Moving your plants yearly also helps keep diseases from building up in the soil.
Pruning and Supporting Tomato Plants for Maximum Yield
Pruning and supporting tomato plants are key for bigger yields and healthier growth. Removing certain shoots and leaves helps the plant focus on fruit. Using the right supports keeps plants upright and improves airflow around them.
Pruning Suckers and Leaves
Suckers are small shoots growing in the “V” between the main stem and branches. Pinch them off early on to prevent spindly growth and poor fruit production. Also remove lower leaves that get wet from soil splash to reduce disease risk.
This helps air circulate well and stops soil-borne diseases from reaching the plant. You can root removed suckers in a water-filled jar. Put the jar in a sunny spot.
Leave them there for 3 to 4 weeks. They’ll grow roots and become new plants you can transplant.
- Check plants for suckers growing in leaf axils weekly.
- Pinch off suckers close to the main stem with clean fingers.
- Remove bottom leaves that touch the ground or look unhealthy.
- Place removed suckers in a jar with water and set in sunlight.
- Wait 3 to 4 weeks for roots to grow before planting outdoors.
Don’t remove too many leaves at once or the plant may stress.
Topping and Training Plants
You “top” tomatoes by cutting off the main stem’s growing tip. Do this about 4 to 6 weeks before your last frost date to stop upward growth. It directs energy into fruit ripening and can boost final yield.
For indeterminate tomatoes, remove the main growing point indoors. Do this near the seventh fruit cluster.
Outdoors, do it around the fourth cluster. This also makes plants easier to manage and supports more compact spacing in small gardens.
- Watch for when fruit trusses develop: 7 indoors, 4 outdoors.
- Use scissors or pruning shears to cut the main stem two leaves above the top truss.
- Pinch off any new growth above this cut to focus on fruit.
- Continue removing suckers periodically to keep the shape tidy.
Topping too early or late can reduce your harvest size significantly.
Choosing and Installing Supports
Tomatoes need support: cages, stakes, or trellises keep plants upright and off wet soil. Good airflow helps stop fungal diseases. Cages allow natural growth and keep fruit off the ground.
Space plants 24 to 30 inches apart for cages or stakes. Trellises work well for indeterminate varieties and save space by letting vines climb vertically. Choose supports based on your tomato type and garden size.
- Set cages or stakes near plants when you transplant to avoid root damage.
- For cages, use sturdy wire 4 feet tall, placed 12 inches wide around each plant.
- For stakes, drive 6-foot stakes into the ground 6 inches from the stem.
- Tie stems loosely to stakes using soft garden twine. Space the ties every 8 to 12 inches. Do this as the plants grow taller.
- Install trellises by securing wires vertically for plants to climb, spacing plants 24 inches apart.
Using supports early prevents damaged roots and broken stems later on.
Identifying and Managing Tomato Pests and Diseases
Tomato plants often attract pests like aphids, tomato hornworms, and whiteflies. Aphids cluster on new leaves, sucking plant juices and deforming growth. Hornworms are large green caterpillars eating leaves and fruit buds.
Whiteflies fly up when you brush the plant and can cause yellowing leaves. Early spotting helps you act fast before serious damage.
Tomato diseases include blight, fusarium wilt, and powdery mildew. Blight causes dark, sunken spots on leaves and stems, collapsing plant parts quickly. Fusarium wilt shows yellowing and wilting on one plant side.
It spreads slowly up the stem. Watch for these signs early.
Powdery mildew appears as white powder on leaves, reducing photosynthesis and vigor. These diseases lower yield and weaken plants.
Organic controls include handpicking pests, spraying insecticidal soap, and using neem oil. For hornworms, pick them off by hand and drop into soapy water. Spray insecticidal soap on aphids and whiteflies early in the morning.
Neem oil sprays stop many pests and fungal issues. You must use them every 7 to 10 days.
Repeat sprays keep problems controlled. Mulching with straw helps prevent soil-borne diseases and keeps moisture steady.
- Check plants twice a week for early pest or disease signs
- Use insecticidal soap or neem oil at first signs of insect pests
- Apply copper fungicides for blight or powdery mildew on leaves
- Rotate tomatoes yearly to different garden spots to reduce soil diseases
- Remove infected leaves or entire plants immediately to avoid spread
- Keep plants spaced and supported for good air flow
- Water soil, not leaves, to limit fungal infections
Chemical pesticides are an option but should be last resort on edible crops. Use only those labeled safe for food gardens and follow directions carefully. Overuse can harm beneficial insects and lead to resistant pests.
Cost varies but expect $10 to $20 per spray bottle of insecticidal soap or neem oil. Copper sprays cost about the same and help with some fungal diseases.
Prevent pests and diseases with crop rotation every season. Keep plants healthy by watering and feeding properly. Both steps help reduce risks.
Space plants at least 18 to 24 inches apart for good ventilation. Prune lower leaves to improve air flow and make inspection easier. Remove plants with severe disease or fast-spreading pests.
Dispose of them well away from your garden area. Act quickly to protect other plants. Call a local extension agent or garden pro if unsure how to handle a serious outbreak.
When and How to Harvest Tomatoes for Best Flavor
Tomatoes are ready to harvest when they are fully colored and firm. Check each tomato for a deep red, orange, yellow, or pink color, depending on the variety. The fruit should feel firm but yield slightly to gentle pressure without being mushy.
Picking tomatoes when they are fully ripe maximizes their flavor. However, you can also harvest them just as they start to change color. These tomatoes will ripen inside on your counter.
This gives you more flexibility. It also reduces cracking or pests in your garden.
Pick tomatoes early morning or late afternoon. These times have cooler temperatures. Cooler temps help keep tomatoes fresh.
Cooler temperatures help the fruit retain its texture and flavor. Avoid harvesting in midday heat to prevent softening or damage.
- Pick tomatoes with the stalk attached to keep them fresh longer.
- Handle fruit gently to avoid bruises that shorten shelf life.
- Harvest every few days to catch each tomato at peak ripeness.
- Store ripe tomatoes at room temperature away from direct sunlight.
- Move tomatoes to the fridge only if you cannot use them in 2-3 days.
- Bring slightly underripe tomatoes indoors to ripen on the counter.
- Keep ripe tomatoes away from ethylene-producing fruits like bananas.
After harvesting, store tomatoes at room temperature to keep their full flavor. Refrigeration dulls flavor and changes tomato texture. Refrigerate fully ripe tomatoes only for short periods.
Use them within two or three days. Storing longer can hurt their flavor and texture.
Tomatoes picked just before full ripeness can store longer. Ripen these on your kitchen counter, out of direct sun. Watch your tomatoes closely and pick them often.
This helps you enjoy fresh fruit all summer. It also reduces waste.
Growing Tomatoes in Containers: Tips and Considerations
Growing tomatoes in containers works best with compact types and careful care. Choose pots at least 5 gallons in size with quality soil. Keep watering and fertilizing steady.
Support plants to grow strong. This helps them stay upright in small spaces.
Selecting Container-Suitable Varieties
Compact and determinate tomato types fit well in pots since they stay smaller. Popular dwarf varieties include ‘Patio Princess’ and ‘Tiny Tim’. Cherry tomatoes are also a great choice, offering manageable harvests and good flavor in pots.
Look for tomato plants that grow 2 to 3 feet tall to avoid overcrowding your container. These plants need less space.
They produce fruit in a good size range. Perfect for small gardens or balconies.
Container Size and Soil Requirements
Use a pot holding at least 5 gallons of soil. For cherry or dwarf tomatoes, a container 16 to 24 inches deep works well. Larger pots allow more root growth and better fruit production.
Fill containers with loose, well-draining soil rich in organic matter. Use a mix of garden soil and compost.
Add a little perlite or vermiculite. This helps air and moisture reach roots.
- Choose containers with drainage holes to prevent waterlogging
- Use lightweight containers for easier moving
- Add mulch to retain moisture and reduce watering frequency
- Consider self-watering pots for consistent moisture
- Don’t reuse old soil without refreshing nutrients
Healthy soil improves growth because tomato roots spread better and absorb nutrients easily. Avoid heavy or compacted soil that traps water and suffocates roots.
Watering, Fertilizing, and Supporting Potted Plants
Container tomatoes need watering more often than those in the ground since pots dry quickly. Check soil moisture daily and water whenever the top inch feels dry. Aim to keep soil evenly moist, not soggy.
Feed plants with a balanced, water-soluble fertilizer every 1 to 2 weeks. Container soil loses nutrients faster, so regular feeding supports healthy fruit development.
- Use stakes, cages, or small tomato spirals early for support
- Prune suckers as plants grow to focus energy on fruits
- Rotate containers occasionally to get even sun exposure
- Watch for pests like aphids or spider mites common in pots
- Remove dead leaves promptly to discourage mold and disease
Water at the base to avoid wetting leaves, which attracts diseases.
Proper support keeps plants upright, easing harvest and pest checks. Regular pruning and maintenance yield sweeter fruits and stronger plants even in small spaces.
Step-by-Step Action Plan for Growing Tomatoes
Follow these clear steps to get your tomato plants thriving from the start. Each step shows what to do and how to tell you’re on the right track.
- Before planting: Choose a sunny spot with well-drained soil. Check if soil drains well by digging a small hole. Fill the hole with water. It should soak in within 30 minutes.
- Day 1: Plant your tomatoes deep so stems can root. The plant should stand firm without leaning after you water it.
- Week 1: Water your plants regularly but avoid soaking the leaves. Soil should feel moist, never soggy or bone-dry.
- Week 2: Add stakes or cages to support growing plants. Tie stems loosely to supports so they don’t break but can grow.
- Week 3: Prune lower leaves and suckers to boost fruit growth. You’ll see more space and airflow around stems shortly after.
- Week 4: Watch for pests like aphids or whiteflies. Spotting and removing bugs by hand keeps plants healthy.
- Weeks 6, 8: Start harvesting ripe tomatoes regularly. Fruit should come off easily when gently twisted.
- Ongoing: Keep watering and checking for signs of disease. Healthy plants have firm leaves and no spots or curling.
Frequently Asked Questions
How Can I Make My Tomatoes Taste Sweeter?
To grow sweeter tomatoes, provide full sun and consistent watering. Avoid over-fertilizing with nitrogen, which can reduce sweetness.
What Spacing Do Tomato Plants Need in the Garden?
Space your tomato plants about 2 feet apart to allow room to grow. Proper spacing helps air flow and reduces disease risks.
Are Bush Tomatoes Easier to Grow Than Vining Types?
Bush tomatoes usually grow about 3 feet tall. They stop growing once fruit sets. They need less pruning than vining ones.
Can I Grow Tomatoes from Seeds Saved Last Year?
You can, but saved seeds might not grow true to the parent. Dry seeds thoroughly and store in a cool, dry place.
Should I Remove Side Shoots on Bush Tomato Plants?
For bush tomatoes, side shoots should be left to grow since they produce fruit too. Only prune for air flow if overcrowded.
What’s the Best Way to Protect Tomatoes from Pests Naturally?
Use companion plants like basil or marigold to repel pests naturally. Handpick large pests and apply organic sprays if needed.
Wrapping Up
Tomatoes need steady care for best results, but you can do this starting now. Pick one step from the plan, like staking or pruning, and focus on it this week. Watch your plants closely, they’ll show you what they need next.