How to Kill Moss on Pavers: 8 Effective Methods for Lasting Results
Figuring out how to kill moss on pavers starts with picking the right method. You can use natural solutions like vinegar or baking soda that kill moss without harsh chemicals. For stronger action, chemical cleaners with bleach work well but need careful handling.
Begin by cleaning the pavers to remove loose dirt and debris. Spray your moss killer on the outdoor pavers. Let it sit for 15 minutes or more.
This gives it time to work well. Avoid applying when rain is forecast, so the solution stays on the moss longer.
Vinegar mixed with water takes longer to kill moss. You can also sprinkle baking soda for a heavy layer. These natural options are safer for your plants.
Chemical methods act faster but require protective gear and careful rinsing. Either approach helps keep your pavers moss-free for longer.
Key Takeaways
- Spray a vinegar and water solution on moss and wait 15 to 30 minutes before rinsing.
- Sprinkle baking soda directly on damp moss and leave it for 24 to 48 hours.
- Use a diluted bleach solution, one part bleach to ten parts water, for stubborn moss.
- Spray moss killers when no rain is expected for at least 48 hours.
- Remove loose moss and debris before applying any moss-killing treatments.
- Wear gloves and eye protection when handling chemical moss killers.
1. How to Kill Moss on Pavers Using Natural and Chemical Methods
To kill moss on pavers safely and well, choose between natural or chemical methods. Natural ones like vinegar and baking soda are easy and eco-friendly.
Chemical options work faster but need careful handling and protective gear. Follow these clear steps for each method to get clean, safe pavers.
Applying Vinegar to Kill Moss
Use a 1:1 mix of white vinegar and water for gentle moss removal. Spray the solution evenly over the mossy areas on your pavers. Let it sit for 15 to 30 minutes to let the vinegar kill the moss effectively.
Because vinegar is acidic, avoid applying it on or near delicate plants. Rinse the pavers well with water after treatment to prevent surface damage.
- Mix equal parts of white vinegar and water in a spray bottle.
- Spray the mixture directly on moss-covered pavers.
- Wait 15 to 30 minutes without rinsing or walking on the surface.
- Scrub stubborn moss gently with a broom or brush.
- Rinse the entire area with water after scrubbing.
- Repeat if moss remains visible after drying.
Using Baking Soda for Moss Removal
Sprinkle dry baking soda thickly over the damp moss for a natural kill method. Baking soda stops moss growth and disinfects the surface without harsh chemicals. Leave it on the moss for 24 to 48 hours.
After this time, sweep or scrub away the dead moss and baking soda residue. If moss comes back, reapply monthly to keep it under control.
- Dampen the mossy pavers lightly with water.
- Sprinkle a generous layer of dry baking soda over the moss.
- Leave it for 24 to 48 hours to kill and dry out the moss.
- Scrub the moss and baking soda off with a stiff broom.
- Rinse the pavers with water to clear leftover baking soda.
- Repeat monthly for ongoing moss prevention.
Commercial Moss Killers: When and How to Use Them
Choose a commercial moss killer designed for outdoor pavers to target tough moss patches. Most come as liquids to dilute before use; check the label for proper ratios. Wearing gloves and eye protection helps you avoid skin or eye irritation.
Apply on a dry day with no rain expected for at least 24 hours. Wait about a week to see full results before cleaning the pavers or reapplying.
- Read the product label for specific dilution instructions.
- Mix the moss killer with water as directed.
- Put on gloves and safety goggles before applying.
- Spray or spread the solution evenly on mossy areas.
- Leave it to work without rinsing, usually 7 days.
- Scrub and rinse if moss loosens but stays attached.
- Repeat monthly if moss returns or persists.
Bleach and Other Chemical Solutions
Mix one part household bleach with ten parts water for an effective moss killer. Apply carefully, avoiding plants and pets because bleach can harm them. Use a sprayer or brush to spread evenly over moss on pavers.
Wear protective gloves and goggles during application. After 15 to 20 minutes, rinse thoroughly with water to limit environmental impact and surface damage.
- Prepare a solution of 1 part bleach to 10 parts water.
- Put on gloves and eye protection before using bleach.
- Spray or brush the bleach mixture onto moss on the pavers.
- Allow it to sit for 15 to 20 minutes without drying out.
- Rinse the area well with clean water after treatment.
- Avoid runoff to grass or garden areas to protect plants.
- Repeat treatment only if moss remains after drying.
2. Pressure Washing Pavers to Remove Moss Safely
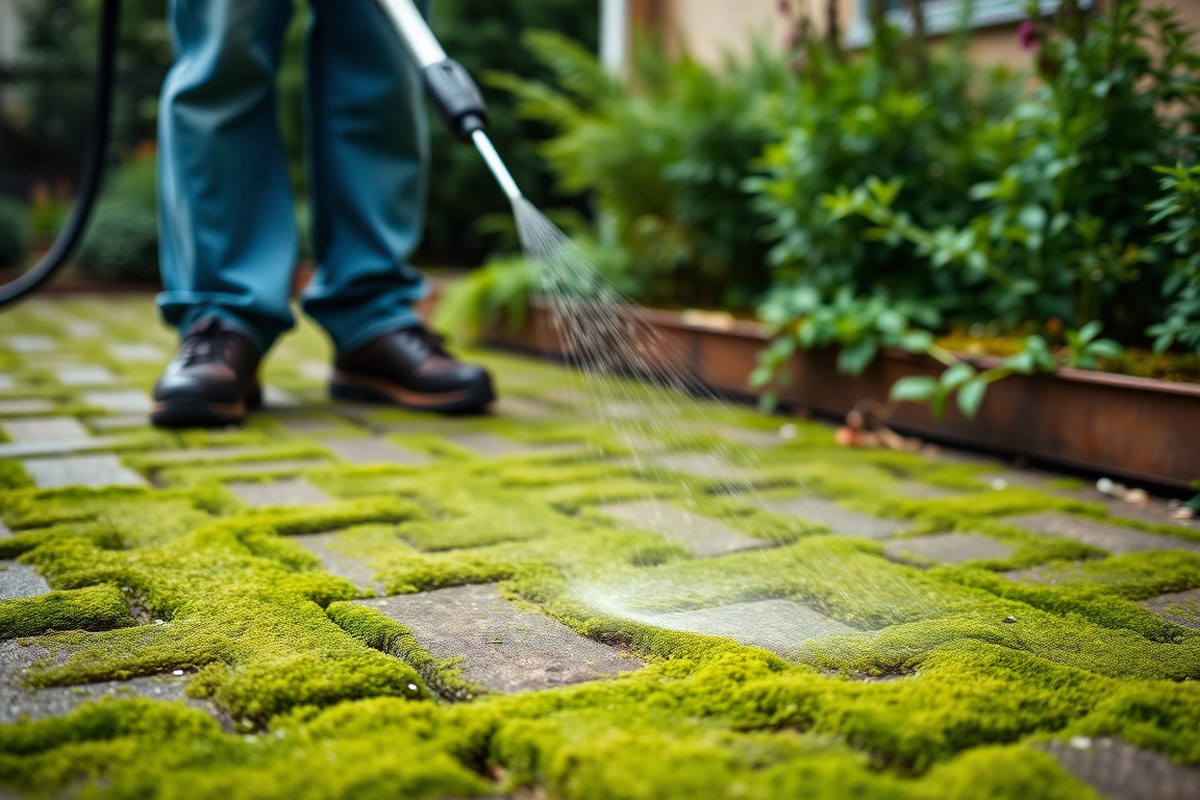
Pressure washing can remove moss from pavers quickly and well if done right. Using the correct pressure and nozzle keeps your pavers safe from damage. You’ll blast moss loose without washing away the joint sand that holds pavers in place.
Choosing the Right Pressure Washer Settings
Keep the pressure under 1500 PSI to avoid damaging pavers. Higher PSI can erode the stone or wash out jointing sand, making pavers shift. A fan-style nozzle with a 25 to 40-degree angle spreads water wide and lowers surface force.
Use a nozzle tip marked 25 or 40 degrees for wider spray. Narrower tips increase force and risk damaging pavers. Selecting lower pressure and a wide-angle nozzle cleans moss gently yet effectively.
Technique for Cleaning Moss Without Damaging Pavers
Hold the pressure washer wand about 12 to 18 inches from the paver surface. Closer than 12 inches can chip or wear stone. Keep a steady sweeping motion, moving side to side across your pavers.
Spray at a slight angle rather than straight down to dislodge moss without loosening joint sand. Avoid focusing pressure on one spot too long to prevent damage. Sweep methodically over all mossy areas, or you’ll leave patches behind.
Keep moving the spray wand to avoid pitting or eroding the pavers’ surfaces.
Post-Washing Care and Moss Prevention
Let the pavers dry fully after pressure washing. Dampness supports moss regrowth, so drying limits it. Check drainage around your paved area to prevent water pooling, which encourages moss.
Rinse away loosened moss debris with a garden hose if needed to clear the surface. You can follow pressure washing with a chemical moss killer for stubborn growth.
But washing alone may remove most moss. Regular sweeping afterward helps keep moss from returning.
Here’s a simple step-by-step to pressure wash moss safely:
- Clear the pavers of loose debris with a broom or blower.
- Choose a pressure washer with PSI under 1500 and a 25 to 40-degree nozzle.
- Set the washer to a medium spray pressure.
- Hold the wand 12 to 18 inches from the pavers’ surface.
- Sweep the spray in side-to-side motions, aiming at mossy patches.
- Keep the spray moving to avoid damage or joint sand loss.
- Rinse with a hose to wash off moss debris.
- Allow pavers to dry completely before use or treatment.
3. Preparing the Area and Tools for Moss Removal
Start by clearing loose debris and checking for pooling water on your pavers. Gather tools like a stiff broom, scraper, garden gloves, and a sprayer for applying moss killers. Make sure the pavers are dry before you start.
Dry pavers help moss treatments stick better. This makes the treatments work more effectively.
Clear Loose Debris and Vegetation
Remove leaves, sticks, and loose moss with a broom or leaf blower. Clean the dirt off the pavers first. This stops dirt from blocking the moss killer.
You can also see how much moss you need to treat. Picking off overgrown plants nearby also helps sunlight reach your pavers, slowing future moss growth.
Use a plastic or metal scraper to remove moss patches. Scrape the moss that sticks tightly to the surface. Don’t forget this step for tough moss.
Avoid metal on delicate pavers to prevent damage. Scrape off thick moss before applying treatment.
This clears the way for better results. Remove as much moss as you can.
Choose and Gather Your Moss Removal Tools
Collect all tools before starting to keep work smooth and fast. You’ll need a stiff-bristled broom for scrubbing, a garden sprayer for liquids, and protective gloves. A bucket, old towels, and a stiff brush are handy for physical moss removal after treatment.
For tough moss, use a plastic scraper first. If your pavers can handle it, add a pressure washer.
This helps remove stubborn moss more easily. Know that renting a pressure washer costs around $40 to $70 per day in many areas.
Ensure Pavers Are Dry and Clear
Dry pavers help moss killers adhere and work well. Check the weather to avoid applying moss treatment right before rain, which can wash chemicals away. After a dry spell, sweep away dust and grains that block moss treatments.
Wet pavers reduce product effectiveness and can cause uneven moss kill. Wait for a dry day before starting moss treatment.
Avoid days with rain or morning dew. Damp conditions reduce treatment effectiveness.
Moss Removal Preparation Checklist
Preparing well saves time and improves results. Keep these items and steps in mind:
- Stiff broom to sweep debris and scrub moss after treatment
- Plastic or metal scraper for thick or stuck moss patches
- Garden sprayer or watering can to apply moss killer evenly
- Protective gloves and eye protection during chemical use
- Bucket of clean water and stiff brush for rinsing and scrubbing
- Check weather forecast: avoid rainy days for application
- Clear plants or other shading objects blocking sunlight
Having all these ready keeps your work organized and efficient. Missing tools or rushing can leave moss behind or hurt your pavers.
Account for Different Paver and Moss Conditions
Older, fragile pavers need gentler cleaning tools to avoid chips. Use plastic scrapers and softer brooms for delicate surfaces. Concrete pavers usually take more vigorous scrubbing or pressure washing.
Light moss spots require less prep. Simply sweep and spray.
Heavier moss calls for scraping before and after killing treatments. Tailor tools and effort to your conditions for best results.
4. How to Remove Moss Between Pavers Effectively
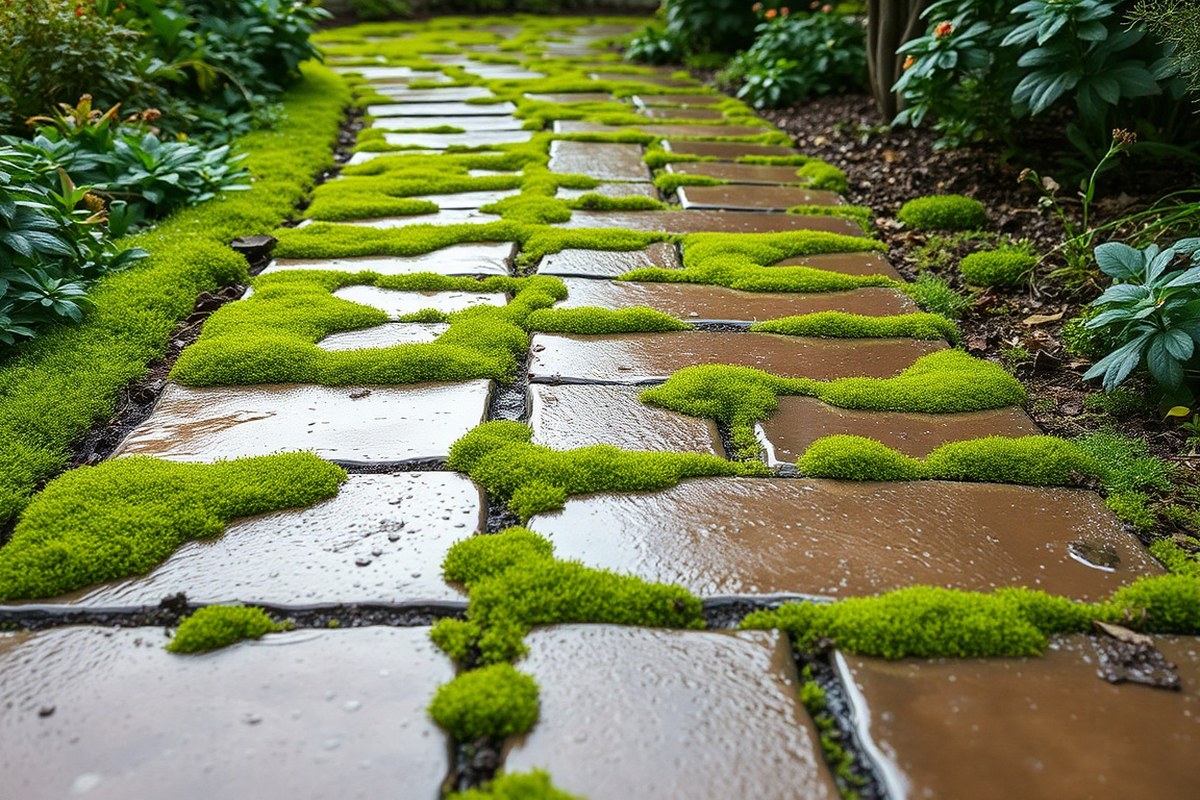
Moss growing between paver joints sticks tightly to cracks. It can cause slipperiness and weaken the pavers over time. Removing moss needs tools that fit tight spaces.
You must kill or scrape it out carefully. Use tools made for narrow gaps.
You can remove moss by hand in small spots. Hard bristle brushes and scrapers work best. Chemicals can kill moss but may harm nearby plants.
Follow these steps to clean moss from paver joints safely and thoroughly:
- Remove loose debris: Clear leaves and dirt with a broom or leaf blower. Make sure the pavers are clean before you start. This gives you better access to the moss in the joints.
- Scrape the moss: Take a pointed tool like a grout scraper or a stiff wire brush. Run it along the paver joints to pull moss out, focusing on thick patches.
- Brush the joints: Use a narrow stiff brush to scrub remaining moss from the cracks. Brush in multiple directions to loosen moss roots thoroughly.
- Apply moss killer (optional): Spray a moss control made for outdoor stones. Focus on the joints where moss grows most. Follow label instructions carefully and keep pets and plants away for 24 hours.
- Rinse thoroughly: Let the product sit for the time it says. Then rinse the area well with water. Use a garden hose without high pressure to avoid joint washout.
- Refill joints with sand: Brush polymeric or jointing sand into the cracks once dry. This fills gaps and stops new moss from growing by reducing moisture retention.
- Repeat if needed: Check the moss regrowth over weeks. Repeat scraping and treatment if moss returns, especially in shady, damp spots.
Scraping and brushing require patience but avoid chemical risks. Expect this process to take an hour per 100 square feet, depending on moss thickness. Chemical treatments cost around $15 to $30 per bottle, covering 250 to 500 square feet.
Good results show clean paver joints with no visible moss or green stains. Never use pressure washers on joints.
They wash out sand and can make moss return. Hand tools keep pavers intact while preparing them for lasting moss control.
5. Why Moss Grows on Pavers and What Encourages It
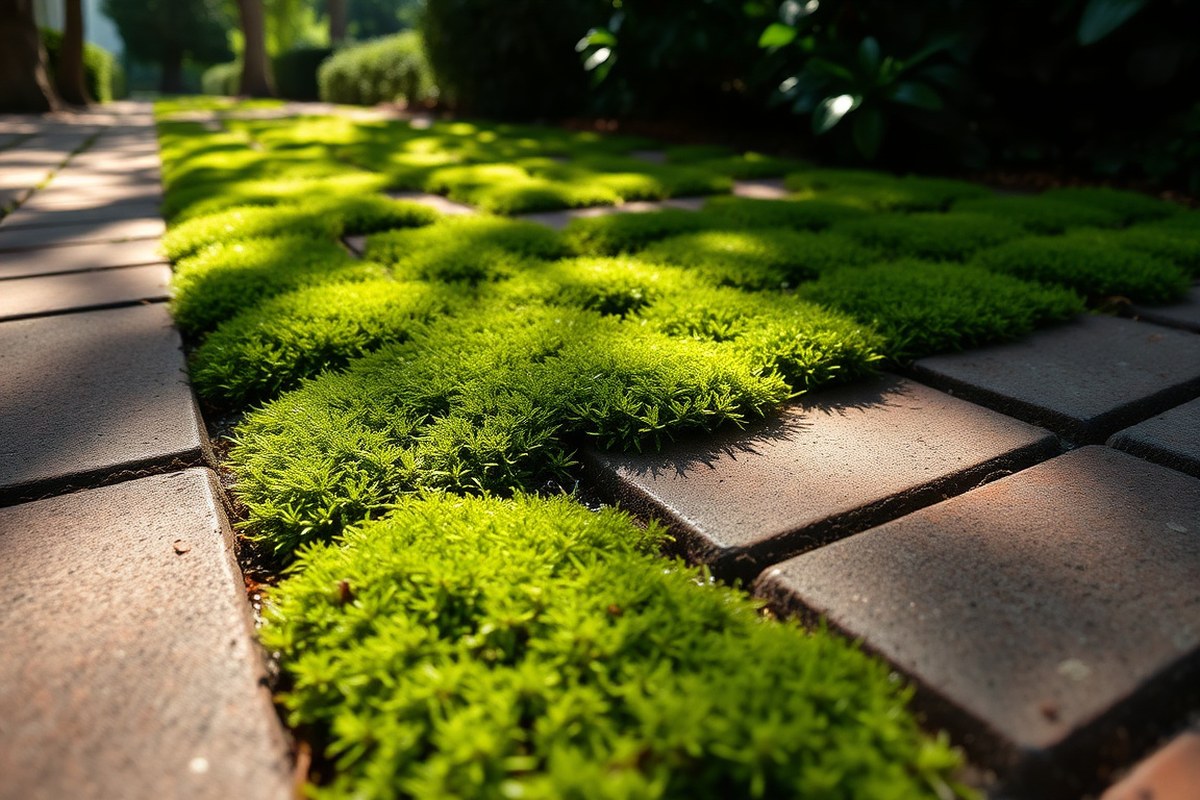
Excess moisture is the main cause of moss growth on pavers. Poor drainage or frequent rain keeps the surface wet for long periods. When pavers stay damp, moss spores find the perfect place to settle and spread quickly.
Shade also plays a big part in moss development. Areas under trees or near walls get less sun, slowing moisture evaporation. The cooler and darker the spot, the more moss can grow.
Moss grows thick and lush in these conditions. That’s because it likes shade and lower temperatures.
Soil conditions below and around pavers influence moss growth too. Compacted or poorly draining soil traps water near the surface. Saturation makes moss form more easily on pavers.
This happens if the pavers have shifted. It also occurs when drainage is clogged or broken.
Organic debris like leaves and dirt on pavers holds onto moisture. This creates damp spots ideal for moss to thrive. Sweep or blow away debris regularly to prevent moisture buildup and stop moss from returning.
Check your drainage often to avoid moss buildup. Moss means water is not draining well. You might need to fix the drainage system.
Limited sunlight, combined with excess moisture, creates an invite for moss on your walkways. Increasing sunlight exposure helps reduce moisture and slows moss growth. Trimming tree branches or removing shade can make a noticeable difference.
Poor drainage and compacted soil limit water flow away from your pavers. This leaves moisture sitting on or near the surface. Over time, this wetness makes moss growth almost inevitable until you fix these root causes.
6. Preventing Moss on Pavers After Removal
Moss grows best in shady, damp spots, so changing those conditions helps stop it. Trim trees or bushes to let sunlight reach your pavers. More sun means quicker drying and fewer places for moss to settle.
Drainage matters a lot too. Fix spots where water pools around or on your pavers.
Standing water keeps the surface moist, which moss loves. You might need to adjust the slope or add a drain to move water away.
Sealing your pavers also lowers moss growth chances. A sealant forms a protective film that blocks moisture and stains.
Apply a good-quality paver sealer every 2 to 3 years. This costs about $0.50 to $1.50 per square foot, depending on the product.
- Sweep pavers weekly to remove dirt and organic debris
- Trim overhanging branches to boost sunlight
- Fix drainage issues by leveling or adding drains
- Apply a paver sealer every few years
- Fill joints with polymeric sand to block moss growth
- Avoid watering plants over pavers to reduce moisture
- Use boiling water on moss-prone joints as a natural barrier
Keeping your paver area clean stops moss spores from settling down. Use a broom or blower to clear leaves and dirt. Filling joints with polymeric sand also helps; it hardens and blocks moss roots.
Watch your watering routine. Avoid spraying water directly on the pavers.
Wet pavers stay damp and encourage moss. If you follow these steps, moss will have a harder time coming back.
7. Safety Tips for Using Moss Killing Chemicals on Pavers
Wear gloves, long sleeves, and safety goggles when handling moss killers. These chemicals often contain strong biocides that can irritate your skin and eyes. Avoid breathing in sprays or dust by applying chemicals on a calm day with little wind.
Protect nearby plants and grass by covering them or watering them well before treatment. Moss killers can damage or kill surrounding plants if they come in contact. Keep pets and children away from treated areas until dry.
It usually takes 24 to 48 hours. Check that the product is completely dry before anyone returns.
After applying the chemical moss remover, scrub the moss with a stiff brush. This helps remove dead moss and leftover residues that may harm your pavers or plants. Once scrubbed, rinse the area thoroughly with water to wash away remaining chemicals and moss debris.
- Wear protective gloves, goggles, and long sleeves
- Cover or water nearby plants before treatment
- Keep pets and children off treated areas for 1, 2 days
- Apply moss killer on dry, windless days
- Use a stiff brush to scrub treated moss away
- Rinse the area well to remove residues
- Dispose of moss debris in trash, not compost
Dispose of moss and debris in your household trash. Avoid adding it to compost or garden beds, because chemical residues may harm other plants. Check product labels for specific disposal instructions, as some chemicals may require special handling.
Following these steps ensures your safety and protects your garden. It protects your pavers from chemical damage.
This keeps your outdoor space healthy. Your space will also stay beautiful longer.
8. When to Call a Professional for Moss Removal
Call a professional when moss covers over 25% of your pavers. This large coverage often signals a bigger problem that DIY methods can’t fix. Professionals have tools and products to clear thick moss safely and fast.
Check for drainage issues if water pools on your pavers after rain. Puddles that last more than a few hours mean poor drainage. Moss loves damp spots, so fixing drainage helps stop moss from coming back.
Your DIY moss removal might only clear some spots or it comes back fast. Think about hiring a pro in that case.
Stubborn moss usually means deep-rooted growth or damaged pavers. A professional can assess the situation and use specialized treatments that you can’t easily apply.
Here’s a simple way to decide. Measure the moss coverage by eye or with a tape measure. When moss covers a quarter or more of your pavers, call a pro.
Check for standing water after rainstorms. Water that stays pooled on your pavers is another warning sign.
Professional moss removal usually costs between $150 and $400. Prices depend on your paved area’s size and condition.
They spend an hour or more applying treatment and may repair drainage or pavers. This upfront cost can save time, money, and frustration compared to repeated DIY attempts.
Try sweeping or scrubbing moss lightly with a wire brush first. That helps you see if you need to call a pro.
Step-by-Step Action Plan to Kill Moss on Pavers
Follow these simple steps to remove moss and keep your pavers clean and safe. Check each step to see your progress.
- Before You Start: Clear debris and loose dirt from pavers using a broom or blower. The surface should look free and tidy.
- Day 1: Apply a moss killer, natural like vinegar or chemical according to label instructions. Wait 24 to 48 hours for results.
- Day 3: Use a stiff brush to scrub away dead moss. You can also use a pressure washer set to low pressure. Make sure to clean all moss patches thoroughly. Check that moss patches have loosened and faded.
- Day 5: Clean between paver joints with a narrow brush or scraper. Look for gaps cleared of moss.
- Week 1: Rinse the area thoroughly with water to remove residue. Pavers should look brighter and less slippery.
- Week 2: Spread polymeric sand or joint stabilizer to prevent moss regrowth. Joints should feel solid and dry.
- Week 4: Trim back overhanging plants and trim shade to increase sunlight. Notice a drier and sunnier surface.
- Monthly: Sweep and inspect your pavers. Spot treat any new moss early to stop spread.
Frequently Asked Questions
Can I Use Vinegar to Kill Moss on Pavers?
Yes, vinegar kills moss naturally but may harm nearby plants. Use a spray bottle and rinse the area well after 15 minutes to protect your garden.
What Time of Day Is Best for Applying Moss Killers?
Apply moss killers on a dry, sunny day to work best. The sunlight helps kill moss faster and prevents the treatment from washing off.
Will Salt Damage My Pavers When Used to Kill Moss?
Salt can kill moss but may damage pavers or soil nearby. Use sparingly and rinse the area immediately to avoid lasting harm to your outdoor space.
How Long Does Moss Take to Die After Treatment?
Moss usually dies within 10 to 15 minutes after applying a solution. You should wait this time before scrubbing or rinsing the pavers to get the best results.
Can Boiling Water Kill Moss on Pavers?
Boiling water can kill moss but risks cracking or damaging some pavers. Test a small area first and pour slowly to avoid thermal shock or injury.
Is It Safe to Walk on Pavers Right After Moss Treatment?
Wait until the pavers are dry after treatment before walking on them. This prevents slipping and allows the moss killer to work properly.
Before You Go
Getting rid of moss on pavers takes regular care and the right tools. Start by clearing moss safely, then keep your pavers dry and sunny. Begin your first cleaning today and watch your outdoor space improve fast.