How to Make a Hot Compost Pile: Simple Steps for Fast, Rich Compost
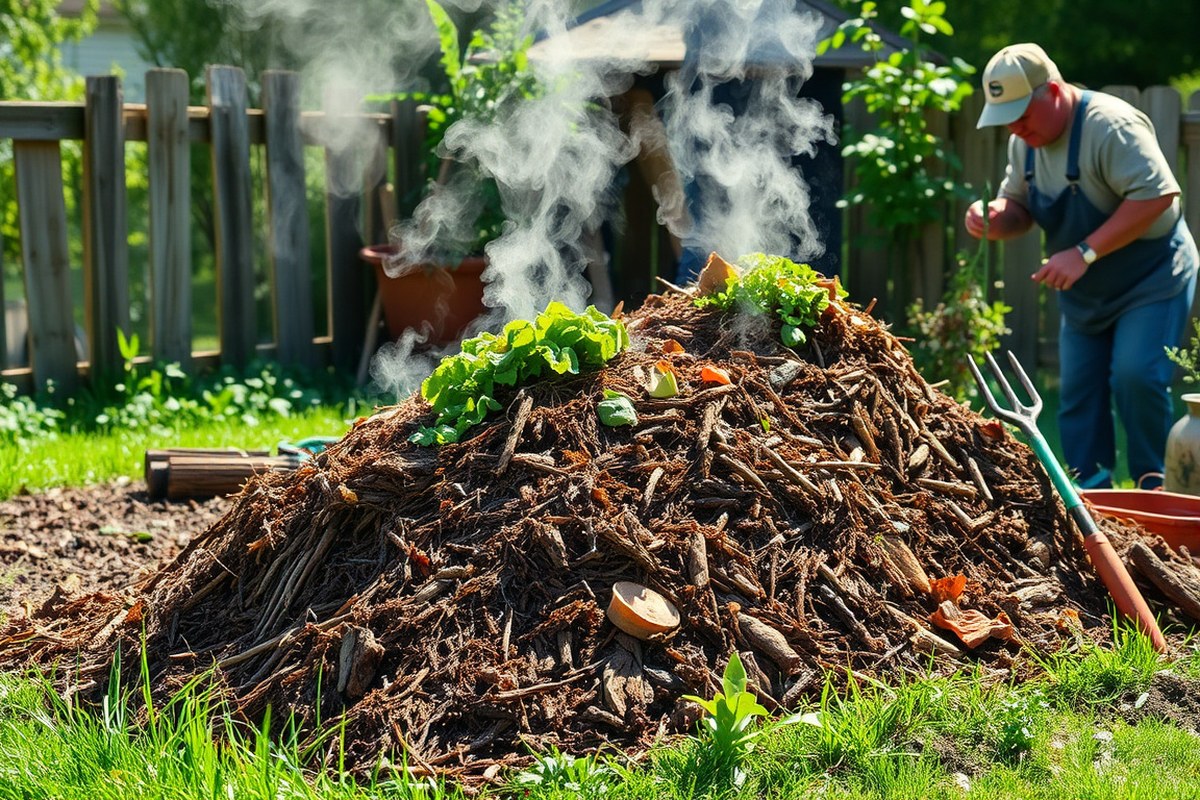
Knowing how to make a hot compost pile lets you speed up composting fast. Start by building a pile at least 3 feet wide, deep, and tall. Bigger piles trap heat better, reaching 130 to 140 degrees for hot composting.
Next, balance your materials with a good mix of carbon and nitrogen. Layer brown stuff like dry leaves with green stuff like grass clippings. Water the pile enough to make it feel like a wrung-out sponge.
This helps microbes grow and generates heat inside the pile. Good moisture keeps the composting active and smells fresh.
Turn the pile every few days to keep oxygen flowing so microbes can thrive. Watch the temperature often. Reaching above 110 degrees is a sign your pile is heating well.
Keep moisture steady. Be patient, the pile heats in days and produces compost in weeks.
Key Takeaways
- Build a compost pile at least 3 feet on all sides to retain heat.
- Mix carbon-rich brown materials and nitrogen-rich green materials evenly.
- Keep pile moisture between 40 and 60 percent for best microbial activity.
- Turn your pile every 2 to 7 days to supply fresh oxygen.
- Check temperature regularly; aim for 130 to 140 degrees Fahrenheit.
- Add water if the pile feels dry, like a wrung-out sponge.
How to Make a Hot Compost Pile Step-by-Step

Building a hot compost pile starts with choosing the right size and preparing your materials. The pile should be at least 4 feet wide and 4 feet long.
It also needs to be 4 feet tall to work well. This size traps enough heat inside to encourage rapid decomposition and keep microbial activity strong.
To make the pile, use a mix that keeps the carbon to nitrogen ratio around 4:1. Chop all your materials into small pieces, about 1 to 3 inches long. This helps the pile heat up quickly and break down faster.
- Gather materials and chop them. Use pruning shears or a chipper to cut browns and greens into small pieces.
- Build a base layer. Start with coarse browns like small branches or straw to help air circulate.
- Layer browns and greens. Alternate a few inches of shredded brown material with a thinner layer of fresh green material.
- Moisten each layer. Spray water on each layer until it feels like a wrung-out sponge, about 40-60% moisture.
- Finish with a thick brown layer. This helps prevent odors and keeps pests away.
- Turn and water the pile well. Use a pitchfork to mix the pile thoroughly and add water as needed.
- Cover the pile. Use a lid or tarp to hold in moisture and heat.
- Let it sit for four days. This rest allows microbes to multiply and the temperature to rise.
A key to hot composting is keeping the pile moist but not soaked. Dry piles don’t heat well, and soggy piles can smell. Turning and watering before resting gives microbes the right environment to generate heat fast.
This process raises the core temperature quickly. It should reach 130 to 140 degrees F within two days.
Watch out for piles smaller than 27 cubic feet. They lose heat too quickly to stay hot. Also, layers that are too thick or uneven can block airflow and slow things down.
Using coarse materials on the bottom helps avoid this. Setting up the right compost pile takes a few hours. This can speed up composting to just three weeks.
What Makes a Hot Compost Pile Heat Up?
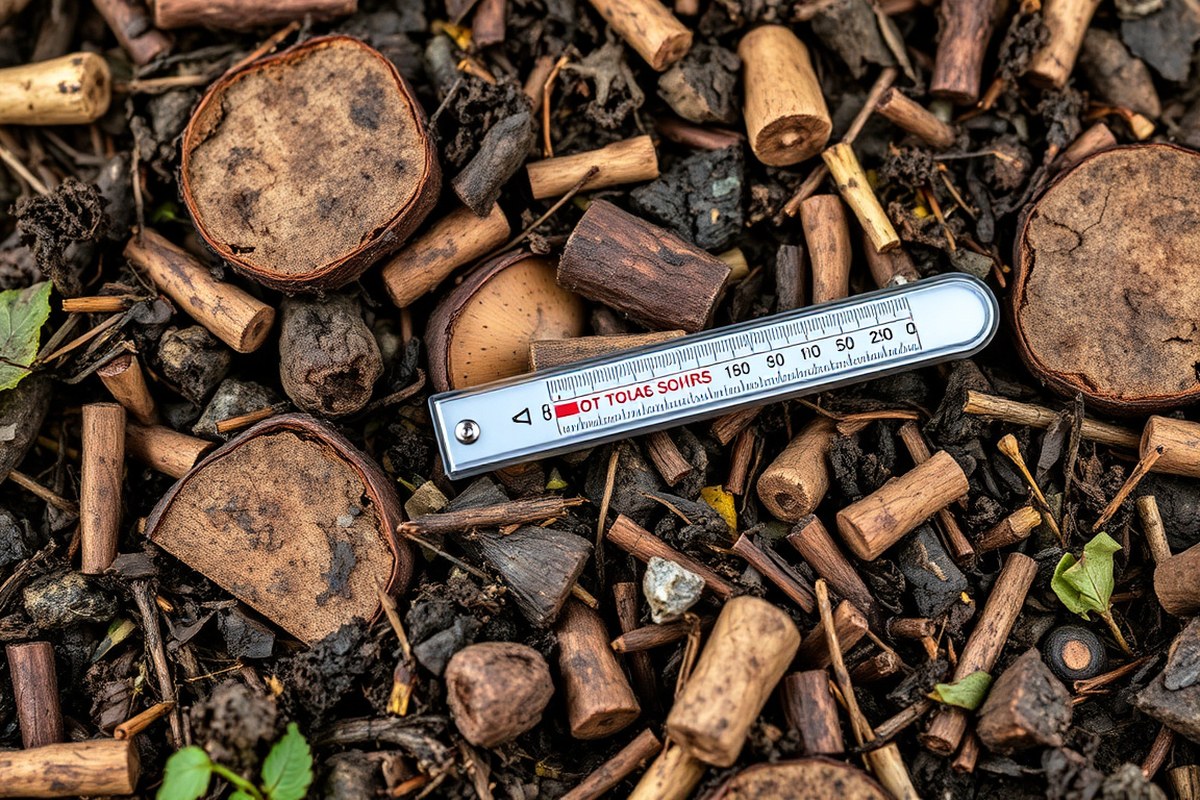
Heat in a hot compost pile comes from tiny microbes eating organic materials. These microbes break down greens like food scraps and browns like dry leaves. As they digest, they release energy as heat, which raises the pile’s temperature quickly.
Different microbes work at different temperatures. At first, moderate-temperature microbes feed on simple sugars, warming the pile to about 100°F (38°C).
Then heat-loving microbes take over, thriving between 104 and 160°F (40-70°C). These microbes break down tougher materials like fats and proteins.
The type and size of materials affect how fast heat builds. Smaller pieces break down faster because microbes access more surface area. For example, shredded leaves heat up quicker than whole ones.
You need a good mix of brown and green materials. Aim for a carbon-to-nitrogen ratio near 25 to 1. This balance supports strong microbial activity in your compost.
Oxygen is important for the microbes to work and generate heat. Microbes use oxygen fast in the compost pile. Most of it is gone within the first two days.
They work hard right after you build the pile. When air stops reaching the pile, heat drops quickly. This causes the compost to break down slower.
Regularly turning the pile keeps air flowing. That’s why turning the pile to add fresh air every few days keeps temperatures high.
Water also matters. Microbes need moisture to survive. But too much water chills the pile and reduces oxygen.
Aim for the feel of a wrung-out sponge. That balance helps microbes thrive and keeps the pile hot.
Keep your compost pile moist but not soggy. Turn it regularly to feed oxygen to the heat-producing microbes.
Ideal Carbon to Nitrogen Ratios and Material Choices
To make a hot compost pile, use one part green materials. Add three parts brown materials for the right balance.
Aim for a carbon to nitrogen ratio close to 25:1 or 30:1. This mix keeps microbes happy and the pile hot.
Common Green Materials and Their Nitrogen Levels
Green materials supply nitrogen and moisture to your compost. Common greens include grass clippings, food scraps, and fresh plant trimmings. These help microbes break down brown materials faster.
Greens tend to have high nitrogen content, which speeds composting if not overused. Adding too many greens can cause smell problems and slow the process.
| Green Material | Nitrogen Level |
|---|---|
| Grass Clippings | High |
| Food Scraps | High |
| Coffee Grounds | Moderate to High |
| Fresh Plant Trimmings | High |
| Manure (from herbivores) | High |
Use coffee grounds, especially in winter when other greens are scarce. Keep greens moist but avoid adding meat or dairy to prevent pests.
Brown Materials for Carbon and Structure
Brown materials provide carbon that fuels microbes and keeps the pile aerated. They usually are dryer, bulkier items like dried leaves, straw, or shredded paper. Browns help control moisture and add bulk for airflow.
Too many browns slow heating, but too few cause ammonia smells. Mixing about three parts brown to one part green keeps the balance right. Browns break down slower, so chopping or shredding helps speed composting.
| Brown Material | Role |
|---|---|
| Dried Leaves | Carbon source, aeration |
| Straw | Carbon source, structure |
| Shredded Paper/Cardboard | Carbon source, slow breakdown |
| Wood Chips (small) | Carbon source, structure |
Mix browns in layers with greens to keep microbe activity steady. Browns also help control moisture if the pile gets too wet.
How Size of Materials Affects Air Flow and Heat
Smaller pieces break down faster but can pack tightly and reduce air flow. Larger pieces keep air circulating and help maintain heat around 110°F to 140°F. Use a chipper or shredder to cut materials into 1 to 3-inch pieces.
Big pieces slow down decomposition. Use smaller bits for faster compost.
Too small, and the pile may clump or lose oxygen, suffocating microbes. Maintaining a mix of sizes helps balance speed and aeration.
How to Monitor and Maintain Compost Temperature and Moisture
Measuring temperature and moisture in your compost pile helps keep it hot and active. Use a compost thermometer to check heat inside the pile. Keep the pile damp but not soggy to support microbes breaking down material.
Using and Choosing a Compost Thermometer
A compost thermometer has a long probe designed to penetrate deep into the pile. This lets you measure the core temperature where microbes generate heat. Digital models with a display cost around $15 to $30 and give fast, clear readings.
Insert the thermometer probe at least 12 inches deep in the center of the pile. Leave it there for a minute to get a steady temperature reading. Check temperature in several spots if your pile is large or unevenly mixed.
Target Temperature Ranges for Hot Compost
Maintain your compost pile at 130°F to 160°F (54°C to 71°C) for best results. This heat range speeds up microbial activity and destroys most weed seeds and pathogens. If the temperature stays below 110°F after two days, examine the carbon-nitrogen ratio, moisture, and ventilation.
Temperatures above 160°F can harm helpful microbes. Drop below 110°F, and decomposition slows dramatically. Aim to stay near 135°F to 145°F to balance speed and microbe health.
Checking and Adjusting Moisture Levels
A hot compost pile should feel like a damp sponge, not dripping or dry. Moisture helps microbes stay active and move nutrients inside the pile.
Dry piles stop heating and break down slowly. Too wet piles smell bad and become slimy.
To check moisture, grab some compost and squeeze it in your hand. A few drops of water should appear, but no steady drip. Use a garden hose to add water if the pile feels dry.
Sprinkle shredded leaves or paper to soak up too much moisture. Adjust moisture until it’s like a wrung-out sponge, not soggy or dusty.
Follow these steps to monitor and keep your compost pile healthy:
- Insert the compost thermometer probe 12 inches into the pile’s center.
- Wait about 60 seconds to read a consistent temperature.
- Record temperatures daily to track temperature changes.
- Feel a handful of compost to check moisture, like a damp sponge.
- Add water with a spray or light hose if the pile feels dry.
- Mix in dry, carbon-rich materials if the pile is too wet or soggy.
- Turn the pile when temperature drops below 110°F or after three to five days.
- Place the pile in sunlight and ensure good airflow around it.
How Often and How to Turn a Hot Compost Pile
Turn your hot compost pile every 2 to 7 days to keep it active. Moving the pile’s outer material to the center helps maintain high heat. Too much turning makes the pile lose heat, so find a balance.
When to Turn Based on Temperature Drops
Check the temperature regularly, especially during the first weeks. The pile should reach 130 to 140°F within 24 to 36 hours of starting. Turn the pile when the temperature drops below 120°F. This signals the microbes need fresh oxygen to keep breaking down materials fast.
Turn your compost every 2 to 3 days in summer. In cooler weather, turn it every 5 to 7 days.
This helps keep your compost active and healthy. This timing helps keep your pile hot without cooling it off too much.
Tools and Techniques for Efficient Turning
Use a pitchfork or garden fork to lift and turn the pile. These tools let you flip the compost without damaging it. Avoid shovels that break up materials too much.
Follow these steps to turn your pile efficiently:
- Check the pile’s temperature with a compost thermometer.
- Start from the outer edges and move the cooler material to the center.
- Lift the pile’s top layer and place it underneath.
- Gently mix the pile’s layers to keep them even.
- Remove any large clumps by breaking them apart carefully.
- Check moisture; add water if it feels dry during turning.
- Replace the pile back into a neat, compact shape.
Turning evenly gives all parts fresh oxygen and avoids cold spots.
Balancing Aeration Without Losing Heat
Oxygen fuels the microbes that heat up the pile. Turning adds air by breaking compacted areas. But it also cools the pile as cooler outside air mixes in.
Turn the pile just enough to keep air flowing without letting it cool below 120°F. Check moisture too, because dry piles slow down decomposition.
When the pile overheats above 150°F, turn more often to cool it. When the compost stays too cool, turn it less often.
Make sure it still gets enough oxygen inside. This balance keeps compost hot and active.
Troubleshooting Common Hot Compost Problems
Low temperatures usually happen because your pile lacks enough nitrogen or moisture. Add fresh green scraps like grass clippings or kitchen vegetable waste to boost nitrogen.
Water the pile if it feels dry. But keep it damp like a wrung-out sponge.
Bad odors often come from too much moisture trapping smells or too many food scraps. When the pile is soggy, add dry brown materials like dried leaves, shredded paper, or straw. They soak up excess water and balance the air flow.
- Check the temperature with a compost thermometer. Below 110°F means pile needs nitrogen or turning.
- Add dry brown materials if the pile smells sour or rotten.
- Turn the pile at least once a week to aerate and prevent smells.
- Keep meat and dairy out to avoid pests and odors.
- Place your compost at least 10 feet away from your house. This helps reduce pests and smells near your home. Keeping distance controls how close pests get to you.
- Cover food scraps with a layer of brown material to hide smells and discourage animals.
Pests get attracted if you add meat, dairy, or oily food. They also come if food scraps sit out in the open. Avoid these to keep pests away from your compost.
Avoid adding these items unless you can keep the temperature at 140°F or higher constantly. Use a secure lid or chicken wire to protect the pile from rats, raccoons, and flies.
Turning your pile moves materials around to introduce oxygen and speed up heating. Turning your compost spreads heat evenly through the pile. This stops cold spots where pests or bad smells grow.
Even heat helps keep the compost healthy and clean. Turn your compost every 5 to 7 days at first.
Keep doing this until the temperature stays above 130°F for days. This routine helps speed up the composting process.
Seasonal Adjustments and Insulation for Hot Composting
Hot composting works in winter, but it needs extra care to stay warm. A pile at least 3 feet wide, deep, and tall holds heat better. Smaller piles lose heat quickly, so build a larger heap when cold weather starts.
Adding insulation helps the pile keep its heat through cold days. Wrap straw bales around the pile sides. Cover with old blankets.
Use a commercial compost jacket for extra warmth. These layers trap warmth but still allow air flow.
You can also add a 6-inch layer of loose straw or dry leaves on top. It acts like a blanket to shield against frost.
Changing pile size and materials between seasons can make a big difference. In winter, increase brown material like shredded leaves or straw to keep the moisture balanced.
This balance stops the pile from getting soggy and cool. Adding fresh green scraps keeps nitrogen high enough for microbes to work fast despite the chill.
Check your pile often. Turn it every 5 to 7 days. Mix hot and cooler spots well.
Turning in cold months might need more effort because the outside heat drains faster. Turning the pile lets oxygen in.
This boosts microbes and heat. Keep temperatures near 130 to 160 degrees Fahrenheit.
Cold winter air can chill the outside of the pile, even with insulation. Place the pile in a sunny spot. Let the sun warm it naturally.
This helps speed composting. Don’t pile snow or wet materials on top.
They cool the compost down. This slows the process.
Insulating materials can be cheap if you use garden waste. Old blankets or recycled straw also work well. Commercial compost jackets or bins cost $30 to $100.
They make winter composting easier to manage. Decide based on how much compost you want and how cold your area gets.
Safety, Materials to Avoid, and Compost Use Timing
Meat, fish, and dairy products should never go into your hot compost pile. They can attract pests and cause bad odors, even if the pile gets very hot. Instead, stick to plant-based scraps and yard waste for the best results and fewer problems.
Some materials can hurt your compost’s quality or take too long to break down. Avoid adding pet waste, glossy or coated paper, and treated wood. Large amounts of grass clippings need mixing with dry materials first.
Mixing helps balance your compost pile. These can introduce harmful bacteria or create a slimy, smelly mess that slows composting.
Knowing when your compost is ready is important before using it in your garden. Mature compost looks dark, crumbly, and smells like rich soil. It should no longer be hot inside and won’t show any recognizable food pieces.
Don’t add weeds with seeds unless the pile stays hot. Make sure to turn it often to kill those seeds. This keeps your compost from spreading weeds.
Here’s a quick checklist for safe and successful hot composting:
- Skip all meat, dairy, and fish scraps to avoid pests and odors
- Only add fully dry or brown materials with fresh green scraps
- Use finished compost or soil as an activator at the start
- Turn your pile every few days to keep oxygen flowing and heat high
- Wait at least two months, then check for crumbly, dark, earthy-smelling compost
- Avoid pet waste and treated materials to prevent contamination
- Keep weeds with seeds out unless your pile heats to 135°F (57°C) regularly
Compost that has reached about 135°F (57°C) for several days kills most pathogens and weed seeds. Let it cure for a few weeks after the last turn to stabilize before using.
Your compost pile may still hold harmful microbes or seeds. This happens if it doesn’t get hot or stays too wet or dry.
Following these steps helps you get safe, nutrient-rich compost faster. It lowers disease risk in your garden. It also helps plants grow healthy.
You and your family will enjoy the garden more. Keep an eye on moisture and temperature to stay on track.
Step-by-Step Action Plan for Your Hot Compost Pile
Follow these steps to start a hot compost pile. Keep it heating up. It will break down quickly this way.
- Day 1: Gather brown and green materials in a 30-inch pile and mix them well. Check the pile feels warm after a day or two.
- Day 3: Check moisture and sprinkle water if the pile feels dry. It should feel like a damp sponge, not wet or dry.
- Day 5: Take the temperature with a compost thermometer. It should hit 130-150°F to kill pathogens. The temperature is lower, so turn the pile. This adds oxygen and helps heating.
- Week 1: Turn the pile completely to blend materials and add air. Heat should spike back up within a day.
- Week 2: Monitor temperature and moisture daily. Add water or dry leaves as needed to keep balance.
- Weeks 3-4: Turn the pile weekly to keep microbes active. The temperature will slow cooling down as it nears done.
- Week 5+: Check for finished compost by looking for dark, crumbly soil with no recognizable scraps. Stop turning at this point and let it cure.
Frequently Asked Questions
How Often Should I Add New Materials to My Hot Compost Pile?
Add new materials when the pile starts to cool down. Keeping a constant supply of fresh greens and browns helps maintain heat and speed up decomposition.
Can I Compost Meat or Dairy in a Hot Compost Pile?
Avoid meat and dairy in your hot compost pile. They attract pests and can cause odors, disrupting the composting process. Stick to plant-based kitchen scraps instead.
What’s the Best Tool for Turning a Hot Compost Pile?
Use a sturdy pitchfork or compost turner for easy mixing. Turning helps oxygen reach microbes and keeps heat levels steady for faster composting.
How Can I Tell If My Hot Compost Pile Is Too Dry?
If the pile looks dusty or brown and won’t hold shape, it’s too dry. Add water gradually, aiming for moist but not soggy conditions to keep microbes active.
Is It Okay to Compost Weeds with Seeds in a Hot Compost Pile?
Hot composting can kill most weed seeds if temperatures reach 130°F for several days. Monitor temperature carefully to ensure thorough breakdown and seed destruction.
Can I Start a Hot Compost Pile in a Small Apartment Yard?
Yes, if you have space for a bin at least 4 feet wide and tall. Small piles don’t retain heat well, so size matters for hot composting success.
Key Points to Remember
A hot compost pile speeds up breaking down yard waste into rich soil food. Focus on good mix, moisture, and regular turning to keep heat up. Start your pile today with fresh greens and browns to see the heat rise fast.