When to Plant Perennial Seeds: Timing Tips and Proven Steps for Success
Knowing when to plant perennial seeds is key to their success. Most perennials need to start indoors 6 to 10 weeks before the last frost in spring. This gives them enough time to grow strong before moving outside.
Some seeds need cold treatment before planting and take longer to sprout. Others, like perennial hibiscus, should only go outdoors after frost-free dates pass. Timing depends on each plant’s needs and your local climate.
Starting seeds indoors in a cool spot with bright light helps germination. Keep the temperature around 65 to 75 degrees Fahrenheit for best results. Planting at the right time ensures your perennial seeds turn into healthy plants.
Hardening off seedlings is important before transplanting outdoors. Gradually expose them to outdoor conditions over 7 to 10 days. This helps prevent shock and encourages strong growth once planted in the garden.
Key Takeaways
- Start perennial seeds indoors 6-10 weeks before your last spring frost.
- Keep seeds in a cool, well-lit spot to support quick germination.
- Some seeds need cold stratification to germinate; plan ahead for this.
- Plant outdoor seedlings after frost-free dates specific to your area.
- Maintain potting mix temperature close to room temp for steady sprouting.
- Use clean containers disinfected with a bleach solution before planting.
When Is the Best Time to Plant Perennial Seeds?
Plant perennial seeds outdoors in early spring or fall, depending on the seed type. Seeds needing cold stratification should be sown outside in late fall or early winter. This lets them experience natural cold and moisture, helping trigger germination in spring.
Starting seeds indoors works best 6 to 10 weeks before your area’s last spring frost. Use containers to control moisture and temperature.
Keep indoor soil warm, about 70 to 75 degrees F, to encourage germination. After sprouting, move seedlings to a cooler spot, around 65 degrees F.
Direct sowing outdoors suits large areas like fields or meadows. Spread seeds evenly on prepared soil in spring or fall. Avoid planting too late in the season.
Seeds might not grow well if the soil is hot or dry. Starting seeds indoors helps in summer or if your outdoor soil conditions are poor.
Check the seed packet for timing advice and cold treatment instructions. When seeds need cold stratification, put them in your fridge or outside to overwinter.
Some seeds don’t need special treatment. Sow them when soil hits 50 to 60 degrees F. Plant in spring for best results.
The key is matching planting time to your climate and seed variety. Starting indoor seeds early gives young plants more growing time before transplanting.
Sowing directly outdoors saves time but may delay growth. Choose your method based on space, season, and how much control you want over conditions.
How USDA Hardiness Zones Impact Planting Times
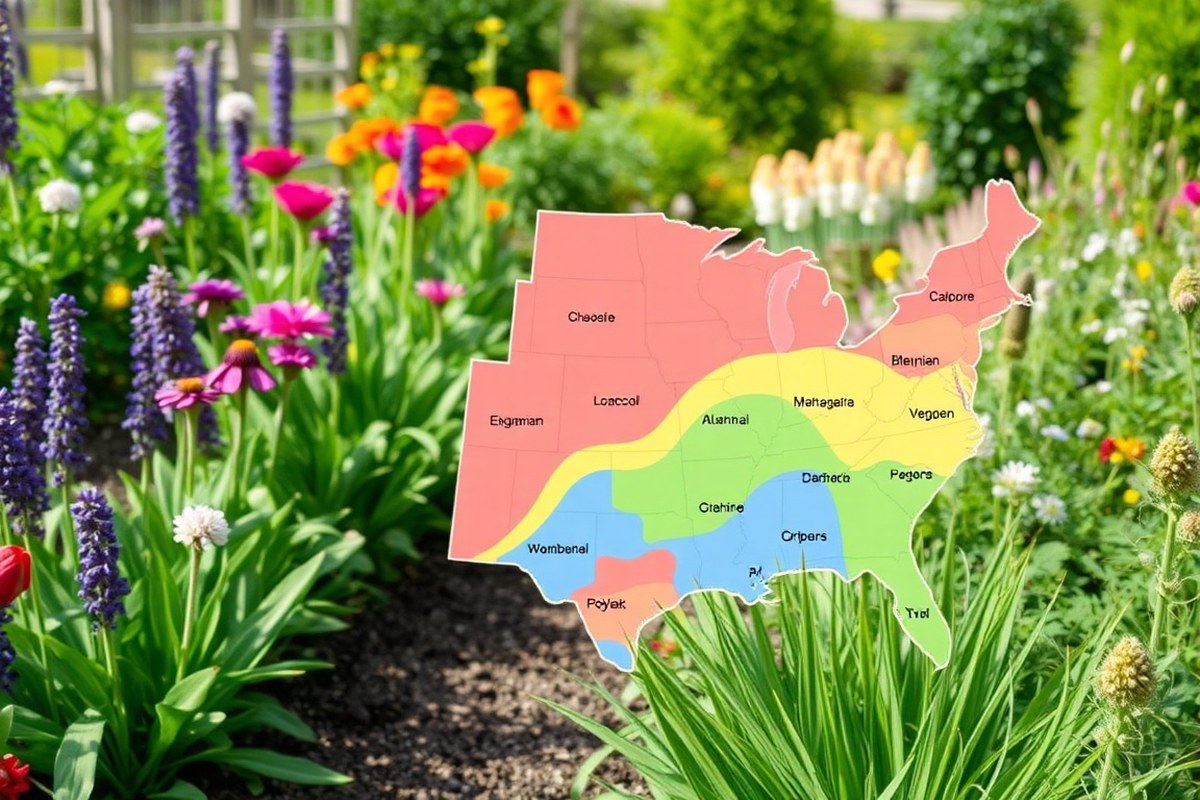
USDA hardiness zones show the average minimum winter temperature for an area. These zones help you decide when to plant perennial seeds. Plants suited to colder zones need earlier planting than those in warmer zones.
Knowing your local last and first frost dates is key. The last frost date is when winter cold usually ends. So starting seeds indoors eight to ten weeks before this date works best.
Outdoor sowing should happen about three weeks before the last spring frost. Planting at least six weeks before the first fall frost helps perennials settle before winter.
| USDA Zone Range | Recommended Planting Time for Perennial Seeds | Notes |
|---|---|---|
| Zones 4 to 7 | A few weeks before the first fall frost | Colder climates require earlier planting for root development |
| Zones 8 to 11 | Fall or spring, avoiding frost dates | Tender perennials can grow year-round; watch for frost in colder spots |
| Florida (Zones 8, 11) | Any planting time except during extreme heat | Plants like Roseleaf Sage thrive year-round here |
| California (varied zones) | Depends on local zone; check frost dates | Wide climate differences mean local frost info is important |
| Texas (varied zones) | Plant 6-8 weeks before first fall frost | Regional climate ranges widely; adjust timing accordingly |
Check frost dates at local agricultural extensions or online tools. They provide specific average dates for your county. These dates can vary year to year, so watch the weather each season.
Regional climates like in Florida, Texas, or California change timing. Florida’s mild winters allow more flexibility.
Texas and California’s zones vary from cold to warm, needing careful local timing. Use the zone and frost date info to pick the best moment.
Start seeds indoors 8 to 10 weeks before your last frost date. This helps grow strong seedlings. They will be ready for transplant on time.
Preparing Soil and Seeds Before Planting
Preparing soil and seeds before planting perennial seeds helps your plants get a strong start. Clean seeds, sanitize containers, and enrich soil to improve germination and growth. These steps reduce disease risk and give your seedlings the nutrients they need.
Cleaning and Preparing Seeds
Remove fuzz, chaff, or seed coatings by rubbing seeds gently. Use your fingers or a fine sieve to do this. This helps clean the seeds well.
Clean seeds store better and sprout more evenly. Some seeds need light to germinate. So avoid burying them too deeply or removing all seed hulls if the packet says otherwise.
Store seeds in a cool, dry place before planting to keep them viable. A sealed paper envelope or glass jar works well in a refrigerator or cool basement. Seeds stored this way usually last one to three years, depending on the type.
- Brush off seed debris carefully to avoid damage
- Use a fine mesh sieve to separate chaff from seeds
- Keep seeds in labeled containers with date and species
- Store seeds below 50°F for best longevity
- Keep seeds dry to prevent mold and rot
Older seeds may require planting more densely or soaking overnight to improve germination. Follow instructions for each perennial species to get the best results.
Sanitizing Containers and Tools
Soak reused pots or seed trays in a bleach solution for at least 30 minutes. Use a mixture strong enough for surface disinfection, about one part bleach to ten parts water. This kills fungi and bacteria that can harm seedlings.
Rinse containers thoroughly after soaking to remove bleach residue. Using clean tools and containers reduces early seedling diseases and cut losses. Plastic trays, pots, and tools soak easily in a basin or bucket.
- Use rubber gloves when handling bleach solution
- Scrub dirty containers before disinfecting for better results
- Dry containers completely to avoid mold growth
- Sanitize seed-starting tools like tweezers, dibblers, and labels
- Discard cracked or damaged containers to prevent contamination
New containers do not usually need soaking but should be rinsed with water. Clean conditions help seedlings grow without stress.
Soil Preparation Best Practices
Start with loose, fertile soil that drains well but holds some moisture. Mixing garden soil with potting mix or aged compost improves nutrition and texture. Avoid heavy clay or overly sandy soil for starting seeds indoors or outdoors.
Check soil pH depending on the perennial species you want to plant. Most prefer slightly acidic to neutral soil (pH 6.0 to 7.0). Adjust soil with lime or sulfur based on your soil test results.
- Mix 25% to 50% potting mix or well-rotted compost into garden soil
- Remove rocks, sticks, and leftover roots from soil
- Loosen soil to about 6 inches deep for better root growth
- Level the soil surface to allow even seed sowing
- Moisten soil before planting, but avoid soaking
Spread a thin layer of aquarium grit or fine sand on soil. About 1/16 inch thick is enough.
This keeps soil moist and soft for tiny seeds. Mulching with 2 to 3 inches of compost after seedlings emerge conserves water and prevents weeds.
Starting Perennial Seeds Indoors: Timing and Conditions
Start your perennial seeds indoors about 6 to 8 weeks before the last expected frost. Keep the growing area warm, around 70 to 75°F, with plenty of light. Use gentle watering and good airflow to avoid mold and disease problems.
Ideal Temperature and Light for Germination
Most perennial seeds need soil temperatures between 65 and 75°F to sprout well. The warmth helps roots develop even before they face outdoor conditions. Cooler soil slows germination, and warmer than 80°F can harm young seedlings.
Provide 12 to 16 hours of light daily using fluorescent or LED grow lights. Place seeds 2 to 3 inches from the light source. Keep them close to stop leggy growth.
Strong light helps seedlings grow sturdy and healthy. Use artificial lights when natural light is weak. They help plants grow better indoors.
Watering and Moisture Control
Keep the seed-starting mix moist but never soggy; moisture triggers germination. Overwatering causes roots to rot and invites fungal issues. Use a spray bottle or watering can with a fine mist to water gently.
- Water when topsoil feels just damp to touch.
- Avoid flooding seed trays or containers.
- Use containers with drainage holes to prevent standing water.
- Check moisture daily, especially in dry indoor air.
- Cover seed trays with plastic wrap or dome lids to keep humidity.
- Remove covers once seedlings appear to reduce mold risk.
Good moisture control means some drying between waterings. This balance prevents disease and keeps roots healthy.
Managing Mold and Disease Risks
Air circulation is key to stopping mold or damping-off disease on seedlings. Use a small fan or open a window carefully to increase airflow without chilling plants. Keep seed trays in a warm spot with steady temperatures.
Start with clean containers and fresh, sterile seed-starting mix. Avoid garden soil indoors because it carries pathogens harmful to seedlings. When seeds fail to sprout within three to four weeks, remove them to reduce decay chances.
Cold Stratification and Other Seed Treatments Explained
Not all perennial seeds need cold stratification to sprout. Some just take more time to germinate, so starting them earlier helps. Seeds from native plants go through natural cold before spring arrives.
This means cold stratification isn’t needed outside. You can plant them directly in the ground.
Cold stratification tricks seeds into thinking they’ve gone through winter. Keep seeds moist while cold at 35°F to 41°F (2°C to 5°C). Hold them like this for 4 to 12 weeks.
The exact time varies by species. You can store them between damp paper towels inside a sealed plastic bag in your fridge.
Plant seeds after cold stratification in soil that drains well. Follow the depth instructions on the seed packet. Proper depth helps seeds sprout better.
Some species need longer cold periods. Look at the seed packet carefully for special needs.
Some seeds need extra moisture or scarification before stratifying. Scratching the seed coat can help germination.
For seeds needing longer germination, patience is key. Some perennials can take months to break dormancy and sprout. You might start these indoors under controlled conditions to protect them from frost and improve success.
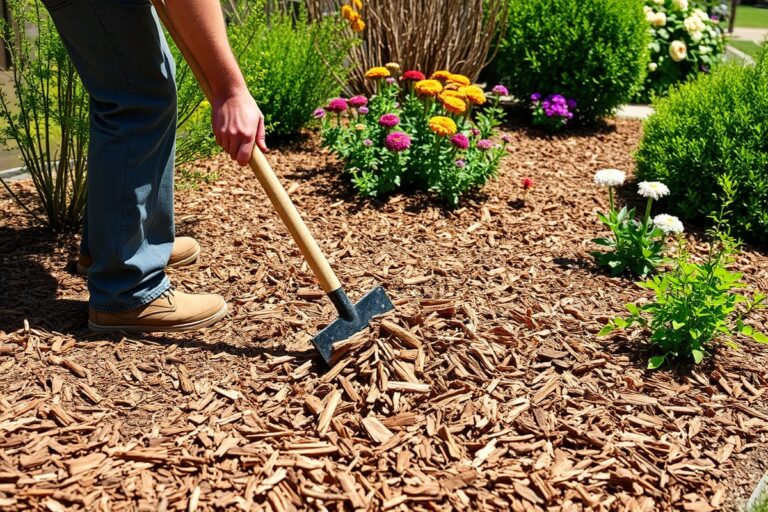
Applying a thin mulch layer over outdoor seeds helps keep soil moist and protects from weeds. Around 2 to 3 inches (5 to 7 cm) of straw or chopped leaves works well. Avoid heavy mulching that keeps the soil too cold or wet, which can lead to rotting.
Keep your stratified seeds moist but never soaking wet; standing water can kill them.
Transplanting Seedlings and Spacing in the Garden
Transplant perennial seedlings outdoors after 6 to 8 weeks once the weather warms. Space seedlings properly to avoid crowding and give roots room to grow. Harden off seedlings gradually to prepare them for outdoor conditions.
Proper Seedling Spacing Guidelines
Plant seedlings with enough space to avoid competition and promote strong growth. Most perennials need 12 to 24 inches between plants depending on their mature size. Anise hyssop is a fast-growing perennial.
It grows up to 4 feet tall. You should give it wider spacing in your garden.
Mark the garden bed to keep rows straight and protect seedlings from being disturbed. Use biodegradable pots so you can plant the whole pot, reducing root shock. Space seedlings based on these factors:
- Height and spread of mature plant
- Air circulation needs to prevent disease
- Ease of weeding and maintenance
- Type of soil and drainage in your garden bed
- Companion plants or nearby crops
Correct spacing avoids overcrowding, which reduces growth and invites pests. A well-planned layout also makes watering and care easier.
Transplant Timing and Hardening Off
Seedlings can go outdoors after 6 to 8 weeks when daytime temperatures reach 60°F or higher. Cooler zones should wait until the risk of frost is past for best results. Plants in zones 8 to 11 may transplant year-round but prefer cooler weather to reduce stress.
Hardening off means slowly exposing seedlings to outdoor sun, wind, and temperature changes. Start with a few hours outside in shade and increase time over 7 to 10 days. This toughens seedlings to handle outdoor conditions and lowers transplant shock risk.
Before transplanting, prepare the soil by weeding and loosening it. Stake tall seedlings or protect them from late frost with covers. Use this transplant checklist:
- Seedlings are 6 to 8 weeks old
- Weather is consistently warm (above 60°F days)
- Seedlings hardened off for 7 to 10 days
- Garden bed is weeded and marked for spacing
- Have frost protection ready if needed
- Biodegradable pots or gentle transplant method available
Monitoring Seedling Health
Look for strong, green stems with healthy leaves before transplanting. Seedlings should be sturdy but don’t need to be large plants. Avoid transplanting weak, leggy, or discolored seedlings as they may not survive.
Signs that seedlings failed include yellowing leaves, drooping, or no growth after several weeks. You can monitor their progress by checking daily for wilting or pest damage. After you transplant, keep the soil moist.
Watch for wilting or slow growth. These are signs of transplant shock.
Handle seedlings carefully to avoid breaking stems or dropping plants. Use stakes or frost covers if needed during early weeks outdoors. Healthy, well-spaced seedlings lead to stronger perennial plants that will fill your garden over time.
Seasonal Differences: Planting Perennials in Spring vs. Fall
Planting perennial seeds in spring and fall each comes with clear pros and cons. Spring planting helps seeds sprout as temperatures rise. It is best for warm-season perennials.
Spring weather can be unpredictable. Intense sun or heavy rain can stress young seedlings.
Fall planting works well for many cool-season perennials. Moist soil and cool air help roots grow. Many perennials need cold, moist fall conditions.
This process, called stratification, aids spring germination. Still, fall plantings might struggle if early frost or dry spells hit before seedlings take hold.
After planting, spring seeds need regular watering because soil can dry quickly. Watch out for late frosts that can damage tender sprouts. A simple row cover protects them well.
In fall, keep an eye on soil moisture to avoid drying, especially before the ground freezes. Mulching helps keep consistent moisture and protect seeds from extreme cold.
| Factor | Spring Planting | Fall Planting |
|---|---|---|
| Best planting window | March to early May | Late September to October |
| Preferred seed types | Warm-season perennials (e.g., Hydrangea, Daylilies) | Cool-season perennials (e.g., Lupines, Spirea) |
| Soil temperature | Warming up, ideal for germination | Cooling, but seeds benefit from stratification |
| Care focus after planting | Protect from frost and drought | Maintain soil moisture and add mulch |
| Risk factors | Late frost, dry soil, sun scorch | Early frost, dry spells before freeze |
The climate also shapes your choice. In colder zones, fall plantings give seeds time to undergo winter stratification naturally. In mild climates, spring plantings let seedlings avoid harsh winter freeze.
Pick the season based on your perennial type and region’s weather. Also consider your care time.
Common Mistakes When Planting Seeds and How to Fix Them
Timing is the biggest mistake when planting perennial seeds. Planting too early can cause young seedlings to freeze. Planting too late can expose them to heat stress or dry soil.
Watering errors also happen often. Overwatering drowns seeds and causes rot.
Underwatering dries out seeds before they sprout. Use moist, not soggy, soil and water gently.
Light matters for germination but gets overlooked. Some seeds need darkness, others need full light. Check seed packet instructions and adjust placement accordingly.
- Check local frost dates and aim for planting after the last spring frost.
- When frost dates change, start seedlings indoors in containers first.
- Use a spray bottle to keep soil moist without washing away seeds.
- Provide indirect light for shade-loving seeds to prevent leaf burn.
- Thin seedlings early to prevent crowding and poor air circulation.
- Cold stratify seeds when needed by refrigerating them for 4 to 12 weeks.
- Plant seeds shallowly unless packets say to sow deeply.
Planting too close makes seedlings compete for water and nutrients. Space seeds apart to help each plant develop strong roots. Crowded spots often cause mold and pest problems.
When frost dates are unclear, cover plants with frost blankets outside. These help protect seedlings from unexpected cold snaps without needing heat lamps. Also, morning planting avoids hot midday sun that stresses seedlings.
Start seeds indoors if frost dates are unpredictable, then move plants outside once danger passes.
Step-by-Step Action Plan for Planting Perennial Seeds
Plant your perennial seeds at the right time. This helps them grow well. Follow these simple steps to succeed.
- Before planting: Check your USDA hardiness zone to pick the best sowing time for your area.
- One to two weeks before planting, loosen your soil well. Mix in organic matter. This prepares the soil for seeds. Healthy soil leads to strong seedlings.
- One week before planting, chill seeds needing cold stratification. Place them in the fridge. Keep them there for the needed time. This helps them germinate faster.
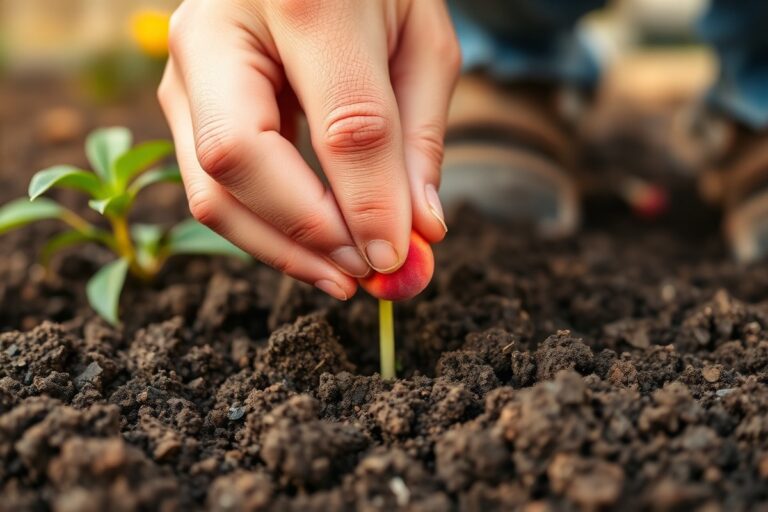
- On planting day, sow seeds indoors or outside. Choose the method based on your climate and seed type. Use the right seed depth to avoid failure.
- After sowing: Keep the soil moist but not soggy. Seeds need steady moisture to sprout.
- Two to four weeks after sowing, watch growth closely. Remove weak seedlings to avoid overcrowding.
- When seedlings show true leaves, start hardening them outside. Gradually expose them to outdoors for one week.
- Two to three weeks after hardening, transplant seedlings carefully. Space them according to plant guidelines to prevent crowding.
Frequently Asked Questions
How Long Does It Take for Perennial Seeds to Sprout?
Perennial seeds usually take 10 days to two weeks to sprout. Some seeds may take up to four weeks to sprout.
Cooler or less ideal conditions slow this. Patience helps when starting seeds from scratch.
Can You Plant Perennial Seeds in Summer?
Planting perennial seeds in summer is not ideal for most types. Warm, dry conditions can hinder germination and seedling growth. So spring or fall usually work better.
Do Perennial Seeds Need Full Sun for Germination?
Most perennial seeds need some light to germinate but not always full sun. Check the seed packet for instructions.
Some seeds need light to sprout. Others do better if covered lightly with soil.
Should You Soak Perennial Seeds Before Planting?
Soaking seeds helps only some perennial varieties and is usually not necessary for all. Check specific seed requirements to know if soaking improves germination or if cold stratification is better.
How Deep Should Perennial Seeds Be Planted?
Plant perennial seeds shallowly, usually ¼ inch or less deep. Many need light to germinate, so burying them too deep can prevent sprouting.
Is It Okay to Plant Perennial Seeds in Containers?
Yes, containers are good for starting perennial seeds indoors. They let you control soil, temperature, and moisture for better germination.
The Bottom Line
Plant your perennial seeds at the right time and use proper prep for better growth. Start by checking your local zone and prepping your soil. Then, watch your seeds sprout and get ready for planting outdoors.