How to Graft Rose Plant: 8 Essential Steps for Best Results
Wondering how to graft rose plant correctly? Start by choosing a healthy rootstock and a scion with at least two buds. Make clean cuts on both pieces.
Join them so the cambium layers match. This alignment gives you the best chance to succeed.
Next, use grafting tape or raffia to secure the union tightly. Keep the graft moist by watering the rootstock daily for at least 15 days after grafting. Avoid touching the graft site too soon to prevent disturbing the healing process.
You’ll see the bud swell within a week. After about 15 to 21 days, new growth will appear if the graft took.
For sure fusion, wait 45 to 60 days before removing any support and trimming. This careful timing improves your chances of a strong rose plant.
Key Takeaways
- Use a strong rootstock and make a diagonal cut. Cut about 2 inches above the soil line. Select only healthy plants for this step.
- Prepare the scion by trimming to a 45-degree angle about 2-3 inches long.
- Align the cambium layers of rootstock and scion carefully for proper fusion.
- Secure the graft with tape or raffia to prevent movement and drying out.
- Water the rootstock daily for 15 days to keep the union moist and alive.
- Wait 15-21 days to see if the bud has sprouted, showing graft success.
1. How to Graft a Rose Plant Step by Step
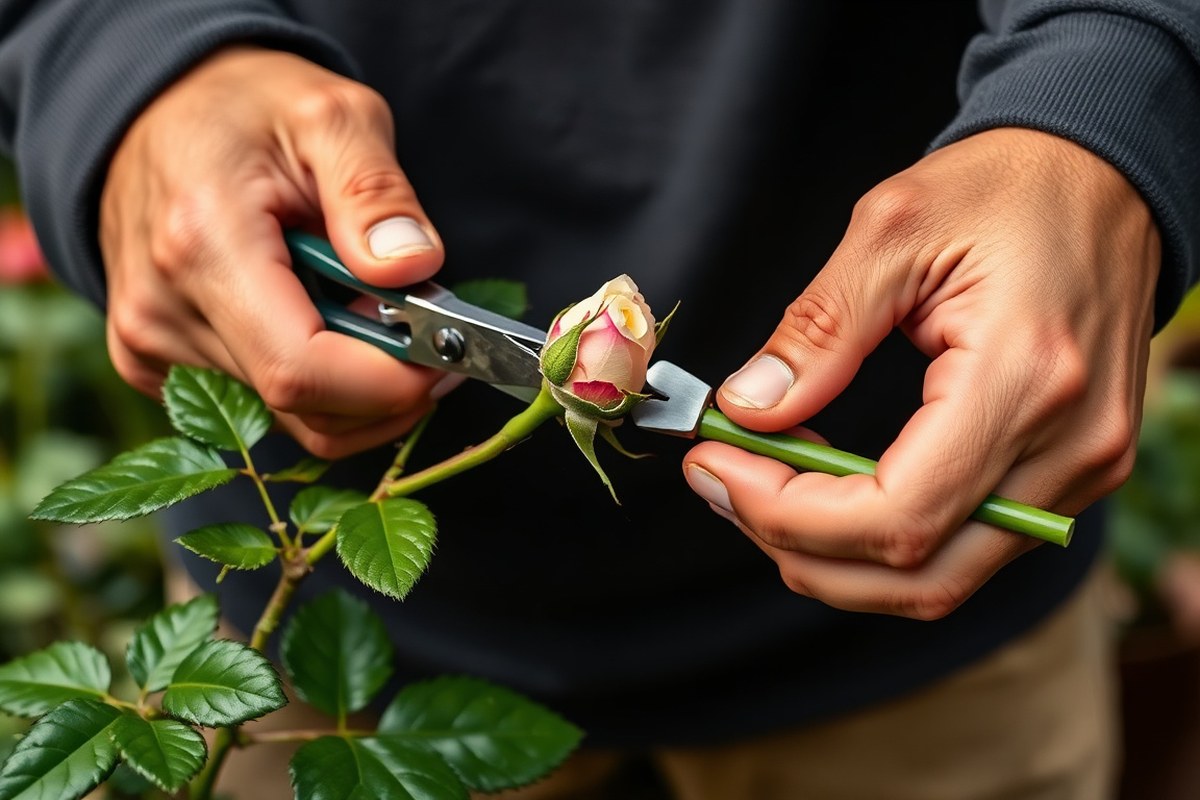
Grafting a rose starts with preparing the rootstock and scion carefully. You must make precise cuts that match their cambium layers. This step helps the two parts grow together well.
You join these parts and wrap the union tightly with grafting tape. Doing each step precisely improves your chance of a strong graft union.
Preparing the Rootstock and Scion
Use a healthy rootstock with strong roots. Remove side branches, leaving only the central growing tip. This keeps the plant focused on new growth.
Choose a scion about 6 inches long with several buds. Remove all leaves and branches below the top buds. This prepares the scion for joining the rootstock.
Water both rootstock and scion well a day or two before grafting. This keeps them hydrated and ready to join quickly.
Making the Graft Cuts
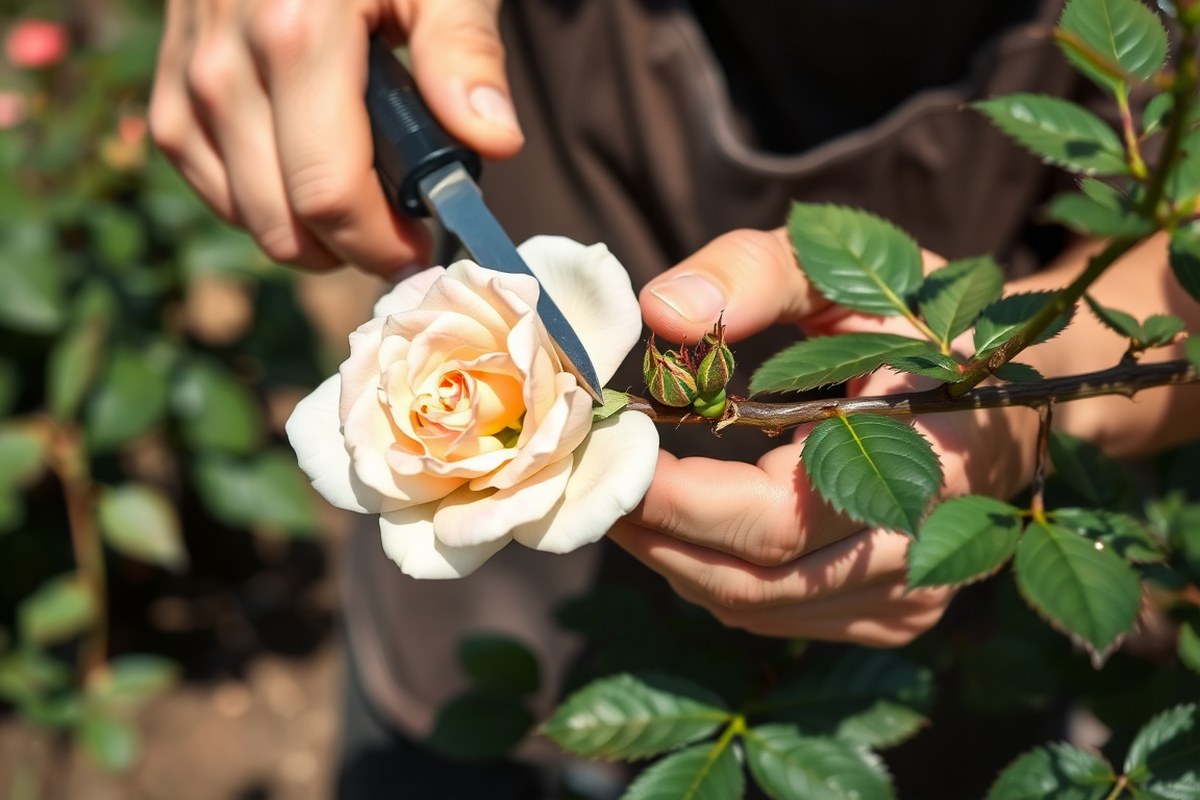
Make an oblique cut on the rootstock about 1 to 2 inches above the soil line. The cut should be smooth and clean to avoid damaging the tissue. Make a matching cut on the base of the scion so the two fit snugly together.
The cambium layers just under the bark must align for graft success. These layers look like a thin green line. Holding a sharp grafting knife carefully helps you make precise cuts.
Joining and Securing the Graft Union
Place the scion onto the rootstock so the cut surfaces and cambiums touch tightly. The scion’s buds should point upward. Avoid shifting once aligned to keep the cambium layers in contact.
Wrap the joint firmly with grafting tape to hold everything in place. Check for tightness but do not damage the bark. Leave the tape on for about 75 days to avoid disturbing the union.
- Select a healthy rootstock with no side branches near the graft point.
- Cut a 6-inch scion segment with several buds and remove all leaves.
- Water both plants well before cutting to keep tissues hydrated.
- Make a smooth, angled cut on the rootstock 1-2 inches above soil.
- Make a matching angled cut on the scion’s base for snug contact.
- Align the scion on the rootstock so their cambium layers match.
- Wrap the graft union tightly with grafting tape without harming bark.
- Leave the graft undisturbed for at least 75 days to ensure success.
2. Choosing the Best Grafting Method for Your Roses
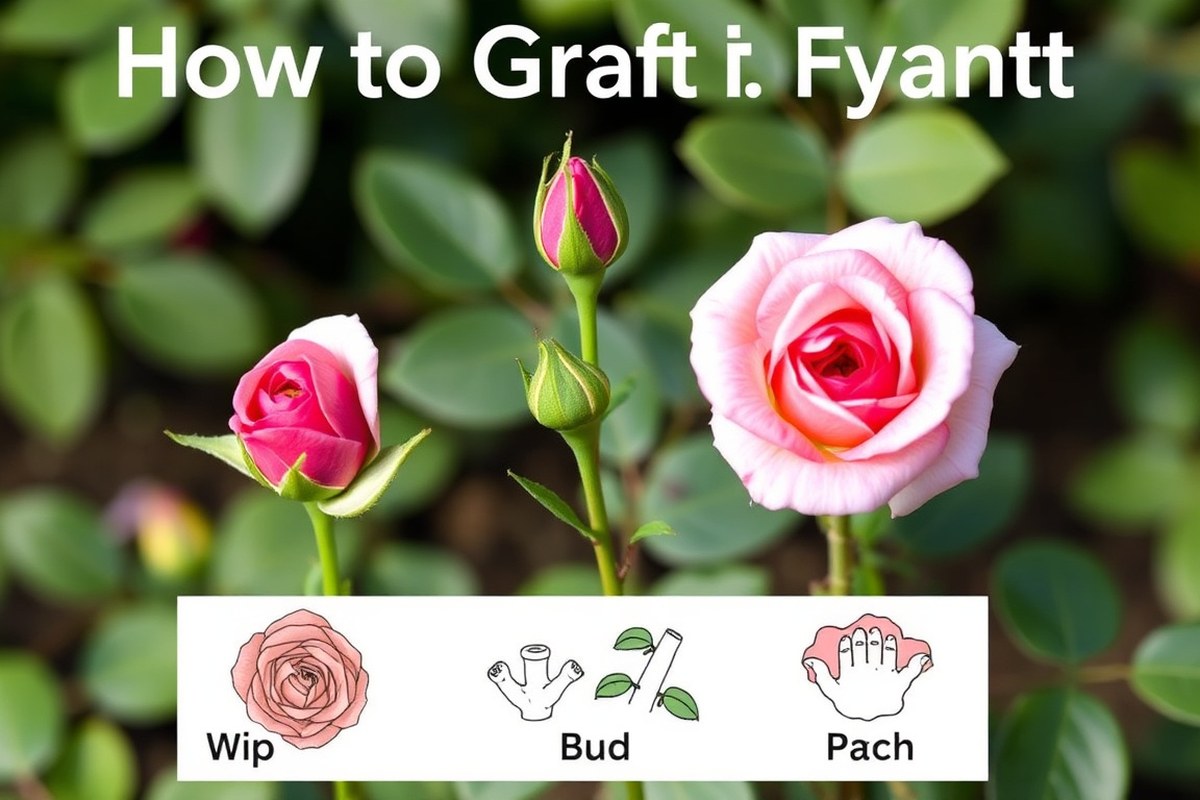
Choosing the right grafting method depends on your rose type, stem size, and experience. Whip grafting works well for small, similar-sized branches. Bud grafting suits thin branches or pots.
Patch grafting is better for tougher stock plants. Your rose’s trunk or stem diameter and desired outcome matter most.
Whip Grafting Pros and Cons
Whip grafting uses diagonal cuts on stock and scion branches. Both cuts are on branches under 1 inch thick. Then you join these cuts together.
It’s quick and simple, fitting beginners and those with small rose plants. This method encourages fast graft union and good sap flow.
Whip grafting’s downside is the need for closely matching diameters. It’s less suited for thicker stems or rough bark.
Also, the joint can dry out if not wrapped tightly. So timing and wrapping matter.
Bud Grafting Applications
Bud grafting places a scion bud under the bark of rootstock. The rootstock is usually less than 1 cm thick. This helps the bud grow there.
This suits delicate potted roses or thin nursery stock where full branch grafting isn’t practical. It takes advantage of a single vegetative bud, adding new growth without large cuts.
Bud grafting keeps the stock plant mostly intact and can produce more grafts per stock plant. This method works well if you want several varieties on one base. It also works if your scion wood is limited.
You can add many buds to one plant. Patience is key, as buds take weeks to grow after grafting.
Patch Grafting Advantages
Patch grafting removes a small patch of bark from rootstock. You then fit a matching scion patch with a bud on top. This keeps the cambium layers matched.
It’s great when the stock has rougher bark or when you want a strong, secure graft. This method often has a better union on tougher or older rootstocks.
This type also helps when scion and rootstock diameters vary significantly. The broad surface area promotes faster healing and stronger attachment. It can handle larger branches that are too thick for whip grafting.
The table below compares three grafting methods by stock size and use. It also shows how easy they are and survival rates. This helps you pick the right method.
| Grafting Method | Stock Diameter | Best For | Ease for Beginners | Survival Rate |
|---|---|---|---|---|
| Whip grafting | Up to 1 inch | Young plants with similar-sized branches | High | Good if wrapped well |
| Bud grafting | About 1 cm or thinner | Potted roses, delicate stocks, multiple varieties | Moderate | High with proper care |
| Patch grafting | Thicker or rough bark | Older or tough rootstocks, mismatched sizes | Moderate | Very good due to strong union |
Choosing a grafting method depends on your plant’s size and your grafting goal. Whip grafting is your go-to for quick, simple grafts on similarly sized stems. Bud grafting is good for thin stock stems or many buds.
You can graft several new buds onto one plant. It’s useful for adding variety easily. Patch grafting handles thicker branches and rough bark, providing strong grafts for tougher stocks.
Wrap whip grafts tightly and keep the graft moist to avoid drying out and failure.
3. When and How to Select Healthy Rootstock and Scion
Pick vigorous, disease-free rootstock and scion to help your rose graft thrive. Healthy parts increase your chance of a strong, lasting union. Preparation also supports quick healing and growth after grafting.
Signs of Healthy Rootstock
Look for rootstock with thick, firm stems and active growth. Avoid plants with wilted leaves, cracked bark, or visible disease signs. Rootstock should be well-rooted and free from pests or fungal spots.
Rootstock cut about 2 inches above the soil usually works best. It should be well hydrated for several days before grafting. This hydration supports tissue health and a good graft union.
Qualities of a Good Scion
Choose a scion from a healthy, mature shoot of your desired rose variety. The scion should have at least two or three dormant buds. Select shoots picked after flowers have fallen and buds are well developed.
Scions need a firm texture without signs of disease or damage. Trim the tip to prevent early sprouting before graft healing. A clean, straight cut helps the cambium layers match.
Preparing Plant Material for Grafting
Use a sharp grafting knife to make clean angled cuts on both rootstock and scion. Align the cambium layers carefully for a strong connection. This layer is key for nutrient flow and graft success.
Wrap the graft tightly with grafting tape or grafting wax to protect the joint. Cover the area with a plastic bag if needed, to maintain humidity. Keep the rootstock watered well before you start.
- Pick rootstock with thick, disease-free stems
- Choose scions with mature, dormant buds
- Make angled cuts 2 inches above rootstock base
- Keep rootstock well hydrated before grafting
- Align cambium layers of rootstock and scion
- Wrap graft with tape or grafting wax
- Cover graft joint to keep humidity steady
Proper selection and prep reduce graft failure risks and support faster healing. Check daily for signs of drying or infection after grafting. Healthy plant parts combined the right way make a stronger rose bush.
4. Post-Graft Care to Ensure Healthy Rose Growth
Water your grafted rose every 2 to 3 days to keep the soil moist. Avoid soaking the soil to prevent root rot or fungal issues. You want the soil damp but not soaking wet.
Keep it this way until the graft shows new growth. This usually happens within 15 to 21 days.
Temperature matters for graft healing. Keep roses in a place with 65 to 75 degrees Fahrenheit.
Too hot or too cold slows down graft union and bud sprouting. Provide indirect sunlight to reduce heat stress while allowing enough light for growth.
Remove the graft tape once the graft has healed and new shoots appear. This usually takes about 3 to 4 weeks after grafting.
Take the tape off gently to avoid damaging the tender union. Do this before it chokes the growing part.
Protect your plant from pests by checking for aphids or mites regularly. Use insecticidal soap or natural sprays if you notice bugs. You don’t want pests to weaken the new graft during this delicate phase.
Keep an eye on the graft for signs of trouble like wilting, discoloration, or mold. Prune the rootstock about 2 to 3 centimeters above the graft once it sprouts vigorously. This encourages the new shoot to take over and grow strong.
5. Common Grafting Mistakes and How to Fix Them
Grafts often fail because the scion wood is too small or dried out. Scion wood needs enough stored energy to grow after grafting. Dry scion wood loses moisture and cannot form a strong union with the rootstock.
Another common error is not holding the graft tightly in place. Without firm contact, the wood tissues can’t fuse.
Wrapping the graft with tape or ties prevents movement and helps the union heal. Also, cutting unevenly or roughly lowers success chances.
Here’s a quick checklist to fix and avoid grafting mistakes:
- Use scion wood stored no more than a few days to keep moisture.
- Make clean, sharp cuts to ensure smooth contact surfaces.
- Wrap the graft tightly with grafting tape or ties.
- Keep the graft site shaded and moist for two weeks after grafting.
- Watch for signs of infection like discoloration or ooze around the graft.
- Remove any growth below the graft union to focus energy above.
- Avoid handling or disturbing the graft for at least 10 days.
Sores or infections at the graft may mean poor sanitation during cutting. Wash and disinfect your tools before every graft.
When the graft union looks dark or mushy, take off the tape and check it carefully. You might need to reseat the scion or try a new branch.
Protect the scion bud well, it’s tiny and can dry out fast, ruining the graft.
Thin the stem of the rootstock well before grafting. A thick or swollen stem makes it hard to fit the scion cleanly.
Taking time on this step makes aligning the bark and cambium easier, increasing success. Grafting just below a healthy bud on the rootstock also improves take.
Good grafts show firm union and strong new growth within 2 to 3 weeks. Watch closely during this time but avoid disturbing the graft. When growth is weak or stops, look for drying or infection problems and change care right away.
6. How to Handle Different Rose Varieties and Special Grafting Cases
You can graft most rose varieties onto various rootstocks, including wild or commercial types. The main goal is to combine a strong, disease-resistant root system with a beautiful, fragrant scion. This mix strengthens the plant and often extends its life.
Creating a two-tone or multi-color rose involves grafting different scions onto the same rootstock. You make separate cuts for each scion. Attach them side-by-side or on different rootstock branches.
This keeps each scion ready to grow. Patch grafting works well here. Remove matching bark patches from the rootstock and scion, align them carefully, and secure tightly.
After a few weeks, each scion starts growing its own branch. These branches will produce roses in different colors. You get many rose colors on one bush.
Older or damaged rose bushes can also be grafted, though it demands extra care. Pick a healthy part of the old bush as rootstock. Remove any dead sections before grafting.
This ensures the rootstock supports the graft well. Use the patch graft method when replacing bark on an old stem. This involves placing a fresh scion piece on the stem.
It helps join the new piece firmly. The key is making clean cuts on both parts. Fit the grafted pieces snugly together.
This helps them heal and join properly. Be patient, as older plants might take longer to establish new growth.
Multi-variety grafting costs little beyond a sharp knife, grafting tape, and some patience. You mainly invest time watching for good cambium contact. Cambium is the thin layer that must fuse to succeed.
Checking this helps the graft take hold. After grafting, keep the plant shaded and moist for roughly two weeks. Watch for swelling where you grafted; this means your scion is growing.
Some rose varieties don’t graft well onto certain rootstocks, leading to weak joints or no growth. Testing a small batch before doing many grafts saves time and plants. Avoid grafting when the plant is stressed from drought or cold.
Growth stops, and grafts often fail. Also, watch for misaligned grafts, which can dry out or die if cambium layers don’t match.
7. Essential Tools and Materials for Successful Rose Grafting
You need a few key tools to graft roses well. A sharp grafting knife or razor blade helps make clean cuts for good contact. A pair of pruning shears is useful for trimming the rootstock and preparing the scion.
Securing the graft is important to success. Grafting tape or raffia keeps the scion tightly bound to the rootstock without damaging the plant.
Grafting wax seals the cut and prevents drying and infection. Using these materials protects the graft and encourages healing.
You can find quality grafting tools and materials at garden centers or online. Look for grafting tape that stretches but breathes.
Raffia ties work well if you prefer natural fibers. Professional-grade grafting knives may cost $15 to $40 but last a long time.
- Sharp grafting knife or razor blade
- Pruning shears for trimming
- Grafting tape or raffia for binding
- Grafting wax to seal the cut
- Rubbing alcohol for sterilizing tools
- Clean cloth or paper towel
Keep your tools clean and sharp for the best grafts. Sterilize blades with rubbing alcohol before cutting to avoid infections.
Wrap the graft tightly with tape or raffia but leave buds exposed to breathe. Apply grafting wax over exposed cuts to seal moisture and prevent decay.
Investing in good tools improves success and saves frustration. Cheap blades often tear the stem, which hurts healing. High-quality grafting tape and wax ensure the graft stays secure in changing weather.
Getting your materials ready before starting makes grafting faster. It also helps the graft heal better. Preparing in advance saves time and improves success.
8. How to Know When Your Rose Graft Has Succeeded
Graft fusion usually takes between 45 to 60 days. During this time, the scion and rootstock tissues join. You won’t need to open the graft to check if it worked.
Look for swelling buds and new leaf shoots on the scion. These signs show the graft has taken. The graft site should stay firm and show no signs of rot or cracking.
Cut back the rootstock stem above the graft after the new shoots start growing well. This often happens in early spring, after the graft has fully fused. Usually, cutting back the rootstock between 1 and 3 inches above the graft is best.
Label your plants promptly to avoid confusion. Mark the variety name and date of grafting. This helps track progress and identify each rose after growth starts.
Don’t rush to cut back if the grafted shoots look weak or the site feels soft. Wait a bit longer for stronger growth.
Remember that thicker rootstocks may take longer to fully fuse. Also, grafting in late winter helps because the plant is still dormant. This timing promotes better bud release once spring arrives.
Step-by-Step Action Plan for Grafting Your Rose Plant
Follow these steps to graft your rose successfully and watch it grow strong. Check each stage to know you’re on the right track.
- Day 1: Prepare your tools and materials. Gather a sharp knife, grafting tape, rooting hormone, and clean pruning shears.
- Day 2: Select healthy rootstock and scion. Choose strong, disease-free stems from your rootstock and a scion with good buds.
- Day 3: Make your graft cuts. Use the whip-and-tongue or T-budding method; cuts should fit tightly together without gaps.
- Day 3: Join and wrap the graft union. Secure the connection firmly with grafting tape to hold the scion in place.
- Week 1: Keep the plant moist and shaded. Water regularly but avoid overwatering; check that the graft is still tight and wrapped.
- Week 2: Inspect the graft for growth signs. Look for swelling or new buds sprouting on the scion to confirm success.
- Week 3: Remove the tape carefully.When the scion starts strong new growth, remove the tape. Do this carefully. Make sure you don’t cut into the stem.
- Month 2: Prune rootstock growth below the graft. Cut any shoots below the graft to focus energy on the new rose variety.
Frequently Asked Questions
What Is the Main Purpose of Grafting a Rose Plant?
Grafting joins two rose parts to combine their strengths. It helps grow disease-resistant or better-flowering roses by attaching a desired scion onto hardy rootstock.
Can I Graft Roses Without Rootstock?
No, proper rootstock is needed for successful rose grafting. It supports the scion and promotes healthy growth over time.
How Long Does It Take for a Rose Graft to Start Growing?
Grafted buds usually start sprouting in about 15 to 21 days. You should check weekly to see if the bud turns green and shows new growth.
Can I Graft Roses Indoors or Only Outside?
You can graft roses indoors, especially in a greenhouse or cold frame. This protects the plant from harsh weather and encourages a better graft union.
Are There Types of Roses Harder to Graft Than Others?
Yes, some rose varieties with woody stems or unique bark can be more difficult to graft. Special care and method adjustments may be needed for these types.
What Should I Do If My Grafted Rose Plant Fails to Grow?
First, check for signs like dead or dried-out buds. Replace the scion with a fresh bud and try grafting again during dormant season.
Wrapping Up
Grafting roses is a skill you can learn with patience and care. Start your graft today by picking a healthy scion and rootstock. Watch your rose grow and enjoy your new variety soon.