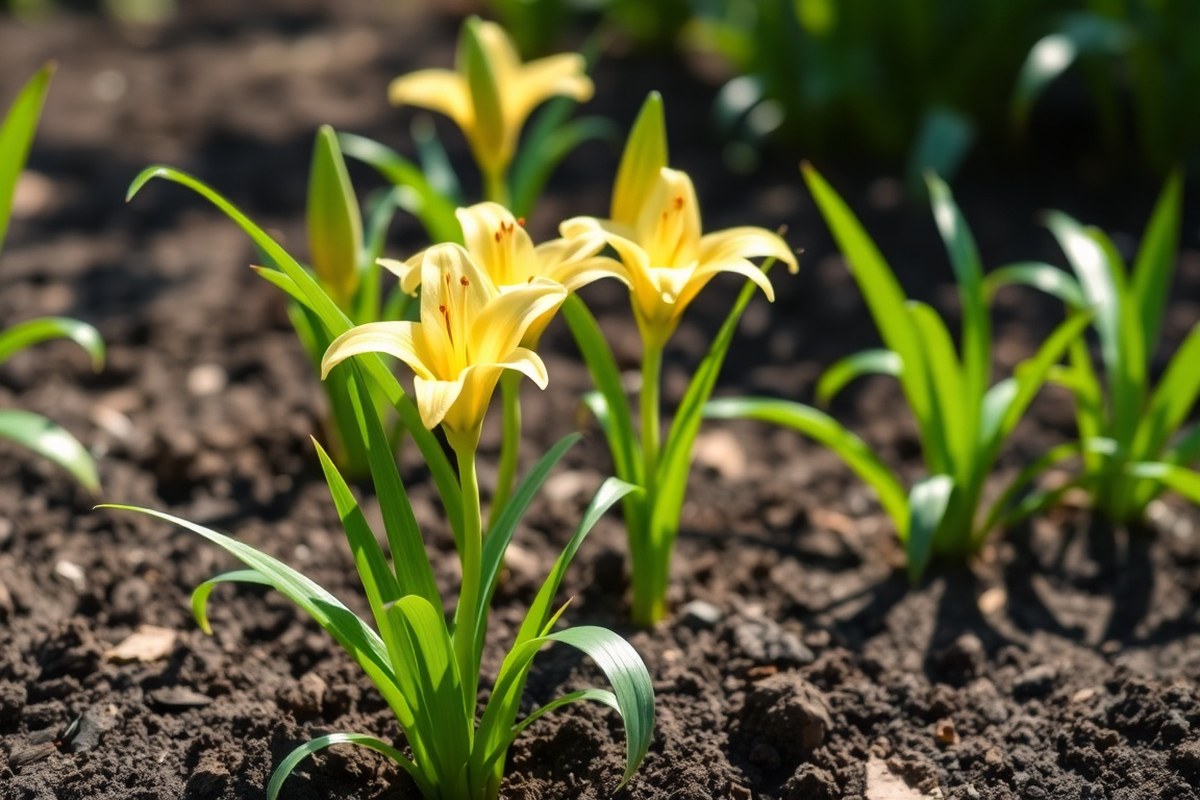
How to Plant Daylilies: A Complete Guide for Healthy Growth and Blooms
Wondering how to plant daylilies for the best blooms? Start by choosing a sunny spot with well-drained soil. Plant your daylilies 12 to 18 inches apart.
Set the crown about 1 inch below soil. This spacing helps them grow well.
Daylilies like full sun or some shade. They need 4 to 6 hours of sun daily. This amount suits most daylily types.
Loosen the soil deeply, about 12 to 15 inches, to help roots spread well. Keep an eye on spacing; crowded plants produce fewer flowers.
Plant bare-root daylilies in fall early. Give them 4 to 6 weeks before hard freeze. This time helps roots settle.
This timing gives roots a chance to settle before winter sets in. For potted plants, plant anytime once the soil is workable and not frozen.
Key Takeaways
- Plant daylilies 12 to 18 inches apart to prevent overcrowding and boost blooms.
- Pick a spot with full or partial sun. Make sure it gets 4 to 6 hours of sunlight. This helps your daylilies bloom well.
- Loosen soil to a depth of 12 to 15 inches for better root growth and drainage.
- Set the crown of the daylily about 1 inch below the soil surface when planting.
- Plant bare-root daylilies in fall early. Do it 4 to 6 weeks before the first freeze. This timing helps protect them.
- Trim back foliage to about 8 inches tall if dividing or transplanting to keep plants manageable.
How to Plant Daylilies Step-by-Step
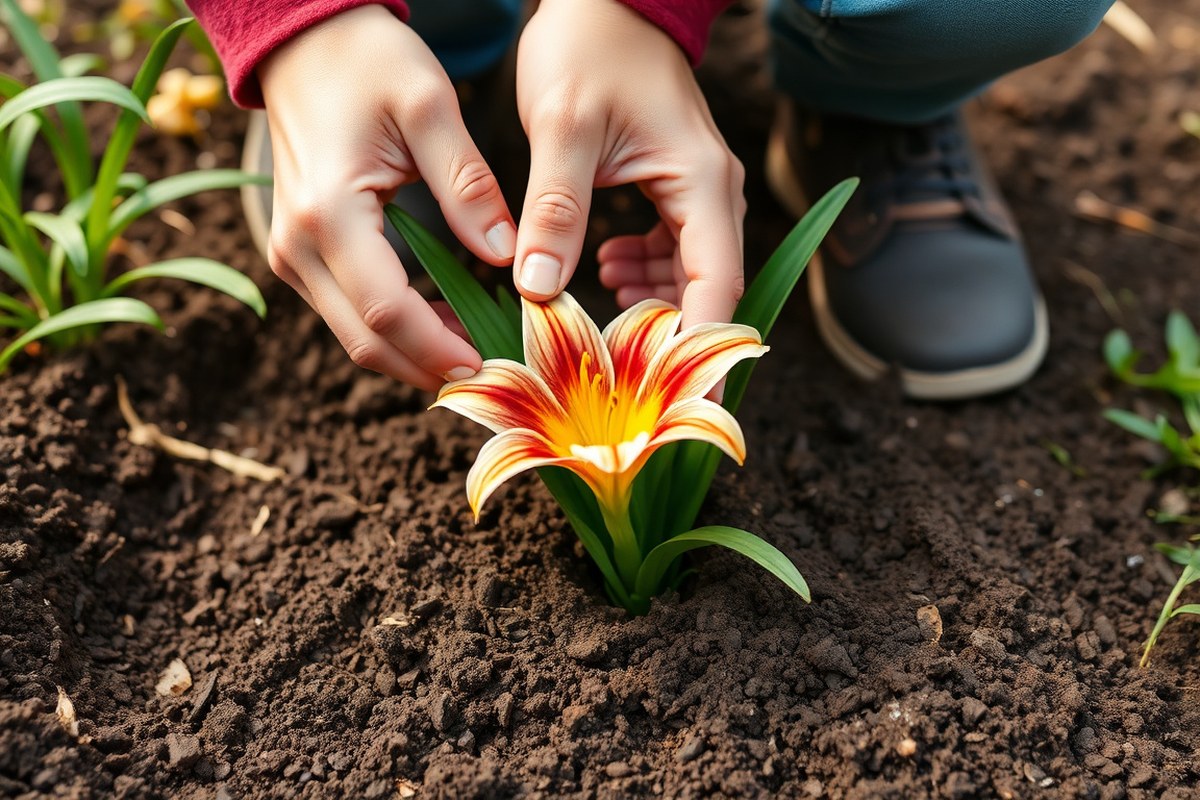
Plant daylilies 12 to 24 inches apart to give roots room to grow. Plant the crown about one inch below the soil surface. Soaking bare-root daylilies before planting helps hydrate the roots.
Preparing the Planting Site
Start by clearing weeds and debris from the planting area. Dig and loosen soil at least 12 inches deep. Loosening soil improves drainage and root growth, important for healthy daylilies.
Check the soil for good drainage; daylilies dislike soggy soil. Adding compost or organic matter makes soil more fertile and easier to work. Prepare the site a few days before planting for best results.
Positioning and Planting the Daylily
Space daylilies 18 to 24 inches apart to avoid crowding as they grow. The crown should sit about an inch below the soil to protect from dryness. Planting at this depth encourages strong root development.
Remove the plant gently from its container to avoid root damage. For bare-root plants, soak roots in water for about 1 to 2 hours before planting. Dig a hole twice as wide as the root ball but keep it only as deep.
Place the plant in the hole, spread roots evenly, and backfill with soil. Firm the soil lightly around the base to eliminate air pockets. Avoid planting the crown too deep; it may cause rot or poor growth.
Watering and Mulching After Planting
Water the daylilies thoroughly right after planting to settle the soil and start root growth. Aim for about one inch of water per week during the first growing season. Too much water may cause root rot, so keep the soil moist, not soggy.
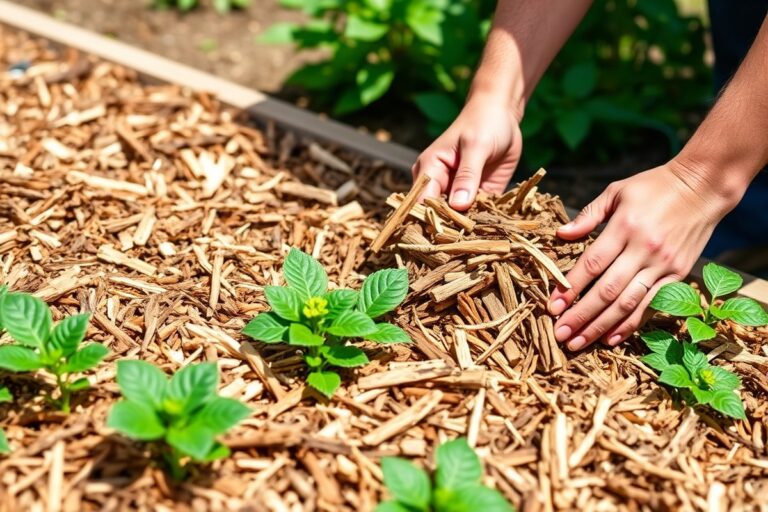
Apply a layer of mulch 2 to 3 inches thick around plants. Mulch helps retain moisture and control weeds but keep it 1 inch away from the crown. Check soil moisture regularly, especially during dry spells.
- Clear the planting site of weeds and debris.
- Loosen the soil 12 to 15 inches deep with a shovel or fork.
- Add organic matter, such as compost, and mix well.
- Remove the daylily from its container gently.
- Soak bare-root daylily roots in water for 1 to 2 hours.
- Dig a hole twice as wide but as deep as the root ball.
- Position the plant so the crown is 1 inch below soil surface.
- Fill the hole with soil and firm around the roots.
- Water thoroughly and apply 2, 3 inches of mulch, avoiding the crown.
When and Where to Plant Daylilies for Best Growth

Plant daylilies in late spring or early fall for the best start. These seasons have cooler soil and air temperatures. This helps roots settle well.
It prepares them for summer heat or winter cold. In colder areas, spring planting works best to avoid frozen ground. Warmer regions benefit from fall planting to avoid summer stress.
Choose a spot that gets at least six hours of direct sunlight daily. Daylilies do best in full sun. They tolerate partial shade too.
They need about four to six hours of light. Too much shade may reduce flowering, so avoid spots that stay shady all day.
Well-drained soil suits daylilies best. Daylilies grow well in loamy, sandy, or clay soils. Make sure water does not pool around the roots.
Standing water causes problems for roots. Slightly acidic to neutral soil pH helps daylilies absorb nutrients. But they adapt if your soil isn’t perfect.
Loosen soil to about 12 inches before planting. Mix in organic matter like compost. This helps roots grow stronger and healthier.
This improves drainage and fertility, making it easier for roots to spread out. Poorly drained soil can cause root rot. So raise the bed or add coarse sand if water stands after rain.
Avoid planting daylilies in spots that collect standing water to prevent root diseases.
Keep the roots moist if you can’t plant right away. Store bare root daylilies at about 40°F. A garage or fridge works well.
They can last this way for up to three weeks. This keeps them healthy until soil conditions are ready for planting.
Daylilies are forgiving about soil types and light conditions but pick the best spot you have. Full sun encourages more blooms and stronger plants. Planting in partial shade means fewer flowers.
Growth stays good, though, especially in hot climates. Shade can protect plants from too much heat.
Spacing and Patterns for Planting Daylilies
Plant daylilies about 12 to 18 inches apart to avoid crowding. Good spacing lets each plant get enough air and light to bloom well. For dense displays or borders, adjust spacing to fit your garden style and plant size.
Spacing for Small Garden Beds
In small beds, daylilies need room to grow without competing. Space them 12 to 18 inches apart in circles about 16-18 inches wide. This spacing helps when you divide the plants every 3 to 5 years, keeping flowers strong.
Plant in groups of 3 or 5 for a natural look with good coverage. Avoid crowding, which causes fewer flowers and poor air flow. Each plant will have enough space to spread roots and leaves.
Planting Triangular Patterns for Banks
Daylilies planted on slopes or banks do well in a triangular or staggered pattern. Space plants about 15 to 18 inches apart to cover soil and prevent weeds. This layout also creates a nice, even look that fills in well.
Mass plantings along fences or walkways should use daylilies spaced on the wider side. This encourages dense growth that’s easy to maintain and keeps weeds out. Using taller daylilies in back and shorter ones in front adds depth to the pattern.
| Planting Situation | Spacing Between Plants | Pattern or Group | Recommended Plant Height |
|---|---|---|---|
| Small Garden Beds | 12 to 18 inches | Groups of 3 or 5 | Varies |
| Slopes and Banks | 15 to 18 inches | Triangular/Staggered | Any |
| Mass Planting Along Fence | 18 inches or more | Dense Rows or Block | Taller (over 36 inches) |
| Border Plantings | 12 inches | Linear or Groups | Shorter (under 12 inches) |
| Container Plantings | Varies by container size | Single or Multiple | Smaller varieties |
The table shows spacing and patterns for different daylily uses. Match spacing to your available space and plant size. When daylilies are too close, flowers shrink and plants get stressed.
Spacing for Border and Container Plantings
For borders, plant shorter daylilies about 12 inches apart. This keeps the edge tidy without spreading into walkways. Choose daylilies with scapes under 12 inches tall for a neat look.
Daylilies in containers need at least a gallon pot each for full growth. Space plants enough to spread roots inside the pot easily. Avoid crowding containers, which leads to weak plants and fewer flowers.
Adding slow-release fertilizer to containers helps daylilies bloom longer. Don’t overcrowd containers or borders because that cuts down airflow and increases pests. You’ll keep plants healthy and colourful this way.
Planting Bare-Root Versus Potted Daylilies
Bare-root daylilies have no soil around their roots. Potted daylilies come in soil-filled containers that keep roots stable. Bare-root plants usually cost less than potted ones but need careful handling to avoid root damage.
To prepare bare-root daylilies, cut back the foliage. Leave about 6 to 8 inches from the crown. This helps the plant focus on root growth.
Cut the leaves in an inverted V-shape to keep the plant tidy. Gently brush away dirt around the roots to check for healthy, firm roots before planting.
Potted daylilies need extra care during winter because freeze-thaw cycles can damage roots in the soil. You should plant them promptly or keep the pots in a frost-free area. Avoid letting potted daylilies sit outdoors unprotected during cold months to prevent root loss over winter.
Plant bare-root and potted daylilies with the crown about 1 inch below ground level. Water them several times a week for the first 2 to 4 weeks. After that, watering once a week is enough as established plants need less water.
Bare-root daylilies can be tricky if you don’t trim or check roots well before planting. Their roots need to stay moist. Dry roots for too long may stop the plant from growing.
Potted plants start with soil and usually survive transplant better. But they cost a bit more and can suffer root damage in harsh cold.
Both types are low-maintenance once planted. Bare-root plants give you savings and larger selections early in the season. Potted plants are easier to handle.
They protect roots from drying out. This suits new gardeners with less time for prep.
Soil Preparation and Fertilizing Tips for Daylilies
Start by clearing the planting spot. Remove all weeds, rocks, and debris to give daylilies a clean area to grow. Daylilies like soil with a pH between 6.5 and 7, which is just a bit acidic to neutral.
Test your soil’s pH using a simple kit from a garden store. Add lime to raise the pH if it is too low.
Use sulfur to lower the pH when it’s too high. These changes take a few weeks, so test and adjust before planting.
Work organic matter into the soil next. Compost or aged manure enriches the soil and improves drainage.
Spread a 2-inch layer on the planting site. Mix it deeply down 6 to 8 inches.
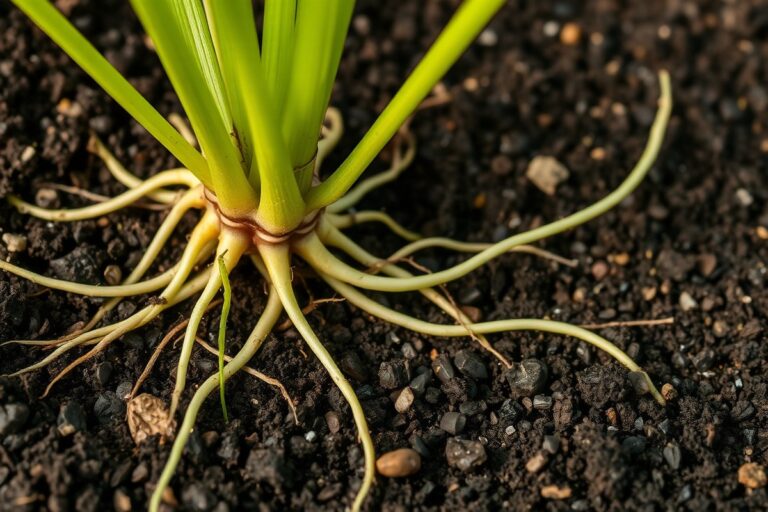
Spread the daylily roots flat when planting. Cover the crown with 1 inch of soil or less.
This helps the crown breathe and prevents rot. Lightly firm the soil after covering to remove air pockets but avoid packing it too hard.
Fertilize lightly at planting time. Use a balanced fertilizer, like 10-10-10 or 14-14-14, to provide equal parts nitrogen, phosphorus, and potassium. Sprinkle about ¼ cup of fertilizer around each plant.
Avoid putting it directly on roots. Water it in well afterward.
For poor soils or sandy spots, add slow-release fertilizer or extra compost. In heavier clay soils, add sand or fine gravel if drainage is poor. Good soil preparation means daylilies establish faster and bloom better in their first season.
Don’t cover the daylily crown with too much soil or it could rot. Keep soil shallow there.
Watering and Mulching Guidelines After Planting
Newly planted daylilies need consistent watering to help them settle in. Water about once a week, giving roughly one inch of water each time. You live in a hot climate.
Check soil moisture often. Water more when soil dries fast.
Mulching plays a key part in protecting the roots and keeping moisture steady. Use a 4 to 6 inch layer of organic mulch like shredded bark or straw. This mulch keeps soil temperature steady.
It stops soil freezing and thawing. Freezing and thawing push roots out in winter.
Before mulching, make sure the soil is moist but not soggy. Spread mulch evenly around each daylily, leaving a small gap around the crown to avoid rot. This lets air circulate and prevents the plant base from getting too wet.
- Water deeply once a week, about 1 inch of water.
- Check soil moisture more often in warm or dry weather.
- Apply 4, 6 inches of organic mulch like bark or straw.
- Leave a 1 to 2 inch gap around the daylily crown.
- Replenish mulch each fall for winter protection.
Mulching also limits weed growth, so your daylilies don’t have to fight for water. Without mulch, soil dries out faster and roots can suffer from temperature swings. Keep a close eye on watering and mulch thickness during the first year.
In colder areas, mulch protects roots from frost heaving. Frost heaving pushes plants out of soil. Mulch stops this problem effectively.
For warmer areas with less freezing, mulch still helps retain moisture and improves soil health. Adjust watering based on rainfall, soil type, and season to keep new daylilies thriving.
Dividing and Transplanting Daylilies for Continued Health
Divide daylilies every three to five years in early fall, after they finish blooming. This keeps plants healthy and encourages more flowers. Transplant the divisions with enough space to grow well and boost bloom production.
Signs You Need to Divide Daylilies
Daylilies that bloom less or have fewer flowers usually need dividing. Thick clumps with crowded roots also show it’s time to split them. Dividing refreshed the plants and prevents overcrowding for better growth.
If you haven’t divided your daylilies in three to five years, it’s a good idea to check them. You may notice the center of the clump dying back. That indicates the plant needs more space to thrive.
Tools and Techniques for Dividing
A sharp garden fork or spade makes lifting the clump easier without damaging roots. Use a knife or your hands to separate the sections. Each division should have at least two strong fans of leaves and healthy roots.
Prepare to work in early fall when the weather cools but before hard frost. Water the plants the day before dividing to make digging easier and reduce stress. Keep tools clean to avoid spreading disease.
Replanting and Care After Transplant
Plant divisions with 18 to 24 inches of space between them. This gives roots room to grow and lets leaves spread out for air circulation. Set crowns about 1 inch below soil surface to protect them and encourage healthy shoots.
Water the newly planted divisions well and keep soil moist for the first few weeks. Mulch around plants to hold moisture and control weeds. Apply a slow-release 10-10-10 fertilizer in early spring to support strong growth and blooms.
Follow these steps to divide and transplant daylilies:
- Water the daylily clump a day before dividing for easier digging.
- Dig around and carefully lift the entire clump with a garden fork or spade.
- Shake off excess soil gently to see roots and crown clearly.
- Separate the clump into smaller sections using a knife or your hands.
- Check that each division has at least two fans of leaves and good roots.
- Prepare new planting holes spaced 18 to 24 inches apart and about 12 inches deep.
- Set the division with the crown 1 inch below soil level and refill with soil.
- Water thoroughly after planting and apply mulch to keep moisture in.
Common Mistakes and How to Avoid Them When Planting
Poor daylily growth often comes from planting them too deep or too close. Plant your daylilies no more than 1 inch deep in soil. Planting deeper can stop them from blooming well.
Shallow planting helps you get better flowers. Crowded plants compete for nutrients, reducing flowering and vigor after 4-5 years.
To avoid overcrowding, space your daylilies at least 18 to 24 inches apart. This distance depends on the variety’s mature size but is essential for airflow and light. Overcrowded plants also attract pests and diseases, which hurt your garden.
Another common mistake is inconsistent watering. Daylilies like moist soil, especially after planting, but soggy soil leads to root rot. Water deeply once or twice a week, depending on rainfall, to keep the roots healthy.
- Plant daylilies no deeper than 1 inch below soil surface
- Space plants 18-24 inches apart for enough room and light
- Water deeply once or twice weekly, avoiding waterlogged soil
- Remove spent flower stems (scapes) to encourage new blooms
- Check soil quality: amend with compost for better nutrients
Slow or no blooming happens if they get less than six hours of sun a day. Daylilies must also have well-drained soil to avoid root problems. Older or crowded plants can produce fewer flowers.
Dividing clumps lets each plant grow better. This helps increase the number of flowers you get.
Never plant daylilies too deep; it causes poor blooming or no flowers.
When daylilies fail to bloom, check if they are crowded or planted in the shade. Thinning clumps every 4 to 5 years will keep them blooming strong. Don’t forget to remove leafless, old scapes after blooming to help the plant focus its energy.
Step-by-Step Action Plan for Planting Daylilies
Follow this plan to plant daylilies and watch them thrive in your garden. Each step gives you clear signs of success.
- Before planting: Prepare your soil by mixing in compost and testing drainage. Soil should feel loose and drain well.
- Day 1: Dig holes 18 inches apart for each daylily. Check that roots fit comfortably without bending.
- Day 1: Plant bare-root or potted daylilies with the crown just below soil surface. Leaves should sit above ground.
- After planting: Water the plants deeply to settle soil around roots. Soil should stay moist but not soggy.
- Week 1: Mulch around plants with 2 inches of organic material. This keeps moisture and limits weeds.
- Week 2 to 4: Watch for new leaf growth and firm soil. Adjust watering if leaves wilt or soil dries too fast.
- Month 2: Apply a balanced fertilizer once the plants show steady growth. Avoid overfeeding, which can reduce blooms.
Frequently Asked Questions
How Many Daylilies Should Be Planted Together?
Plant daylilies 18 to 24 inches apart to avoid crowding. This space stops them from competing for nutrients and helps keep flowers plentiful.
What Month Do You Plant Daylilies?
Plant daylilies any time the soil can be worked, usually spring or fall. Fall planting requires at least 4-6 weeks before the ground freezes for root establishment.
Do Daylilies Like to Be Crowded?
Daylilies do not like to be crowded because it reduces flower production. Giving them enough room helps each plant grow strong and bloom well.
Should You Soak Daylilies Before Planting?
Soaking daylily roots before planting is not necessary but can help hydrate them. Just keep roots moist until you plant to avoid drying out.
How Long Does It Take for Daylilies to Bloom After Planting?
Daylilies usually bloom the first summer after planting if given enough sun. They need at least 6 hours of sunlight daily and well-drained soil to open flowers.
Can Daylilies Be Planted in Shade?
Daylilies grow best in full sun but can tolerate partial shade with 4-6 hours of sun. Too much shade will reduce the number of flowers they produce.
Final Thoughts
Planting daylilies right gets you strong plants and great flowers. Check soil and water levels regularly to stay on track. Start by picking a sunny spot and prepping your soil this weekend.