How Deep to Plant Glad Bulbs: Complete Guide for Strong Blooms
How deep to plant glad bulbs depends mainly on their size and soil type. The best depth is usually between 4 and 6 inches. This covers the corms well.
It keeps tall stems from falling. It works in wind or rain.
Planting too shallow, just 1 or 2 inches deep, often causes the plants to fall. Deeper planting also protects the bulbs from harsh weather and supports strong root growth. Choose 6 inches for larger corms and 4 inches for smaller ones or heavy clay soil.
Start by digging holes about 4 to 6 inches deep in loose, well-drained soil. Make sure to cover bulbs with 2 inches of soil. This holds them firm.
It stops bulbs from moving. Proper depth and soil conditions help your gladioli grow tall and bloom beautifully.
Key Takeaways
- Plant gladiolus bulbs 4 to 6 inches deep depending on corm size.
- Use 6 inches depth for large corms to support tall flower spikes.
- Reduce planting depth to 4 inches if your soil is heavy clay.
- Cover bulbs with at least 2 inches of soil for stability.
- Space bulbs 6 to 8 inches apart to avoid overcrowding.
- Plant corms after the last frost when soil is around 55°F.
Exact Depth to Plant Gladiolus Bulbs for Best Results
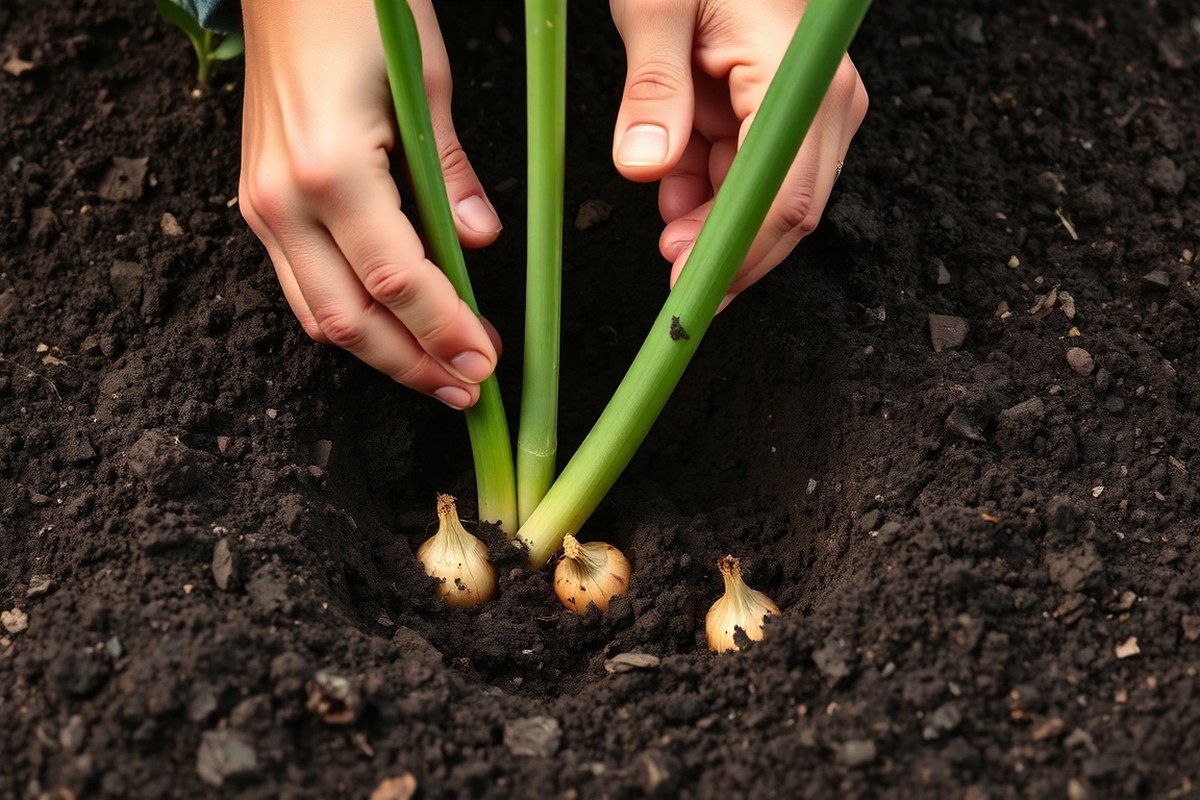
Plant gladiolus bulbs about 4 to 6 inches deep. This depth keeps the corm and roots covered while making sure shoots can break through easily. Larger corms should go deeper, near 6 inches, because they grow taller and need extra support.
Smaller corms can be planted around 2 to 4 inches deep. Check the size by imagining stacking three corms on top of each other. That depth usually works.
Planting bulbs at the right depth protects them from weather changes. It also gives plants the stability they need as they grow.
Planting too shallow can cause problems. The corm only 2 inches deep may cause stems to fall in wind. The plant could even pull out of the soil.
Planting too deep, below 6 inches, can slow down growth. Shoots struggle to reach the surface, delaying blooming.
Cover bulbs with soil, adding at least 2 inches on top. This helps hold moisture and protects the corm. Your soil is loose or sandy, so plant closer to 6 inches deep.
This helps roots anchor better. In heavier soils, 4 inches might be enough, but don’t plant shallower than that.
Spacing belongs to another step. Planting deeper works well when spacing corms about 6 to 10 inches. This gives plants enough room to grow.
Larger corms need more depth and more space to grow. They support strong, tall stems full of flowers.
Adjusting Planting Depth for Different Soil Types

Your soil’s texture changes how deep you should plant gladiolus bulbs. Sandy soil drains quickly and holds less moisture. Plant bulbs 6 to 7 inches deep in sandy soil.
This depth helps bulbs reach moisture. It also keeps them steady in windy weather.
Clay soil can trap water and cause bulbs to rot if planted too deep. Planting shallower, around 4 to 5 inches, helps prevent moisture buildup. You should also loosen clay soil 12 inches deep or use raised beds for better drainage.
Loamy soil is balanced and easy to work with. A 6-inch planting depth suits most gardeners using loamy soil. That depth protects gladiolus bulbs from drying out and supports healthy root development.
| Soil Type | Planting Depth | Notes |
|---|---|---|
| Loamy | 6 inches | Ideal for most gardeners |
| Clay | 4-5 inches | Prevents waterlogging |
| Sandy | 6-7 inches | Extra depth for moisture |
| Rocky | 5-6 inches | Avoid shallow rocks |
Planting shallower in clay soil reduces rot risk but means you must improve soil drainage. Use raised beds or loosen the soil deeply before planting. Loose soil lets roots grow and stops water from pooling around bulbs.
For sandy soil, plant bulbs 5 to 8 inches deep. This is 1 or 2 inches deeper than normal. It helps bulbs get steady moisture.
The extra depth also shields roots from drying out quickly. Sandy soil often benefits from frequent watering along with deeper planting.
Check soil drainage before planting; soggy soil can kill gladiolus bulbs fast.
Rocky soil calls for planting 5 to 6 inches deep to avoid rocks blocking roots. Dig carefully to clear stones around each bulb. This step saves you from poor growth or broken corms later.
Step-by-Step Guide to Planting Gladiolus Bulbs Correctly
Plant gladiolus bulbs 4 to 6 inches deep to keep stems strong. Space them 6 to 8 inches apart for healthy growth. Follow these steps to prepare, plant, and water the corms properly.
Prepare the Planting Site
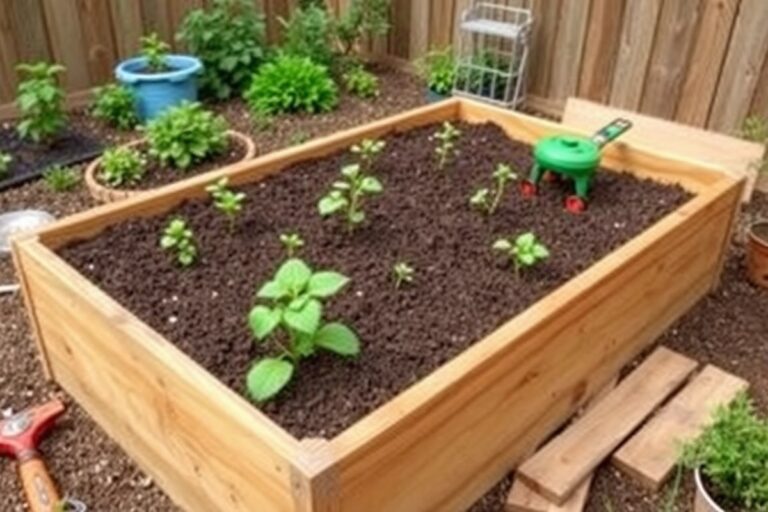
Choose a sunny spot where the soil drains well. Gladiolus dislike soggy soil, so avoid low, wet areas. Loosen the soil with a garden fork or tiller about 8 inches deep.
Remove stones and weeds to reduce competition for nutrients. Mix in compost or garden soil to improve texture. This helps corms grow strong roots and tall blooms.
Plant Corms at Correct Depth and Spacing
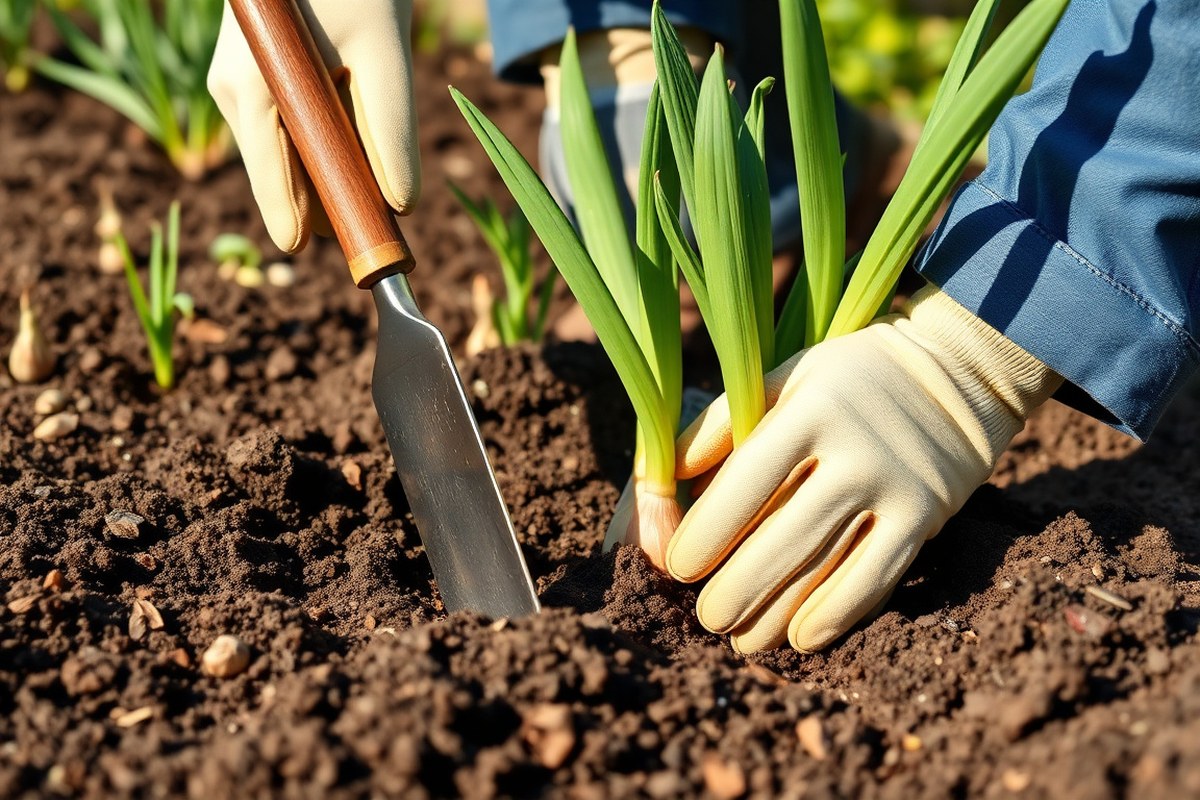
Plant corms 4 to 6 inches deep to prevent plants from toppling. Shallow planting, only 1 or 2 inches, leads to weak stems. Dig holes or make a trench 4 to 6 inches deep to fit the corms comfortably.
Space each corm 6 to 8 inches apart to allow room for growth. Position the pointed end of each corm facing upward. After placing, cover them evenly with soil and gently press down.
Use a hand trowel to dig holes or make a trench with a spade. Measure planting depth with a ruler or your hand, about the length of your palm. Backfill the soil carefully so none of the corm sticks out.
Water and Mulch After Planting
Water the soil well after planting to settle it around the corms. Keep the soil moist but not soaked while the plants grow. Use your hand or a watering can for gentle, even watering.
Apply a 2-inch layer of mulch like straw or bark to keep moisture steady. Mulch also helps stop weeds and protects corms from temperature swings. Check soil moisture regularly and water again if the top inch feels dry.
- Clear the area of weeds and stones with a garden fork.
- Loosen soil 8 inches deep and mix in compost.
- Mark planting spots 6 to 8 inches apart.
- Dig holes or a trench 4 to 6 inches deep.
- Place each corm point-side up in the hole.
- Fill in soil over the corm and press gently.
- Water thoroughly to settle the soil.
- Spread mulch 2 inches thick to retain moisture.
Spacing and Staking: Supporting Gladiolus Growth
Gladiolus bulbs need 6 to 8 inches of space between them. This spacing gives each plant enough room for sunlight and air. Crowded bulbs can cause weak growth and make plants more prone to disease.
Planting bulbs 4 to 6 inches deep helps keep stems stable. The soil covers the corm and roots well, stopping the plant from toppling. In windy or exposed areas, this extra depth is especially helpful for support.
As gladiolus plants grow, they can reach up to 39 inches tall. They often need staking when in open or windy spots. Put stakes in early, when shoots reach 6 to 8 inches tall.
This helps avoid hurting the roots later. Stakes support the plants as they grow taller.
Use a soft tie or garden twine to attach the stems to the stakes. Tie loosely, so stems can move a bit without snapping. Check ties every few weeks and adjust them as the plant gets taller.
In heavier soils, plant bulbs slightly shallower within the 4 to 6-inch range. This makes it easier for shoots to grow through compacted ground. In sandy soils, 6 inches deep offers better moisture and wind protection.
Spacing stays the same no matter soil type, so keep bulbs 6 inches apart. This prevents crowding and lets air circulate well. Airflow is key to stopping fungal problems and keeping plants healthy.
Using Containers for Gladiolus: Depth and Care Tips
You can plant gladiolus bulbs in pots. But the depth should differ from in-ground planting.
Typically, place a standard-sized corm 4 to 6 inches deep in containers. This depth protects the bulbs and allows strong root growth in limited space.
Put about 2 inches of well-draining soil at the container’s base before planting. That keeps water away from the bulb’s base and prevents rot. Add soil over the bulb until it’s 4 to 6 inches deep.
Press the soil lightly to firm it. Make sure the bulb is fully covered.
Choose containers with drainage holes to avoid soggy soil, which gladiolus dislike. Use a light, airy potting mix with some sand or perlite.
Those materials improve drainage and let roots breathe. Water the soil well after planting but don’t soak it.
Planting gladiolus closer in containers works because they grow upright and won’t crowd roots as much. You can plant bulbs 3 to 4 inches apart in a pot. This is closer than the 6-inch spacing for garden beds.
Choose your spacing based on your container size. It saves space but still lets plants bloom well.
In smaller pots, watch moisture carefully. Soil dries out faster than garden beds.
Too dry soil harms bulbs, but overwatering causes rot and fungal problems. Check moisture every few days and water when the top inch feels dry.
Tall varieties like Gladiolus callianthus do well indoors or on decks in containers. Support the stems with stakes if they get top-heavy. You might need a wider pot for heavy growth so roots have room to spread.
Never plant bulbs in containers without drainage holes. Trapped water leads to bulb rot quickly.
Planting Timing and Techniques to Extend Bloom Period
Plant gladiolus bulbs just before the last frost date, usually late March to early May. Plant in batches every 10 to 14 days to enjoy blooms over a longer period. Soil temperature and planting timing work together for the best results.
Ideal Soil Temperature for Planting
Plant gladiolus bulbs when soil temperature reaches about 55°F. At this warmth, bulbs grow steadily without risk of rot or frost. Cooler soil slows growth and can cause bulbs to sit idle underground.
Checking soil temperature is easy with a soil thermometer. Insert it 3 to 4 inches deep in the planting area. When it stays near 55°F or warmer, you can plant safely.
Batch Planting for Continuous Blooms
Planting bulbs in batches every 10 to 14 days lets you stretch out the bloom season. Each group grows and flowers at its own pace.
So you don’t get all flowers at once. This approach is also great if you cut flowers for bouquets regularly.
Choose varieties that bloom early, mid, and late season for a mixed display. Planting gladiolus bulbs in intervals keeps your garden colorful longer.
Start with some bulbs, then plant more a few weeks later. This way, your flowers bloom over a longer time.
Follow these steps to start staggered planting:
- Check your last local frost date with a gardening calendar or extension office.
- Prepare soil and add fertilizer for each planting batch.
- Plant the first batch just before the last frost, around 55°F soil temp.
- Wait 10 to 14 days before planting the next batch.
- Continue planting batches every 10 to 14 days until early July.
- Water each new batch well after planting.
- Keep fertilizing plants every 3 to 4 weeks during growing season.
Avoiding Frost Damage by Timing
Gladiolus bulbs are sensitive to frost damage when planted too early. Planting after the last frost date helps protect young shoots. Frost can harm new growth, causing weak or no flowering.
Keep an eye on local weather forecasts during planting season. Cover your new plants with cloth or burlap overnight when frost is forecasted.
This keeps them safe from cold damage. This shields them from cold air until the danger passes.
Common Planting Mistakes and How to Fix Them
Planting gladiolus bulbs too shallow can cause several problems. They may dry out quickly or blow over in the wind before the roots establish. Flowers might be smaller, and spikes can flop, ruining your display.
Burying bulbs too deep also leads to trouble. In clay soil, deep planting traps moisture, which causes bulbs to rot.
Soil that stays cold and wet can stop sprouting entirely. Checking soil texture before planting helps you avoid these issues.
Fixing wrong depth means first digging up the bulbs carefully if you spot issues early. Gently remove damaged bulbs and replant at the correct depth of 6 to 8 inches. Use a ruler or digging tool to measure holes precisely.
To prevent rot, avoid planting in cold soil below 50°F. Wait until the ground warms in spring. Soak bulbs in a Lysol solution before planting. Use 4 teaspoons per gallon of water.
Let bulbs soak for 2 to 3 hours. This can help control thrips and reduce rot risk.
- Dig holes 6 to 8 inches deep using a trowel or bulb planter
- Plant bulbs with the pointed end facing up for correct root growth
- Space bulbs at least 4 inches apart for good airflow
- Water well after planting but avoid waterlogging soil
- Mulch lightly to conserve moisture without trapping wetness
- Check soil temperature; plant after nights stay above 50°F
- Replant bulbs immediately if you find them too shallow or exposed
Watch plants the first two weeks after planting. Bulbs sitting too shallow need a little more soil on top. Add soil gently to cover them.
Do not compact it hard; keep soil loose to allow air. These small fixes help your gladiolus thrive and avoid rot or drying out.
Taking a little extra time at planting pays off when your gladiolus grows strong and tall. Correct depth and soil care prevent costly bulb loss from rot or wind damage. Proper planting setup also means better blooms and fewer headaches later.
Aftercare and Storage: Protecting Your Gladiolus Investment
After planting gladiolus bulbs, keep soil moist but not soaked. Feed them twice during the growing season to support strong blooms.
In colder zones, lift the bulbs in autumn. Store them to avoid frost and rot.
Watering and Fertilizing Schedule
Water gladiolus bulbs once or twice a week after planting, depending on rainfall. Reduce watering once shoots appear to avoid soggy soil that can cause rot.
Soil rich in compost holds moisture better. So you might water less often in those cases.
Apply a balanced fertilizer when shoots reach 6 inches tall. Use a 10-10-10 NPK fertilizer around the plants. Apply it at half strength.
Do this every 4 to 6 weeks. Stop feeding about 4 weeks before the first frost to help bulbs prepare for dormancy.
Mulching for Moisture and Weed Control
Put 2 to 3 inches of organic mulch on the soil surface. Use straw or shredded leaves. Cover the planted area well.
Mulch helps keep moisture steady and reduces weed competition that steals nutrients. It also protects the soil surface from drying out in hot weather.
Keep mulch a few inches away from the shoots to prevent stem rot. Remove old mulch in spring before new growth starts to reduce disease risks. Regular mulching can make your watering easier by keeping soil moist longer.
Lifting and Storing Bulbs in Winter
Lift gladiolus bulbs when the leaves turn brown. This happens in late summer or early fall. Remove the bulbs carefully then.
Gently dig around the bulbs with a spade, taking care not to damage them. Let bulbs dry in the sun for a few days in a well-ventilated spot.
Brush off excess soil once dried but do not wash the bulbs with water. Store them in a cool, dry, and dark place like a basement or garage. Use mesh bags or cardboard boxes with ventilation to prevent mold during winter.
Do not store bulbs where temperatures drop below 40°F or where it stays too warm.
Step-by-Step Action Plan for Planting Gladiolus Bulbs
Follow these clear steps to plant your gladiolus bulbs perfectly. Each phase helps you check if your bulbs are set for healthy growth.
- Before planting: Choose firm bulbs with no soft spots and soak them for 30 minutes. This helps speed up root growth.
- Day 1: Dig holes 4 to 6 inches deep if soil is sandy. For clay soil, dig holes 6 to 8 inches deep. Deeper planting protects bulbs in heavy soil.
- Day 1: Space bulbs 6 inches apart in rows. Keep rows at least 12 inches apart. This gives plants room to grow. Check spacing by measuring with a tape.
- Day 1: Place bulbs pointed end up and cover with soil. Lightly press soil to remove air pockets and secure bulbs.
- Week 1: Water the planting area slowly but deeply. Soil should stay moist, not soggy, to carpet the bulbs with water.
- Week 2: Add a 2-inch layer of mulch to keep soil temperature steady and retain moisture. Mulch looks right when it covers the soil evenly all over.
- Week 4 or when shoots appear: Put stakes near bulbs. These will support flower spikes as they grow. Stakes are secure when they don’t wobble.
- After blooming: Cut flower stems and let leaves die down naturally before lifting bulbs. Healthy leaves feed bulbs for next year’s growth.
Frequently Asked Questions
Can I Plant Gladiolus Bulbs Too Deep?
Yes, planting too deep can delay sprouting. Keep bulbs within 6 inches of soil surface to help shoots emerge easily.
Does Soil Moisture Affect How Deep I Should Plant?
Yes, wet soil can make deep planting risky. Choose well-drained soil and avoid planting more than 6 inches deep to prevent rot.
Will Planting Depth Affect the Flower Size?
Not directly, but larger bulbs planted deeper grow sturdier stems with more flowers. Use 4 to 6 inches depth for bigger corms.
Is It Okay to Plant Gladiolus Bulbs on a Slope?
Yes, but plant deeper in sloped areas to avoid erosion exposing the bulbs. Cover with extra soil for protection.
Can I Plant Gladiolus Bulbs Directly After Buying Them?
Plant as soon as possible for best results. If delayed, store bulbs in a cool, dry place to keep them healthy.
Should I Add Fertilizer Before Planting Gladiolus Bulbs?
Adding fertilizer is helpful when planting. Mix balanced fertilizer into soil to support root growth during early development.
Key Points to Remember
Plant gladiolus bulbs at the right depth for your soil. The size of bulbs also affects how deep to plant. This helps shoots and blooms grow strong.
Keep the soil moist and give them space to grow straight and tall. Start planting today with these exact steps and watch your garden come alive with gladiolus flowers.