How to Detect Humidity Indoors: 8 Proven Methods and Expert Tips
How to detect humidity indoors matters because it affects comfort and health. You need a tool that measures air moisture quickly and accurately. The best method uses a hygrometer.
It’s a small device. It shows humidity levels in real time.
Start by placing a reliable hygrometer where you spend most time. Avoid spots near windows or vents for the truest readings.
Watch for readings between 30% and 60%. Levels above that may cause mold or condensation.
You can also spot humidity by checking for damp smells or condensation on pipes. Quick DIY tests exist but aren’t as precise as a meter. Tracking changes during cooking or showering reveals how appliances raise humidity temporarily.
Key Takeaways
- Use a hygrometer to measure indoor humidity between 30% and 60%.
- Place your hygrometer away from windows, vents, and doors for accuracy.
- Look for condensation on windows or pipes as a sign of high humidity.
- Note humidity changes before, during, and after using appliances.
- A rise of 10-15% humidity during cooking is normal and usually temporary.
- Trust a digital hygrometer over DIY methods for reliable humidity readings.
1. How to Detect Humidity Indoors Accurately and Quickly
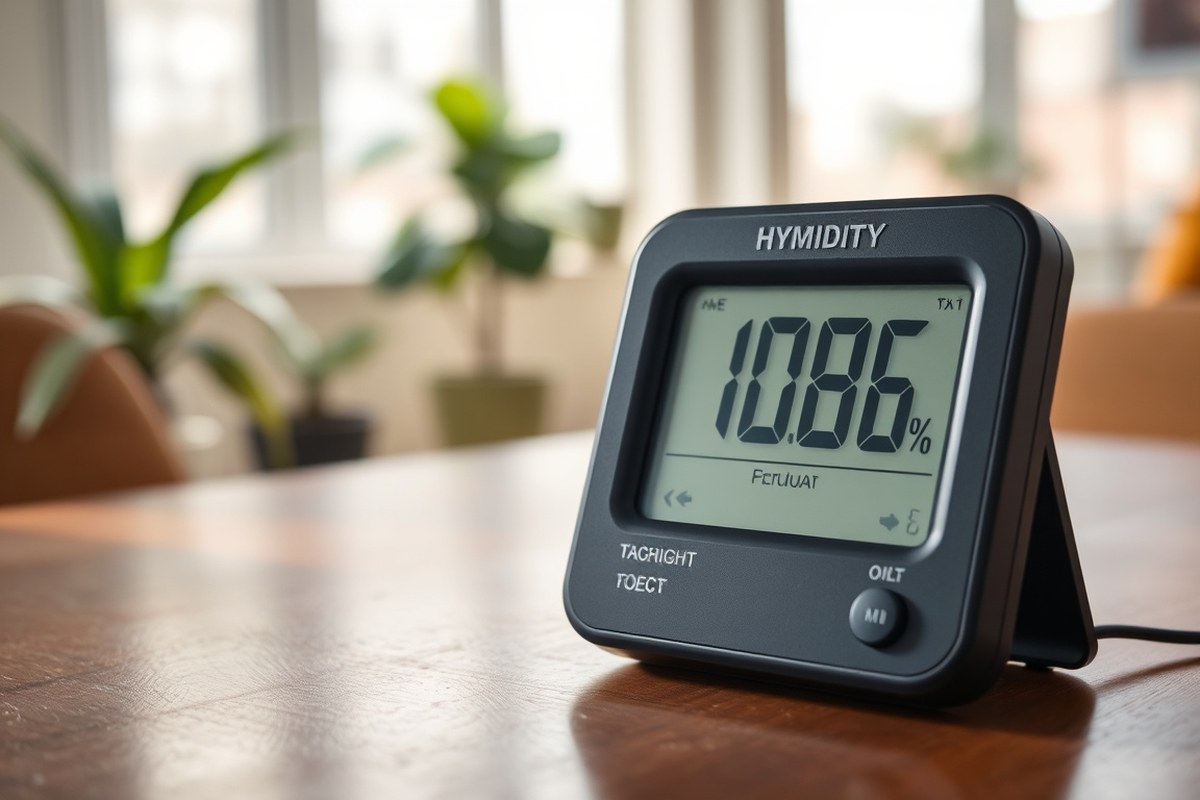
Humidity means how much moisture is in the air. It matters indoors because too much moisture can cause mold, dust mites, and discomfort.
You want to keep indoor humidity between 30% and 50%. Ideally, aim for 40% to 50% in most homes.
The most accurate way to measure indoor humidity is with a digital hygrometer. This small device shows the relative humidity as a percentage.
Relative humidity shows current air moisture compared to max moisture capacity. This depends on the air temperature.
To get a good reading, put the hygrometer where the room is typical. That means not too close to windows or vents.
Avoid direct sunlight, vents, windows, and areas near kitchens or bathrooms. These spots can affect the reading by adding heat or moisture.
Place the device about 3 to 5 feet above the floor. It can sit on a table or shelf. Don’t hold it in your hand, as body heat can change results.
Leave it there for 20 to 30 minutes to adjust. Then check the reading.
A reading between 30% and 50% is considered normal. Readings above 55% can encourage mold growth, especially if the room doesn’t have good airflow. Humidity above 60% means you should reduce moisture in your home.
Getting a good reading usually costs $10 to $30 at a hardware or home store. These meters work right out of the box. They need almost no calibration.
Check humidity at different times like morning and evening. Humidity changes throughout the day.
Sudden humidity spikes happen during showers or cooking. They usually drop after airing out the room. Continuous high readings over several days mean you have a persistent moisture problem.
Tracking humidity over days shows patterns. This helps decide when to ventilate or use a dehumidifier.
2. Using a Hygrometer: Steps for Reliable Humidity Measurement
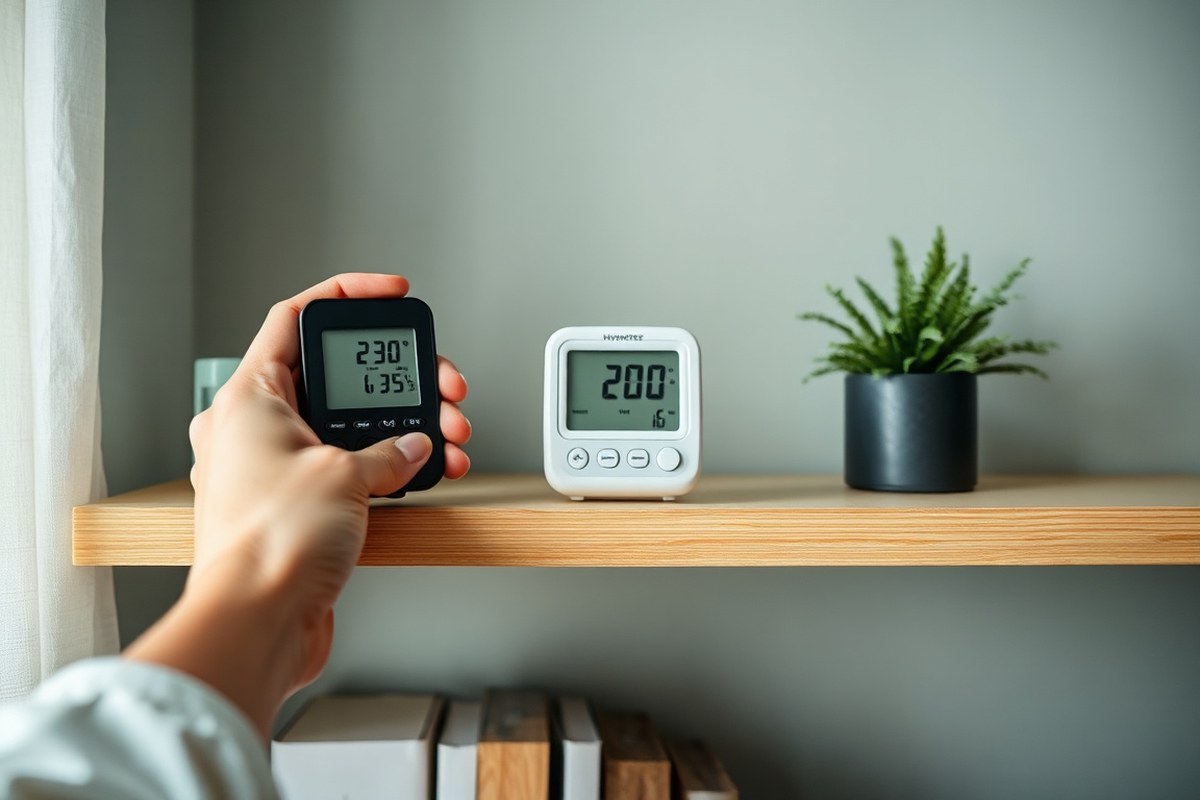
Use a hygrometer to get a clear reading of your home’s humidity. Set it up in the right spot, wait the needed time, and read the results carefully. Digital models are usually easiest to use and read at home.
Choosing the Right Hygrometer Type
Digital hygrometers are the best choice for most homes. They cost between $10 and $30, and give readings within ±3% relative humidity (RH). This accuracy level fits everyday needs well.
Analog hygrometers use mechanical parts to gauge moisture but often need more frequent calibration. These can work but usually require more care and patience to get precise numbers. Digital units also show the numbers clearly, which helps spot trends quickly.
Proper Placement for Accurate Readings
Put your hygrometer around chest height near the room’s center. Avoid spots near windows, vents, or heat sources. These areas create unusual microclimates that can distort readings.
Check rooms with likely moisture issues, like basements and bathrooms. Take separate readings at different times of day to see how humidity shifts. Patterns can reveal hidden problems or the success of ventilation.
Calibrating Your Hygrometer at Home
Calibration ensures your readings are accurate enough to make good decisions. You can use a salt test or a quick oven test for this.
To do the oven method at 200°F, place your hygrometer inside for about three minutes. Take it out and wait five minutes before checking the reading. The ideal reading after cooling should be about 32% RH if your device is working well.
- Place your hygrometer in the room you want to measure, at chest height.
- Keep it away from windows, doors, heaters, or air conditioners.
- Leave the hygrometer undisturbed for 30 minutes to stabilize.
- After 30 minutes, note the reading displayed on your hygrometer.
- Repeat measurements at different times of day for a better average.
- Calibrate your hygrometer regularly, especially if readings seem off.
- Use the oven method or a salt test for basic calibration at home.
- Adjust or replace your hygrometer if calibration fails repeatedly.
Place your hygrometer away from heat or moisture sources to avoid distorted readings.
3. DIY Humidity Detection Methods Without a Hygrometer
You can detect indoor humidity without special tools by using simple home tests. You can try the ice cube condensation test. Another option is the hair or paper expansion test.
You can also fog a mirror using steam. Each gives you a rough idea of moisture levels without measuring exact numbers.
Ice Cube Condensation Test
This test checks how much condensation forms on a cold surface. It’s quick and needs only a glass and ice cubes. The results help estimate if indoor humidity is too high or low.
Follow these steps to do the ice cube test:
- Fill a glass with ice cubes and add cold water.
- Wait about 3 to 5 minutes to let condensation form.
- Observe how much water collects on the outside of the glass.
- Compare the condensation amount to the ice melting in the glass.
- More than half the ice melts quickly. That usually means humidity is above 50%.
- Condensation is light and ice melts slowly. The humidity is probably below 30 to 40%.
- A heavy layer of condensation means humid air around 60% or higher.
This method is best for basic indoor checks. It does not give exact numbers and can be affected by room temperature. For example, a warmer room may reduce visible condensation.
Hair or Paper Expansion Test
Hair changes length slightly with humidity. Thin paper also curls or relaxes as it absorbs moisture. You can use these subtle changes to guess indoor humidity levels.
Tape a strip of paper or a hair strand to something stiff. Make sure the hair is stretched straight. Then watch carefully what happens to them.
Mark the ends when dry, then check again after a few hours. The hair or paper curls or expands. That means humidity is high in the air.
This takes longer and is less precise than other tests. Several factors, like temperature and airflow, can affect hair or paper reactions. Still, this test gives good clues about stable moisture changes over time.
Fogging a Mirror with Steam
Steam fogs a mirror quickly, showing how humid air is. The speed and thickness of fog give a visual clue. You don’t need special tools beyond hot water and a mirror.
Pour hot water in a bowl and hold a small mirror above it for 20 seconds. Watch how the mirror fogs over.
When the mirror fogs heavily and stays wet. That shows high humidity indoors.
This test is simple and shows general humidity. It’s not exact because room temperature and steam amount vary. It works best in kitchens or bathrooms where steam is common and moisture levels change fast.
4. Common Indoor Humidity Sources and How to Spot Them
Indoor humidity often comes from daily routines or hidden sources you may not notice. Appliances like humidifiers and gas stoves create moisture whenever they run. Drying laundry inside adds steam that lingers if your ventilation is weak, especially in small rooms.
Bathrooms usually show high humidity after showers, sometimes jumping up to 80% or 90%. This is normal if you open a fan or window soon after.
Kitchens can have quick spikes while cooking, but levels should drop fast. High humidity could mean your exhaust fan is too weak or airflow is poor.
- Showers and baths produce big, short humidity spikes.
- Cooking with boiling water or simmering raises moisture temporarily.
- Indoor drying of clothes increases humidity and can linger if room isn’t aired.
- Heating and cooling systems sometimes add moisture or fail to remove it.
- Leaks or damp materials like wet carpets cause persistent humidity problems.
- Poor ventilation traps moisture, raising humidity all day long.
- Basements often hold damp air due to cold ground connectivity.
Heating and cooling systems affect humidity by changing air temperature and ventilation rates. Your HVAC may run but not remove moisture well at over 60%. Signs include window condensation or sticky feeling air even when fans blow.
Try watching humidity before, during, and after activities that use water. Use a hygrometer about three feet off the floor. Place it away from windows and vents.
Watch how fast the humidity level changes. Quick drops after cooking or showering tell you ventilation works well. A slow or no drop means moisture is building up and air flow needs improving.
5. How to Detect Hidden Moisture and Intermittent Humidity Spikes
Hidden moisture and sudden humidity spikes often come from sources you can’t see. Tracking patterns over time helps reveal issues before mold or damage appears. Persistent high humidity might point to leaks or poor ventilation inside your walls or floors.
Tracking Humidity Throughout the Day
Humidity changes during the day due to temperature and activities like cooking or showering. Measure humidity several times to see moisture spikes clearly.
Cool air holds less moisture, so check especially overnight. This method helps spot changes better.
Take measurements in the morning, midday, and evening for at least two weeks. Watch for spikes over 55% or 60%, especially in mornings.
These often show poor airflow or trapped moisture in rooms. Regular spikes need attention to airflow.
- Place a hygrometer away from heat, vents, or sinks for accurate readings.
- Record humidity at the same times each day to spot patterns.
- Note any activities or weather conditions that might affect levels.
- Compare daily highs and lows to check if humidity spikes happen regularly.
- Keep a log to see if weeks show climbing humidity, suggesting a hidden issue.
- Investigate whether humid rooms also smell musty or feel damp.
- Adjust ventilation or dehumidifiers and monitor if spikes reduce.
Only check humidity away from direct moisture sources to avoid skewed readings.
Comparing Room-To-Room Readings
Humidity often varies greatly between different rooms in a home. Comparing readings helps find moisture pockets or leaks hidden behind walls or under floors.
Check rooms where water pipes run or near basements and crawl spaces. Persistent humidity above 60% in one room but normal elsewhere usually signals concealed moisture.
- Measure humidity in bedrooms, kitchens, bathrooms, basements, and attic.
- Record readings at identical times to compare effectively.
- Look for rooms that consistently have higher or rising humidity.
- Inspect these rooms for water stains, peeling paint, or mold signs.
- Use this data to decide if you need professional inspection or repairs.
Identifying Signs of Hidden Moisture Problems
Consistent humidity above 60% or rising levels over weeks may show hidden leaks or structural problems. Mold growth, peeling paint, or a musty smell also reveal moisture behind surfaces.
Suspect hidden moisture if humidity stays high despite ventilation and dehumidifier use. Walls or floors that feel cold or damp to touch are likely harboring moisture too.
- Look for persistent damp smells or visible mold in problem rooms.
- Check if paint bubbles, cracks, or wood warps in higher humidity areas.
- Feel for cold spots on walls or floors to identify wet insulation or leaks.
- Track humidity changes over several weeks to confirm ongoing moisture buildup.
- Consider moisture meters or professional help to locate leaks inside walls.
- Fix any plumbing leaks or drainage issues possible to stop moisture entry.
6. How Weather and Seasonal Changes Affect Indoor Humidity
Outdoor humidity changes with seasons and weather, affecting your indoor levels. In winter, cold air holds less moisture. So indoor humidity usually falls between 30% and 40%.
Summer brings more moisture outside. This raises indoor levels to 50% or more. Air conditioning can increase this effect.
Weather shifts like rain or heat waves also influence indoor humidity. Rainy days raise moisture inside. Wet air gets in through cracks or vents.
This pushes indoor humidity higher. Dry spells make indoor air feel parched.
Wood and furniture can crack from dryness. Low humidity causes these issues.
You should track your indoor humidity at different times and days to catch patterns. Checking morning and evening readings helps; mornings reveal overnight moisture buildup.
Evenings show effects from cooking or showers. Use a digital hygrometer and compare readings to outdoor humidity from a weather app.
Adjust your humidity control based on the season. In winter, use a humidifier to add moisture. It stops dryness that causes breathing problems.
Static shocks also reduce with more moisture. During summer, a dehumidifier or air conditioning reduces excessive moisture that fosters mold and dust mites.
Be careful measuring humidity right after activities that release steam, like cleaning or cooking. Wait at least an hour for levels to stabilize to avoid false spikes. Measure humidity in different rooms or floors.
This shows where issues really are. Don’t just guess the whole house is affected.
For better control, a whole-house humidifier or dehumidifier automates the process. These systems can turn on based on your set humidity range, costing around $300 to $700. Small portable units cost less but need manual adjustments and room-by-room monitoring.
Watching how your HVAC system affects humidity is useful too. Heating often dries air, so note moisture changes when your furnace runs. Cooling pulls moisture out, lowering indoor humidity.
But sometimes not enough on very humid days. Running a fan alone doesn’t change humidity much but helps distribute air evenly.
7. Calibrating and Verifying Your Humidity Measurement Tools
Calibrating your hygrometer ensures the humidity readings are accurate. Regular checks keep your measurements reliable, especially if you notice unusual indoor moisture or dryness. You can use a few simple methods at home to verify and adjust your device.
A common approach is the salt test. It uses a saturated salt solution that creates a stable humidity environment. This test works best at room temperature near 77°F (25°C).
At this temperature, the solution stays at about 75% humidity. It creates stable conditions for the test.
Another way is oven calibration for analog hygrometers. The test uses dry air made by a warm oven. This checks how the meter responds to low humidity.
It helps confirm if the meter reads dry air correctly. Also, comparing your hygrometer readings with another trusted sensor helps confirm accuracy across different humidity levels.
- Get these tools: small container, table salt, and water. Also grab a resealable plastic bag, hygrometer, and thermometer. You’ll need all these for the test.
- Mix table salt and water until you get thick, wet salt. Avoid adding too much liquid in the container. The salt should be damp but not watery.
- Put the salt container and hygrometer inside the plastic bag. Seal the bag tightly and leave it at room temperature. Wait 8 to 12 hours for results.
- Check your hygrometer reading through the bag. It should be about 75% relative humidity at 77°F (25°C).
- Adjust your hygrometer if it’s off, or make a note. Remember this difference for future humidity readings you take.
- Turn off the oven and preheat it to 104°F (40°C). Put the hygrometer inside and leave it for 30 minutes. This sets a baseline for low humidity.
- Put your hygrometer and a digital meter in the same room. Leave them there for several hours to compare readings. Note any differences you see.
- Repeat these tests every 6 months or if you move your hygrometer to a different environment.
The salt test usually costs just a few cents from common household items. The oven method requires caution to avoid overheating. Comparing two sensors works best when both meters are of good quality.
Watch for readings that never change or jump wildly. These signs mean your hygrometer might need replacement instead of calibration. Regularly verifying your tool helps prevent misjudging your home’s humidity, which can affect comfort and health.
8. When to Seek Professional Help for Humidity and Moisture Issues
When you see mold, damp spots, or a musty smell, call a pro. These signs show a moisture problem that needs fixing. Don’t delay getting help.
DIY tools like hygrometers help you check humidity. But they can’t detect hidden mold or assess complex air quality issues. Professionals use specialized gear to find moisture inside walls, under floors, and in ventilation systems.
You should hire a specialist if humidity readings stay above 50% for weeks despite your efforts. If you or your family have allergies or breathing issues, act fast. Moisture damage that gets worse needs quick attention.
Don’t ignore these problems. Pros run detailed mold and air tests to check your home’s issues.
They then suggest fixes made for your specific problems. This helps target the right solutions.
Professional testing provides precise moisture mapping and can pinpoint risky conditions you might miss. This testing usually costs between $300 and $600, depending on home size and problem complexity. A full inspection takes a few hours to complete.
It also gives you papers to help with repairs or insurance claims. This documentation is important.
- Visible or hidden mold growth inside walls or ceilings
- Humidity consistently above 50% despite using dehumidifiers
- Health symptoms like allergies or breathing difficulties linked to your home
- Water damage that gets worse or returns after drying
- Stubborn musty odors that won’t disappear
- DIY tools giving inconsistent or confusing humidity readings
- Worries about air quality from previous flooding or leaks
Unchecked humidity and moisture cause expensive damage and health risks. So don’t delay getting expert advice.
Experts use infrared cameras or moisture meters to find hidden wet spots. These tools check below the surface beyond what you can see. This finds problems you might miss.
They also collect air and surface samples to test for mold types and allergy triggers. These tests tell you if you need simple fixes like better airflow.
They also show if sealing leaks or bigger work is required. This helps choose the right repair.
In cases of ongoing moisture problems, professionals help avoid costly fixes later. They guide you through options like installing whole-house dehumidifiers or repairing structural damage. Getting a pro evaluation early saves headaches and keeps your indoor air healthy and safe.
Step-by-Step Action Plan for Detecting and Managing Indoor Humidity
Follow these clear steps to check your home’s humidity and keep it comfortable. Track changes to spot problems early.
- Day 1: Buy a reliable digital hygrometer. Check humidity indoors after 1 hour.
- Day 2: Place your hygrometer in main rooms, away from windows. Verify consistent readings after 24 hours.
- Week 1: Use a DIY test by taping plastic on a surface overnight. Look for moisture inside the plastic the next morning.
- Week 2: Note any spots with signs of hidden moisture, like musty smells or peeling paint. Run your hygrometer there to compare.
- Month 1: Check outdoor humidity trends using a weather app. Compare how indoor levels change with weather shifts.
- Month 2: Calibrate your hygrometer using a salt test or a known accurate device. Adjust placement or device as needed.
- Ongoing: Sudden humidity spikes or persistent dampness need attention. Call a licensed professional to inspect. They can check and give advice.
Frequently Asked Questions
What Types of Humidity Sensors Work Best for Home Use?
Capacitive humidity probes work best for homes. They offer stable readings and cover 0-100% humidity.
How Can I Tell If Appliances Increase Indoor Humidity?
Measure humidity before, during, and 30-60 minutes after appliance use. This catches temporary spikes.
What Does EPA Say About Safe Indoor Humidity Levels?
The EPA says keep humidity below 60% to stop mold. Condensation on windows also warns of too much moisture.
Can Common Kitchen Tasks Raise Humidity?
Short ups of 10-15% humidity during cooking are normal. Lingering humidity may mean poor airflow or venting.
How Reliable Are DIY Humidity Checks Compared to Meters?
DIY methods vary, but a $10-30 meter at hardware stores is reliable. DIY tricks can’t fully replace good meters.
Is It Normal to Have Humidity Between 30% And 60%?
Yes, most homes stay between 30% and 60%, with 40-50% ideal. Humidity in this range usually means no major issues.
Final Thoughts
Detecting indoor humidity helps you prevent damage and stay comfortable. Start by using a good hygrometer regularly. Keep an eye out for unusual signs and act early to avoid bigger problems.