When to Plant Gladiolus: Timing, Tips & Techniques for Best Blooms
When to plant gladiolus depends mostly on your local frost dates. Plant them in spring right after the last frost to avoid damage. The soil should be warmed to at least 55°F for the best results.
Gladiolus bulbs, also called corms, need the right temperature to start growing. If you plant too early, cold soil can stunt their growth or cause rot. Wait until spring’s warmth is steady in your garden soil to prevent these issues.
Early preparation helps a lot. Make sure to check your area’s last frost date first. Also, getting the soil ready with good drainage and nutrients improves your gladiolus success.
Spacing your corms about 6 inches apart and planting them 4 inches deep helps roots spread well. Water right after planting to settle the soil around the corms. Regular watering during dry spells supports strong flower spikes later on.
Key Takeaways
- Plant gladiolus bulbs after the last frost when soil hits about 55°F.
- Check your local frost dates to avoid planting too early.
- Prepare soil with good drainage before planting your corms.
- Plant corms 6 inches deep to protect and support growth.
- Space bulbs 6 to 8 inches apart for healthy development.
- Stagger plantings every 10 to 14 days for continuous blooms.
Best Time to Plant Gladiolus Bulbs
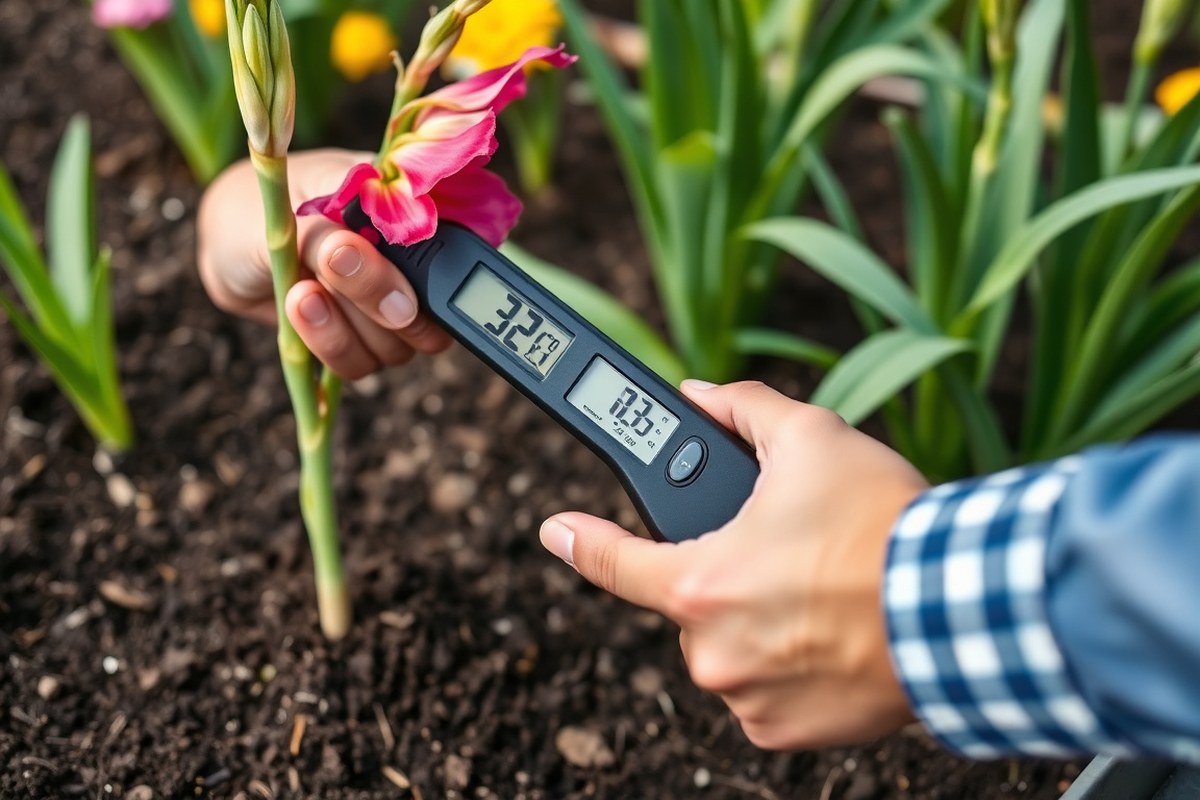
Plant gladiolus bulbs in spring after the last frost date in your area. The soil should be warm, about 55°F, to encourage good growth. Plant about two weeks before the last expected frost.
Make sure the soil temperature is right. This timing often works well for planting.
Check your local frost dates online or use a planting calendar for guidance. Wait until the soil feels warm enough to plant peas or lettuce when unsure.
Test soil warmth with a soil thermometer. Or check by touching soil about 4 inches deep.
Don’t plant gladiolus bulbs if the soil is cold or wet. Avoid planting if frost is likely soon. Cold, soggy soil causes bulbs to rot or grow slowly.
Heavy clay soil that stays soggy after rain needs compost. Raised beds also help with drainage.
Some gardeners plant gladiolus bulbs in fall during mild winters. Avoid doing this if freezes drop below 28°F. Choose fall planting and then add a thick mulch layer.
Mulch helps keep bulbs warm through winter. This works best in zones where the ground rarely freezes deeply.
Dig holes about 6 inches deep for spring planting. Place bulbs with the pointy side up.
Cover halfway with loose soil, then fill to the top. Plant as soon as the soil is easy to work, usually mid- to late-spring.
Planting gladiolus too early risks frost damage or rotting bulbs. Planting too late shortens bloom time and weakens stems.
Track local frost dates and soil temperature to time planting. This helps keep your gladiolus healthy.
How to Prepare Soil and Select Healthy Corms
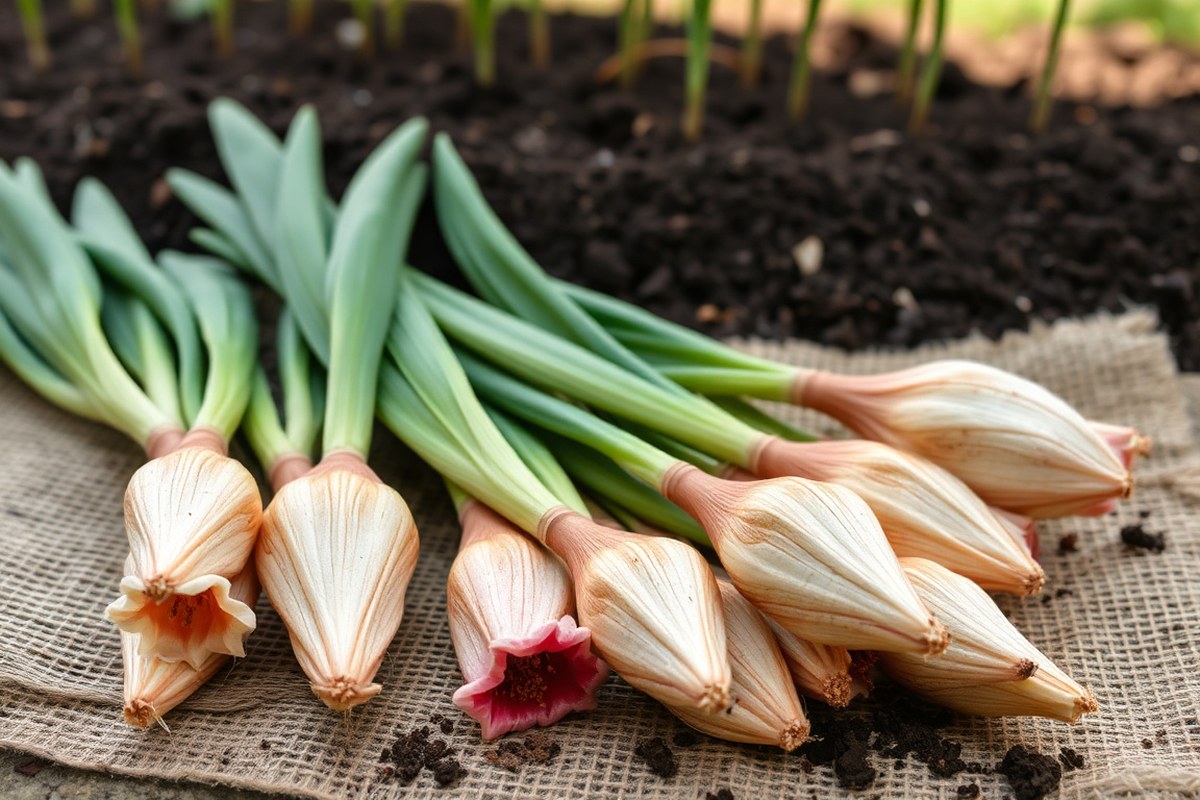
Start by picking a sunny spot with well-drained soil. Gladiolus roots need air and moisture balance to avoid rot.
Dig the soil deeply to about 12 inches and mix in organic compost for nutrients. Avoid heavy clay or soggy areas that trap water around corms.
Healthy gladiolus corms look firm and plump, not shriveled or soft. Choose clean corms without spots, cuts, or mold.
Look for sizes about 1.5 to 2 inches across to ensure good growth. Small corms produce smaller blooms, while very large ones might bolt too soon.
- Loosen soil 12 inches deep and add compost
- Remove stones and debris from planting area
- Pick firm, unblemished corms about 1.5 to 2 inches wide
- Discard corms with soft spots or mold
- Store corms in a cool, dry place until planting
Plant corms with the pointy growing tip facing up. Plant them two to three times their height deep, usually 4 to 6 inches.
Space corms 6 inches apart if in groups to give room for stems and airflow. Water well right after planting and keep soil moist but not soggy.
Some pests live in the soil and harm gladiolus corms. So avoid planting where bulbs previously rotted.
Using fresh compost keeps soil loose and full of nutrients. Test drainage by digging a hole and filling it with water. If water drains within a few hours, soil is good enough.
Proper Depth, Spacing, and Planting Method
Plant gladiolus corms about three to four times their height deep. Space them between 2 and 7 inches apart, based on their size. Planting too shallow or crowded can cause poor growth and weak stems.
Recommended Planting Depths by Bulb Size
Smaller gladiolus corms, around 1 inch tall, should go about 3 inches deep. Large corms, closer to 2 inches tall, need around 6 to 7 inches of soil above. This keeps the plants stable and supports tall flower spikes.
Going twice as deep as the bulb’s height also works well to protect corms from weather. Planting too shallow may expose corms to temperature swings and drying out.
Spacing Guidelines for Different Gladiolus Varieties
Plant small gladiolus corms 2 to 3 inches apart to allow room to grow. Larger varieties need 5 to 7 inches between corms to prevent overcrowding. Crowded corms compete for nutrients and cause weaker flowers.
If you’re planting in containers, space corms closer, about 2 to 3 inches apart. This fits the smaller root space but requires more frequent watering to avoid drying.
Step-by-Step Planting Instructions
Follow these steps to plant gladiolus corms properly and encourage healthy growth.
- Clear the planting site of weeds and loosen the soil to 6-8 inches.
- Dig holes or a trench to the correct depth based on corm size.
- Remove all but 1-2 inches of leaf from each corm before planting.
- Place the corms upright with the pointed end facing up in the holes.
- Space the corms 2 to 7 inches apart depending on their size.
- Cover the corms with soil and gently firm it down.
- Water lightly to settle the soil but avoid soaking it.
- Add a stake or cane now if you expect tall flower stalks.
Staggered Planting for Continuous Gladiolus Blooms
Plant gladiolus corms every 1 to 2 weeks to get blooms all summer long. Each planting flowers 70 to 90 days later. Staggering your plantings gives you fresh flowers for weeks instead of just two weeks.
Why Stagger Planting Works
Gladiolus grow tall spikes with flowers opening from the bottom up. Once flowers bloom, they last up to two weeks. Planting all corms at once means all flowers finish blooming together.
Spacing out your plantings means some will bloom while others start growing. This keeps fresh flowers coming for longer. You can also pick gladiolus varieties that bloom earlier or later for more variety.
Suggested Planting Intervals and Bloom Times
Starting after the last frost, plant gladiolus every 10 to 14 days. Keep planting until early July to avoid frost damage. Each batch blooms about 2 to 3 months after planting.
If you plant on May 1, blooms appear between July 10 and 31. The flowers will bloom over about three weeks. Expect blooms from mid to late July.
Then plant again May 15 for blooms around late July to mid-August. Follow this every two weeks for a continuous streak of flowers.
- Wait until soil warms and frost risk has passed
- Plant corms 10 to 14 days apart
- Stop planting after early July
- Expect blooms 70 to 90 days after planting
- Choose varieties that bloom early, mid, or late summer
- Keep soil moist and provide support for tall stalks
Planting later than July may not give flowers enough time to bloom before fall. Zones 7 to 10 might see less stretch in bloom times. So planting dates matter more.
How to Use a Planting Calendar Template
Mark the date of your last expected frost on the calendar. Begin planting your first batch a few days later. Then add new planting dates every 10 to 14 days.
Write down the expected bloom window for each batch, about 70 to 90 days later. This helps you track which batches will flower when. Adjust dates based on your local climate or frost dates.
A simple example calendar could look like this:
| Plant Date | Expected Bloom |
|---|---|
| May 1 | July 10 – July 31 |
| May 15 | July 24 – August 14 |
| May 29 | August 7 – August 28 |
| June 12 | August 21 – September 11 |
| June 26 | September 4 – September 25 |
Care After Planting: Sun, Water, and Support
Gladiolus plants need sun for six to eight hours each day. This bright light builds strong stems and colorful flowers. Choose a sunny spot that stays bright most of the day.
Water young gladiolus deeply once or twice weekly. Give about one inch of water each time. This keeps the soil moist but not soggy.
Keep the soil moist but never soggy. Avoid overhead watering to reduce the risk of fungal diseases and water early in the day.
Taller gladiolus varieties, which can grow up to 4 to 5 feet, usually need staking. Wait until the plants reach about 12 inches tall before you add stakes. Push a sturdy bamboo or metal stake beside each corm.
Tie the stem gently every 8 to 12 inches using soft plant ties. This supports the growing flower stems well.
In windy areas, staking becomes even more important to prevent the flower spikes from toppling over. Plant corms a bit deeper in sandy soil to add stability. This extra depth helps tall gladiolus stand firm.
It stops the plants from falling over easily. Miniature types, like Bambino Gladiolus, only reach 18 to 24 inches and don’t require staking.
Don’t wait too long to stake. Tying the spikes too late can damage the stems and flowers.
Besides sunlight and staking, keep an eye on the soil drainage. Gladiolus won’t thrive in standing water, so the soil should drain well.
Good airflow around the plants helps prevent rot and pests. So don’t crowd them too tightly.
Cut off faded flowers and yellow leaves regularly. This helps the gladiolus put energy into new bloom growth. It keeps your plants healthy and looking good.
Mulching around the base helps keep moisture consistent and reduces weeds. These small care steps often lead to more strong and longer-lasting gladiolus flowers.
When and How to Lift, Cure, and Store Gladiolus Corms
Lift gladiolus corms gently after the blooms fade and leaves yellow. Cure them in a dry, airy place for two weeks to toughen the skin. Store cured corms in a cool, dry place for winter.
This helps keep them healthy. It prepares them well for the next season.
Timing for Lifting Corms
Dig up gladiolus corms before the first hard frost. This is important in colder zones 6 and below. Make sure to dig them early.
The right time is once the flowers fade and the foliage turns yellow or brown. Leaving corms in soil over winter in cold climates risks freezing and rotting.
In milder zones, you can leave the corms in the ground year-round. Still, lifting every two or three years helps separate crowded clumps and keeps plants strong. Plan to lift them late summer or early fall, soon after the growing season ends.
Curing Process and Inspection
Dry the freshly dug corms in a shaded, airy place for about two weeks. This curing helps form a protective skin and prevents mold during storage. Spread them in a single layer on newspaper, cardboard, or mesh trays for good airflow.
After curing, check corms carefully. Cut away any soft, damaged, or rotten parts with clean scissors.
Healthy corms are firm, plump, and free of mold. Remove old corms that shrivel or dry out; they won’t grow well next season.
Proper Storage Conditions
Store cured gladiolus corms in a cool, dry, and dark place. A basement, garage, or root cellar at temperatures between 40 to 50°F is ideal. Avoid spots that freeze or get too warm, as both harm the corms.
Keep the corms in breathable containers like paper bags, mesh sacks, or cardboard boxes. Avoid plastic bags that trap moisture and cause rot. Label the containers with the variety and date to stay organized.
Follow these steps to lift, cure, and store your gladiolus corms properly:
- Wait until flowers fade and leaves turn yellow or brown.
- Loosen soil gently and carefully dig up the corms with a garden fork.
- Brush off excess dirt without washing to prevent moisture damage.
- Spread corms in a single layer in a dry, airy, shaded spot.
- Let them cure for two weeks to develop a tough outer skin.
- Inspect each corm; trim off damaged or rotting parts with clean scissors.
- Place healthy corms in breathable storage containers with labels.
- Store in a cool, dry, dark place between 40 and 50°F until spring.
Gladiolus Planting by Climate and USDA Hardiness Zones
Gladiolus planting depends a lot on your USDA hardiness zone. These zones show if your winters are mild or harsh. That matters for how you handle the corms.
The colder the zone, the more care the corms need. Hardier gladiolus varieties help gardeners in colder zones. But many types do best where the ground doesn’t freeze deeply.
Miniature gladiolus, like Gladiolus nanus, survive winters well in zones 5 and 6. These are good choices if you live where temperatures dip lower. Regular gladiolus usually don’t survive outdoor winter in these zones without digging up their corms.
| USDA Zone | Winter Hardiness | Gardening Tip |
|---|---|---|
| 5 – 6 | Only hardy mini gladiolus survive winter | Plant hardy types in fall; dig up others before frost |
| 7 | Perennial with mild winter; some risk of frost damage | Try early planting; lift corms if harsh winter is predicted |
| 8 – 10 | Winter hardy; corms can stay in ground year-round | Plant in spring or early summer; no need to lift |
| 11 and warmer | Tropical zone; gladiolus thrive year-round | Plant any time; watch for heat stress in summer |
In zones 8 to 10, your soil stays warm during winter. Gladiolus corms can remain in the ground without damage. You only need to plant them once and enjoy the blooms every year without lifting.
For zones colder than 7, plan to dig up and store corms over winter. This prevents rot and freezing damage.
You can plant hardy gladiolus in fall in zones 5 to 7. But expect some losses if the winter gets very cold.
Making your garden soil rich with compost before planting helps gladiolus grow well. This is especially important if you lift and store corms or use containers. Healthy soil supports stronger plants that survive better through winter challenges.
Common Planting Mistakes and How to Fix Them
Failing to plant gladiolus at the right depth is a common mistake. Planting too shallow can dry out the corms. Too deep can delay or prevent blooming.
Plant corms 4 inches deep for best growth. Space each corm 6 inches apart. This helps them grow strong and bloom well.
Sometimes gladiolus don’t bloom because they get too little sun or water. These flowers need full sun for about 6 hours daily. Water them regularly while growing.
Keep soil moist but not soaked. Lack of sunlight or drought stress will keep your plants from flowering.
Rot and disease often come from poor drainage or overcrowding. Gladiolus corms planted in soggy soil can quickly rot. Space them properly and raise beds if your soil holds water after rain.
- Check soil drainage before planting; amend with sand if heavy clay
- Keep soil moist but not soggy; water deeply once per week
- Plant corms pointed end up, 4 inches deep and 6 inches apart
- Ensure full sun exposure with at least 6 hours daily
- Use stakes or supports for tall varieties to avoid stem breakage
- Remove weeds regularly to reduce disease risks and competition
- Rotate planting location yearly to prevent soil-borne diseases
It’s easy to forget about staggered watering once plants start growing. Keep the soil evenly moist but avoid puddles. Dry patches or too much water can cause heads not to bloom or bulbs to rot.
Check your planting dates and sunlight if your gladiolus isn’t blooming. Ensure they get full sun. Adjust timing for better blooms.
Try lifting the corms after frost to check their condition. Healthy corms are firm and plump, not soft or shriveled. Plant fresh corms each season for best results.
Always plant fresh gladiolus corms in well-draining soil to prevent rot and boost blooms.
Step-by-Step Action Plan for Planting Gladiolus
Follow these steps to plant your gladiolus bulbs and enjoy strong, lasting blooms.
- Two weeks before last frost: Prepare soil by loosening and adding compost. Check that the soil drains well to avoid bulb rot.
- One week before planting: Buy healthy corms that are firm and free of mold. Store them in a cool, dry place until planting day.
- Planting day: Dig holes 4 inches deep and space corms 6 inches apart. Set each corm with the pointed side up for best growth.
- After planting: Water the soil lightly to settle it. Check soil moisture regularly but avoid waterlogging.
- Two weeks after planting: Put stakes or supports beside flower stalks. This stops them from bending or breaking. Use something sturdy and tall enough to hold them.
- Every two weeks through bloom: Plant a new set of corms for staggered flowering. This keeps your garden colorful longer.
- After blooms fade: Cut flower stalks but leave leaves intact. Let leaves die back before digging corms for storage.
- At season’s end: Gently lift the corms from the soil. Cure them for two weeks in shade. After that, store them in a cool, dry place.
Frequently Asked Questions
When Should I Plant Gladiolus to Get the Tallest Spikes?
Plant gladiolus bulbs after the last frost when soil reaches about 55°F. Cooler soil slows growth and may cause weak spikes.
Can I Plant Gladiolus Bulbs in Containers?
Yes, you can plant gladiolus bulbs in containers with well-draining soil. Make sure the container is at least 12 inches deep for root growth.
How Deep Should I Plant Complex Gladiolus Varieties?
Plant standard gladiolus corms about 4 to 6 inches deep. For larger varieties, aim closer to 6 inches for better support and bloom size.
Is It Okay to Plant Gladiolus on the Edge of Garden Beds?
Gladiolus prefers a sunny, dedicated garden spot away from other plants. This allows air circulation and prevents disease spread.
Can I Plant Gladiolus Seeds Instead of Bulbs?
Gladiolus seeds take years to bloom and are usually grown by specialists. Using corms is faster and ensures blooms the same year.
How Long After Planting Gladiolus Will Flowers Appear?
Most gladiolus bloom about 10 to 12 weeks after planting. Staggering your plantings every 1 to 2 weeks helps extend the blooming period.
Before You Go
Plant gladiolus at the right time and give them simple care for beautiful results. Start by preparing your soil this week. Watch closely and enjoy bright, bold blooms all season long.