How to Plant Alocasia Corms: Simple Steps for Fast, Healthy Growth
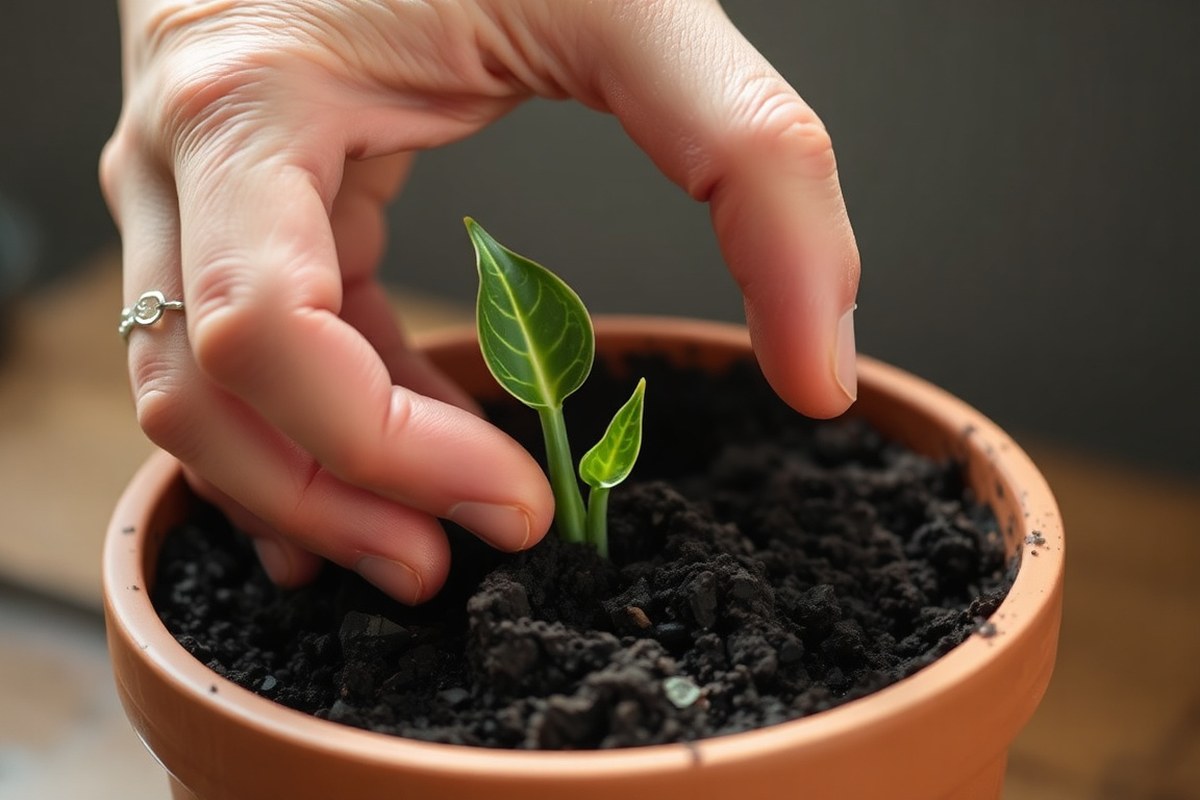
Learning how to plant Alocasia corms begins with proper depth. Place the corms about 2 to 3 inches deep in soil. This helps them grow well.
Make sure you don’t cover more than half of the corm to prevent rot. Plant them in spring when soil stays above 60°F (15°C) to encourage sprouting.
Use well-draining potting soil for your Alocasia corms. Choose a pot that is at least 10 inches tall. This supports their growth fully.
Space the corms roughly 6 inches apart for good air flow and room to grow. Keep soil moist but not soggy right after planting to help roots establish.
Alocasia corms do best with bright indirect light and warm temperatures between 65 and 80°F (18-27°C). High humidity around 60%-80% also helps young plants thrive quickly. Avoid direct sun that can scorch the leaves once the corms sprout.
Key Takeaways
- Plant Alocasia corms 2 to 3 inches deep, covering no more than half.
- Sow corms in spring when soil temperature consistently exceeds 60°F (15°C).
- Use a well-draining potting mix in a pot at least 10 inches deep.
- Space corms about 6 inches apart to prevent crowding and encourage growth.
- Keep soil moist but avoid waterlogging to prevent corm rot.
- Place pots in bright, indirect light with temperatures from 65 to 80°F.
How to Plant Alocasia Corms Step-by-Step
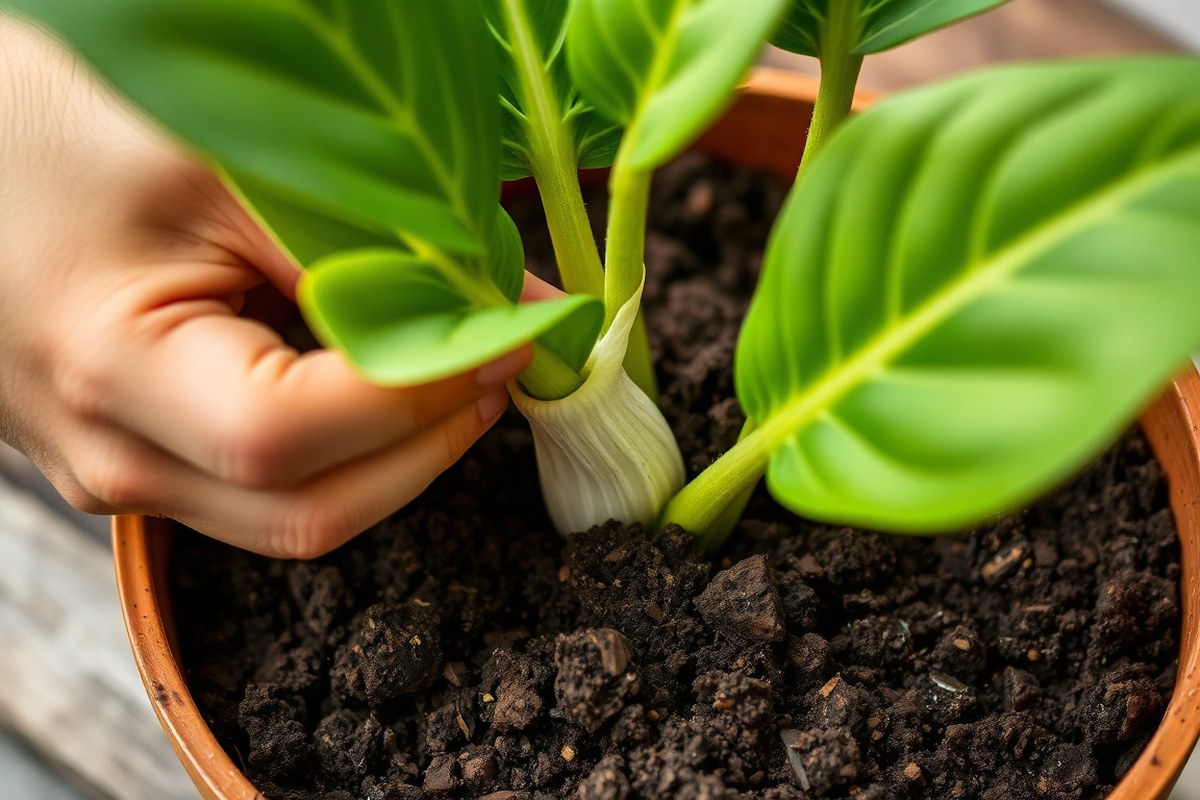
Make sure to plant Alocasia corms in pots that are at least 10 inches deep. Use a well-draining potting mix to avoid soggy soil that can cause rot. Position the corm with its growing bud facing upward to help leaves emerge properly.
Plant the corm about 1 to 2 centimeters deep. Cover it just enough. Do not bury it too deeply.
Keep the soil moist but not soaked. So it stays damp without drowning the corm. Place the pot in a warm spot with bright indirect light for best growth.
- Choose a pot at least 10 inches (25 cm) deep with drainage holes.
- Fill it with a light, well-draining potting mix suited for tropical plants.
- Soak the corm in warm water for 24 hours before planting to encourage sprouting.
- Place the corm in the soil with the pointed side or bud facing up.
- Cover the corm with 1 to 2 cm of soil, not more than half its size.
- Water the soil until moist but avoid waterlogging to prevent rot.
- Set the pot in a warm, bright place away from direct sunlight.
- Check soil moisture regularly and water whenever the top feels dry.
A pot that’s too shallow may stunt root growth. It can also cause the corm to dry out. Avoid planting the corm too deep, which can slow sprouting or cause rot.
Keep the soil moist enough that it doesn’t crumble. But avoid puddles that invite fungal issues. This approach helps the corm sprout new leaves within a few weeks.
Best Conditions to Encourage Alocasia Corm Sprouting

Alocasia corms sprout best between 65 and 85 degrees Fahrenheit. Keep the temperature steady within this range to speed up growth.
Your room is cooler. Use a heat mat to keep soil near 75 degrees.
Humidity should stay between 60% and 80% for healthy sprouting. You can raise humidity by placing a humidity dome or clear plastic cover over the pot. Make sure to open the cover daily to prevent mold from developing.
Natural light is best but not needed at sprouting. Corms lack green leaves. Natural light is low.
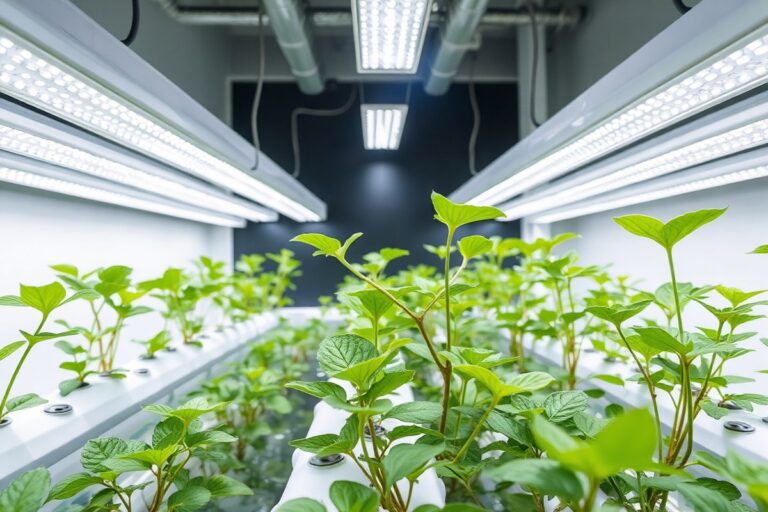
Use a 12-inch LED grow light 12 to 18 inches above. Leave the light on for about 12 hours a day to mimic daylight.
Using grow lights avoids overheating that can happen with regular bulbs. Positioning the light too close may dry the soil or burn delicate tissue.
Adjust the light height by its heat output. Watch for stress signs in shoots.
Check humidity regularly, especially under a dome, to avoid soggy soil. Excess moisture can cause rot before the corm starts to grow.
Misting the soil lightly is better than heavy watering. Good airflow helps keep mold away.
Vent your humidity dome daily to limit mold growth while keeping warmth for the corms.
How to Care for Newly Sprouted Alocasia Plants
To care for your newly sprouted Alocasia plants, keep their soil moist but not soggy. Provide bright, indirect light and maintain high humidity for the first two weeks.
Start light fertilizing after the first new leaves mature. Then, slowly lower humidity as the plant grows stronger.
Watering and Fertilizing Routine
Water your Alocasia when the top 1, 2 inches of soil feel dry. During active growth, this usually means watering every 5 to 7 days. Overwatering can cause root rot, so always let water drain freely.
Begin fertilizing once the first true leaves appear, about 3 to 4 weeks after sprouting. Use a balanced, water-soluble fertilizer diluted to half strength. Feed every 2 to 3 weeks to avoid burning tender roots.
- Check soil moisture daily by touching the top 1, 2 inches.
- Water lightly until water drains from the pot’s bottom.
- Wait 5 to 7 days between waterings, less in cooler temperatures.
- Start feeding with half-strength fertilizer when leaves are fully grown.
- Apply fertilizer every 2 to 3 weeks during active growth.
- Reduce watering frequency and fertilizer in fall or dormancy.
Adjusting Light Levels After Sprouting
New Alocasia plants need bright, indirect light to grow well. Keep them near an east-facing window to avoid harsh direct sunlight that might scorch leaves.
Notice slow growth or pale leaves? Your plant probably needs more light.
After sprouting, you can slowly increase light intensity over 1 to 2 weeks. Move the plant closer to the window by a few inches every few days.
Watch closely for any signs of sunburn. Avoid sudden changes that stress the plant and stunt growth.
Humidity Management During Early Growth
Alocasia loves humidity levels between 60 and 80 percent during its early stages. Boost humidity by misting the plant with filtered water.
You can also place a humidity tray under the pot. Avoid overwatering leaves while misting to prevent rot.
Maintain these high humidity levels for about two weeks after sprouting. Gradually reduce humidity over 2 to 3 weeks.
Do this by increasing air circulation and misting less often. This helps your plant acclimate to typical indoor conditions without shock.
How Long Does It Take for Alocasia Corms to Sprout?
Alocasia corms usually start to show roots and shoots within 2 to 4 weeks after planting. Roots often become visible around the two-week mark, growing about 1 to 2 inches long. Tiny green shoots will follow, typically appearing after another two weeks.
Leaves usually start to open after shoots appear. This happens about 4 to 6 weeks after planting. You should see new leaves around that time.
The total sprouting time depends on factors like corm size, temperature, and moisture levels. Cooler temperatures or dry soil can slow sprouting or cause it to stall.
Signs your corm is alive include firm texture, slight swelling, and healthy root or shoot growth. When the corm feels mushy, dry, or shriveled, it may be dead or rotting.
No progress after eight weeks means you should check the corm gently. Lack of roots or shoots while the corm is soft often means it’s not viable.
Patience is important since some Alocasia varieties sprout faster than others. Give corms up to 8 weeks under good warmth and moisture before troubleshooting.
Avoid soggy conditions to prevent rot; keep the medium moist with light misting. When sprouting doesn’t start, raise the temperature a bit or keep humidity steady.
Choosing the Right Medium to Plant Alocasia Corms
Choosing the right growing medium helps you avoid rot and support healthy sprouting. Soil with perlite, orchid bark, sphagnum moss, and biochar drains well. It holds moisture too, which alocasia corms need to grow.
This mix creates a good balance for root health. Loose sphagnum moss holds water well but can stay soggy if packed too tight. Perlite offers great airflow but doesn’t hold much moisture on its own.
Coco coir alone works well and costs less. You can mix it with perlite to keep moisture even. This gives alocasia roots what they need without extra expense.
Avoid large pots that trap too much water, since over-wet media cause corms to rot. Check moisture regularly and water only when the top inch feels dry.
| Medium | Main Advantage | Main Risk or Cost | Best Fit |
|---|---|---|---|
| Soil Mix (with perlite, bark, moss, biochar) | Retains moisture while draining well | Requires mixing and higher cost | Experienced gardeners or longer growth periods |
| Loose Sphagnum Moss | High water retention with good air space | Can stay wet, roots tangle if packed | Growers who remember to dry it out sometimes |
| Perlite | Excellent aeration, holds little water | Floats, can stay wet if overwatered | Gardeners who watch moisture levels closely |
| Coco Coir | Affordable, moderate water retention | May need mixing to improve drainage | Beginners or low-cost setups |
Soil mixed with organic materials best suits alocasias that need moisture but also airflow. Perlite keeps corms upright and lets you spot water problems fast.
But it dries out quickly. Loose sphagnum stays moist but risks rot if you forget to let it dry out.
For beginners, coco coir mixed with some perlite offers easy moisture control and affordability. Water lightly and wait until the top inch dries before watering again. That prevents soggy roots that never sprout.
Check moisture often no matter the medium to avoid rotting your corms. Overwatering is the main cause of failure in alocasia propagation.
Common Mistakes When Planting Alocasia Corms and How to Fix Them
Planting alocasia corms too deep or too shallow often causes problems. Plant corms no deeper than 2 inches to avoid rot before sprouting. Too shallow planting exposes roots, leading to dryness and weak growth.
Overwatering is the top mistake and can quickly turn corms soggy or moldy. Damaged corms with soft spots or mold should be removed from wet soil immediately. Cut off rotten parts with a clean knife.
Let the corm dry for a few days in a warm spot. This prevents more rot before you plant again.
Watch out for these signs to catch watering issues early:
- Yellowing leaves from too much water
- Wilting or dry brown tips from underwatering
- Soft, mushy corms that feel spongy
- White, fuzzy mold on the corm surface
- Slow or no sprouting after several weeks
- Unusual foul smell near the corm or soil
Mushy and black inside corms are usually too far gone to save. Healthy corms feel firm and solid with no bad odor.
Struggling plants might need brighter light or less water. Use soil that drains well to help them recover.
To adjust care, check lighting first. Move plants to bright, indirect light if leaves yellow or droop.
Cut back watering to once the top inch of soil feels dry. Improving airflow around pots can stop mold and rot problems.
How to Harvest and Prepare Alocasia Corms for Planting
Harvest alocasia corms after the growing season fades. Carefully dig them up, clean off soil, and separate the little bulbs. Prepare corms by removing outer skin if needed, cleaning, and soaking before planting or storage.
Timing Your Harvest
Harvest corms late in summer or early fall when the plant’s leaves start yellowing. This timing lets the corm store energy for future growth. For example, several pea-sized corms can appear by late August.
Digging too early can yield tiny, undeveloped corms. Wait for the mother plant’s leaves to fade and soil to dry slightly. This signals the corms are mature enough to separate safely.
Separating and Handling Corms
Gently dig around the base of the mother plant to expose corms without damaging them. Use clean scissors to snip the corms free from the roots if they stick together. Handling corms carefully avoids bruising or breaking them.
The outer hard shell can be peeled if you face trouble with sprouting. Some growers call this the “onion layer” trick, easing root growth. Keep the corm base and skin intact unless rooting problems show up.
- Lay down newspaper to keep your workspace clean and save cleanup time.
- Lift soil gently with your fingers to find corms around the roots.
- Use clean scissors to cut corms from the parent root ball if attached.
- Remove any damaged or soft corms to avoid disease risk.
- Optionally, peel the outer skin if propagation proves difficult.
- Inspect corms for firmness and no mold or rot before cleaning.
Cleaning and Soaking Procedures
Rinse corms under lukewarm water to remove dirt and loose skin. Avoid harsh scrubbing to keep the corm’s protective layers intact. Cleaning reduces the risk of fungal infections during storage or planting.
Soak corms in room temperature water for 12 to 24 hours before planting. This helps wake up the corm from dormancy and jumpstarts sprouting. Use fresh water and drain it fully after soaking.
- Don’t soak corms longer than 24 hours; it may cause rot.
- Avoid using disinfectants on fresh corms to prevent damage.
- Store soaked corms in a warm spot above 65°F for best results.
- Dry corms briefly if you plan to store them before planting.
When and How to Repot Alocasia Plants Growing from Corms
Repot your Alocasia when roots fill the pot or growth slows. Select a pot about 2 inches larger in diameter with drainage holes. Use a loose, well-draining soil mix and handle roots gently during transplant.
Signs You Need to Repot
Check if roots circle the pot’s edge or come out of drainage holes. Slow growth or top-heavy plants also mean it’s time to repot. Yellow leaves can appear if roots become stressed or crowded.
Growing Alocasias often develop clusters of corms and roots near the base. When you see tangled roots or corms filling the pot, choose a larger container. Repotting every 1, 2 years helps keep the plant healthy.
Choosing a New Pot and Soil
Pick a container at least 12 inches wide to give room for roots and corms. Make sure your pot has drainage holes to prevent soggy soil. A bit wider and not too deep is best for stability and root spread.
Use a potting mix that drains well but holds moisture. A mix with peat, perlite, and bark works well. This keeps the soil moist but not waterlogged, helping roots develop without rot.
Safe Transplanting Techniques
Move your Alocasia carefully to avoid root damage. Gently loosen soil around roots before lifting the plant out. Avoid breaking any thick roots or detaching newly formed corms.
After potting in fresh soil, water lightly and place the plant in indirect light. Keep humidity high to ease transplant stress. Let soil dry slightly between waterings as roots settle in.
Follow these steps to repot successfully:
- Water your plant a day before to ease soil removal.
- Loosen the pot edges gently to slide the root ball out.
- Inspect and prune any dead or mushy roots with clean scissors.
- Place fresh well-draining soil into the new pot’s base.
- Set the plant so the corm’s top is just below the surface.
- Fill in soil around roots without packing it too tight.
- Water lightly to settle the soil and remove air pockets.
- Keep the plant in a humid, shaded spot for a few days.
Don’t pack soil too firmly; roots need space to grow and breathe.
Step-by-Step Action Plan for Planting Alocasia Corms
Follow this plan to start your Alocasia corms and watch them grow healthy. Each step helps you check progress and adjust as needed.
- Before planting: Soak your Alocasia corms in warm water for 2 hours. Look for slight softness, which shows they absorbed water.
- Day 1: Plant each corm 2 inches deep in a well-draining potting mix. The pointed side should face up for best sprouting.
- Week 1: Water the soil lightly every 2 to 3 days. Keep the soil moist but avoid making it soggy. Check that the surface feels damp, not wet.
- Week 2: Place the pot in a warm spot with filtered light. Avoid direct sun that can scorch young shoots.
- After 3 weeks: Look for small shoots or leaf tips pushing through the soil. This means your corms sprouted successfully.
- Week 4: Start feeding with a diluted balanced fertilizer every 2 weeks. Watch for steady leaf growth to confirm feeding works.
- After 6 weeks: Check root development by gently lifting the pot’s edge without disturbing the plant. White roots suggest healthy growth.
- Ongoing: Adjust watering based on soil dryness and light exposure. Keep humidity high by misting or placing a tray nearby.
Frequently Asked Questions
Can I Plant Alocasia Corms in Water Instead of Soil?
No, Alocasia corms need well-draining soil for growth. Water alone won’t give roots the support or oxygen the corm needs to develop properly.
How Much Light Do Alocasia Corms Need to Sprout?
Alocasia corms need bright, indirect light to sprout well. Direct sunlight can dry them out or cause scorching before they sprout.
Can I Plant Alocasia Corms Directly Outdoors?
It’s best to plant Alocasia corms indoors or in pots at first. They need warm, controlled conditions before moving outside after frost risk passes.
Should I Fertilize Alocasia Corms When Planting?
You can add a balanced, diluted fertilizer once the sprout appears. Fertilizing too early can damage the sensitive corm or cause rot.
How Deep Should I Plant Alocasia Corms?
Plant corms about 3 inches deep, covering no more than half the corm. Too deep can suffocate, while too shallow can dry out the corm.
Do Alocasia Corms Need Humidity During Sprouting?
Higher humidity helps Alocasia corms sprout faster. Use a humidity dome or mist lightly, but avoid soggy soil that causes rot.
Before You Go
Planting Alocasia corms is easy if you give them warmth, moisture, and good soil. Watch patiently for shoots after a few weeks. Start with soaking corms today to give your plants the best start.