How to Start Composting Bin: Complete Steps and Tips for Beginners
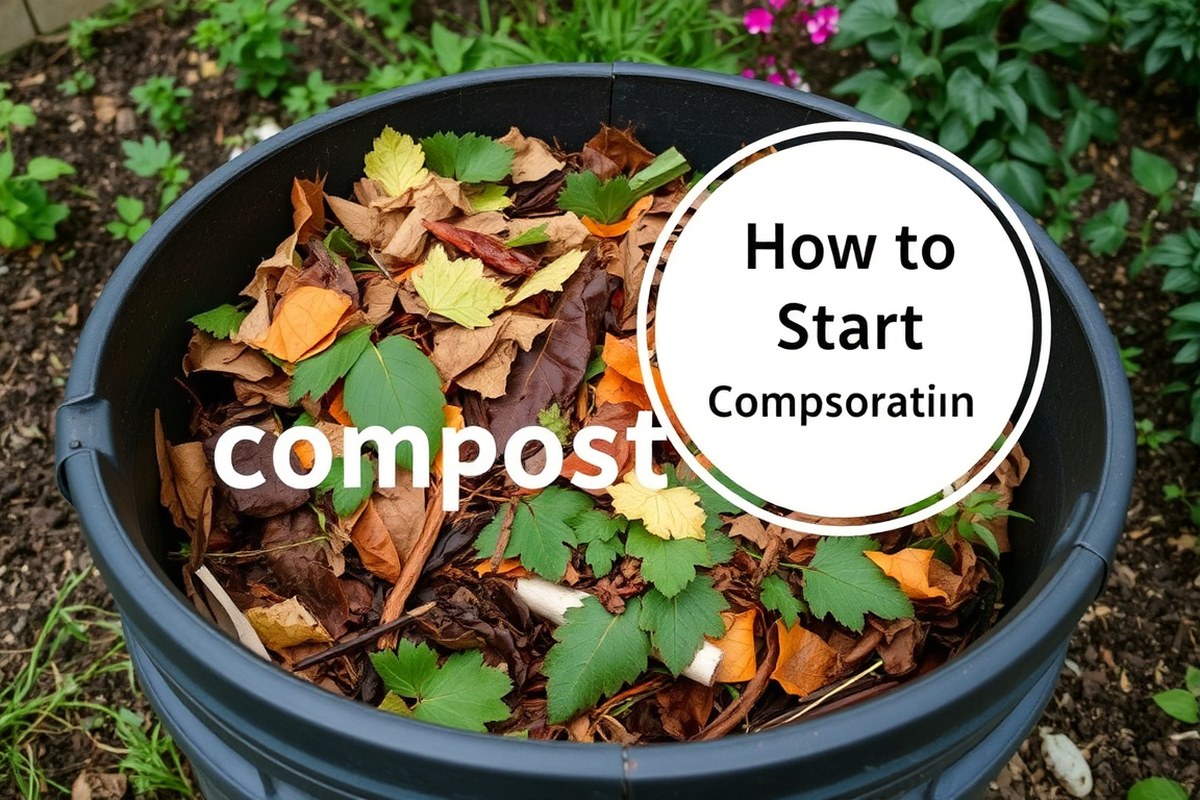
Wondering how to start composting bin at home? Begin by choosing a spot on bare soil where your bin will sit. Use a bin about 3 feet wide, tall, and deep.
This size keeps heat inside. Heat helps the compost break down faster.
Start your pile with a 2-inch layer of brown materials like dry leaves or cardboard. Then add green materials like fruit scraps and fresh grass. Keep the pile damp but not soaking wet to help microbes break down waste.
Turn your compost every week or two to add oxygen and speed the process. Don’t turn the compost much. It will take 6 months to a year.
Expect slower decay without regular turning. Your compost will finish sooner if it stays around 130 to 160 degrees Fahrenheit.
Key Takeaways
- Pick a spot on bare soil to help bugs and worms access the bin.
- A 3-foot cube bin holds enough material for proper heat buildup.
- Layer 2 inches of dry browns first, then add green scraps on top.
- Keep the pile moist, like a wrung-out sponge, to aid decomposition.
- Turn the pile every 1-2 weeks for faster composting.
- Hot composting temperatures range between 130°F and 160°F.
How to Start a Compost Bin: Step-by-Step Setup
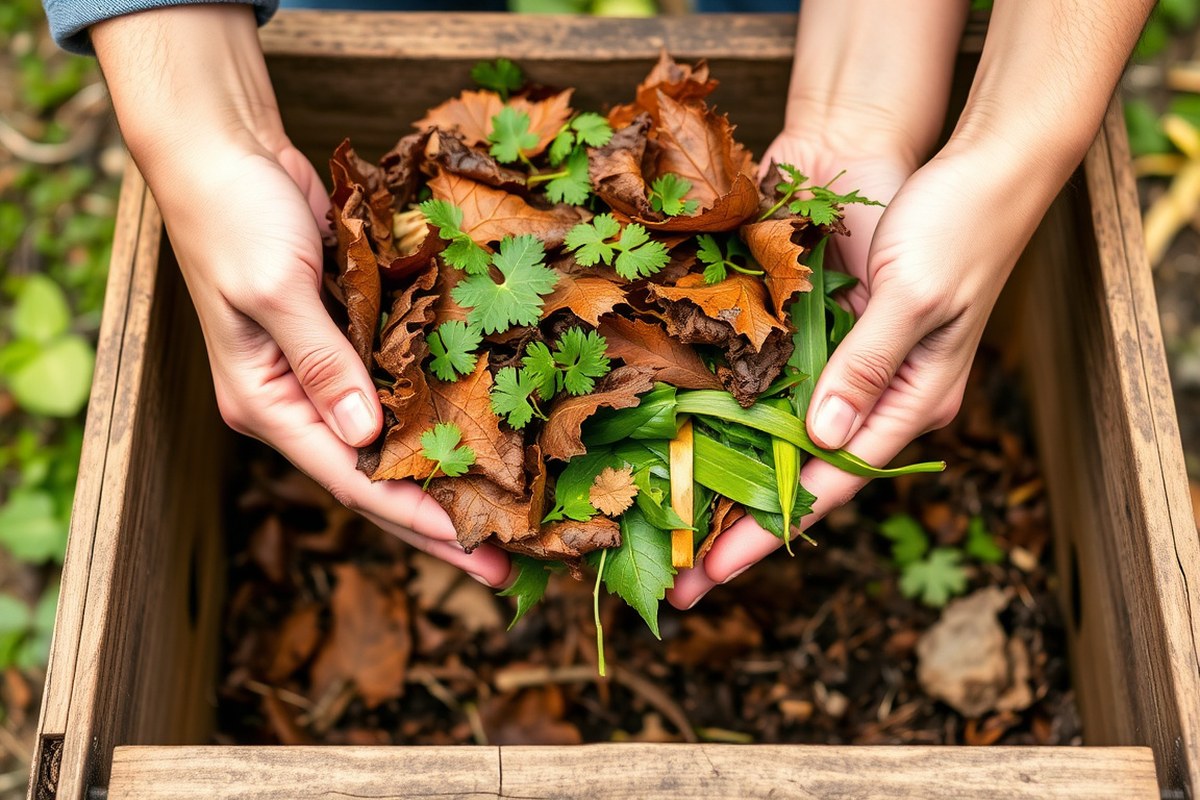
Starting a compost bin means making a pile with the right stuff. Use a good mix of materials. Keep the pile the right size.
You want a pile that will get hot enough for microbes to break down the scraps. Start your pile on bare ground or use a bin.
The bin should be at least 3 feet wide. It should also be 3 feet tall.
Gather dry, carbon-rich “browns” like leaves and shredded cardboard. Also collect fresh, nitrogen-rich “greens,” including food scraps and grass clippings.
You’ll need about 3 to 4 times more browns by volume than greens. Keep these materials nearby for layering.
- Choose a flat spot with good drainage, or place your compost bin there. Avoid concrete since you want soil contact.
- Create a base layer of 4 to 6 inches of coarse brown stuff. Use twigs or straw for this layer. This helps air circulate at the bottom.
- Add a 2-inch layer of greens on top of the browns. Use kitchen scraps or fresh grass clippings. Keep greens fresh and chopped small.
- Cover greens with 6 to 8 inches of browns such as dry leaves or shredded cardboard. The thick brown cover helps keep pests away.
- Repeat layering, greens then browns, until your pile reaches about 3 feet high and wide. Aim for a total pile volume near 1 cubic yard.
- Moisten the pile lightly like a wrung-out sponge. It should feel damp but not soggy. Water as needed during layering.
- Turn the pile every 1 to 2 weeks with a garden fork or compost tool. This adds air and helps the pile break down faster.
- Watch for problems, too much green causes ammonia smells. Fix it by adding dry browns and turning the pile.
Keeping materials small helps them break down faster. You can tear cardboard into strips and chop kitchen scraps.
Layering keeps the pile balanced for heat and airflow. A pile smaller than 3 feet may not heat well, slowing decomposition.
Composting takes patience. You’ll start with a clean base and alternate layers until the pile is big. Keeping it damp and turning it regularly helps microbes do their work.
Choosing the Best Compost Bin Type for Your Needs

Choosing the right compost bin depends on your space and budget. Also, think about how much work you want to do. Stationary bins are simple and low-cost but need more effort.
Compost tumblers speed up composting and make turning easy but cost more. You can also decide between making your own bin or buying one.
Stationary Bins: Pros and Cons
Stationary bins are basic containers that stay put in your garden or yard. They usually have vents to help air flow, which is key to composting.
These bins fit well in larger outdoor spaces and are often the cheapest option. You just add your scraps and turn the pile occasionally with a pitchfork or shovel.
One downside is that turning the compost takes effort and can be messy. The composting process also takes longer, often 6 months to a year. In cold climates, decomposition can slow further if the pile isn’t turned or kept warm.
Compost Tumblers and Their Benefits
Compost tumblers look like barrels on a stand that you spin to turn your compost. Spinning makes mixing easy, which speeds up the breakdown of materials.
They help keep pests out and reduce smells by being enclosed. You can expect faster results, about 2 to 6 months for finished compost.
Tumblers cost more and come in sizes from 3 to 15 cubic feet. They work best if you want less manual work and quicker compost. However, tumblers need regular spinning and cannot hold large volumes for big gardens.
DIY Bin Options vs. Store-Bought
You can build a compost bin from pallets, wire mesh, or plastic bins. DIY bins let you choose the size and materials.
They do need some skill to build. You’ll also spend time setting them up.
Store-bought bins come in many styles, from tumblers to enclosed plastic bins with ventilation. They usually cost between $50 and $200 depending on size and features.
DIY bins are good if you want to save money and have control over the design. Store-bought bins make composting easier with features like handles or easy access doors. Choose based on your patience and budget.
| Method | Location | Best For |
|---|---|---|
| Piling | Outdoor | Large yards with space |
| Open bins | Outdoor | Easy access and turning |
| Enclosed bins | Outdoor | Reducing sight and smell |
| Tumblers | Outdoor | Easy turning and fast results |
| Bokashi | Indoor or Outdoor | Fermenting meat and dairy scraps |
| Vermicomposting | Indoor | Apartments and small spaces |
Look at the space you have for the compost bin. Decide how much effort you want to spend. Think about turning the compost often.
Open or enclosed stationary bins work well if space is not tight. Tumblers suit smaller yards and busy gardeners who want faster results.
Consider the materials you plan to compost. For kitchen scraps with meat or dairy, a Bokashi system or vermicomposting indoors might work better. Outdoor bins or tumblers often can’t handle those items without attracting pests.
Put your compost bin in a spot that’s easy to reach. Make sure the ground drains well. This helps keep composting going without problems.
Balancing Greens and Browns for Healthy Compost
You want a balance of greens and browns for good compost. Greens give nitrogen; browns provide carbon. Try mixing two to three parts browns with one part greens by volume.
Identifying Common Greens and Browns
Greens are moist and rich in nitrogen. These include kitchen scraps like vegetable peels, coffee grounds, and fresh grass clippings. Avoid meat and oily foods in your greens.
Browns are dry, carbon-heavy materials. Examples are dry leaves, shredded cardboard, straw, and small wood chips. Chop or shred browns to speed up decay.
Keep a small container nearby to measure browns and greens. Use it until you can guess amounts just by looking.
It helps you keep the right balance. Balancing these right keeps your pile from smelling bad or drying out.
Understanding and Estimating the Carbon-To-Nitrogen Ratio
The right carbon-to-nitrogen ratio is about 25 to 30 parts carbon for each part nitrogen. This is measured by weight. Getting this ratio helps compost break down well.
This balance powers microbes that break down material and heats the pile. Too much nitrogen leads to bad odors, while too much carbon slows decomposition.
You won’t need a scale. Instead, use the two-to-three parts browns to one part greens rule by volume.
Watch the pile’s smell and moisture as cues to adjust the ratio. A healthy pile smells earthy, not sour or ammonia-like.
Check moisture by squeezing a handful. It should feel like a wrung-out sponge and release just a drop or two. Crunchy browns help keep airflow in the pile to support microbe activity.
Adjusting Ratios for Compost Problems
Bad smells or too much wetness mean you have too many greens or extra moisture. This stops your compost from working right. Make changes to fix this.
Add dry browns like shredded leaves or cardboard, then turn the pile well to introduce air. This helps fix bad odors and sogginess.
Too dry or slow compost means you need more greens or water to add moisture. This helps speed up the breaking down process.
Keep testing the squeeze rule and add small amounts slowly. Turning the pile regularly helps mix everything evenly.
For flies or exposed food scraps, cover greens completely with browns regularly. In summer, piles dry out fast.
So water layers and keep the bin in partial shade. These steps keep your compost healthy and working efficiently.
How to Maintain and Turn Your Compost for Faster Results
Turn your compost bin every one to two weeks to speed decomposition. This helps add oxygen, which the microbes need to break down materials fast. Use a garden fork or a compost aerator tool to mix the materials thoroughly.
Check moisture regularly. The pile should feel like a damp sponge, not dry or soggy.
When it hasn’t rained for several days, use a hose or watering can. Add water to keep the compost moist at the right level.
Turn your compost once a week for the best hot compost. This method can finish in two to four months. For less active piles, turning monthly still helps but slows down the process.
- Use a pitchfork or compost aerator for easy turning
- Turn compost every 7 to 14 days for faster results
- Water as needed to keep compost like a damp sponge
- Look for a temperature of 120 to 150 °F inside the pile
- Add water if the pile looks dry or shrinks in size
Turning mixes greens and browns, keeps temperatures up, and cuts odor risks. Without enough air, the pile can smell sour or attract pests because it’s going anaerobic. A quick flip of your materials fixes this early.
Tools like a compost thermometer let you monitor the inside temperature. When you see 120 to 150 °F, your pile is working right. Too low means slow microbes, too high means possible drying out or killing good bacteria.
Understanding Composting Times and Temperatures
Hot composting works fast when you keep a pile at 130 to 160°F. That heat breaks down materials quicker and kills pathogens and seeds. You want your pile about 3 feet wide and high for this to happen.
Cold composting takes longer but needs less care. Your pile stays below 120°F and breaks down waste slowly, often taking a year or more. It’s best if you’re patient and don’t mind checking the pile less often.
For hot compost, check temperatures with a compost thermometer. Stick it in the pile’s center every few days. When the compost reaches 130°F, start turning it regularly.
Do this every 3 to 4 days. It helps keep oxygen moving inside the pile.
Keep the mix moist like a wrung-out sponge. Dry or soggy piles slow progress and lower temperature. Turning the compost prevents it from overheating.
Temperatures over 160°F can kill helpful microbes. Keep the pile cool by mixing it often.
Closed compost bins trap heat and moisture. That makes the process go faster. They help your compost break down quicker.
This setup can get compost ready in 2 to 4 months. Open piles usually take 3 to 6 months with regular turning.
Check your pile’s temperature often to spot when it cools below 104°F. That’s your cue to turn it.
Hot compost hits the pathogen kill zone at about 131°F for three days. This keeps your compost healthy and safe for your garden. Aim to keep the temperature between 110 and 145°F for best results.
Cold compost won’t reach those temperatures but it still works by letting materials slowly rot. Let your pile sit untouched.
You may get usable compost in a year or longer. It suits homeowners who prefer a low-maintenance option.
You can speed up composting by managing the pile carefully. Use the right mix of greens and browns, keep it moist, and turn it regularly. A three-month timeline fits hot compost well, while cold composting takes more patience.
What Materials to Include and Avoid in Your Compost Bin
Including the right materials in your compost bin helps it break down quickly and smell fresh. Good kitchen scraps include fruit and vegetable peels, coffee grounds, and egg shells. Also add shredded paper, dry leaves, and grass clippings to balance moisture and speed decomposition.
Some items should never go in your compost. Meat, dairy, and oily foods cause bad smells and attract pests like rats. Avoid pet waste in your compost.
Diseased plants can spread germs. Keep them out to protect your garden.
- Vegetable and fruit scraps
- Coffee grounds and tea bags
- Egg shells, crushed
- Dry leaves and lawn clippings
- Shredded newspaper or cardboard
- Avoid meat, fish, dairy, and oily foods
- Skip pet waste, bones, and diseased plants
Composting meat or dairy in a normal bin isn’t safe. They take longer to break down and attract unwanted wildlife. For these, try bokashi composting indoors.
It uses a sealed bucket to ferment all food scraps. You can include meat and cheese. This method keeps smells and pests away.
Use a small kitchen scrap bin, about 10 to 20 gallons. Empty it into your outdoor bin every few days. This helps manage waste better.
This prevents fermentation or bad smells in your kitchen. Stick to this routine and avoid problem foods in compost.
It keeps your pile healthy. You’ll get rich soil faster.
Common Compost Problems and How to Fix Them
Bad smells usually signal too much moisture or lack of air in your compost. When your bin smells sour or rotten, turn it to add oxygen. Spread it out to dry a bit if it feels wet or soggy.
Don’t add lime to fix bad smells. It can upset your pile’s balance.
Pests often come from food scraps that attract bugs or rodents. Bury food scraps deep and cover well with dry leaves or paper. This helps avoid pests.
Use a bin with a lid or mesh sides to keep critters out. Keep your compost away from patios and windows to limit nuisance.
Check your compost’s temperature and ingredients if it’s not breaking down well. Most compost piles work best between 110 and 160 degrees Fahrenheit. This heat helps break down matter fast.
Cooler piles need more green materials, like fresh grass or kitchen scraps. Turn them regularly to speed up composting. Avoid adding large branches or unshredded materials that slow decomposition.
The table below outlines common compost issues, their causes, and how to fix them. Use it as a quick checklist for troubleshooting your bin.
| Problem | Cause | How to Fix It |
|---|---|---|
| Bad Smell | Too wet, poor airflow | Turn pile, add dry browns, avoid lime |
| Pests | Exposed food scraps, open bin | Bury scraps, cover with browns, use closed bin |
| Slow Breakdown | Low temperature, wrong mix | Add greens, turn often, shred materials |
A well-maintained pile feels warm and crumbly. Keep a balance of moist greens and dry browns. Turn to add air and bury food scraps to avoid problems.
Regular care takes a few minutes every week. But it makes a big difference in how well your compost works.
Seasonal Tips for Managing Your Compost Bin Year-Round
Composting slows down in cold weather because microorganisms get less active. In very cold climates, your bin might almost stop breaking down waste during winter.
You can still compost then. But expect it to take 6 months to a year or more without turning.
Summer heat speeds up composting by raising the bin’s temperature. The temperature reaches between 90 and 140 degrees F. This warmth helps break down materials faster. That helps microbes break down materials fast.
However, too much summer heat or rain can dry out or soak the compost. So you’ll need to watch moisture closely.
To keep your compost active all year, adjust how you manage air, moisture, and materials. Use a lid or tarp to keep rain out during wet seasons. It also helps trap heat inside in winter.
This keeps the compost bin working well. Add dry browns like shredded leaves in spring and fall.
This balances the wet greens, especially after rain. Proper balance helps the compost break down evenly.
- Cover your bin with a lid or tarp to keep moisture steady year-round.
- Add extra dry brown material during rainy seasons to prevent sogginess.
- Turn your compost more often in warm weather to keep air flowing.
- In winter, reduce turning and accept longer composting times.
- Keep your compost pile size at least 3 feet wide and tall to retain heat.
- Mix green and brown materials roughly in equal volumes for balance.
- Use a bin with adjustable height for easy access when adding or removing compost.
Winter bins benefit from extra insulation, like placing the bin on straw or wood pallets. Summer bins might need more frequent watering, but avoid adding too much water. Watch for smell changes; that signals if you need more air or dry material.
Check your compost’s moisture by squeezing a handful. It should feel like a wrung-out sponge, no dripping water.
Keeping pests out also matters across seasons. Secure lids or covers help stop critters while maintaining necessary air. This simple step supports steady decomposition and keeps your yard cleaner all year long.
Using Finished Compost: When and How to Apply It
Compost is ready when it looks dark and crumbly, smelling earthy without sharp odors. Store it in a dry place.
Apply it by mixing into soil or topping around plants. Use compost within a few months for best results and plant health.
Testing for Finished Compost
Look for dark, crumbly texture similar to rich garden soil. It should smell earthy and not sour or ammonia-like.
You still see food scraps, twigs, or large pieces. So the compost needs more time.
Try the thumbs test: pinch a handful and squeeze it lightly. It should clump but crumble easily and remain loose. Wet or slimy compost means it hasn’t finished breaking down yet.
Storing and Curing Compost
Store finished compost in a dry, shaded place to keep it stable before use. Cover it with a tarp or lid to keep excess moisture or pests out. Keep compost aired out to prevent it from getting soggy or smelling bad.
Allow compost to cure by letting it sit for a few weeks after it looks ready. This helps any remaining microbes settle down and stops the compost from harming plants. You can then use it safely on most garden types.
Applying Compost to Your Garden
Spread a layer of compost around your plants. Gently mix it into the top 1 to 2 inches of soil. This helps nutrients reach plant roots.
This nourishes roots, improves soil structure, and boosts water retention. Avoid piling compost directly against stems or trunks to prevent rot.
Steep a mesh bag filled with finished compost in water for 1 to 3 days. Use the liquid to water plants or spray their leaves as a mild fertilizer. Avoid using too much, especially on tomatoes or peppers which don’t like alkaline soils.
Here’s how to apply compost effectively:
- Check that compost is dark, crumbly, and odor-free.
- Store compost in a dry, shaded area under cover.
- Let compost cure for a few weeks to stabilize.
- Spread a 1- to 2-inch layer of compost around plant bases.
- Gently mix compost into the top 1 to 2 inches of soil.
- For containers, mix compost with potting soil before planting.
- Use compost tea by soaking compost in water for 1 to 3 days.
- Apply compost tea carefully to avoid overfeeding alkaline-soil plants.
Step-by-Step Action Plan to Start Composting Today
Follow this simple plan to get your compost bin going and keep it healthy. Watch for these signs to know you’re on track.
- Day 1: Place your compost bin in a shady spot with good drainage. The area should stay moist but not soggy.
- Day 2: Add a layer of browns like dry leaves or shredded paper. This helps air flow and balances moisture.
- Day 3: Add a layer of greens such as vegetable scraps or grass clippings. You want about twice as many browns as greens.
- Week 1: Turn the compost gently with a garden fork. It should feel warm and smell earthy, not rotten.
- Week 2: Keep adding small amounts of greens and browns each time you turn it. Keep it damp like a wrung-out sponge.
- After 3 Weeks: Check for dark, crumbly soil at the bottom. That means your compost is breaking down well.
- Month 1: Start using finished compost in your garden or potted plants. Leave clumps to decompose more before use.
Frequently Asked Questions
How Do I Prevent Unpleasant Odors in My Compost Bin?
Keep a good balance of greens and browns and turn your pile regularly. Too much green or moisture can cause bad smells.
Can I Compost in a Small or Indoor Space?
Yes, vermicomposting with red wiggler worms works well indoors or in small bins. Avoid large outdoor piles if space is limited.
How Do I Attract Helpful Bugs and Microbes to My Compost Bin?
Add diverse materials like kitchen scraps and garden waste. This feeds microbes and insects that speed decomposition.
Is It Okay to Compost Pet Waste or Meat Scraps?
No, avoid composting pet waste and meat as they attract pests and can carry pathogens. Stick to plant-based materials.
What Is the Best Location for Setting Up a Compost Bin?
Choose a partly shaded spot that drains well. Avoid places that stay soggy or completely dry out.
Can I Add Cooked Food Scraps to My Compost Bin?
Limit cooked food scraps; they can attract pests and cause odors. Use mainly raw vegetable and fruit scraps.
Wrapping Up
Starting a compost bin is easy and rewarding with the right steps. Get your bin set up and stay consistent with adding materials. The next step is to watch your compost come alive and help your garden grow strong.