How to Start Tomato Seeds Inside: Complete Guide for Strong Healthy Seedlings
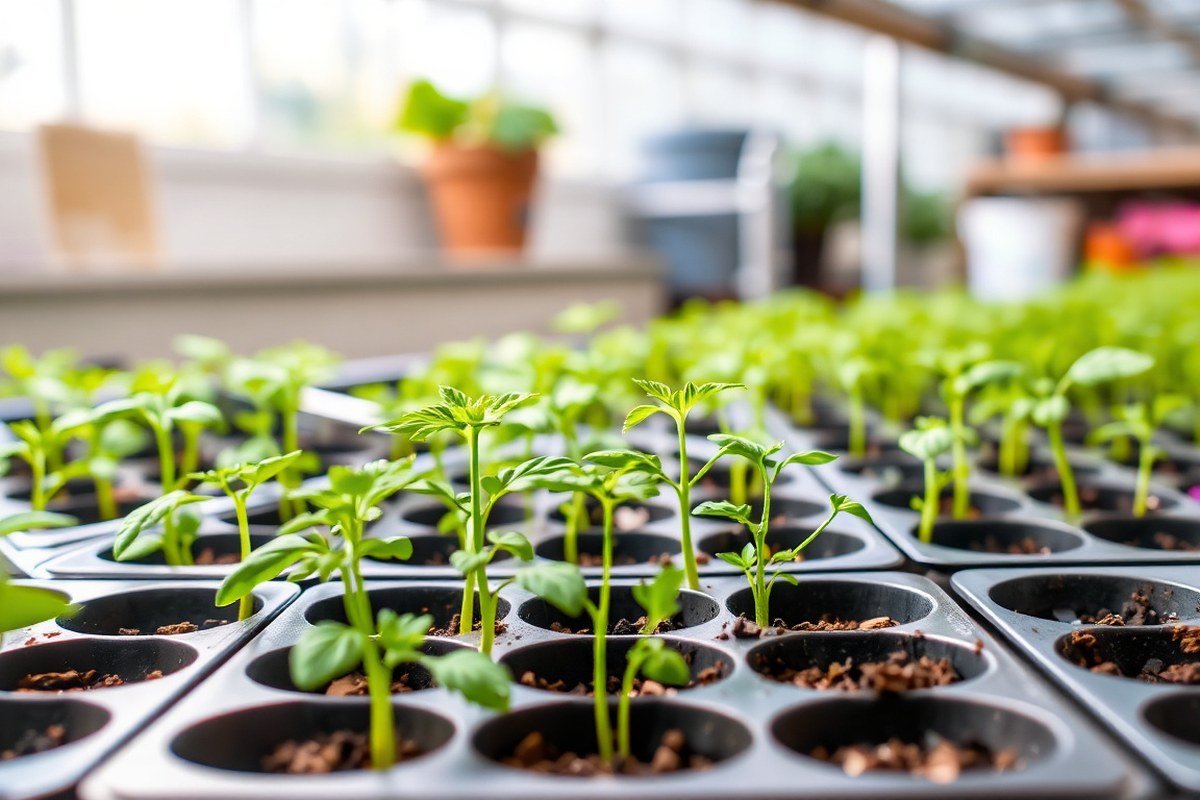
Growing tomato seedlings indoors needs starting seeds early to build strong plants. Begin planting seeds about 6 to 8 weeks before your area’s last frost date. This period ensures seedlings develop well before they go outside.
Use a seed-starting mix that drains well and holds enough moisture. Gently press seeds into the soil surface and cover with a thin layer of mix. Keep the soil consistently moist but avoid waterlogging, which can cause rot.
Next, create warm and humid conditions to encourage fast germination. Tomato seeds need soil between 70 and 80 degrees Fahrenheit for best sprouting. Keep lights close and running 12 to 14 hours daily to avoid tall, weak seedlings.
Watch for soil moisture, not too wet or dry. Use shallow containers with good drainage to plant seeds. These steps set the foundation for healthy tomato plants that thrive outside.
Key Takeaways
- Sow tomato seeds inside roughly 6 to 8 weeks ahead of your last frost date.
- Keep soil temperature between 70 and 80 degrees Fahrenheit for germination.
- Use grow lights 2 to 3 inches above seedlings for 12 to 14 hours daily.
- Plant seeds in containers with good drainage to prevent soggy soil.
- Maintain warm and humid conditions for faster seed sprouting.
- Avoid overwatering; keep soil moist but not soaked.
When to Start Tomato Seeds Indoors for Best Results
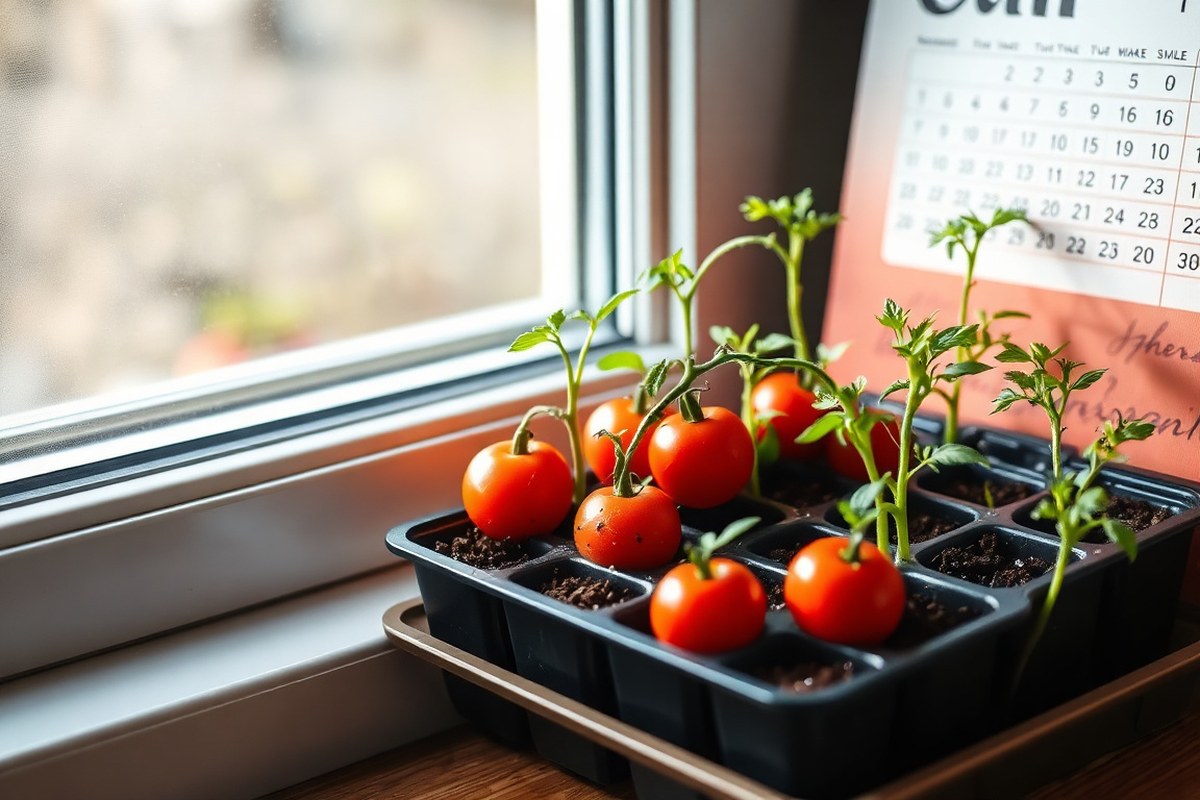
Start tomato seeds indoors 6 to 8 weeks before your last frost. This helps seedlings grow just as outdoor weather warms up. For example, with an April 20 frost, plant seeds mid-February to early March.
Beginning seeds too early lets plants grow too tall indoors. They get leggy and weak without enough light. Starting closer to 6 weeks before frost gives seedlings a healthy size with less stretching.
The last frost date tells you when the outdoor danger of freezing ends. Tomato plants won’t survive frost. So seedlings must be ready to move outside only after that.
Look up your local frost dates at extension offices. Master Gardener programs can also provide exact frost date ranges.
Seeds can be started earlier if you use grow lights or a sunroom. This gives you a jump on the growing season.
But you’ll need to manage longer indoor care, like thinning and extra lighting. Starting later means risking slow growth and delayed harvest if outdoor temperatures stay low too long.
To keep tomatoes producing continuously, sow new seeds every six to eight weeks. This staggered planting means you always have young plants ready to transplant, extending your harvest season. Start a first batch in mid-February.
Plant a second batch in late March. A third batch can go in early May.
Different hardiness zones shift planting times. In cold zones 3 or 4, start seeds indoors early to mid-March. Move seedlings outdoors around mid-May.
In warmer zone 8, start seeds as early as mid-January. Transplant them outside by April. Knowing your zone helps you pick the right schedule.
Starting your seeds within the right window means stronger plants and less stress at transplant time. Healthy seedlings are stocky with dark green leaves and sturdy stems. Waiting too long to start seeds can mean smaller plants and a shorter growing season outside.
Essential Supplies for Starting Tomato Seeds Inside

You need a few key supplies to start tomato seeds inside successfully. First, use a light, sterile seed starting mix made of equal parts peat moss and perlite. Avoid garden soil; it’s too dense and may hold too much water.
Containers with good drainage help prevent root rot and keep seedlings healthy. Seed trays, cell packs, or small pots work best.
They give roots room to grow. This prevents plants from becoming root-bound.
- Tomato seeds
- Seed starting mix (peat moss and perlite blend)
- Containers with drainage holes (seed trays or small pots)
- Clear dome lid or plastic bag to keep humidity
- Labels to mark tomato varieties
- Grow lights (cool-white fluorescent or LED bulbs)
- Heat mat with thermometer (optional but speeds germination)
A heat mat warms the soil to about 75°F, which speeds up germination. Your house being warm is not required.
It is very helpful for starting seeds. Most home gardeners find they get steady results with one.
Good seedlings grow quickly when they get consistent warmth and light. Use a shop light or LED grow light at least 14 hours daily. Windows often don’t provide enough light.
Keep the light close to your seedlings. This makes stems strong and stocky, not leggy and weak.
Make sure containers have drainage holes to avoid soggy soil and root problems.
Starting tomato seeds inside doesn’t need fancy gear. Basic supplies under $30 often cover what you need for one season. These simple steps help you grow healthy tomato plants ready for your garden.
Preparing Containers and Planting Tomato Seeds Correctly
Start your tomato seeds indoors using clean containers with proper drainage. Plant seeds about ¼ inch deep in moist seed-starting mix.
Sow two to three seeds per cell or small pot. Thin later to the strongest seedling.
Choosing the Right Containers
Select containers with drainage holes to avoid water buildup and root rot. Seed trays with 3-inch cells work well for germination and early growth. You can use small pots or clean yogurt cups for seedlings.
Make sure they have drainage holes. Repurpose items like these to save money.
Choose containers sturdy enough to hold moist soil without tipping or cracking. Avoid using garden soil or heavy potting soil in these containers.
Using Seed-Starting Mix Effectively
Use a seed-starting mix that drains well and keeps moisture balanced. This mix helps delicate roots develop without drowning or drying out. Moisten the mix thoroughly before filling your containers, but avoid waterlogging.
Fill containers to about half an inch below the rim to leave space for watering. Gently tap the filled container to settle the mix. But do not pack it tight.
Step-by-Step Planting Instructions
Follow these steps to prepare containers and plant seeds correctly:
- Moisten the seed-starting mix evenly but avoid soaking it.
- Fill containers until about ½ inch from the top.
- Make a shallow hole ¼ inch (6 mm) deep using your finger or a pencil.
- Place two to three tomato seeds in each hole.
- Cover the seeds gently with the seed-starting mix.
- Press lightly to ensure soil contact but keep it loose.
- Label each container with the tomato variety and planting date.
- Water gently with a spray bottle or fine mist to avoid displacement.
Planting seeds ¼ inch deep lets them sprout well without drying out. Planting too shallow can cause poor root development. Planting too deep wastes seed energy and slows or halts germination.
Labeling Your Seedlings Clearly
Use waterproof plant markers or tape on containers to avoid losing labels in watering. Write the tomato variety name and date you planted the seeds. This keeps you organized and helps track progress through the growing stages.
Place labels where you can clearly see them without disturbing the seedlings. Avoid using paper that will quickly fade or dissolve when wet.
Ideal Temperature, Lighting, and Watering for Germination
Tomato seeds germinate best with soil temperatures between 70 and 80 degrees Fahrenheit. Keep your soil warm using a heat mat until you see sprouts. After germination, lower the temperature to about 65 degrees to keep seedlings healthy.
You don’t need light for tomato seeds to sprout. But seedlings require 12 to 16 hours of bright, full-spectrum light daily. Regular sunny windows usually don’t give enough light.
Placing grow lights 2 to 4 inches above seedlings works well. You can raise them as the plants grow.
Water tomato seeds by spritzing the soil lightly to keep it moist but not soaked. Overwatering can cause seeds to rot or seedlings to become weak. After seedlings appear, water when the top of the soil feels barely dry to the touch.
A humidity dome helps keep moisture in the air and soil, which encourages germination. Use it only until sprouts show, then remove it and turn off the heat mat. Removing the dome prevents mold and helps seedlings adjust to normal room humidity.
You can adjust your setup depending on your space and goals. For example, hydroponic systems speed up growth and reduce pests but cost more.
Grow tents offer full control of light and temperature, useful in winter or small apartments. LED strip lights are good to add below plants for fuller growth.
Too much water or too little light can cause spindly seedlings. When plants stretch toward the light, raise your lamp or add more light hours. When the soil stays soggy, reduce watering to protect the roots.
Timeline and Care: From Seedling Growth to Fertilizing
Tomato seeds usually take 2 to 10 days to sprout under warm conditions. Begin fertilizing when seedlings have 2 or 3 true leaf sets. This usually happens 2 to 3 weeks after sprouting.
Use gentle, balanced fertilizer at this stage. Pot up seedlings at this stage. Keep caring for them until they’re ready to move outside in 6 to 8 weeks.
Germination Timeline and First Leaves
Tomato seeds germinate best when temperatures stay between 70 and 80°F. Under these conditions, expect sprouts within 2 to 10 days. Your seedlings will first show tiny seed leaves called cotyledons before real leaves appear.
True leaves look like small versions of adult tomato leaves. You’ll usually see the first set of true leaves about 7 to 14 days after sprouting. Seedlings with 2 or 3 true leaf sets are ready for new care steps.
This is when you can start more attention to their growth. Check leaf sets to know the right time.
When and How to Fertilize Seedlings
Start feeding seedlings when they have 2 to 3 true leaf sets. This happens around 2 to 3 weeks after sprouting. Use a mild fertilizer to avoid damage.
Use a half-strength liquid fertilizer every 7 days. This gives seedlings extra nutrients without burning their delicate roots.
A balanced fertilizer with equal parts nitrogen, phosphorus, and potassium (like 10-10-10) works well. Avoid over-fertilizing; too much can cause weak, leggy stems or leaf burn.
Potting Up Seedlings into Larger Containers
When seedlings show two sets of true leaves, pot them up into bigger containers. Use 16-ounce plastic cups with holes for drainage or similar containers. This step provides more room for roots to grow strong.
Handle seedlings carefully to avoid damaging roots or stems. Gently loosen the soil around the roots before transplanting. Water the seedlings well after potting up to reduce transplant shock.
- Choose larger containers with drainage holes.
- Fill containers with fresh potting mix.
- Water seedlings lightly before transplanting.
- Gently remove seedlings from original trays.
- Loosen soil around the roots carefully.
- Plant seedlings deeper in the new container.
- Press soil gently to secure seedlings.
- Water immediately after transplanting.
Never skip drainage holes when potting up seedlings; soggy soil invites root rot.
Maintaining Seedling Health
Keep seedlings in bright light for 12 to 16 hours daily to prevent leggy growth. Use a grow light or place seedlings near a sunny window. Rotate pots regularly so seedlings grow straight.
Water when the soil feels dry an inch below the surface. Avoid overwatering; soggy soil harms roots. Watch for pests and diseases, and remove damaged leaves quickly to keep plants strong.
Avoiding Common Problems When Starting Tomato Seeds Indoors
Leggy tomato seedlings happen when plants grow too tall and thin. This is usually a sign they lack enough light. Move seedlings closer to a bright window to help them grow.
Use a grow light 2 to 4 inches above the plants. Keep the light on for 12 to 16 hours each day.
Damping off is a fungal problem that kills young seedlings quickly. It often appears as a slimy stem at soil level and makes seedlings collapse.
To prevent it, water only when the top soil feels dry and avoid overwatering. Using sterile seed-starting mix and containers also helps reduce risk.
Seedlings stretching too much means they’re trying to find more light. You can gently bury the lower stem deeper in soil when transplanting. This encourages roots to grow along the buried stem, giving the plant better support.
- Water seedlings from the bottom to keep soil surface dry.
- Keep room temperature steady around 65 to 75°F to slow fungus growth.
- Space seedlings at least 2 inches apart to allow airflow.
- Use a small fan on low for a few hours daily to improve air circulation.
- Remove any mold on soil surface with a spoon or replace the top layer.
Mold grows when the air is too humid or soil is always wet. Good airflow stops mold spores from settling and growing.
Watch your seedlings daily and act quickly if you see mold. Removing affected soil or isolating the plant helps keep others safe.
How to Harden Off and Transplant Tomato Seedlings Outdoors
Hardening off tomato seedlings means gradually exposing them to outdoor conditions. This step helps plants get used to wind and sunlight. Transplant seedlings after frost danger passes and soil warms to at least 60°F.
Understanding Hardening Off
Seedlings raised inside depend on steady warmth and still air. Moving them directly outside can stress them and stunt their growth. Gradual exposure to sun, wind, and cooler air makes seedlings stronger.
This process strengthens leaves and stems. It prepares plants for a healthier start once planted in your garden. Without hardening off, delicate seedlings may wilt or fail to thrive outside.
Step-by-Step Hardening Off Process
Start hardening off about two weeks before transplanting outdoors. Move seedlings to a sheltered outdoor spot first, avoiding direct sun and strong wind. Gradually increase their outdoor time and sun exposure each day.
- Place seedlings outside in a shaded, protected spot for 2 to 3 hours on day one.
- Bring plants indoors or to a warmer spot overnight to avoid cold stress.
- Increase outdoor time by one to two hours daily, allowing morning sun exposure first.
- After about 5 days, let seedlings get 4 to 6 hours of sunlight, avoiding midday sun.
- Gradually reduce shade, giving full sun exposure for longer periods over 10 to 14 days.
- Avoid windy or rainy days when seedlings are outside to prevent damage.
- Keep soil moist but not soggy during the hardening off stage.
Watching your seedlings closely helps catch any wilting or leaf burn early. Should this occur, cut back time outdoors or increase leaf shading.
Ideal Outdoor Conditions for Transplanting
Wait until the average last frost date passes for your area before planting outside. The soil needs to be warm enough, around 60°F or higher, to encourage root growth. Cooler soil can stunt seedling growth and increase disease risk.
The best air temperature for transplanting is between 70°F and 80°F during the day. Transplant seedlings on calm, sunny days if possible. A heat mat indoors helps maintain warm soil during germination but isn’t used outside.
Transplanting to Garden or Containers
Choose a clear, warm day to transplant hardened seedlings into your garden or containers. Before planting, water seedlings thoroughly to reduce transplant shock.
Dig a hole deep enough to bury most of the stem. Tomato plants can grow roots from buried stems.
Space plants 18 to 24 inches apart in the garden to give them room to grow. After planting, water well and add mulch to keep soil moist and temperature steady. Avoid transplanting on windy or very hot days to protect young plants.
Choosing Tomato Varieties and Seed Storage Tips
Some tomato varieties are easier to start indoors than others. Choose compact types like cherry, patio, or determinate tomatoes. These grow well in small containers and handle indoor conditions better.
Heirloom seeds are popular for flavor but sometimes take longer to germinate. Organic seeds are chemical-free and safer for your garden. They usually cost more, about $4 to $7 per packet.
This price is higher but worth it for pure seeds. For beginners, hybrid seeds often germinate faster and resist common diseases.
Tomato seeds usually stay viable for 4 to 6 years when stored properly. Keep leftover seeds dry and cool in an airtight container. A glass jar with a tight lid works well for this.
Store seeds in a fridge or a cool basement, aiming for 40°F to 50°F. Avoid moisture and heat, which shorten seed life. Label each container with the seed type and the date you saved them.
Check seed viability before starting new plants by soaking a few seeds overnight. Those that swell or crack open are good to plant.
| Seed Type | Best Use | Cost per Packet | Viability (Years) | Germination Speed |
|---|---|---|---|---|
| Heirloom | Flavor, variety | $3, $6 | 4, 6 | Slow to moderate |
| Hybrid | Disease resistance, fast growth | $4, $7 | 4, 6 | Fast |
| Organic | Safe, chemical-free | $4, $7 | 4, 6 | Moderate |
Pick your tomato seeds based on what fits your space and taste. Patio types suit small indoor setups, while cherry tomatoes bring sweet snacks. A balanced choice is a hybrid variety, usually strong and reliable.
Save unused seeds carefully to use next year. Dry them well before storage; even a little moisture can cause mold. Seeds left out in warmth or sunlight often lose their power to sprout.
Always test a few seeds for germination before planting large batches to save time and effort.
Step-by-Step Action Plan
Follow these steps to start tomato seeds indoors and grow healthy seedlings. Each step tells you what to do and how to check your progress.
- Before you start: Gather seed trays, seed-starting mix, grow lights, and seeds. Make sure your seeds are fresh and your supplies clean.
- Day 1: Fill containers with seed-starting mix and moisten the soil. Plant seeds ¼ inch deep and cover lightly.
- Days 2, 7: Keep soil moist with gentle watering and maintain 70, 75°F. Watch for tiny sprouts breaking through the surface.
- Week 2: Move seedlings under grow lights for 12, 16 hours daily. Adjust lights to keep them 2 inches above plants to avoid stretching.
- Week 3: Thin seedlings to one strong plant per container if needed. Check leaves for healthy green color and sturdy stems.
- Week 4: Start feeding plants with a weak fertilizer solution every week. Plants should grow bigger and fuller.
- Week 5: Begin hardening off by placing seedlings outside a few hours daily in mild weather. Gradually increase time outdoors over a week.
- After hardening off: Transplant seedlings outdoors into garden soil or larger pots. Check that they look strong and handle transplanting well.
Frequently Asked Questions
How Deep Should I Plant Tomato Seeds Indoors?
Plant tomato seeds about 1/4 inch deep in seed-starting mix. Too deep and seeds may not get enough light to sprout. Keep the soil moist but not soggy for best results.
Can I Reuse Seed-Starting Soil for Tomato Seeds?
Reusing seed-starting soil is not recommended due to disease risks. Fresh, sterile seed-starting mix ensures better germination and prevents mold. Use new soil every season for healthier tomato seedlings.
Do Tomato Seeds Require Light to Germinate Indoors?
Tomato seeds do not need light to sprout but need it right after. Keep soil warm and moist during germination, then provide bright light within days of sprouting. This encourages strong, healthy growth.
Is It Better to Start Tomato Seeds in Trays or Pots?
Both trays and pots work, but trays save space and are easier to manage. Use seed-starting trays with drainage holes for good air flow. Transplant seedlings to bigger pots once they grow their first true leaves.
Can I Start Tomato Seeds in Regular Garden Soil Indoors?
Regular garden soil is too dense and may contain pathogens, so don’t use it. Seed-starting mix is lighter and sterile, helping seeds grow faster and healthier. It also drains better to prevent root rot.
How Many Tomato Seeds Should I Plant per Container?
Plant 2-3 tomato seeds per container to ensure at least one healthy seedling. After seeds sprout, thin to the strongest seedling by snipping the others at soil level. This prevents overcrowding and poor growth.
Final Thoughts
Starting tomato seeds indoors gives you a head start on a juicy harvest. Take your seedlings outside to harden off before planting. Enjoy fresh tomatoes from your own garden this season.