What Is Peat Moss Used for: A Complete Guide to Benefits and Alternatives
What is peat moss used for? It’s mainly a soil conditioner that holds water well.
You add it to your garden soil to keep moisture steady and improve soil texture. It helps sandy soil hold water and clay soil drain better.
Peat moss is very acidic. So it suits plants like blueberries and azaleas that prefer low pH. You usually mix it into the top 6 to 8 inches of garden soil.
This layer helps roots grow better. That is why mixing it there works best. Adding about 30% peat moss to your mix can really boost plant growth.
Peat moss comes in different grades, from light and fibrous to dark and heavy. Be careful to choose the right type for your needs.
For seed starting, lighter grades are better. For garden beds, heavier types mixed into soil work well.
Key Takeaways
- Mix peat moss into the top 6 to 8 inches of your garden soil.
- Add 30% peat moss when preparing soil for raised beds or containers.
- Use lighter, fibrous peat moss types for starting seeds indoors.
- Choose peat moss grades carefully to avoid overly heavy soil mixes.
- Peat moss holds up to 20 times its weight in water for steady moisture.
- It lowers soil pH, making it ideal for acid-loving plants like blueberries.
What Is Peat Moss Used for in Gardening and Plant Care?
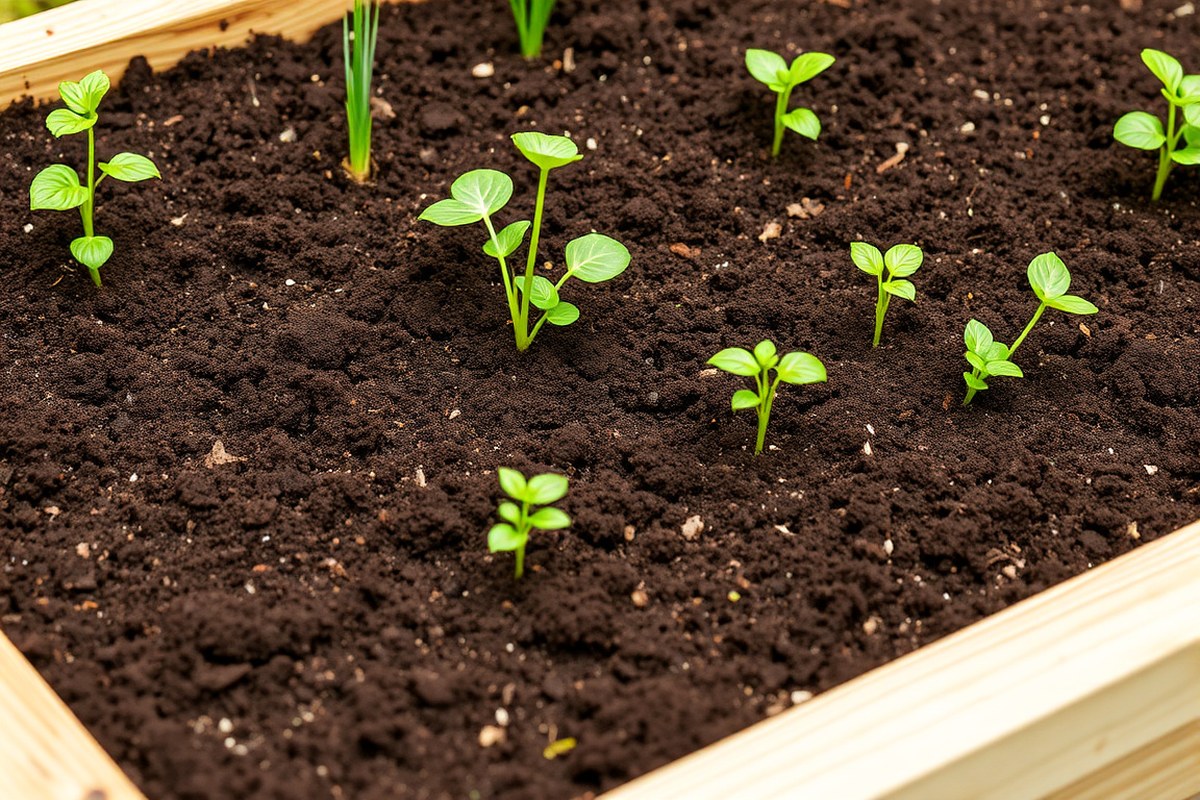
Peat moss is mainly used as a soil amendment in gardening. You mix about 30% peat moss with 70% garden soil. This blend helps keep moisture and improves soil structure.
It gives your plants a better growing environment. Peat moss works well in the top 6 to 8 inches of soil.
It’s especially helpful in sandy soil that loses water quickly. This keeps nutrients and moisture from washing away.
Peat moss holds water up to 20 times its own weight, helping roots stay moist but not soaked. Its low pH suits acid-loving plants like blueberries and azaleas. Using only peat moss can compact roots, so always blend it with other materials.
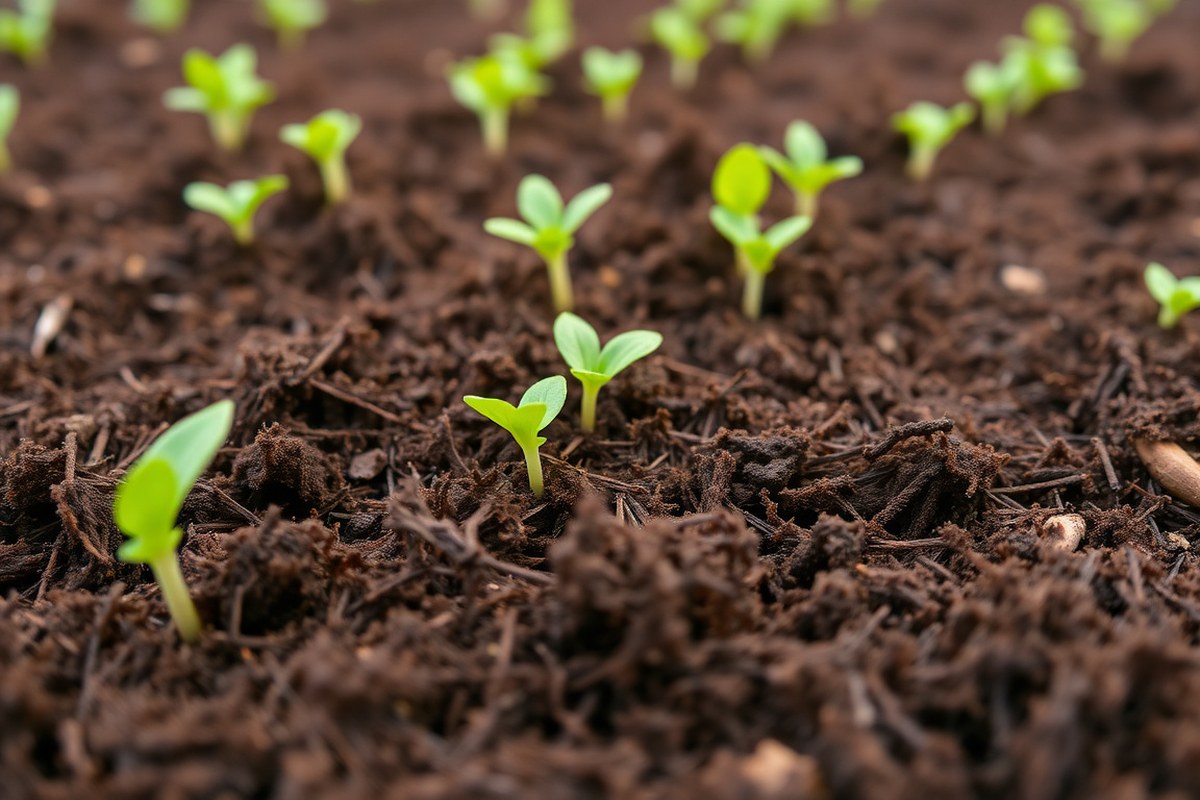
Peat moss is great for seed starting because it’s sterile and holds moisture well. Moisten peat moss until it feels damp, but not too wet. This creates a soft bed where seed roots can grow easily.
It helps tiny roots sprout strong and healthy. Use peat moss inside in pots and containers.
It also works well outside in garden beds or raised beds. You get good growth in either place.
Gardeners often add peat moss to potting or soilless mixes. They combine it with pine bark or perlite to keep soil both moist and airy. This mix supports healthy root growth.
It’s pricier than some other amendments. So using it mainly where it performs best is smart. Big outdoor projects often use mixes with less peat moss.
This cuts costs and supports sustainability goals while still improving soil. Such blends suit large-scale gardening jobs.
Adding peat moss changes your soil’s acidity, so watch what plants you grow. Acid-loving plants get a boost, but others might need extra lime to balance pH. Keeping peat moss moist is key.
Dry peat moss won’t help seeds or plants start strong. Overly wet mixes can cause root rot.
How Peat Moss Improves Soil Moisture and Structure
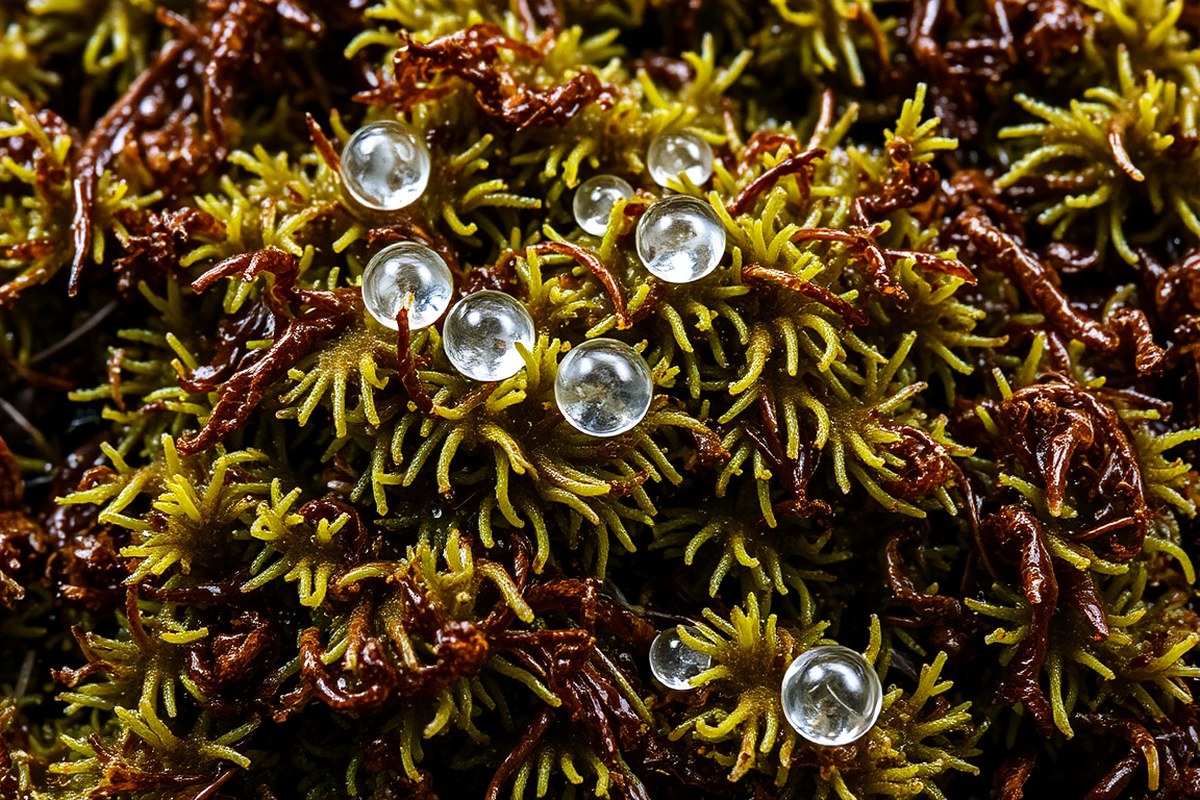
Peat moss holds water extremely well, soaking up to 20 times its dry weight. This makes it a powerful tool to keep soil moist for longer.
You should soak peat moss in warm water before mixing. So it’s fully hydrated and ready to help the soil retain moisture.
Because peat moss has a light, fibrous texture, it prevents soil from packing down. That means it keeps heavy soils from compacting and improves air pockets around roots. Adding about 30% peat moss to your soil mix reduces compaction.
It also boosts air flow in heavy clay garden beds. This helps the soil stay loose and easy for roots.
The airy nature of peat moss matters for root health. It allows roots to breathe by improving airflow in the soil. Peat moss holds moisture well without drowning the roots.
This reduces stress from overwatering. It helps roots grow stronger and healthier.
To get the best effect, mix peat moss with your native soil or potting blend. A common ratio is two parts soil to one part peat moss. Add perlite and peat moss in equal parts for containers.
This keeps the soil light and well-drained. It also holds moisture enough for plants.
Peat moss also works well in sandy soils by holding moisture that would otherwise drain quickly. This improves overall water availability without making the soil soggy.
Just be mindful that peat moss has a low pH. So balance it with compost or lime if needed for your plants.
Always soak peat moss in warm water before using it. Dry peat can repel water and take longer to work into your soil.
Which Plants Benefit Most from Using Peat Moss?
Peat moss is great for acid-loving plants because it has a low pH. Plants like blueberries, azaleas, and camellias like peat moss in soil. Rhododendrons, gardenias, and heathers also grow well with it.
Mixing peat moss helps these plants thrive. These plants prefer soil acidity between 4.5 and 5.5, which peat moss helps maintain.
Vegetables and many fruits also benefit from peat moss since they thrive in slightly acidic environments. Tomatoes, peppers, and strawberries can do well when peat moss improves soil moisture and drainage. Don’t use peat moss alone in soil.
It compacts quickly and holds few nutrients. This makes it hard for plants to grow well.
Some plants don’t react well to the acidity of peat moss. Plants that like lime, like lavender and lilacs, should skip peat moss. Vegetables needing neutral pH should also avoid using too much peat moss.
It can make soil too acidic for them. Using a heavy amount might stunt their growth or change nutrient uptake.
- Use up to 50% peat moss in soil mixes for acid-loving plants
- Mix peat moss with compost or garden soil for vegetables and flowers
- Avoid peat moss alone; blend it to prevent root compression
- Check soil pH before adding peat moss if growing pH-sensitive plants
- Apply peat moss in raised beds or containers to improve drainage
- Reduce peat moss use for plants needing neutral or alkaline soil
- Reapply peat moss yearly or as the soil mixture breaks down
For heavy clay soils, peat moss softens the ground and improves drainage. Adding it in raised beds works well, too.
Start by mixing one part peat moss with one to two parts garden soil or compost. For acid lovers, up to half the mix can be peat moss to keep pH low.
Peat moss usually costs between $8 and $12 for a 3-cubic-foot bag. Most garden stores sell it in this price range. Prices can vary by location or store.
It lasts several months in soil before breaking down slowly. Look for horticultural-grade peat moss labeled H1 or H5 for best results. H1 is lighter for containers, while H5 suits garden beds.
Understanding Peat Moss Grades and Types for Gardening
Peat moss grades range from H1 to H10, rated by the Von Post scale. The grade shows how decomposed and fibrous the peat moss is. This helps you pick the best type for your gardening needs.
Von Post Peat Moss Grading Scale
The Von Post scale measures peat moss decomposition from H1 to H10. H1 means just partly decomposed moss, while H10 is fully decomposed organic material. The lower the number, the more visible fibers and structure the peat has.
Grades H1 through H5 are most common for gardening. H1 has the most structure and fibrous material.
H5 is softer and more broken down. This scale tells you what to expect from the moss’s texture and nutrient content.
Common Uses for Each Peat Moss Grade
Fine peat moss like H1 to H3 works best for seed starting. The fibrous texture holds moisture well and provides good aeration. These qualities help seeds sprout and roots grow evenly.
Grades H4 and H5 suit soil amendment. They blend easily into garden beds and improve soil structure without weighing it down. These grades also affect soil pH and water retention.
| Grade | Description | Best Use |
|---|---|---|
| H1 | Least decomposed, fibrous, visible plant structure | Seed starting, propagation |
| H2 | Mostly fibrous but softer than H1 | Seed starting, light soil amendment |
| H3 | More broken down, softer texture | Seed starting, soil amendment |
| H4 | Mostly decomposed, some fibrous bits | Soil amendment, mixing into garden beds |
| H5 | Soft, finely broken down peat | Soil mixing, improving moisture retention |
Choosing the right grade adapts peat moss to your gardening goals. The table helps you pick the correct one for starting seeds or fixing soil.
Visual and Physical Differences by Grade
Lower grades like H1 and H2 look dark brown with visible plant fibres. The texture is rough and peat pieces are thick. This structure traps air and water well around seeds.
Higher grades like H4 and H5 look blackish or dark gray. They feel soft and crumbly because they broke down more. This texture blends smoothly in soil and holds moisture efficiently.
How to Mix Peat Moss into Soil for Best Results
Mix peat moss into soil by loosening the soil first. Use about 20 to 30 percent peat moss by volume for most garden beds. Adjust ratios depending on plant type and soil condition.
Preparing the Soil and Peat Moss
Start by clearing debris like rocks or sticks from your garden bed. Loosen the soil to about 6 to 8 inches deep to help peat moss blend well. Fluff the peat moss before use to break apart clumps for even mixing.
Check moisture levels in soil. Dry soil may need watering a day before mixing peat moss. This step helps avoid a dry, hard layer after mixing.
Mixing Ratios for Common Gardening Scenarios
Vegetable gardens do best with a mix of about 25% peat moss to 75% soil. This improves moisture retention and texture without washing nutrients away. For acid-loving plants like blueberries, use 30 to 50% peat moss.
This helps create a more acidic soil environment for them. Azaleas also benefit from this mix.
Don’t add more than 50% peat moss. Too much can reduce soil nutrients and make it too acidic for most plants. Combine peat moss with compost or fertilizer for balanced nutrition.
Application Timing and Depth
Add peat moss before planting or sowing seeds to prepare soil structure. For already growing beds, gently work peat moss into the soil surface to avoid disturbing roots. Spread a thin layer around 0.25 inches thick when mulching newly seeded areas to help moisture stay trapped.
Apply peat moss in early spring before planting. Do this 6 to 8 weeks before the last frost date. This gives the moss time to adjust in the soil.
This timing helps seedlings grow strong, healthy roots. Avoid working peat moss into frozen or waterlogged soil.
Follow these steps to mix peat moss into your soil properly:
- Clear the garden bed of debris and loosen soil to 6-8 inches deep.
- Fluff peat moss to break up clumps for even mixing.
- Measure peat moss to match desired ratio: 25% for vegetables, 30-50% for acid plants.
- Spread peat moss evenly on soil surface.
- Mix peat moss thoroughly into loosened soil using a garden fork or tiller.
- Water soil lightly to settle peat moss and maintain moisture.
- Plant seeds or seedlings after mixing is complete.
Apply peat moss before planting for best soil structure and moisture control. Avoid using too much peat moss or it will hurt plant growth.
Using Peat Moss for Seed Starting and Propagation
Peat moss works well for seed starting because it holds moisture without getting soggy. Its fine texture lets tiny roots grow easily.
Plus, peat is sterile. So it stops harmful bacteria and fungi from hurting young plants.
Before you fill seed trays, wet the peat moss to avoid dry spots. Dry peat repels water, causing uneven moisture in seed cells. Mix peat with perlite or vermiculite to keep good airflow and prevent roots from drowning.
- Pre-moisten peat moss with water until damp but not dripping.
- Mix peat moss 50/50 with perlite for good drainage and moisture.
- Fill seed trays evenly, avoiding compacting the mix too tight.
- Keep trays in a warm, well-lit spot but out of direct sun.
- Water gently using a spray or bottom watering to keep soil moist.
- Check daily to keep the mix moist but avoid water pooling.
- Use clean trays to reduce the risk of disease spreading.
Keeping moisture steady is key. Use a spray bottle for daily misting or place trays in a shallow water bath. Avoid overwatering since too much can cause damping-off, a fungal problem that kills seedlings.
Good airflow helps too. Seedlings that grow in peat and perlite mix develop strong roots that spread easily.
In some setups, gardeners add coconut coir or vermiculite to peat blends. These keep moisture balanced and improve structure. You can try different mixes depending on your plant type or climate.
Start with about half peat moss, then add the other components. This mix costs just a few dollars per tray.
It lasts for many seedlings. Store it dry and clean to keep it good.
Environmental Impact and Sustainability Concerns of Peat Moss
Peat moss forms over thousands of years from decayed plant material in bogs. This slow process makes peat moss a non-renewable resource. Harvesting removes peat faster than it can naturally rebuild, causing permanent loss of this soil component.
Peat harvesting damages wetland habitats that support unique plants and animals. These bogs act as carbon sinks, storing large amounts of carbon underground. Cutting peat releases carbon dioxide, contributing to greenhouse gases, according to the IUCN.
Environmental groups often warn against peat mining because of these habitat impacts and carbon emissions. Peat digging drains wetlands, destroys wildlife homes, and alters local water cycles. This damage can take decades or longer to repair if left alone.
Some peat sources are more sustainable than others, depending on how they are managed. Regulations can help ensure peat is harvested in small amounts with habitat restoration afterward. Look for peat moss labelled as sustainably harvested, which usually involves protective practices.
Even so, peat moss remains less eco-friendly than alternatives like coconut coir. Coconut coir comes from fast-growing coconut husks and renews quickly. It costs more but avoids depleting slow-growing peat bogs.
Choosing sustainable peat moss means checking its origin and certifications. Use it sparingly in gardening to reduce environmental harm. Combine with other organic material to stretch peat supply and protect ecosystems.
Sustainable and Effective Alternatives to Peat Moss
You’ll find coco coir as a leading peat moss alternative for gardening. It holds water well and lets air reach roots. Compost blends also work, often mixed to balance moisture and nutrients.
Check this simple comparison of key features for peat moss, coco coir, and compost:
| Material | Water Retention | PH Level | Cost (per cubic foot) | Availability |
|---|---|---|---|---|
| Peat Moss | High | Acidic (4.0, 5.5) | $3, 6 | Widely available |
| Coco Coir | High | Near neutral (5.5, 6.5) | $4, 8 | Moderate, seasonal |
| Compost | Moderate | Varies (6.0, 8.0) | $5, 10 | Local, varies |
Coco coir wins on pH because it’s closer to neutral than peat moss. That suits many plants better, especially acid-sensitive ones. Peat moss is still better for very acid-loving plants like blueberries, because of its lower pH.
Compost adds nutrients that peat moss and coir lack. But compost’s water-holding ability is less consistent. It also costs more and depends on local sources.
You might blend compost with coir to improve soil fertility. Using coir alone keeps soil light and moist, but you’ll add fertilizer.
Rinse coco coir well before use to lower salt content and avoid harming your plants.
Cost matters if you garden on a budget. Peat moss is cheapest and easy to find year-round. Coco coir prices rise when demand spikes or supply dips.
Compost availability depends on where you live and the season. Mixing these options can save money and improve soil.
Choosing the best peat substitute depends on your plant needs and soil type. Use peat moss or acid-mix compost for acid-loving plants.
Try coco coir alone or mixed for neutral pH and good moisture. Adjust your mix seasonally to keep plants healthy and soil balanced.
Common Mistakes and How to Avoid Problems When Using Peat Moss
Peat moss dries out quickly and becomes hydrophobic if you leave it exposed. When dry, it repels water instead of soaking it up. Dry peat moss makes water hard to spread evenly.
This can stress plants. It also blocks moisture from reaching the roots.
Using peat moss by itself isn’t a good idea. It doesn’t have any nutrients, so plants won’t get the food they need. Dry peat moss won’t hold water well on its own.
Mix it first with soil or compost. That helps it stay moist. That mix helps peat work better and keeps plants healthier.
Storing peat moss the right way prevents problems. Keep it in a cool, dry place away from direct sunlight. Store peat moss in a sealed plastic bag or container.
This stops drying out. It also prevents mold growth. Store peat moss outside under waterproof tarps.
Make sure they cover it tightly. This keeps rain and sun away.
- Mix peat moss with soil or compost before planting
- Keep peat moss moist but not soaked when using
- Store in sealed containers in a cool, dry spot
- Avoid letting peat moss dry out completely
- Cover outdoor peat moss piles with tarps
- Use gloves when handling peat moss to avoid skin irritation
- Don’t rely on peat moss alone for nutrient supply
To re-wet dried-out peat moss, soak it slowly in warm water for several hours. Stir it occasionally to break up clumps and help water reach all parts. Add some liquid fertilizer to the water.
Peat moss has no nutrients for plants. This helps plants grow better.
Mixing peat moss into your garden soil usually takes a few hours. Spread a 1-to-3-inch layer on top, then till or shovel it into the soil. This blending improves soil texture and moisture retention without starving plants for nutrients.
How to Manage Peat Moss pH Effects and Nutrient Content
Peat moss is naturally acidic, usually measuring between 3.5 and 4.5 on the pH scale. Peat moss can lower your soil’s pH if used in large amounts. This happens because it is acidic.
You need to adjust the soil after adding peat moss. Test your soil’s pH before adding peat moss.
This helps prevent soil from becoming too acidic. Plants might not grow well if the pH is off.
To balance soil that’s too acidic from peat moss, apply garden lime. Apply about 5 pounds of lime for every 100 square feet. Do this when soil pH goes under 6.
Lime helps raise the soil’s pH level. Most vegetables grow well in soil with pH close to 6.5. Add lime a few weeks before planting to let it adjust the soil gradually.
Peat moss doesn’t provide many nutrients. It mostly adds organic matter and improves moisture retention.
Because of this, you’ll need to supply additional fertilizer for healthy plant growth. Use a balanced fertilizer or one suited to your specific plants according to package instructions.
Mix peat moss with compost or rich soil for seed starting. This is also true for container gardening. It helps provide better nutrients and texture.
This helps provide nitrogen, phosphorus, and potassium that peat moss lacks. A typical mix might be 50% peat moss with 50% compost or potting soil.
Since peat moss holds moisture well, it can reduce how often you water. Peat moss contains almost no nutrients for plants. That means you’ll need to add fertilizer.
Without it, plants won’t get enough food to grow. Add fertilizer at planting time and follow up during the growing season with a mild feed.
Not adjusting pH or adding nutrients can stunt plant growth. You might see slow growth and leaves losing color. This happens when using peat moss alone.
Yellow leaves and weak roots often show nutrient problems. These come from using too much peat moss by itself.
Plants need balanced nutrients to grow healthy. Monitor your garden closely and make changes early.
Estimating Peat Moss Coverage and Reapplication Frequency
One bale of compressed peat moss typically covers about 200 square feet. You should add fresh peat moss every spring. This keeps soil moisture balanced.
It also helps soil stay healthy. The coverage and reapplication can vary by garden type and plant needs.
Calculating Coverage for Different Layers
For lawn top dressing, spreading peat moss about 1/4 inch thick works best. This thickness evenly covers roughly 200 square feet from one bale. In raised beds, use a thicker peat moss layer.
Aim for up to 2 inches. This enriches your soil mix well.
Lawn top dress lightly to avoid smothering grass. Raised beds need more volume because peat moss breaks down over time. Adjust your bale quantity depending on the layer thickness required for your plants.
Reapplication Timing by Season and Plant Type
Add peat moss each spring to replenish what has decomposed through winter. Peat moss usually loses much of its water-holding capacity within 1 to 2 growing seasons. Plants that prefer acidic, moist soil may benefit from more frequent peat top-ups.
For lawns, annual spring applications work well. In raised beds growing vegetables or acid-loving perennials, check peat condition twice a year. Adding peat in spring helps plants start the season with healthy soil.
Visual Indicators for Replenishing Peat Moss
You need to reapply peat moss when it looks dry. It should not be crumbly. Peat moss should feel moist and spongy.
Soil may start to drain too quickly or plants show stress from drought despite watering. Also, if the peat layer noticeably shrinks or compresses, it’s time to add more.
Watch for color changes too; fresh peat moss is dark brown or black. Peat moss turning lighter or pale shows it’s breaking down.
These signs show peat moss can’t hold moisture well. It no longer supplies enough nutrients for plants.
Follow these steps to calculate coverage and decide when to reapply peat moss:
- Measure the square footage of the area to cover.
- Decide the desired peat moss layer thickness (usually 1/4 to 2 inches).
- Use the bale coverage estimate: 1 bale ≈ 200 sq ft at 1/4 inch thickness.
- Adjust the number of bales for thicker layers proportionally.
- Apply peat moss evenly across the soil or lawn area.
- Check the peat condition each spring and before planting.
- Look for dryness, light color, or shrinking as signs to reapply.
- Add fresh peat moss in spring or as needed based on these signs.
Don’t apply peat moss too thickly on lawns; it can suffocate grass roots.
Step-by-Step Action Plan for Using Peat Moss in Your Garden
Follow these simple steps to use peat moss effectively and avoid common problems.
- Before planting: Check your soil pH using a test kit. Aim for 5.5 to 6.5 to match peat moss effects.
- Day 1: Spread peat moss over the soil in an even layer. Make it 1 to 2 inches thick. This helps improve moisture and structure right away.
- Week 1: Mix peat moss into the top 6 inches of soil. Use a garden fork or tiller. Do this gently for best root growth.
- Week 2: Plant seeds or seedlings directly into the amended soil. Watch for good soil moisture without sogginess.
- Month 1 and beyond: Water regularly but avoid overwatering, as peat moss holds moisture well. Check soil moisture weekly.
- Every growing season: Add a new 1-inch layer of peat moss or mulch. This helps keep the soil healthy and useful.
- After harvesting: Remove any dead plant material before applying peat moss again to reduce disease risk.
Frequently Asked Questions
Can Peat Moss Be Used for Indoor Plants?
Yes, peat moss helps indoor plants by retaining moisture and improving soil texture. It supports root health by preventing soil compaction and dries out slower than many potting soils.
Is Peat Moss Safe for Vegetable Gardens?
Peat moss is safe for vegetable gardens when used properly. It improves water retention and soil structure.
Avoid using it alone. Mix it with compost or garden soil.
Does Peat Moss Affect Soil Drainage?
Peat moss improves soil drainage by loosening compacted soil. It holds moisture yet allows excess water to flow away, creating a balanced environment for roots.
Can You Use Peat Moss for Composting?
Yes, peat moss can be added to compost to balance moisture and texture. It helps keep the compost pile from getting too wet and improves aeration.
Is Peat Moss Good for Acid-Loving Plants Only?
Peat moss is especially good for acid-loving plants since it has a low pH. However, you can still use it in mixed soils for general moisture retention.
How Long Does Peat Moss Last in Garden Beds?
Peat moss decomposes slowly and benefits soil for several years. You might need to reapply every 2 to 3 years to maintain its moisture-holding effect.
Wrapping Up
Peat moss is great for boosting soil moisture and structure in many gardens. Use it carefully to balance pH and avoid over-moist soils. Start by testing your soil and adding a thin layer to see how your plants respond.