How to Pull Out Bushes: 8 Essential Steps for Easy Removal
Learning how to pull out bushes can save you time and money in your yard. The best way is to cut back the branches and dig around the roots carefully. Dig a trench around the bush about 1 to 2 feet out.
This helps break up the roots below the surface. It loosens the whole root system for easier removal.
Cut the branches close to 6 inches from the ground. Use a shovel or mattock to loosen the roots around the base.
Removing most roots stops the bush from growing again. Start digging early and work step by step.
It typically takes between 1 to 3 hours to remove a bush using just hand tools. Take safety precautions, especially if you are near underground utilities, contact 811 before digging. This avoids costly damage and ensures your safety.
Key Takeaways
- Cut branches back to 6 inches above the ground before digging.
- Dig a trench 1 to 2 feet from the bush base to avoid root damage.
- Make sure to get rid of nearly all the roots. This usually means removing about 90% of the root system. Doing this reduces the chances the bush will grow back.
- Use a shovel and mattock to loosen and lift roots effectively.
- Allow 1 to 3 hours to remove a bush with hand tools.
- Call 811 before digging to avoid hitting underground utilities.
1. How to Pull Out Bushes Step-by-Step

Removing a bush starts with clearing the branches and digging around the roots. Cut back the branches to reduce resistance. This helps you reach the roots easily.
Dig a trench 12 to 18 inches from the base. Make it deep enough to show most roots.
Dig carefully so you don’t damage roots you want to cut cleanly. Use a sharp spade or digging fork to loosen dirt and find thick roots.
Cutting roots one by one prevents excessive force that breaks tools or tires you out. After enough roots are cut, you can pull the bush out with less effort.
- Prune the branches to about half their length or remove them entirely. This keeps branches from snagging on nearby plants or hurting you.
- Dig a circular trench starting 12 to 18 inches away from the trunk. Dig about 12 inches deep to expose the roots well.
- Loosen the soil around the bush using a spade or digging fork as you dig. This helps you see the roots better and makes cutting easier.
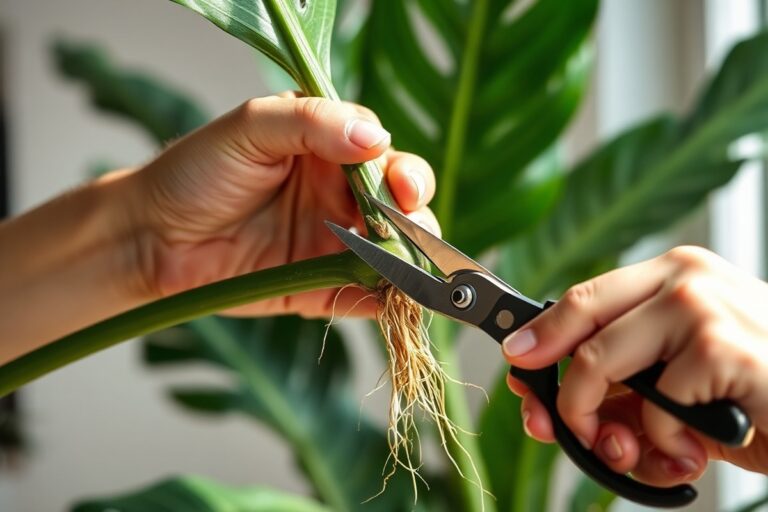
- Cut the roots with a sharp spade, pruning saw, or loppers. Focus on roots you feel under the soil and along the trench wall.
- Check for large deep roots by digging a few shallow holes if needed. Use a saw or pruning tool to cut any thick roots you find.
- Pull the bush gently upward once most roots are cut. Rock the bush back and forth to loosen remaining roots if needed.
- Dig again around the stump if some roots hold tight. Cut these to free the bush fully before trying one more time to pull it out.
In sandy soil, roots are easier to expose and cut. So the process goes faster. In clay or rocky soil, expect to dig deeper and use more elbow grease.
Always clear dirt from roots so you can see where to cut. Rushing to pull before cutting enough roots leads to tool damage and frustration.
2. Choosing the Right Tools and Protective Gear

Use the right cutting and digging tools to pull out bushes. Wear proper protective gear for safety. This helps make the job easier and safer.
Small bushes need simple tools like loppers and shovels. But larger or stubborn ones may require saws or digging bars. Always wear gloves and eye protection to avoid injuries.
Cutting Tools for Branches and Roots
Loppers and pruning saws work well for small to medium branches and roots. These tools help you cut the bush into manageable pieces before removal. For bigger bushes or thick roots, a bow saw or a chainsaw may be necessary.
A bush with tough or deep roots needs the roots cut first. This makes pulling the bush easier. Renting a chainsaw can cost about $65 to $90 per day.
So consider this if it is worth the job. Always cut carefully to avoid damaging nearby plants or yourself.
Digging Tools for Different Soil Types
A sharp shovel is essential for loosening soil around the bush roots. For rocky or compact soil, a digging bar can break up hard ground. The right tool reduces your effort and helps get beneath the root system more effectively.
Different soils need different approaches. In sandy soil, a basic shovel might be enough. In clay or hard dirt, start by using a digging bar.
This helps you create space to pry the roots loose. Proper digging speeds up your work and lowers strain.
- Sturdy shovel with a pointed tip
- Digging bar for hard or rocky soil
- Loppers for cutting branches and roots
- Pruning saw for thicker roots
- Optional: bow saw or chainsaw for very large roots
- Rake to clear loose soil and debris
- Wheelbarrow to haul away bush debris
Take time to clear soil around roots before pulling; it reduces resistance and effort.
Personal Protective Equipment Essentials
Always wear gloves to protect your hands from thorns and splinters. Safety glasses or goggles shield your eyes from flying debris when cutting or digging.
Use hearing protection and chainsaw chaps when operating power saws. These add safety while cutting.
A dust mask can protect your lungs if you disturb dry soil or old mulch. Wear sturdy boots to prevent foot injuries, especially when using heavy tools. Proper safety gear helps prevent accidents and keeps you comfortable during the job.
3. Dealing with Stubborn or Deep-Rooted Bushes
Stubborn bushes usually have large, tough roots spreading wide and deep. You’ll notice if pulling a bush feels very hard. Or if it barely moves after you loosen the soil.
Bushes like barberry and forsythia have deep roots. These roots mean you’ll need extra effort to remove them.
Start by trimming the bush heavily, cutting branches close to the base. This exposes the thickest roots and gives you room to work. Next, dig around the base to loosen side roots.
Dig 2 to 5 times wider than the root ball. Don’t dig too deep when removing a bush. Dig about as deep as the root ball’s height.
Use hand tools like a sharp spade or pruning saw to cut the loosened roots. Find spots where roots are thinnest or most exposed to sever them effectively.
For very large roots, a root saw or an axe works better. But use them carefully to avoid injury.
Use makes a big difference. Wedge a strong bar or crowbar under the root ball. Rock it side to side.
This loosens the roots. Tie a rope around the trunk and pull gently by hand. Or attach it to a vehicle for stubborn bushes.
Removing deep roots completely is important to stop regrowth. Aim to cut or pull out about 90% of the root system. You may need to dig around the bush multiple times.
Make sure no large roots remain underground. Otherwise, the bush can grow back.
Avoid rushing. Removing tough bushes can take 30 to 45 minutes each. This is especially true if their roots are long and strong.
Patient, steady digging works better than yanking hard. Yanking can break tools or leave roots behind.
4. Removing Bushes Without Heavy Machinery or a Truck
Pulling out bushes without heavy machinery or a truck takes patience and the right approach. You focus on manual methods like cutting roots, loosening soil, and using ropes for use. This way, you avoid renting expensive gear and still reclaim your yard efficiently.
Evaluating Bush Size and Root Spread
First, check the bush’s size and how far its roots spread. Bigger bushes or those with deep roots need more effort and space around them. When roots spread wide, loosen soil farther away from the trunk.
Dig around the base to look for thick roots. This gives you a better idea of where to cut to free the bush. A ten-year-old bush may have roots three feet out or more.
Pruning and Loosening for Easier Pulling
Start by trimming branches to clear your workspace and see where the bush meets the ground. Use a pruning saw with a six-inch blade for quick cuts close to the trunk. This avoids excessive foliage removal.
Next, loosen the soil around the roots with a shovel or garden fork. Work in a circle about one to two feet from the base. This softens packed dirt so you can pull the bush more easily.
Using Ropes and Use Without Vehicles
Use strong ropes tied securely around the main stem or root ball. Attach the other end to a strong anchor.
Use a heavy tree or a metal stake driven well. Pull steadily, not suddenly, to avoid rope snapping or injury.
Use helps a lot. You can use a long pole or a pry bar placed under the stump’s edge.
Then press down to lift and loosen the roots. This reduces your effort and keeps the bush intact for removal.
- Cut away branches to clear access near the ground.
- Dig and loosen soil around the bush’s root area.
- Tie a strong rope around the trunk or root ball.
- Secure the rope to a fixed anchor, such as a tree or stake.
- Use steady, even pulls to avoid quick jerks.
- Place a pry bar under root edges and press down for use.
- Pull the bush out slowly, adjusting use as needed.
Safety Tips for Manual Pulling
Wear gloves and eye protection to avoid cuts and debris. Avoid sudden jerks on the rope, since a snapping strap can cause serious injury. Testing the pull gently before full force helps catch hazards early.
Clear the area of bystanders, especially children, during pulling. Stay alert to the bush’s movement and roots shifting beneath your feet. Disengage immediately if something feels unsafe to prevent accidents.
5. Preventing Regrowth and Managing Stumps
The best way to stop bushes from coming back is to remove most roots. Use a shovel to dig around the stump and find thick roots. Gently pull the stump to see if it loosens.
You want to get most of the roots out. Leftover roots can cause the bush to grow back.
Applying herbicides right after cutting the stump can kill leftover roots and stop sprouts. Use a cut stump herbicide treatment on the freshly cut surface. Make sure to choose a product meant for woody plants and follow the label directions closely.
Late winter or early spring is the best time for this task. That is before new leaves start showing.
Some bushes may need different timing. This method greatly reduces new shoots, especially on tough bushes like privet.
You might need to treat the area again if new growth appears months later. Dig deeper or remove more roots to prevent regrowth. Sometimes, removing just the roots isn’t enough.
Stump grinding works well to clear space fast. It also stops big bushes from growing again. This method grinds the stump and roots below ground level.
It usually costs $100 to $400 depending on stump size and location. Grinding the stump helps if you want to plant right away. It also prepares the area for grass or mulch cover.
Dig away the soil with a shovel first. Make sure to expose all the roots fully. Then try pulling the bush out. This makes removal easier and lowers chances of regrowth.
Decide if grinding is worth it based on your future plans and budget. Grinding the stump is best for bushes with strong root suckers. This prevents new shoots from coming up.
For smaller bushes, digging and herbicide might be enough. After removing the stump, watch the spot closely for new shoots.
Pull any small shoots out before they get big. This extra care helps keep the spot clear for good.
6. Safety Precautions When Removing Bushes
Protecting yourself and your property during bush removal is key. Wearing the right gear and spotting underground utilities before digging helps avoid injuries and costly damage. Take steady, careful actions with tools to keep accidents from happening.
Personal Protective Equipment Checklist
Gloves protect your hands from sharp branches and splinters. Choose thick, durable gloves that fit well to keep your grip strong. Safety glasses shield your eyes from flying debris while cutting or pulling bushes.
Sturdy boots with good traction stop you from slipping on uneven ground. Long pants and long sleeves guard your skin from scratches and insect bites. Here’s a quick list to prepare you:
- Thick work gloves
- Safety glasses or goggles
- Sturdy boots with non-slip soles
- Long pants and long-sleeved shirt
- Sun protection like a hat and sunscreen
Wearing the right protective gear keeps cuts and scrapes away. It also helps you work longer without discomfort or injury.
Locating and Avoiding Underground Utilities
Call 811 before digging to find underground utility lines on your property. This free service marks buried gas, water, electric, and communication lines for your safety. Ignoring this step causes over 26% of utility damage incidents, according to the 2023 DIRT Report.
Wait for the utility companies to mark locations before you start pulling. Be extra cautious near marked areas and dig by hand to avoid hitting pipes or cables. Watch out for fences or obstacles near your bushes.
These can block your work. They might also get damaged during removal.
Safe Handling of Tools and Equipment
Use proper cutting tools like pruning shears, handsaws, or a chainsaw if needed. Make sure tools are sharp and in good condition.
Dull blades require more force and are less safe. Always cut away from your body to prevent injuries from slips or sudden tool movements.
Make sure your vehicle is ready for towing. Check for secure attachments. Avoid pulling bushes without proper setup.
Avoid jerky or fast pulls that can snap the rope and cause accidents. Moving slowly and steadily helps protect your vehicle and nearby structures.
Follow these tips to stay safe:
- Inspect tools before use
- Cut branches away from your body
- Wear safety goggles when cutting
- Use steady, controlled force when pulling
- Secure towing points on your vehicle
Handling tools carefully and respecting your limits cuts down injury risks. Keeping control leads to a safer, smoother bush removal project.
7. Post-Removal Cleanup and Soil Preparation
Cleaning up the spot after pulling out a bush sets you up for planting new greenery. Removing leftover roots prevents stubborn regrowth and helps new plants take root. Proper soil preparation also makes sure your landscaping looks fresh and healthy.
Disposing of the removed bush depends on its size and your local rules. Many yard waste programs accept branches and roots if cut small.
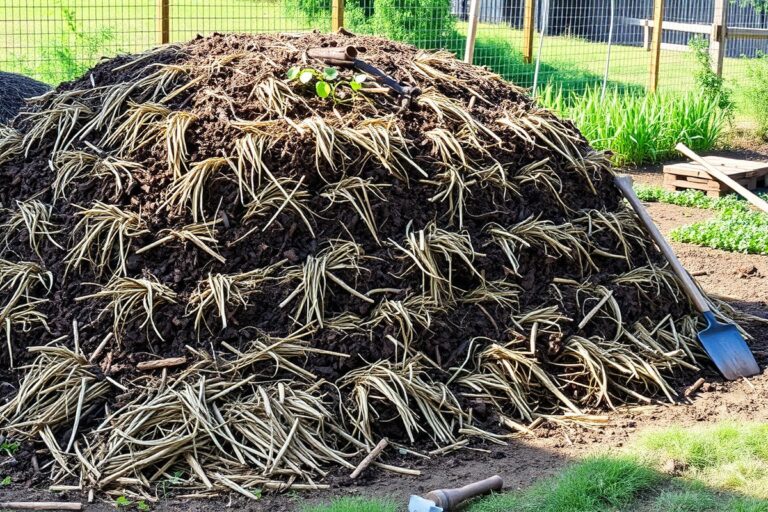
Otherwise, you can compost small masses, or chip thick branches for mulch. Avoid leaving large roots or stems in the hole, as they slow soil preparation.
Preparing the soil means filling the hole left behind and improving the dirt’s nutrients. Fresh soil settles better and removes air pockets that stunt new plant roots. Adding compost or balanced fertilizer helps your new shrubs and flowers grow better.
- Remove leftover roots and branch fragments from the hole with a shovel.
- Cut large roots into smaller pieces for easier disposal or composting.
- Collect all debris and check your town’s yard waste pickup rules.
- Fill the hole with quality garden soil or a mix of soil and compost.
- Lightly compact the soil by tamping it down by hand or foot.
- Add a layer of compost or slow-release fertilizer to enrich the soil.
- Water the area thoroughly to settle soil and start soil microbes working.
- Leave the soil to rest for a few days before planting new bushes or plants.
Cleaning up and prepping soil takes 30 minutes to 2 hours. The time depends on the bush size. Bigger bushes usually need more work.
Skipping these steps often delays or weakens new plant growth. You need to take your time with the soil work.
This helps give your yard a fresh start. Rushing can cause problems later.
8. When to Hire a Professional for Shrub Removal
Big or stubborn bushes often need a professional. If the roots go deep or the bush grows near structures, call a landscaper. They have the skills and tools to handle tough removals safely and fast.
Costs vary based on bush size and difficulty. Small bushes usually cost around $100 to $200 to remove.
Larger or invasive shrubs might run $300 to $600. Some pros charge per hour, often $50 to $100, depending on your area.
Use this simple guide to help decide:
| Situation | DIY or Pro |
|---|---|
| Bush smaller than 3 feet, shallow roots | DIY |
| Bush larger than 3 feet or tough roots | Pro |
| Near house, concrete, or utility lines | Pro |
| Requires heavy tools or truck | Pro |
Look for professionals who specialize in shrub or tree removal. Check reviews and ask for proof of insurance.
Get at least three quotes and compare. A good pro will explain the process and costs clearly before starting.
Some pros rent equipment like electric hedge trimmers for $30 to $40 daily. They can also use hand winches or cutting machines to free deep-rooted bushes efficiently. This prevents damage to your yard and saves time.
Avoid removing bushes near utilities yourself; always call a professional for safety.
Step-by-Step Action Plan to Pull Out Your Bushes
Follow this plan to remove bushes safely and efficiently. It helps you finish the job without heavy gear or hiring pros.
- Day 1: Gather your tools and protective gear. Check everything fits well and works properly.
- Day 2: Clear the area around the bush. Remove debris and mow any tall grass to see roots clearly.
- Day 3: Water the soil around the bush deeply. Wet soil softens roots, making them easier to pull.
- Day 4: Grab a shovel and dig a trench around your bush’s base. Work the soil until you can reach and pull out the main roots.
- Day 5: Pull the bush slowly by hand or with a pry bar. Stop once the bush loosens or lifts out.
- Day 6: Cut tough roots that resist pulling using a saw or loppers. Avoid cutting healthy plants nearby.
- Day 7: Treat the stump to prevent new growth if needed. Cover stump sealant or dig out the stump.
- Day 8: Clean the site thoroughly and prepare soil for replanting. Add compost or mulch to boost soil health.
Frequently Asked Questions
How Deep Do Bush Roots Usually Grow?
Bush roots typically grow 1 to 3 feet deep. This depth varies by species and soil type. Deeper roots mean more digging is needed to remove the bush completely.
Can I Compost Removed Bush Branches?
Yes, you can compost small branches if they are chipped. Larger branches take longer to break down and should be cut smaller. Avoid composting diseased branches to prevent spreading issues.
When Is the Best Season to Pull Out Bushes?
Early spring or late fall are best for pulling out bushes. The soil is softer, making digging easier. Also, plants are less active, so removal causes less stress to surrounding plants.
How Do I Stop Soil Erosion After Bush Removal?
Plant grass or cover crops soon after removal to reduce erosion. Mulching can also help keep soil in place. Avoid leaving the soil bare for long periods during rainy seasons.
Can Salt or Chemicals Help Kill Bushes Before Removal?
Salt and chemicals can kill bushes but may harm surrounding plants and soil. Use them cautiously and follow all safety instructions. Natural removal methods are safer for a healthy garden.
Is It Okay to Burn Bush Debris in My Yard?
Burning may be allowed but check local regulations first. It can release harmful smoke and damage plants nearby. Consider chipping or hauling debris to a green waste center instead.
Wrapping Up
Pulling out bushes yourself saves money and gives you control over your garden. Start by watering the soil well today. That first step makes the whole process easier and safer.