Do Worms Breed? A Complete Guide to Worm Reproduction and Breeding Success
Do worms breed? Yes, worms do breed, and they do it sexually.
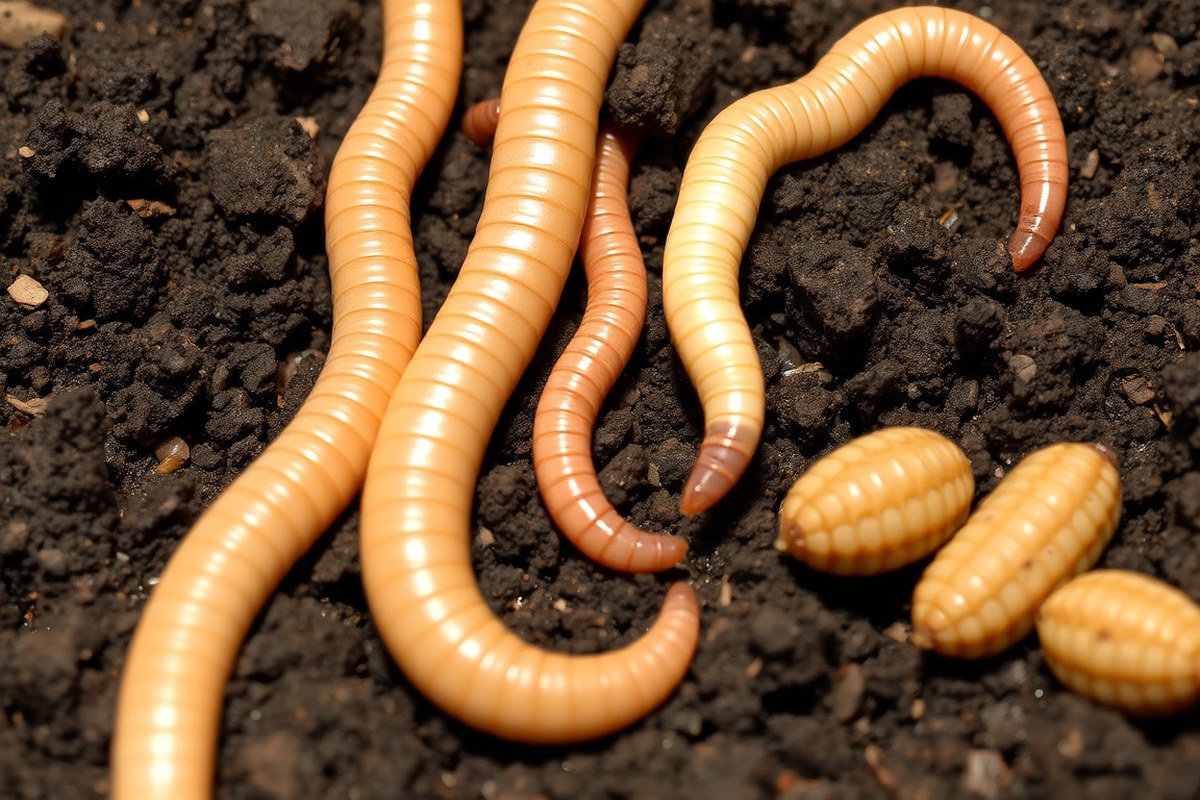
Red wigglers and compost worms reproduce by mating, creating cocoons that hold their baby worms. These worms can double their population every three to four months if conditions stay good.
Worms prefer dark, damp spots with temperatures from 59 to 77°F. They lay cocoons that appear about two weeks after mating. Each cocoon hatches tiny worms within 10 to 20 days.
Baby worms take around six weeks to grow into adults. At that point, they can mate and continue the cycle. Keep moisture at good levels to help worms thrive.
Make sure the temperature stays steady and comfortable. Feed the worms enough to support breeding and growth.
Key Takeaways
- Worms breed sexually by mating and forming cocoons.
- Cocoons appear about two weeks after worms mate.
- Baby worms hatch from cocoons in 10 to 20 days in good conditions.
- Each cocoon usually holds 2 to 3 baby worms.
- It takes about 6 weeks for baby worms to grow into adults.
- Maintain moist, dark environments at 59°F to 77°F to encourage breeding.
Do Worms Breed Sexually or Asexually?

Most common garden worms, like red wigglers, reproduce sexually. That means two worms must mate to start the process. They exchange seminal fluid, and then fertilize eggs that develop in protective cocoons.
These cocoons contain between one and fifteen baby worms each. After about six weeks, the baby worms hatch and grow to adult size. Once mature, they can mate and continue the reproductive cycle, which helps worm populations grow quickly.
Some people think worms can reproduce without a mate. But that is mostly false for earthworms.
Without a partner, worms can’t fertilize eggs and won’t produce offspring. This shows why a healthy breeding setup needs multiple worms.
Cutting a worm in half won’t make two new worms either. Some species can regenerate small body parts.
But overall that does not create new worms. This is a common myth about worm reproduction.
There are exceptions with other worm types, like flatworms and some earthworms from the Lumbricidae family. These can reproduce asexually through fragmentation or parthenogenesis, where offspring grow without fertilization. But these methods are rare in worms used for composting or gardening.
Sexual reproduction matters because it mixes genetic material. This keeps worm populations strong and adaptable.
Asexual reproduction can happen only in certain worms. But it usually limits genetic diversity, which could affect survival long term.
How Earthworms Mate and Form Cocoons
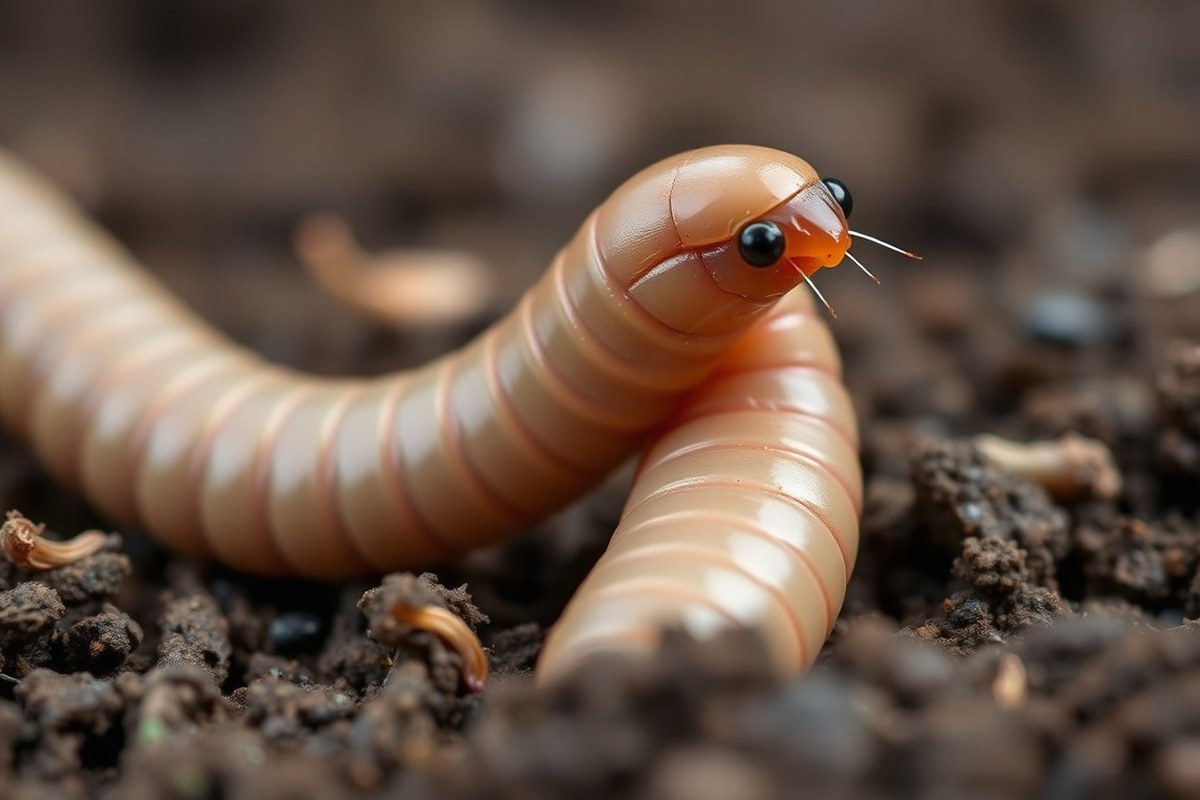
Worms mate by lining up their bodies and exchanging sperm. Each worm has a clitellum, a thick band that helps form cocoons. After mating, the clitellum secretes mucus and makes a cocoon where fertilization happens.
Worm Mating Behavior Explained
Earthworms find mates through chemical signals called pheromones. These signals help them sense each other underground. When ready, they align ventrally in opposite directions to mate.
During mating, worms stick together for several hours. This position lets them exchange sperm evenly. Most worms need a partner to reproduce this way for genetic diversity.
Role of the Clitellum and Cocoon Formation
The clitellum is a thick, smooth band around the worm’s body. It starts to show when worms reach adult maturity, usually after six months. This band produces a slime ring that becomes the cocoon.
After mating, the clitellum secretes mucus that travels forward. As the worm backs out of this ring, it gathers eggs and sperm inside. The slime ring then seals, turning into a protective cocoon.
Sperm Exchange and Fertilization Process
Worms exchange sperm using sperm sacs called spermathecae. Both worms store the partner’s sperm for later use. Fertilization occurs inside the cocoon once eggs and sperm meet.
The mucus band from the clitellum picks up stored sperm and eggs. This combination allows the embryos to develop in a safe environment inside the cocoon. Fertilization happens shortly after the cocoon forms.
How Worms Produce and Deposit Cocoons
After mating ends, each worm begins making cocoons independently. These protective cases form around the clitellum’s mucus ring. Cocoons typically appear within two weeks of mating.
Worms lay cocoons in moist, dark soil or compost. Each cocoon hatches 2 to 3 baby worms. They emerge in 10 to 20 days.
Good conditions speed up their growth. Worms like Red Wigglers may produce 2 to 3 cocoons per week.
Follow these steps to understand how worms mate and form cocoons:
- Detect a mate using pheromones in the soil.
- Line up ventrally in opposite directions.
- Secrete mucus to stick together and exchange sperm.
- Store partner’s sperm in spermathecae for later use.
- Separate after several hours once sperm exchange finishes.
- Produce a mucus ring with the clitellum that slides forward.
- Collect eggs and stored sperm in the mucus ring.
- Seal the ring, forming a fertilized cocoon ready for incubation.
Keep soil moist and cool to help cocoons form and hatch well.
How Long It Takes for Cocoons to Hatch Baby Worms
Worm cocoons take anywhere from about three weeks to several months to hatch. The time depends mainly on the species and the temperature and moisture of their environment. Typically, 2 to 6 baby worms come out of each cocoon once they hatch.
Cocoon Incubation Periods by Species
Different worm species have different cocoon incubation times. Some species hatch their cocoons in as little as 2 weeks. Others may take up to 5 months, especially in cooler or drier soil.
Red wigglers hatch faster, usually within 21 to 28 days. Many earthworm species belong to the Lumbricidae family.
They usually take longer to hatch. These worms hatch only one worm per cocoon.
| Worm Species | Incubation Time | Typical Hatchlings per Cocoon |
|---|---|---|
| Red Wiggler | 21, 28 days | 2, 15 worms |
| Lumbricidae Earthworms | Several weeks to 5 months | 1, 5 worms |
| General Earthworm Species | 10, 20 days to several months | 1, 20 worms, varies by species |
These ranges show why incubation can seem unpredictable. Knowing your worm species helps you better estimate hatch time and expectations.
Environmental Factors Influencing Hatch Times
Temperature is key. Warm conditions between 15°C and 25°C speed up hatching. Below or above that range, the process slows or may even pause.
Moisture also matters, as cocoons need some dampness to develop well. In dry conditions, hatching might delay for weeks or months. Some species use this to ‘wait out’ tough conditions.
Typical Number of Hatchlings per Cocoon
Each cocoon holds between 1 and 20 baby worms, varying by species. Most often, cocoons contain 2 to 6 hatchlings. Red wigglers can have more, sometimes up to 15.
Hatchlings are tiny, about 1/8 to 1/2 inch long, and translucent white when they emerge. These small numbers per cocoon allow quick population growth under good conditions.
How Fast Do Worms Reproduce and Grow?
Worms begin reproducing once they reach sexual maturity, which takes about 60 to 90 days. At this point, they start finding mates and producing cocoons, each containing several baby worms. This timeline matters because it sets how soon your worm population can begin growing quickly.
Under ideal conditions, a healthy worm population can double every 60 to 90 days. This rapid growth happens because mature worms continuously produce cocoons.
Each cocoon hatches multiple baby worms. Enough food, moisture, and a stable temperature around 46°F to 50°F support this fast reproduction pace.
Baby worms grow fast. They can mature in just one month. This happens when food is plenty.
This means they begin adding to the population growth quickly after hatching. For example, young worms begin to reproduce after 70 to 100 days. This causes the population to grow quickly.
Around eight weeks, you can harvest mature worms. Or you can add space to your worm bin. The growing population will need room.
Red Wigglers are especially good for quick population growth due to their high cocoon production. This helps if you want many worms for compost quickly. They reproduce fast and increase the numbers rapidly.
Keeps your worm bin moist and your temperature steady. Watch the population grow naturally. Breeding slows when conditions get worse.
Growth also stops when things aren’t right. Consistent care pays off by turning a small group of worms into thousands within months.
Environmental Factors Affecting Worm Reproduction
Worms reproduce best when temperature and moisture stay within specific ranges. Ideal temperatures fall between 55°F and 77°F. Below 55°F, worms become dormant, and above 77°F, they get stressed and stop breeding.
Moisture matters a lot because worms breathe through their skin. The bedding should feel like a damp sponge with 60 to 80 percent moisture. Too dry bedding causes suffocation, while too wet bedding drowns them.
Food quality impacts worm reproduction directly. They need a diet with different organic stuff like fruit scraps. Vegetable peels and crushed eggshells also give them nutrients.
This mix helps them breed well. A boring diet, such as shredded cardboard, keeps them alive but slows their population growth.
| Factor | Ideal Condition | Effect of Deficiency/Excess | Breeding Impact |
|---|---|---|---|
| Moisture | Damp Sponge (60-80%) | Too dry = suffocation; too wet = drowning | High → Low |
| Temperature | 55°F to 77°F | Too cold = dormancy; too hot = stress | High → Low |
| Diet | Diverse Organic Matter | Monotonous diet = low energy | Moderate → High |
| Density | Balanced Space | Overcrowding = stress and competition | High → Low |
Keeping the worm bin balanced is key. Overcrowding stresses worms and slows breeding, so spread them evenly. Worms also need bedding that holds moisture without pooling water.
Worm density influences breeding, but moisture affects survival more directly. Moist bedding helps baby worms hatch and stay healthy. Poor moisture cuts survival rates.
The right pH is not in the table. Healthy compost usually stays around neutral, near pH 7. This balance is best for worms.
Check your worm bin weekly. Adjust moisture and temperature to keep worms comfy and breeding well.
For best results, observe the bin environment often and change food types regularly. This approach helps worms breed quickly and stay healthy for months to years.
Differences in Reproduction Among Common Worm Species
Red wigglers and European nightcrawlers differ in how fast and how much they reproduce. Red wigglers are well known for their fast breeding and frequent cocoon production. Nightcrawlers produce fewer cocoons but grow steadily with care.
Compost worms like red wigglers excel for quick and abundant cocoon output. Nightcrawlers move slower than other worms but are very useful. They help gardens and make good bait.
Their numbers grow steadily, which is a plus. Growth rates also vary, with red wigglers being smaller but multiplying rapidly.
| Worm Species | Typical Cocoons Per Week | Cocoons Per Year | Hatchlings Per Cocoon | Best Use |
|---|---|---|---|---|
| Red Wigglers (Eisenia fetida) | 2, 3 | 100, 150 | 1, 3 | Composting, quick reproduction |
| European Nightcrawlers (Eisenia hortensis) | ~1 | 40, 75 | ~1.5 | Gardening, bait, steady growth |
Red wigglers produce up to three cocoons per week for up to a year. This makes them the top pick for composting where fast multiplication matters. Nightcrawlers produce fewer cocoons but each yields more hatchlings on average.
You’ll notice red wigglers quickly fill compost bins and eat a lot. They make their own weight in castings every day. Nightcrawlers burrow deeper, helping garden soil aeration besides reproduction.
Practical Steps to Start and Maintain a Worm Breeding Setup
Setting up a worm breeding bin needs careful attention to bedding, food, moisture, and temperature. Once you have the right environment, worms will breed and produce cocoons well. You also need to refresh the bedding every six months to keep conditions healthy and productive.
Preparing Suitable Bedding Materials
Good bedding keeps worms cozy and moist while providing carbon nutrients. Shredded cardboard, newspaper, or dried leaves make excellent bedding materials. Aim for a depth of 3 to 4 inches.
This gives worms space to move. It also helps them breed well.
Moisture is key. The bedding should feel like a wrung-out sponge, damp but not soaking.
Too dry, and worms can’t survive. Too wet, and they may drown or develop mold.
Feeding Schedule and Food Choices
Worms need a steady supply of organic scraps to breed quickly. Feed fruit and vegetable peels, coffee grounds, and crushed eggshells. Avoid meats, dairy, and oily foods as they smell and attract pests.
Feed worms once or twice per week. Add about a half-pound of food per square foot of bin surface each feeding. That prevents overfeeding, which causes bad odors and slows worm growth.
Maintaining Moisture and Temperature Levels
Worms thrive between 55 and 77 degrees Fahrenheit. Keep your bin in a shady, cool spot away from direct sun. Too hot or cold, and worms stop breeding or die.
Check moisture every few days. Sprinkle water if bedding feels dry or add dry bedding if it’s too wet. Rainy weather makes moisture ideal, so adjust watering accordingly.
Refreshing Bedding and Harvesting Mature Worms
Every six months, replace the worm bedding to avoid buildup of waste and toxins. Transfer your mature worms gently to new bedding so they can continue breeding.
Harvest baby worms by separating them from old bedding when it breaks down completely. This keeps the colony healthy and promotes new growth. The replacement also keeps the environment fresh and moist.
Follow these 6 steps to start your worm breeding bin correctly and keep it productive:
- Choose a plastic or wooden bin with drainage holes and a lid.
- Fill the bin with 3 to 4 inches of shredded cardboard or newspaper bedding.
- Moisten the bedding until damp but not soaking wet.
- Add organic kitchen scraps like fruit peels or coffee grounds.
- Introduce your worms to the prepared bedding and food.
- Keep the bin in a cool, shady spot and feed worms roughly once a week.
Common Worm Breeding Mistakes and How to Fix Them
Too much moisture is one of the top reasons worm breeding fails. Worms need damp bedding, about as wet as a wrung-out sponge.
Excess water drowns them and slows reproduction. Dry bedding makes worms search for moisture elsewhere.
Overcrowding stresses worms and cuts their feeding and egg-laying. When worms don’t have enough space, they stop reproducing and may even die. Keeping about 1 pound of worms per square foot helps avoid this problem.
Worms also need enough food. But too much or the wrong kind can cause trouble.
Uneaten food rots and creates ammonia, which harms worms. Feeding small amounts of fruit, veggie scraps, or shredded paper every few days works well.
- Check moisture weekly; add water if bedding feels dry.
- Remove excess water quickly when pooling appears.
- Limit worm population by harvesting every 3 to 6 months.
- Feed scraps in small amounts, no more than 1 pound per 1,000 worms weekly.
- Use shredded cardboard or leaves to keep bedding balanced.
- Avoid meat, dairy, and oily foods to prevent bad smells.
Refreshing bedding every few months keeps the system healthy. Take out some old bedding. Add fresh material instead.
This stops the compost from becoming too acidic or salty. Worms thrive in pH around 6 to 7.
Harvest worms when your pile feels dense and you see fewer babies. Removing adult worms reduces overcrowding and lets babies grow in less crowded conditions. A good harvest schedule helps maintain good breeding conditions year-round.
Watch for small signs. Damp bedding and low worm action come first. These often lead to bigger breeding problems.
Step-by-Step Action Plan to Start Breeding Worms
Follow these steps to begin breeding worms for composting and gardening. Each step tells you how to check if it’s working.
- Before you start: Choose red wigglers or nightcrawlers, known for fast breeding. Healthy worms are active and shiny.
- Day 1: Set up a moist bin with bedding like shredded newspaper. Check moisture by squeezing bedding, should feel like a wrung-out sponge.
- Week 1: Add a small amount of food scraps. Avoid oily or acidic foods. Worms should begin burrowing in the bedding.
- Week 2: Monitor temperature and moisture daily. Keep temperature between 55°F and 77°F and bedding moist but not soggy.
- Week 3: Look for small yellow or tan cocoons in the bedding. This shows worms are mating and laying eggs.
- After 4 weeks: Add more food scraps to support growing worms. Count worms occasionally; numbers should increase.
- After 6 weeks: Harvest some worm castings and add fresh bedding. Healthy soil and worms indicate a thriving setup.
- Ongoing: Remove excess moisture, feed regularly, and separate worms from castings to prevent overcrowding.
Frequently Asked Questions
How Do Worms Find Each Other to Mate?
Worms use vibrations and chemical signals to locate mates. These cues help them sense when another worm is nearby for reproduction. Keeping your worm bin stable encourages these natural signals.
Can Worms Breed Without Soil?
Worms can breed in bedding that mimics soil, like shredded paper or coconut coir. This bedding holds moisture and provides a dark environment. Proper moisture and food are still essential for breeding success.
What Temperature Stops Worms from Breeding?
Temperatures above 85°F (29°C) or below 50°F (10°C) usually halt worm breeding. Worms need a cozy range around 59-77°F (15-25°C) to reproduce well. Avoid extreme heat or cold in your worm bin.
Do Baby Worms Eat the Same as Adults?
Baby worms eat decomposing food and bedding just like adult worms. Their diet helps them grow to reproductive size in about six weeks. Providing fresh food helps their development.
Can Worms Breed Indoors Year-Round?
Worms can breed indoors if you maintain proper temperature and moisture. Keep their bedding moist and the temperature steady between 59-77°F (15-25°C). Indoor worm bins let you compost and breed worms year-round.
How Do Worms Reproduce If Kept Alone?
Worms are hermaphrodites but need another worm to exchange sperm and lay cocoons. A single worm alone won’t breed successfully because mating is required. Keep at least two worms for breeding.
Key Points to Remember
Worms breed by mating and laying cocoons that hatch baby worms. Watch your setup closely to keep conditions just right. Start today by checking your worm bin’s moisture and temperature.