How Many Potatoes Come from One Plant: A Complete Guide to Yields and Growth
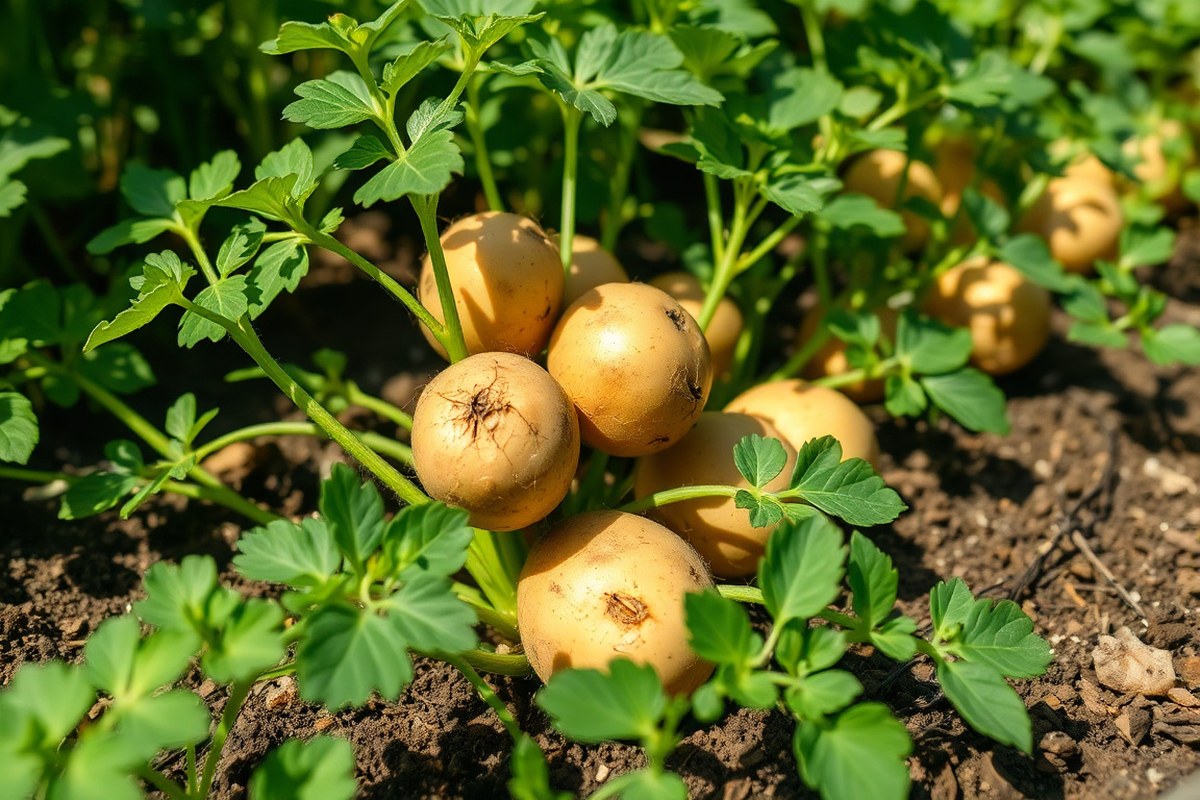
How many potatoes come from one plant depends on variety and conditions. Usually, a healthy potato plant produces between 3 and 5 pounds. Sometimes you get as little as 1 pound or as much as 6 pounds per plant.
Plant seed potatoes 4 to 6 inches deep and space them about 12 inches apart. If tubers grow too large, plant them a bit closer. Make sure they receive 6 to 8 hours of direct sunlight daily for strong growth.
The number of potatoes varies with seed size and care. Planting four to five pounds of seed can give a good harvest. You might get about 125 pounds if plants stay healthy.
Good care means paying attention to soil, watering, and pest problems. This helps plants grow well and reach their full yield potential.
Key Takeaways
- Plant seed potatoes 4 to 6 inches deep for optimal tuber growth.
- Space tubers 12 inches apart unless you want smaller potatoes.
- Potato plants need at least 6 to 8 hours of sunlight daily.
- Healthy plants typically yield 3 to 5 pounds of potatoes each.
- Poor conditions can reduce yields to 1 pound or less per plant.
- Proper soil care and watering boost potato production significantly.
How Many Potatoes Does One Plant Typically Produce?

On average, one potato plant produces around 8 to 10 tubers. This matches common reports saying plants yield between 5 and 10 potatoes each. Expect about 3 to 8 potatoes per plant in usual conditions.
Some varieties can produce 12 or more tubers. The number depends on the type of potato you grow.
In terms of weight, each plant often grows 3 to 5 pounds of spuds. Yields range from 2 to 6 pounds per plant, say some sources. This depends on the potato variety and how well you care for it.
Growing conditions matter too. Usually, potatoes weigh 6 to 13 ounces each. So if you have 8 potatoes, you’d harvest about 4 to 6 pounds total.
For example, 8 tubers of 7 ounces each total 56 ounces. That equals 3.5 pounds from one plant. This shows how weight adds up quickly.5 pounds per plant.
This weight range fits well with most home gardening results. Fingerling potatoes can produce more tubers, like 15 to 20 small ones. But they usually weigh less per tuber.
Yield can vary a lot with soil, water, and sunlight. Getting proper hilling and spacing helps you get better yields. You should pile soil around plants as they grow.
Keep enough space between plants too. Early varieties produce fewer tubers, often between 3 and 6. They mature faster and the tubers are smaller.
This affects the total potato count. Larger tubers mean fewer potatoes, but the total weight might stay similar.
Which Potato Varieties Yield the Most Tubers?
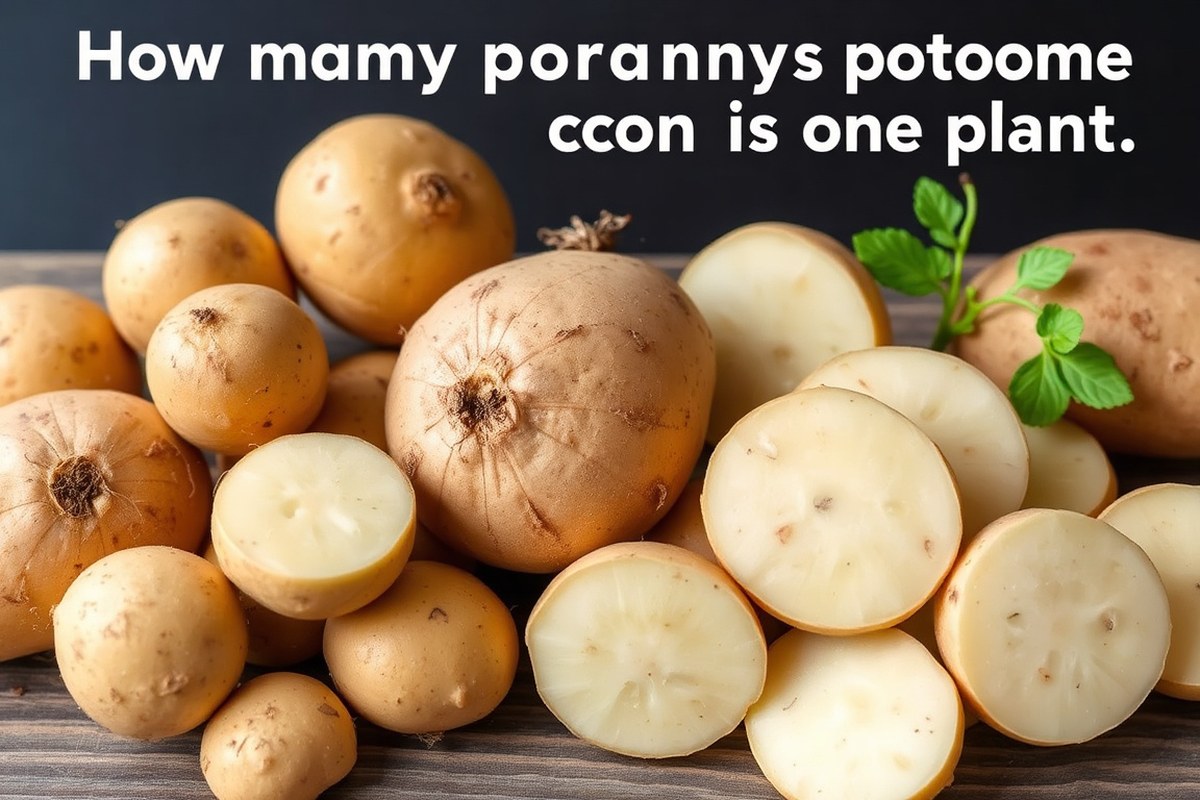
Potato variety strongly affects how many tubers you get per plant. Some yield fewer but larger potatoes, while others produce many smaller ones. Choosing the right variety helps meet your garden goals, balancing size and quantity.
High-Yield Large Tuber Varieties
Russet Burbank is famous for producing fewer, larger potatoes. These tubers often weigh more but count less per plant. Expect around 5 to 8 potatoes per plant, usually weighing 2 to 4 pounds total.
Yukon Gold also grows medium to large potatoes with a moderate count. Plants typically give 6 to 10 tubers each. These do well in well-drained soil under full sun for best size and weight.
Varieties Producing Many Small Tubers
Red Pontiac tends to produce more tubers, often 7 to 12 per plant. These potatoes are generally smaller but add up to a good total yield. Fingerling types grow many small, thin tubers.
Each plant has about 4 to 6 tubers. They are narrower than regular potatoes.
Fingerlings can surprise growers with 10 to 15 small tubers if conditions are ideal. They prefer sandy soil and moderate sun, making them good for certain small-scale setups.
Choosing the Right Variety for Your Goals
Choose Russet Burbank or Yukon Gold for fewer, bigger potatoes. These work best for baking or mashing.
Their bigger tubers suit those uses perfectly. For salads or roasting, try Red Pontiac or fingerlings for smaller, more numerous potatoes.
Soil and water management matter too. Looser soil and consistent moisture favor larger tubers. Fertile soil with regular watering helps varieties that produce many small tubers achieve better yields.
| Potato Variety | Average Yield per Plant | Best Growing Conditions |
|---|---|---|
| Yukon Gold | 6-10 potatoes | Well-drained soil, full sun |
| Russet Burbank | 5-8 potatoes | Loose soil, consistent moisture |
| Red Pontiac | 7-12 potatoes | Fertile soil, regular watering |
| Fingerling | 4-6 potatoes | Sandy soil, moderate sun |
This table helps you pick the right variety. Match it to your soil type and space.
It shows which ones usually grow best. Remember that yields depend on local climate and care along with variety choice.
Don’t expect these numbers to be exact. Poor soil or inconsistent water lowers yields noticeably.
How Planting Depth and Spacing Impact Potato Yields
Recommended Depth for Planting Seed Potatoes
Plant seed potatoes about 4 to 6 inches deep for best results. This depth protects the seed from drying out and helps tubers grow properly underground.
Planting too shallow causes tubers to get sunburned and turn green. Green tubers taste bitter and aren’t safe to eat.
Planting deeper, at around 6 to 8 inches, encourages a longer stem, which can boost yield. Planting deeper than 8 inches slows sprout growth. It may also cause rotting.
Wet soil makes rot more likely. Ridget up soil around plants as they grow to keep tubers covered.
Optimal Spacing Within and Between Rows
Space your potato plants 12 to 14 inches apart. Keep rows 30 to 36 inches apart. This gives each plant room to grow.
This spacing gives each plant room to get sunlight and nutrients. Crowded plants yield less because they compete for resources.
Rows spaced 3 feet apart allow you to move between them easily for hilling and harvesting. Proper light and air circulation help prevent disease and encourage bigger tubers. Sticking to this spacing helps you optimize yield per square foot.
Adjusting Depth and Spacing by Soil and Seed Size
In sandy soil, plant seed potatoes a bit deeper, around 6 inches, to keep moisture steady. Clay soil may need shallower planting, about 4 inches, to avoid waterlogging and rot. Adjust your soil mounding accordingly to keep tubers well covered.
Use larger seed potatoes to produce stronger plants. But cut them into pieces with at least one eye each. Space those pieces carefully to prevent overcrowding.
Smaller seed pieces or eyes need slightly closer spacing. But avoid less than 12 inches apart.
Adjust row spacing if you grow in tight spaces. But keep more distance if planting larger varieties like russets. Give red or fingerling potatoes enough room for their typical moderate-to-large yields.
Follow these steps to plant seed potatoes at the right depth and spacing:
- Choose seed potatoes of good quality and size, cutting into pieces if needed.
- Measure and mark rows about 30 to 36 inches apart in the garden bed.
- Dig trenches or holes 4 to 6 inches deep. Adjust depth for soil type or size of seed potatoes. This helps the plants start strong.
- Place seed potatoes in the trench, spacing pieces 12 to 14 inches apart.
- Cover seed thoroughly with soil to reach the correct depth.
- Water immediately after planting to settle soil around seed pieces.
- As plants grow, mound soil around stems to protect tubers from sunlight.
How Growing Conditions Affect Potato Production
Potatoes need 6 to 8 hours of full sun each day. Sunlight helps plants build strong stems and energy for tubers. Low light can mean tall plants with few potatoes.
Soil plays a big role in potato growth. Loose, well-drained soil lets tubers expand easily and prevents rot. Sandy or loamy soils work best.
Heavy clay can hold too much water and cause diseases. Adding compost boosts soil fertility and supports steady growth throughout the season.
Keeping soil moist but not soggy is key. Potatoes need regular watering, especially during tuber formation. Water deeply once or twice a week, depending on rainfall.
Too little moisture causes small tubers. Overwatering may lead to rot or fungal problems.
The ideal temperature range for potatoes is between 60°F and 70°F. Too-hot weather over 80°F can stress plants and reduce yields. Cool nights also help tubers grow better. Mulch keeps the soil cool during hot weather.
Avoid planting potatoes too early when frost is still likely. This helps protect young plants from cold damage.
Poor or soggy soil can hurt potato growth. Raised beds or containers can improve drainage and soil quality. This lets your plants grow better roots.
You can also add organic matter like compost or aged manure to increase fertility. These fixes support healthier roots and more potatoes.
For watering, check soil with your finger; it should feel damp but not soggy. In hot zones or dry spells, water more often to keep plants healthy. Consider drip irrigation or soaker hoses to deliver water slowly and consistently without wetting leaves.
Using Seed Potatoes: Size, Quality, and Source Matters
Using quality seed potatoes matters more than their source for good yield. Store-bought potatoes often come treated with chemicals to prevent sprouting.
These treatments can stop or slow sprout growth, leading to weak plants and smaller harvests. Always check the seed potato’s condition and whether it looks healthy and firm before planting.
Seed size plays a clear role in how many potatoes each plant will produce. You want seed potatoes about 2 ounces each. This size usually means the seed has enough energy stored for strong early growth.
Each seed piece should have at least three eyes, or small dimples, where sprouts will emerge. More eyes boost the chances of solid plant development and a good number of tubers underground.
- Choose seed potatoes 2 ounces or slightly larger.
- Cut seed potatoes into pieces with three or more eyes.
- Pick firm, disease-free potatoes without green spots.
- Buy certified seed potatoes from local garden centers or seed suppliers.
- Avoid store-bought potatoes treated to prevent sprouting.
- Keep seed potatoes cool and in the dark before planting.
Certified seed potatoes come from growers that test them for diseases and guarantee quality. These seeds cost about $1 to $3 per pound, depending on variety and source. You can find seed potatoes at farm supply stores.
They also sell them online. Local cooperative extension offices offer them early spring.
Good seed produces plants with enough leaves and energy to grow 8 to 10 potatoes each. Poor seed often results in weak plants and smaller, fewer potatoes.
Don’t plant green or sprouted store-bought potatoes. They often don’t yield well and can spread disease.
Start with strong seed potatoes and proper cutting. Plant whole seed pieces or chunks with many eyes. This helps strong sprout growth.
Strong sprouts make fuller foliage on your plants. More leaves mean the plant can support bigger potato growth underground.
Without enough foliage, growth stops early and yields drop. Treat your seed selection as the first step for a fruitful crop.
Common Yield-Limiting Problems and How to Fix Them
Pests like the Colorado Potato Beetle can eat leaves and weaken plants. This pest stress lowers how many tubers your plant produces. Early blight is a common disease in potatoes.
It causes dark spots and leaves to curl. This stops the plant from making enough energy for tubers.
Overwatering potatoes can cause roots to rot and stunt tuber growth. The soil stays soggy and oxygen does not reach roots well. That leaves your plant weak and producing fewer potatoes than it could.
Common growing mistakes also limit potato yields. Planting too close makes plants compete for nutrients. Not removing weeds lets them steal water and minerals needed for tubers.
- Check plants weekly for beetles and remove by hand or with insecticidal soap
- Remove and destroy leaves with early blight spots to stop spread
- Water plants deeply once or twice a week instead of daily shallow watering
- Plant seed potatoes 12 inches apart for enough space to grow tubers
- Keep weeds out around plants using mulch or hand weeding every week
Treat pests early by spotting beetles before they multiply. Hand removal costs time but no chemicals. Insecticidal soap costs around $10 for a spray bottle and works quickly.
To fix overwatering, monitor soil moisture. Stick your finger 2 to 3 inches into soil and water only if dry.
Ensure proper drainage by adding some sand or organic matter to heavy soil. Good results show healthy green leaves and firm tubers.
Spacing helps potatoes spread underground without fighting for nutrients. Crowded rows often mean smaller, fewer tubers. Keep your potatoes free from weeds by regular weeding.
This helps them get enough nutrients and water. It leads to a fuller harvest.
Knowing When and How to Harvest for Maximum Yield
Potatoes reach their best size and yield when harvested at the right time and handled carefully. Knowing when to dig and using gentle methods protects tubers and encourages bigger, healthier spuds. Starting at the right time helps you get more potatoes.
Use proper digging methods for the best yield. Timing and technique both matter a lot.
Signs Potatoes Are Ready to Harvest
Wait until the potato plant’s leaves turn yellow and begin to die back. This signals the tubers have matured. Dig up a small test patch to check tuber size.
This shows if the potatoes are big enough. It helps you decide when to harvest.
Flowering does not always mean potatoes are ready to harvest. Sometimes it means the tubers are still growing underground. Gently dig a few potatoes to check their size.
This gives a clear idea if they are ready. Testing helps avoid harvesting too early or late.
Proper Digging Techniques
Careful digging avoids bruising or cutting the potatoes, which can lead to rot. Use a garden fork to loosen soil around the plant. Do this at least 12 inches away from the base.
It helps protect the tubers while digging. Carefully lift the plant and soil together.
Avoid stabbing tubers with your digging tool. Handle them gently to prevent damage.
Harvest potatoes on a dry day to make digging easier and keep tubers clean. Avoid rough handling by placing them softly into a basket. Leave smaller potatoes in the ground if you want them to grow bigger next time.
Post-Harvest Handling Tips
Let dug potatoes dry on the soil for a few hours. This helps cure their skin before storage. Good drying extends their shelf life.
This step makes the skins tougher and helps prevent damage and disease. Store potatoes in a cool, dark, well-ventilated place at about 45 to 50 degrees Fahrenheit.
Avoid storing potatoes near onions or in plastic bags because they can spoil faster. Sorting out damaged or cracked tubers before storage stops rot from spreading. Good handling after harvest extends how long your potatoes last.
- Check for yellowing leaves and dieback as a sign of maturity.
- Dig a small test area to inspect tuber size before full harvest.
- Use a garden fork to loosen soil around the plant carefully.
- Lift the plant and surrounding soil gently, avoiding spud cuts.
- Collect tubers carefully into a basket or container.
- Let potatoes dry on the ground for several hours to cure.
- Sort out any damaged or bruised potatoes.
- Store in a cool, dark, and ventilated area, avoiding plastic.
Strategies to Maximize Potatoes from One Plant
Hilling your potatoes plays a big role in increasing yields. It supports plant stems and pushes soil up around the base. This encourages the plant to grow more tubers underground by protecting them from sunlight and pests.
To do hilling right, start when your potato plants reach about 6 inches tall. Pile soil gently around each stem until it covers 4 to 6 inches of the plant.
Repeat this process two or three times every couple weeks as the plant grows. This takes time but helps your plant grow stronger and produce more potatoes.
Fertilizing also boosts the number and size of potatoes. Use a balanced fertilizer with equal parts nitrogen, phosphorus, and potassium before planting. Then apply a side-dressing of fertilizer once the plants are about 6 inches tall.
Stick to the package amount to avoid overfertilizing. Organic compost also works well for slow, steady feeding.
Watering your plants consistently is essential to maximize yields. Potatoes need about 1 to 2 inches of water weekly.
Water deeply once or twice a week to keep the soil moist but not soggy. Overwatering can cause rot, and too little water will reduce tuber growth.
Potatoes perform best in full sunlight for at least 6 hours daily. Plant your potatoes where they get plenty of morning or afternoon sun. Shady spots will give you fewer and smaller tubers.
- Hill soil around plants at 6-inch height; repeat 2-3 times
- Apply balanced fertilizer before planting and at 6-inch growth
- Water 1-2 inches weekly with deep irrigation
- Grow in a spot with 6+ hours of sunlight per day
- Use organic compost for steady nutrient supply
- Watch soil moisture to avoid rot or dry stress
- Containers can yield 5-10 potatoes each in small spaces
Don’t skip hilling; it protects tubers and encourages more growth underground.
Container growing is handy if space is tight. You can still get 5 to 10 good potatoes per plant using large pots.
Just keep watering and fertilizing on schedule. Hill soil up inside the containers to keep tubers covered.
Following these steps takes some effort but pays off with bigger and more potatoes. Pay close attention to watering, sunlight, and feeding schedules for the best results. Small adjustments can raise your potato harvest noticeably by the end of the season.
Step-by-Step Action Plan to Boost Your Potato Yield
Follow these easy steps to get the most potatoes from each plant. Track your progress to know what’s working best.
- Before planting: Choose certified seed potatoes from a trusted source to avoid disease. Healthy seeds grow better plants.
- Planting day: Plant seed potatoes 4 inches deep and space them 12 inches apart. This gives each plant room to grow tubers.
- Week 2: Start watering regularly to keep soil moist but not soggy. Well-watered plants develop bigger, more potatoes.
- Weeks 4-6: Hill soil around the stems to cover tubers forming near the surface. This protects them and encourages more tubers.
- Week 8: Check for pests like Colorado potato beetles and treat promptly. Pests can reduce your potato count significantly.
- Week 10: Stop watering gradually as plants mature to toughen the skin for storage. This helps potatoes last longer after harvest.
- Harvest time (usually week 12+): Gently dig up plants after vines turn yellow and die back. Avoid stabbing tubers with your tool.
Frequently Asked Questions
How Many Tubers Can One Potato Plant Produce on Average?
One potato plant can produce between 8 to 13 tubers on average. These tubers vary in size and depend on the plant’s care and growing conditions.
Can Spacing Seed Potatoes Closer Affect Potato Size?
Yes, planting seed potatoes closer can make tubers smaller but increases their number. For example, spacing at 8 to 9 inches encourages more small potatoes per plant.
How Does Sunlight Exposure Influence Potato Yield?
Potatoes grow best with 6 to 8 hours of full sun each day. Plants without enough sunlight tend to yield fewer, smaller tubers.
What Is the Typical Weight Range for Potatoes from One Plant?
One potato plant usually yields between 2 to 6 pounds of potatoes. The exact weight depends on variety, care, and soil quality.
Does Planting Depth Change the Number of Potatoes Grown?
Planting seed potatoes 4 to 6 inches deep promotes better tuber development and yield. Too shallow or deep can reduce potato numbers and size.
How Much Seed Potato Weight Should You Plant for a Good Harvest?
Planting 4 to 5 pounds of seed potatoes generally results in about 125 pounds at harvest. Healthy growth and proper hilling are important for this yield.
Before You Go
One potato plant can yield several pounds of potatoes with good care. Focus on healthy seed, proper planting, and pest control for best results. Start by picking quality seed potatoes this season for a stronger crop.