Are Grass Clippings Good for Garden: What Actually Works and How to Use Them
Are grass clippings good for garden soil and plants? Yes, they add valuable nutrients like nitrogen, phosphorus, and potassium. These nutrients support healthy plant growth and improve soil quality when used properly.
Using grass clippings as mulch helps cool roots and conserve moisture around garden plants. Keep the layer thin, about 1 to 2 inches, to avoid mold and bad smells. Spread clippings evenly and mix them with other organic materials for best results.
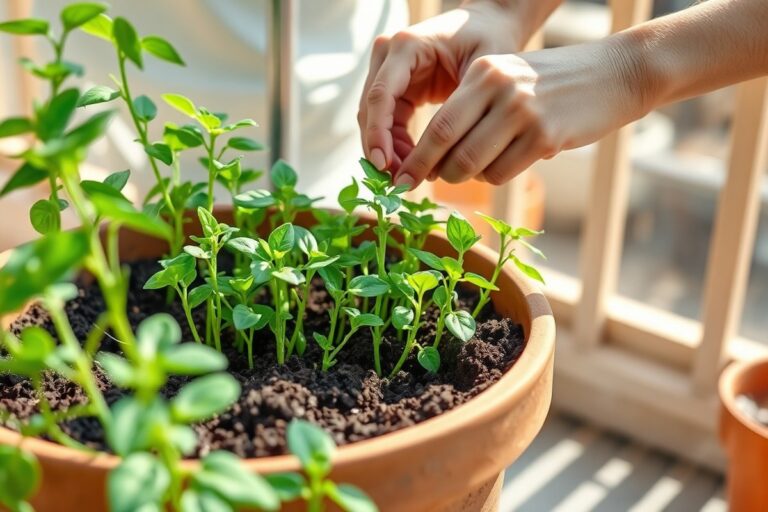
Fresh grass clippings return up to 25% of the nutrients that plants remove from the soil. Add 2 to 3 inches of clippings into the soil. For container gardens, spread a 1- to 2-inch layer on top.
This helps feed the plants and holds moisture. Avoid piling clippings too thick, which can harm your plants and attract pests.
Key Takeaways
- Spread grass clippings 1 to 2 inches thick to mulch around plants effectively.
- Mix grass clippings with dry leaves, wood chips, or newspaper for balanced mulch.
- Work grass clippings into the soil about 6 inches down. Use 2 to 3 inches of clippings for good results. This method nourishes your garden naturally.
- Use dry clippings to avoid mold and unpleasant odors in your garden beds.
- Turn grass clippings into organic liquid fertilizer by soaking them in water.
- Apply a 2- to 4-inch thick layer of clippings to help deter weeds.
Are Grass Clippings Beneficial for Garden Soil and Plants?
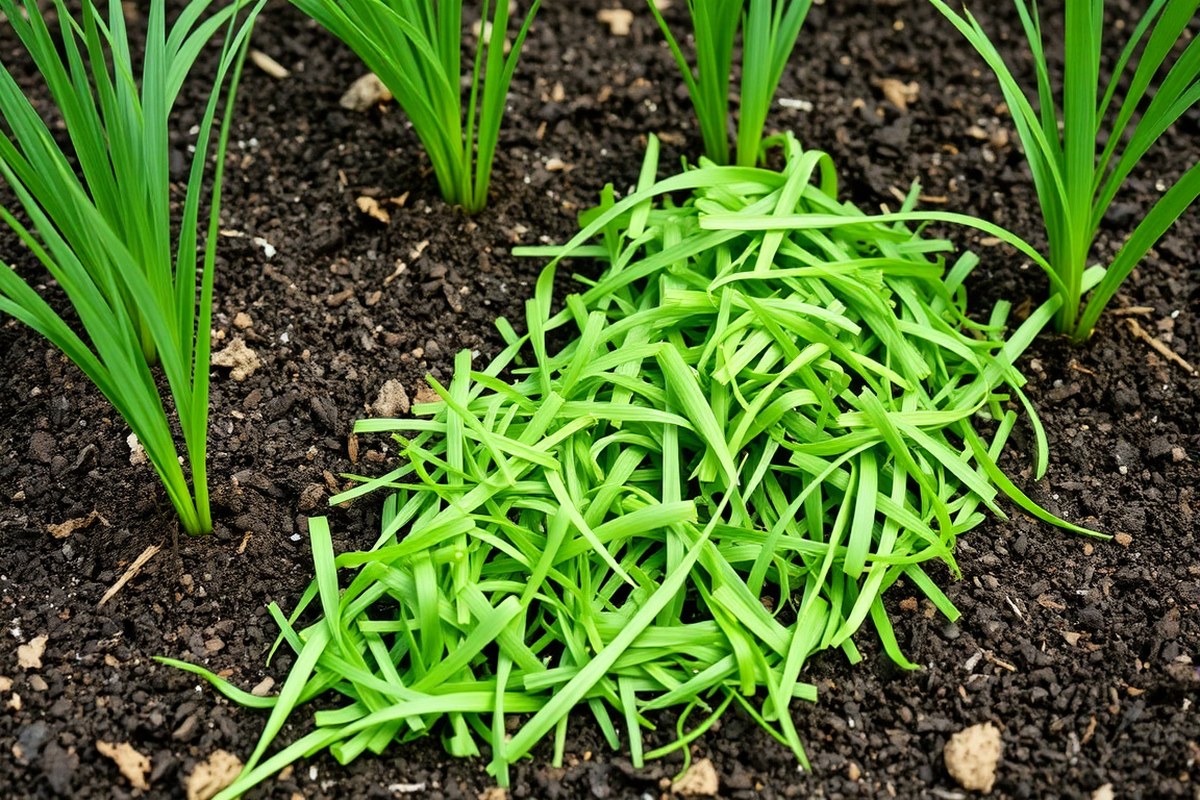
Grass clippings add valuable nutrients to garden soil, especially nitrogen, phosphorus, and potassium. They typically contain about 4% nitrogen, 1% phosphorus, and 2% potassium. These nutrients support healthy plant growth by replenishing what plants use up from the soil.
Spread 2 to 3 inches of grass clippings over garden soil. Lightly mix them about 6 inches deep. This makes them start breaking down fast.
This quick decomposition releases nutrients quickly, feeding plants and boosting growth. Spread a 1 to 2-inch layer of clippings on container garden soil. This gives your plants a nutrient-rich boost.
Beyond nutrients, grass clippings help keep soil moist by reducing evaporation. This moisture retention is key during dry spells, saving you watering time. They also cool the root zone, protecting plant roots from heat stress on hot days.
As clippings break down, earthworms and helpful microbes get attracted to the soil. These organisms improve soil structure and aeration while helping roots grow stronger. The resulting soil is healthier and more supportive of plant life.
Grass clippings also work as a natural weed barrier. They block sunlight, slowing weed seed germination and reducing the need for chemical herbicides. This makes garden care easier and encourages a tidy growing space.
How to Use Grass Clippings as Mulch Effectively
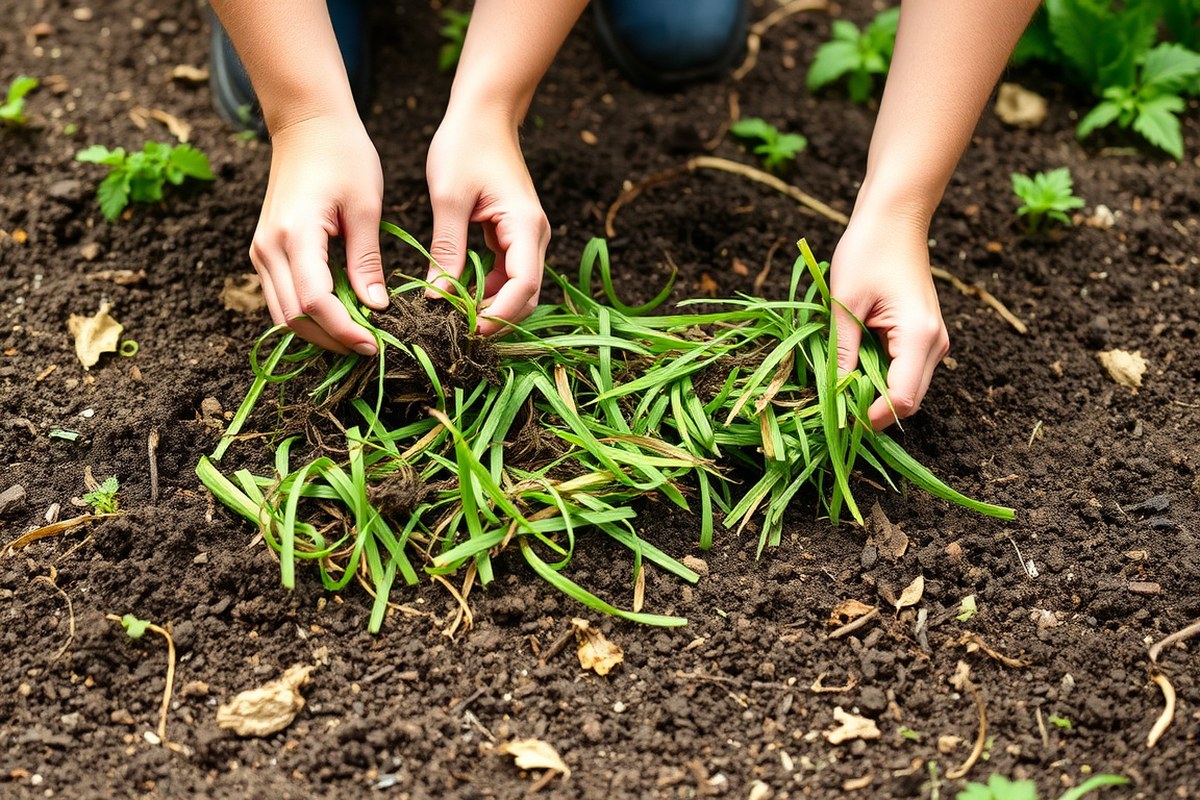
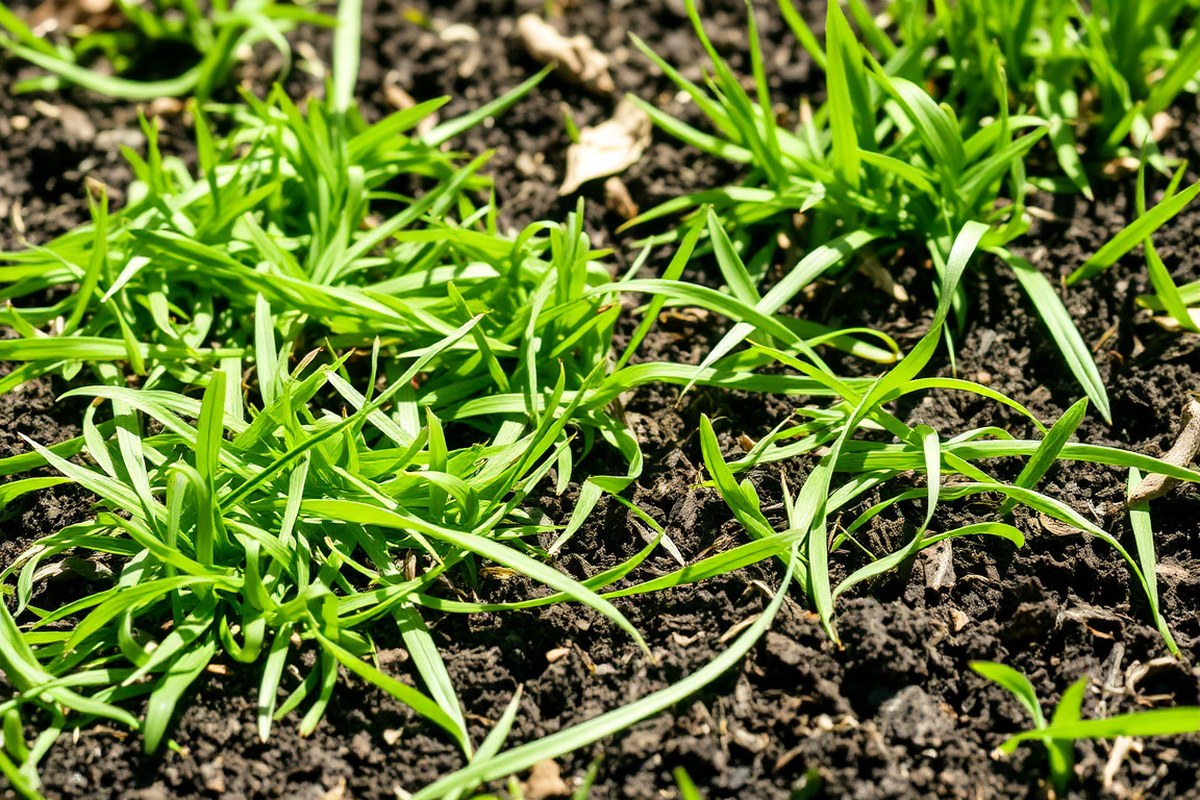
Yes, grass clippings can be used as mulch in your garden. Apply them in thin layers to avoid matting and allow water and air flow. Spread about 1 to 2 inches thick for good weed control without harming your plants.
Preparing Grass Clippings for Mulch
Cut the grass when it is dry to avoid clumping and sour smells. Avoid clippings with seeds or chemical treatments to keep your garden healthy. Let the clippings dry for a few hours before spreading them.
Here’s how to prepare grass clippings for mulch properly:
- Mow your lawn with a clean mower to avoid bringing weeds.
- Collect fresh clippings but use only dry ones to prevent mold.
- Remove any large clumps by breaking them up with your hands or a rake.
- Discard any clippings that contain seeds or come from chemically treated areas.
- Let the clippings air dry until they feel loose and dry to touch.
Wet clippings can form a thick, slimy mat that blocks air and water.
Applying the Ideal Thickness and Coverage
Spread grass clippings in layers between 1/4 inch and 2 inches thick. Thin layers let oxygen reach roots and stop clumping. Thicker layers, like 2 to 4 inches, block weeds better but risk cutting off air.
Adjust thickness based on your garden’s needs. Use thinner layers for vegetable gardens and thicker ones in flower beds or bare soil.
Maintaining and Reapplying Mulch Layers
Check your mulch layer every couple of weeks or after heavy rain. Add fresh clippings as the old layer breaks down or thins. Avoid piling clippings more than 2 inches thick to keep soil healthy.
Applying fresh layers every one to two mowing sessions keeps mulch effective. Mixing clippings with shredded leaves or compost improves texture and nutrient balance.
Common Risks and How to Avoid Problems with Grass Clippings
Using grass clippings in your garden has some risks you need to watch. Clippings can carry herbicide residues that harm plants. Avoid clippings from lawns treated recently with weed killers or pesticides.
Also, skip clippings from lawns with fresh fertilizers. This helps keep your garden safe.
Mold or unpleasant odors can happen if grass clippings are too thick or wet. Don’t spread clippings thicker than 2 or 3 inches. Thick clumps trap moisture inside.
This can cause mold and damage your plants. Thin layers dry faster and avoid bad smells while helping soil breathe.
Weeds and disease spread is another concern. Some grass clippings may contain seeds or fungal spores. Check the source lawn.
Skip using clippings if they have weed seed heads. These seeds may spread weeds in your garden. This step helps stop new weed growth and protects your plants.
- Use only dry grass clippings without seed heads.
- Spread clippings in thin layers for best results. Use no thicker than 1 inch for mulch. For bed cover, 2 to 3 inches works well.
- Do not pile clippings tightly; leave space for airflow.
- Avoid clippings from lawns recently treated with chemicals.
- Keep clippings away from plant stems to prevent smothering.
- Remove any weeds or pests you spot before applying clippings.
- Apply fresh clippings in small amounts to prevent heat build-up.
Leaves and grass can smother delicate plants if you don’t leave space at the base. Pull clippings back about an inch or two near stems. This prevents trapping too much moisture and avoids rot or fungus growth on your plants.
To avoid problems, wait until grass is dry before gathering clippings. This lowers the chance of mold forming when you spread them. Using clippings this way reduces waste and saves money.
They provide free nitrogen to help your plants grow. It doesn’t harm your garden.
Best Practices to Prepare and Store Grass Clippings Before Using
Fresh grass clippings need a little care before you spread them in garden beds. Use clippings without any weed killers or chemicals to avoid harming your plants. It’s best to collect clippings dry, right after mowing, for easier handling and storage.
Drying clippings matters if you want to save them or mulch thickly. It helps prevent mold. Dry clippings work better as mulch.
Wet clippings can clump and create a smelly, slimy mess that blocks air and water. Spread clippings thinly on a tarp or newspaper for a few hours.
Let them dry until crumbly. Check they feel dry before using.
- Collect clippings after mowing with a clean mower blade
- Keep clippings chemical-free and free of weeds
- Dry clippings in a single layer in sun or a warm spot for 3-6 hours
- Store dried clippings in breathable bags to avoid mold
- Use fresh clippings immediately for quick nitrogen boost
- Use dried clippings for mulch to reduce moisture build-up
- Avoid piling clippings thicker than 2 inches to prevent matting
Storing clippings correctly lets you keep a stockpile for slow garden use. Use mesh bags or open bins in a shady, dry area.
Check stored clippings every few days and stir them gently to avoid mold or bad smells. Keep clippings in moderate amounts so they dry thoroughly without rotting.
With well-prepared clippings, your garden beds get steady nutrients and moisture protection. Drying before storage helps avoid the slimy mess that can damage roots. Use fresh clippings in the growing season for quick nitrogen release.
Save dried clippings for a slow mulch that keeps weed growth down. These steps prevent problems and support strong, healthy plants.
Composting Grass Clippings: What Works and What to Avoid
Grass clippings need to be mixed with other materials to compost properly. Using only clippings causes bad smells and slow decay. Composting them right makes rich soil your plants will love.
Why Not Compost Only Grass Clippings?
Grass clippings contain about 80% water, which is too much for good compost alone. They rot quickly and create a slimy, smelly mess without proper dry materials.
Overloading your compost pile with only clippings can also cause matting that stops air flow. Lack of oxygen slows decay and can attract pests.
Ideal Carbon-to-Nitrogen Ratios for Compost
An ideal compost mix has a carbon-to-nitrogen (C:N) ratio around 25-30:1. Grass clippings are rich in nitrogen with a ratio about 15:1. So you need carbon-rich “browns” like dried leaves or straw.
Adding these browns balances moisture and prevents odor problems. Around two parts browns for every one part fresh grass helps create good compost.
Composting Process and Timeline with Clippings
Grass clippings break down fast because they have nitrogen and moisture. Mixing thin layers into soil or compost speeds decomposition, which takes a few weeks.
Keeping the pile moist and turning it every week or two supplies oxygen. Without turning, the compost can get smelly or compacted, delaying breakdown. Follow these steps to compost grass clippings well:
- Collect fresh grass clippings free from chemicals or weeds.
- Gather dry leaves or shredded paper as your carbon source.
- Mix one part grass clippings with two parts dry browns thoroughly.
- Add the mix to your compost pile in thin layers no thicker than 2 inches.
- Turn the pile every 7 to 14 days to add air and prevent matting.
- Keep the compost moist but not soggy, similar to a damp sponge.
- Wait 3 to 6 weeks for the material to break down into dark soil-like compost.
- Use the finished compost in your garden beds to improve soil fertility.
Never pile thick fresh grass clippings alone; they will rot and smell badly.
Using Grass Clippings to Make Organic Liquid Fertilizer
Yes, you can make liquid fertilizer from grass clippings. This organic fertilizer, also called grass clipping tea, is rich in nitrogen and other nutrients. It offers an easy way to feed your garden without chemicals.
Collecting and Preparing Clippings for Steeping
Start by gathering fresh grass clippings, ideally from a healthy, untreated lawn. Avoid clippings with weed killer or pesticides. Rinse the clippings briefly if dust or debris is heavy.
Cut the grass into small pieces to help nutrients release faster. The quantity depends on how much fertilizer you want. But usually a large handful per gallon of water works well.
Brewing the Grass Clipping Fertilizer Tea
Use a clean bucket or container for brewing. Place the prepared clippings in the container and cover them with water. Use about one part grass to five parts water to keep it balanced.
Allow the mixture to steep for 3 to 5 days at room temperature. Stir it once a day to introduce oxygen and spread nutrients evenly. Strain the liquid before use, discarding the leftover grass.
- Collect fresh grass clippings free of chemicals.
- Chop clippings into small pieces.
- Fill a bucket with 1 part clippings to 5 parts water.
- Stir the mixture daily for 3 to 5 days.
- Strain out the clippings using a fine sieve or cloth.
- Use the liquid fertilizer immediately or store it in a cool spot.
Applying the Liquid Fertilizer to Garden Plants
Dilute the fertilizer if it looks very dark or strong. A 10:1 water ratio is safe for most plants. Pour the fertilizer around the base of each plant, avoiding direct leaf contact to prevent burning.
Apply every 2 weeks during the growing season for best results. This liquid is especially good for nitrogen-loving vegetables and leafy plants. Watch your plants for signs of nutrient boost or stress after application.
Comparing Grass Clippings to Other Mulch Types for Garden Use
Grass clippings break down faster than most mulch types like wood chips or dried leaves. They release nitrogen quickly, which helps feed plants sooner.
Wood chips last longer and help keep soil moist. But they don’t provide nutrients as fast as grass clippings.
Dried leaves add some nutrients but not as much nitrogen. They also break down slower than grass clippings but faster than bark or wood chips. Wood chips and shredded bark form a thick, dense layer.
They block sunlight very well. This makes them the best at stopping weeds.
Combining grass clippings with wood chips balances benefits. The wood chips improve air flow and limit the chance of clumping. Add 1 to 2 inches of grass clippings on top.
Place it over 2 to 6 inches of wood chips. This provides nutrients and keeps moisture in the soil.
| Mulch Type | Decomposition Speed | Nutrient Supply | Weed Suppression | Moisture Conservation |
|---|---|---|---|---|
| Grass Clippings | Fast (weeks to months) | High nitrogen release | Moderate (may mat if thick) | Moderate |
| Wood Chips/Bark | Slow (months to years) | Low (mostly carbon) | High (thick layer blocks weeds) | High |
| Dried Leaves | Medium (months) | Moderate nitrogen | Moderate | Moderate |
| Hay | Medium | Moderate nitrogen | Moderate | Moderate |
| Newspaper Clippings | Medium | Low to moderate | Moderate to high | Moderate to high |
Grass clippings need to be applied thinly to avoid matting that blocks water and air. Doing layers with coarser mulch under the grass clippings helps keep the soil healthy. This way lowers the chance of rot.
It keeps soil moisture for longer. It works better than using only grass clippings.
Wood chips cost more unless you collect them yourself. They last through several seasons without much maintenance. Grass clippings are free if you mow your lawn.
But you have to refresh them often. Their quick breakdown means you need regular application to keep nutrients coming.
When to Avoid Using Grass Clippings in Your Garden
Avoid using grass clippings from lawns treated with herbicides or pesticides. Chemicals in these clippings can damage helpful insects and soil life. They may stay in your garden soil and harm plants.
Check clippings for signs of weeds, disease, or mold before adding them to your garden. Discard clippings that smell sour or look slimy, as they could carry harmful pathogens. It’s better to toss questionable clippings than risk spreading problems.
Collect clippings only from healthy lawns. Make sure they haven’t had chemical treatments recently. This keeps your garden safe.
When unsure about the lawn’s care, don’t add clippings to vegetable or flower beds. This decision helps prevent chemical or disease contamination in your garden soil.
Use grass clippings right after mowing for best results. Or dry them briefly to stop mold. Then add them to your garden beds.
Adding too many clippings at once can smother plants or slow decomposition. Keep the layer thin, about one inch thick. Thick layers of clippings take weeks to break down.
Cool or dry weather slows the process. They can also cause bad smells.
Grass clippings break down faster in warm, moist soil and with good airflow. Spread clippings thinly in your garden beds.
Turn or fluff them now and then to help them rot evenly. Avoid piling wet clippings for long periods before use, as they can rot instead of mulch.
Step-by-Step Action Plan for Using Grass Clippings in Your Garden
Start adding grass clippings safely to your garden with this easy plan. Follow each step closely for the best results.
- Before gardening season: Collect fresh grass clippings from a dry lawn. Check they don’t have weeds or disease to avoid spreading problems.
- Week 1: Spread a thin layer of grass clippings around your plants as mulch. See if the soil moisture improves without any bad smell.
- Week 2: Mix some clippings into your compost pile. Make sure the pile gets hot and breaks down the clippings well.
- Week 3: Use finished compost made with grass clippings to feed garden beds. Look for healthier plant growth and improved soil texture.
- Week 4: Try making liquid fertilizer by soaking clippings in water for 3-5 days. Watch for a mild smell and use the liquid sparingly on plants.
- Monthly: Monitor your garden for pests or mold where clippings were used. Remove any clippings that look slimy or smell sour.
- Before mowing: Raise your lawn mower to keep grass longer. Doing so cuts fewer weed seeds. It also reduces chemicals in your clippings next time.
- Ongoing: Store clippings in a shaded, ventilated spot if not using immediately. Fresh clippings break down better and cause fewer problems.
Frequently Asked Questions
Can Grass Clippings Cause Fungal Diseases in Garden Soil?
Grass clippings can sometimes spread fungal diseases if wet and left in thick layers. Dry them before use and avoid piling thick mulch to reduce risk.
How Much Grass Clipping Mulch Should You Remove in Spring?
Remove old grass clippings mulch in spring to prevent mold and freshen soil. Clearing about one inch layer helps new growth and prevents disease buildup.
Are Dried Grass Clippings Safe to Store for Winter Garden Use?
Yes, drying grass clippings before storage prevents mold and nutrient loss. Store in a dry, ventilated container and use them during early spring planting.
Can Grass Clippings Attract Pests in Garden Beds?
Grass clippings can attract pests if left wet or piled thickly. Use thin layers and turn them regularly to keep bugs from settling.
Is Fresh Grass Clipping Mulch Better Than Composted for Garden Beds?
Fresh clippings release nutrients faster than composted ones. They also conserve moisture well but should be applied in thin layers to avoid matting.
Can Grass Clippings Improve Soil Structure for Clay Gardens?
Grass clippings add organic matter that helps clay soils drain better. Incorporate them 6 inches deep to improve soil texture and aeration gradually.
The Bottom Line
Grass clippings can boost your garden if you use them right and avoid common mistakes. Start by trying a small amount as mulch and watch your soil improve. Keep experimenting and adjusting to find what works best for your plants.