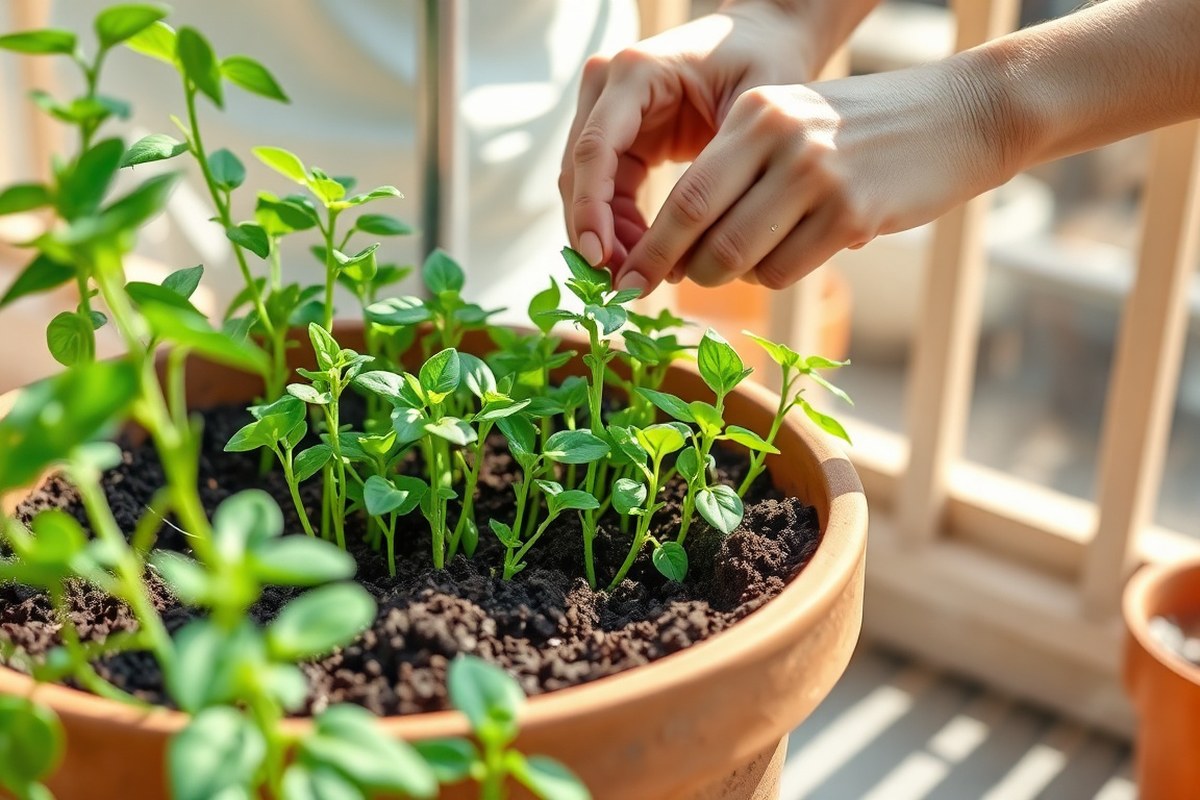
How to Plant Peas in a Pot: Simple Steps for Fast, Healthy Growth
Wondering how to plant peas in a pot? Start with a large container at least 12 inches wide that has good drainage holes. Use a soil mix of half multi-purpose compost.
Add topsoil and some well-rotted manure. This gives you the best results for gardening.
Plant your pea seeds when the soil temperature reaches about 50°F, usually in early spring. Peas enjoy full sun.
So place your pot where it gets 6 to 8 hours of sunlight daily. You can also start with seedlings to get a faster harvest.
Space your peas 2-3 inches apart. So they have room to grow but still produce well. Keep the soil moist but not soggy.
Support the plants with a small trellis or stakes as they climb. These steps set peas up for fast, healthy growth in pots.
Key Takeaways
- Use a pot at least 12 inches wide with drainage holes for planting peas.
- Mix soil with 50% compost, 40% topsoil, and 10% well-rotted manure.
- Plant pea seeds when soil temperature stays at 50°F or warmer.
- Place pots in full sun, getting 6 to 8 hours of daylight daily.
- Space pea plants 2-3 inches apart inside the pot for best growth.
- Support pea plants with stakes or trellis to help them climb.
How to Plant Peas in a Pot Step-By-Step

Planting peas in a pot sets your garden up for a good harvest. You can plant seeds directly or start indoors with seedlings for an early boost.
Peas do not need soaking before planting. But planting at the right depth and spacing is key.
Use a pot that’s at least 12 inches wide and deep. Fill it with quality potting soil that drains well. Keep the soil around 50 °F (10 °C) or warmer before planting to help seeds sprout.
- Fill your pot with moist, well-draining potting mix, leaving two inches from the top.
- Sow pea seeds 1 to 1.5 inches deep, spacing them about 1.5 to 2 inches apart.
- Water gently to settle the soil around the seeds without washing them away.
- Place the pot outdoors when nights stay above 41 °F (5 °C). You can also start seeds indoors about 4 weeks before moving them outside.
- Thin seedlings when they grow too close together. Leave 3 to 4 inches between plants once they are a few inches tall.
- Support climbing varieties by adding a small trellis or pea frame immediately after planting.
- Transplant seedlings indoors when they reach 4 to 5 inches tall. Space them well in the pot to give roots room.
- Keep the soil moist but not waterlogged throughout the growing season for best results.
Starting peas indoors gives you a 3 to 4 week head start. Sow seeds 2 inches deep in a small container with multipurpose compost. Once seedlings reach 4-5 inches, move them carefully to a larger pot.
Planting too shallow or too close causes weak sprouts or crowding. Allow space for roots and airflow by keeping seeds about 2 inches apart.
Gently remove some seedlings if they crowd each other. This helps the remaining plants grow stronger.
Choosing the Best Pot Size and Type for Peas
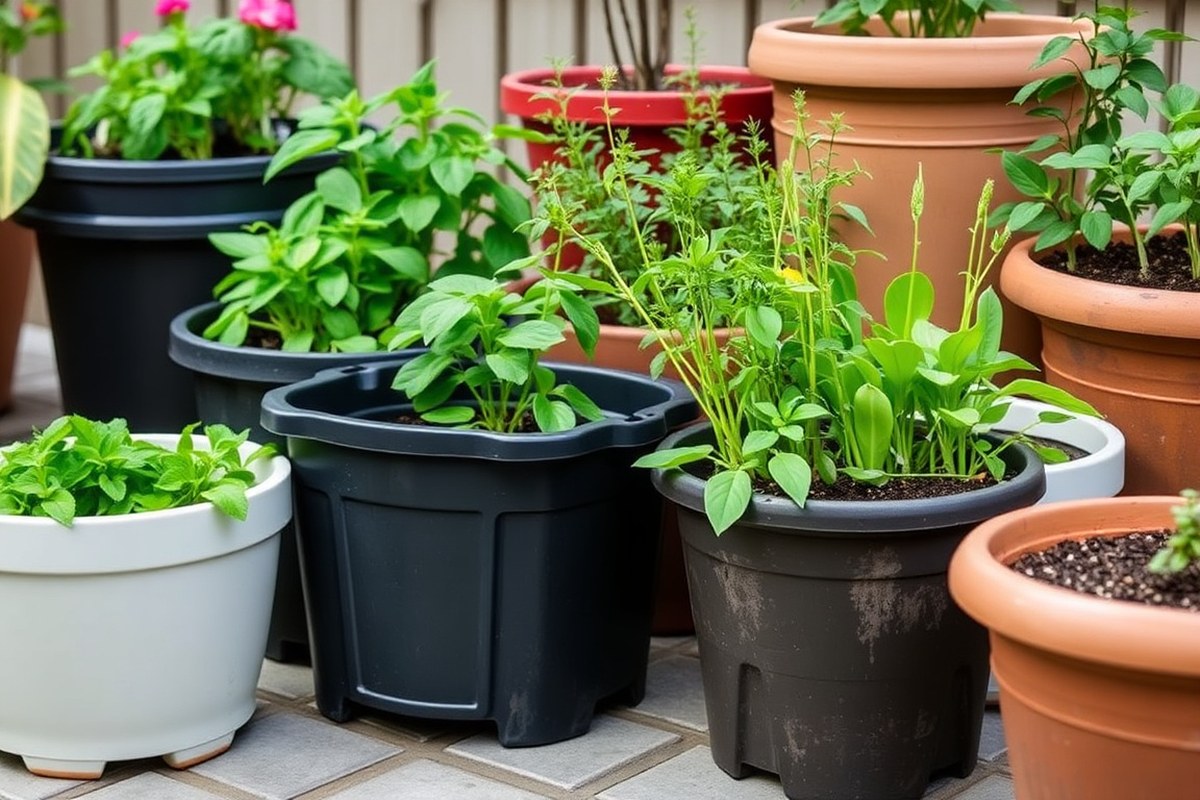
To grow peas well in pots, a container 12 inches deep and wide works best. This size lets roots spread enough for healthy plants. With a 5-gallon pot, you can fit about 3 to 5 pea plants comfortably.
Peas have shallow roots, so very deep pots aren’t necessary. Still, a pot should have drainage holes to stop water from pooling and causing root rot. Clay, plastic, or fabric pots work well if they drain properly.
Choosing the pot material affects watering and plant health. Clay pots dry out faster but look nice and stay stable.
Plastic pots hold moisture longer and are lighter. Fabric grow bags air out roots best and reduce overwatering risks.
| Container Type (Depth) | Best Use and Notes |
|---|---|
| 5-gallon pot (12-14 in deep) | Ideal for full-size peas; sturdy plastic or fabric recommended |
| 12-inch window box (shallow) | Good for dwarf or bush peas; lightweight plastic easy to move |
| 6-inch nursery pot | Small space for few plants; needs frequent watering |
| 8-inch fabric grow bag | Great for balconies; breathable walls prevent root waterlogging |
| 10-inch terracotta pot | Heavy and attractive; porous clay wicks moisture away |
A good pot size means peas get enough room for roots and water without staying soggy. Bigger containers hold more peas. Six to eight plants fit a 20-centimeter pot.
That’s about 8 inches wide. Smaller pots often dry out quicker, so watch watering closely to avoid stress.
Make sure your pot has holes in the bottom to prevent root rot.
Look for pots that balance weight and moisture control for your space. Heavy pots like terracotta resist tipping but dry out fast. Plastic pots are easier to move but might overretain water.
Fabric pots encourage air pruning which can help roots stay healthy. Choose pot size and material to fit your garden space.
Think about how often you water. This helps grow the best pea harvest.
Selecting and Planting the Right Pea Varieties for Containers
Some pea varieties grow better in pots than others. Bush peas suit small spaces well, while climbing types need more room and support. Sugar snap and snow peas grow well in containers.
Choose a suitable size pot. Make sure the setup fits their needs.
Bush vs Climbing Pea Varieties
Bush pea varieties grow compact and reach about 12 to 18 inches tall. They are easier to manage in pots because they need less support. Climbing peas grow taller, up to 6 feet or more, requiring stakes or trellises.
Climbing peas provide higher yields but need sturdy vertical support. Bush types give smaller crops but fit better in tight spaces and smaller pots. Both types can work in containers, depending on your space and effort.
Sugar Snap and Snow Peas in Pots
You can grow sugar snap and snow peas successfully in pots. They need support like netting or small trellises to keep the vines upright. Harvest sugar snap peas just as the pods start to swell for the best flavor.
Snow peas also benefit from harvesting when pods are flat and tender. Both types prefer well-draining soil and regular watering. These peas add fresh crunch to salads and cook quickly.
Recommended Varieties for Small Pots
Choose dwarf or bush varieties for small pots with limited space. Varieties like ‘Maestro’ and ‘Sugar Bon’ mature quickly, so you get harvests sooner. For climbing types, ‘Oregon Sugar Pod’ and ‘Cascadia’ work well with strong supports.
Plant peas every two weeks in new pots to keep production steady. Using deep pots, 8 to 12 inches at least, helps roots grow well. Space peas closer in pots than in garden beds to match container size.
The following table shows pea types, spacing needs, and common varieties to help you choose.
| Pea Variety | Spacing Between Plants |
|---|---|
| Snap peas | 2-3 inches |
| Snow peas | 3-4 inches |
| Shelling peas | 4-6 inches |
Plant peas closer together in pots than in garden rows. Keep supports every 4 feet for vertical growth with climbers. These details improve yield and make harvest easier.
Timing and Environmental Needs for Peas in Pots
Peas grow best in pots when planted in early spring or early fall. Soil temperatures around 45-50°F (7-10°C) help start seeds well.
Plants need at least 4 to 6 hours of direct sunlight daily. Cooler air helps them grow best.
Ideal Soil and Air Temperatures
Sow pea seeds when soil reaches about 45°F (7°C). Seeds can sprout at 40°F, but development speeds up above 50°F (10°C). The best air temperature for growing peas is 55 to 65°F (13 to 18°C).
Try to avoid planting peas when temperatures climb above 77°F (25°C). Heat stress may hurt growth and reduce pods.
Move your pots to shade when late summer gets hot. Plan new planting for cooler times.
Sunlight and Location Recommendations
Peas grow well with at least 4 to 6 hours of sun daily. More sunlight helps them grow stronger and produce more pods. Partial shade is possible but may cause leggier, less productive plants.
Outdoor pots can be shifted around to follow the sun or avoid harsh weather. Use a protective cover over pots after planting when frost risks remain. This shields young peas without too much effort.
Indoor Growing Tips and Lighting
Peas can grow indoors if placed in a south or west-facing window with strong light. They need 5 to 6 hours of direct sunlight or steady artificial grow lights. Maintain indoor temperatures between 65 to 72°F (18 to 22°C).
Keep soil moist but not soggy indoors and avoid dry air. Move pots closer to windows if growth slows, or supplement with a small LED grow light. Indoor growing lets you control light and temperature year-round.
Watering and Soil Care for Container-Grown Peas
Keep container soil evenly moist by watering peas every one to two days. Pots dry out faster than garden soil. This happens in full sun and above 75 °F. Check pots often to keep soil moist.
Use a watering can or hose to soak soil well. Let water drain out the bottom. This prevents soggy roots.
Choose a potting mix rich in organic matter for peas. Mix one part topsoil with two parts peat-free potting compost. This mix holds moisture better.
It also weighs down the pot. Avoid compacted soil because it blocks root growth.
It can hold too much water. This raises the risk of root rot.
Avoid overwatering by checking soil moisture daily. Stick your finger about an inch into the soil. Water if it feels dry at this depth.
Peas need about 1 inch of water weekly in all. Extra water causes root rot and makes peas less productive.
Fertilize container peas lightly, because too much nitrogen creates large pods with small peas inside. Use a balanced fertilizer or organic options like well-rotted compost or manure. Apply compost twice during the growing season or add banana peels for potassium and phosphorus.
Plants with soggy soil often show yellowing leaves or stunted growth, reduce watering or check drainage.
Supporting and Spacing Pea Plants for Best Growth
Pea plants need support when grown in pots, especially climbing varieties. Most gardeners use stakes, cages, or trellises to keep the plants upright and healthy. A 5-gallon pot fits one or two pea plants well.
This leaves room for growth and shade. You also get enough space for support.
Support Options: Stakes, Cages, and Trellises
Climbing pea varieties grow tall and fragile, so providing support is key. Put stakes, bamboo canes, or a trellis inside the pot first. Do this before you plant.
It helps prevent damage to roots. This gives the vines something to climb, preventing flopping and improving air circulation.
Each support type suits different pot sizes and situations. Smaller pots handle single stakes.
Larger containers benefit from cages or trellises that hold multiple plants. String netting can work on balconies by attaching to railings for flexible support.
- Single stake: fits small pots with 1 or 2 plants
- Trellis: ideal for larger pots with 3 or more plants
- Cage: sturdy option for windy spots or heavy vines
- Bamboo canes: easy and cheap for lightweight support
- String netting: good for balcony railings and extra space
Starting your support early helps the peas grow strong and disease-free. Stakes or trellises keep the leaves off the moist soil, reducing fungus risk. Slugs also don’t reach the vines as easily.
Spacing Guidelines for Bush and Climbing Peas
Pea plants need room to spread both above and below ground. Space climbing peas about 2 inches apart in a 5-gallon pot to avoid overcrowding. This spacing helps roots grow without fighting for nutrients.
Bush or dwarf pea varieties don’t climb and need less vertical space. Plant these about 3 inches apart in the same pot size to let them fill out. They need no support but still need light and airflow.
Proper spacing improves leaf exposure to sunlight and air movement. This reduces moisture buildup, which can cause mold or disease. Well-spaced plants also produce more pods and grow faster.
Arranging Plants in Multi-Plant Pots
Arrange pea plants so none block others from sun or air. Position climbing varieties near a trellis along the pot edge. This gives each plant room to climb without tangling.
With several plants in one pot, arrange them in a circle or line. Place them next to the support. This helps the plants grow evenly.
This setup balances light and airflow from all sides. Keep the pot near a wall or fence for extra trellis support if needed.
Avoid cramming too many plants into one pot. It causes weak growth and pest problems. Use one or two climbing peas in a 5-gallon pot only.
Or choose three to four bush peas instead. This keeps plants healthy and happy. This balance feeds the plants well and keeps them healthy through the season.
Harvesting Peas and Prolonging Production in Pots
Peas grown in pots usually take 60 to 70 days from planting to start producing pods. You can expect the first pods around 50 to 55 days, especially with shelling peas. Harvest the pods when they look full and swollen to keep them sweet and tender.
Pick your pea pods every two to three days. This stops them from getting tough. Fresh pods taste better and encourage more growth.
Frequent harvesting encourages the plant to produce more pods over several weeks. For snow peas, pick before pods grow large to avoid tough texture.
To stretch your pea harvest, try succession planting. Sow new seeds every two to three weeks starting in early spring. Doing this gives you fresh peas through late spring.
You may also get fresh peas in summer or fall. This depends on your local climate.
After you pick peas, store them in a breathable bag inside the refrigerator to maintain freshness. They will stay good for about 3 to 5 days. Avoid sealing them in airtight containers as pea pods need some air circulation.
Watch for pods that have fully formed and look plump. Mangetout peas stay flat and should be picked early.
Sugar snap peas develop peas inside slowly. So leave them on longer if you want the peas or pick early for crunchy pods.
Once pea plants finish producing, pull them out from the pot. Then, you can plant a summer crop in the same container. This makes the most of your pot space and keeps your garden growing into fall.
Troubleshooting Common Problems Growing Peas in Pots
Powdery mildew is a common problem on peas grown in pots. It looks like white powder on leaves and stops the plant from growing well. Keep air moving around your pots by spacing them apart.
Place your pots in a sunny spot with 6 to 8 hours of light each day. This helps prevent problems with your plants.
Yellowing leaves often mean overwatering or poor drainage. Make sure your pot has drainage holes and use a light, well-draining potting mix.
Waterpeas only when the soil feels dry about 1 inch below the surface. Too much water can cause root problems and slow growth.
Aphids are common pests that suck sap and stunt pea growth. They often appear in late spring or summer.
You can spray peas with water to knock aphids off or use insecticidal soap. Starting peas about 10 weeks before the first fall frost helps you avoid peak aphid season.
Another common mistake is planting peas too deep or overcrowding the pot. Plant seeds about 1 inch deep, spaced to give each plant room to climb or spread.
Overcrowded plants get stressed and fall prey to disease more easily. Adding 1 tablespoon of potassium per 2 gallons of potting soil helps plants stay healthy.
Look at your pea plants twice a week for pests. Check for leaves that look sick or damaged. Catching problems early helps keep your harvest on track.
Step-by-Step Action Plan for Growing Peas in Pots
This quick plan guides you to plant your peas and care for them successfully. Follow each step and watch your pea plants thrive.
- Before Planting: Choose a pot at least 12 inches deep and fill it with potting mix. Check drainage by watering once, soil should drain quickly without standing water.
- Planting Day: Sow pea seeds 1 inch deep and 2 inches apart in the pot. Cover lightly with soil and water gently until moist but not soaked.
- Week 1: Place the pot in a sunny spot receiving 6-8 hours of light daily. Watch for seedlings to sprout within 7-10 days.
- Week 2: Add a sturdy trellis or support and train the young plants to climb. Healthy pea vines will start wrapping around supports.
- Weeks 3-6: Keep the soil moist by watering regularly. Use a balanced liquid fertilizer every two weeks. Look for steady vine growth and flower production.
- Week 6 and Beyond: Harvest peas when pods are full but still tender. Picking regularly encourages more pods to form until the plants slow down.
- After Harvest: Remove the old plants. Refresh the soil or clean the pot for new plants. This keeps pests and diseases from building up.
Frequently Asked Questions
Do Peas Do Well in Pots?
Yes, peas grow well in pots if you use a large container with good drainage. Make sure the pot is at least 12 inches wide.
This size gives roots enough room. Plants grow better with space to spread.
What Month Do You Plant Peas In?
Plant peas in early spring when soil temperatures reach about 45°F (7°C). This timing helps peas germinate before hot weather stops growth.
How Many Peas Can I Grow in a 5 Gallon Bucket?
You can plant about 4 to 5 pea plants in a 5-gallon bucket. Space each plant about 2 to 3 inches apart for healthy growth and good airflow.
Do Peas Need to Be Soaked Before Planting?
Soaking peas overnight can speed up germination but is not necessary. It helps soften the seed coat so they sprout faster, especially in cooler soil.
How Do I Protect Pea Plants from Pests in Pots?
Use physical barriers like row covers or netting to keep pests off pea plants. Check leaves regularly and remove pests by hand if you see any damage.
Can I Grow Peas in a Small Balcony Container?
Yes, dwarf or bush pea varieties fit well in shallow containers like a 12-inch window box. They need less space but still require regular watering and support.
The Bottom Line
Growing peas in pots works well if you give them the right care and support. Start with good soil and proper watering to make your plants happy. Check your peas daily and enjoy the fresh harvest as soon as pods fill out.