How to Grow a Garden: Complete Steps and Tips for Beginners
Learning how to grow a garden means starting with the right location and soil. Pick a spot that gets 6 to 8 hours of sunlight daily for most vegetables. Working good compost into the soil will help plants grow strong and healthy.
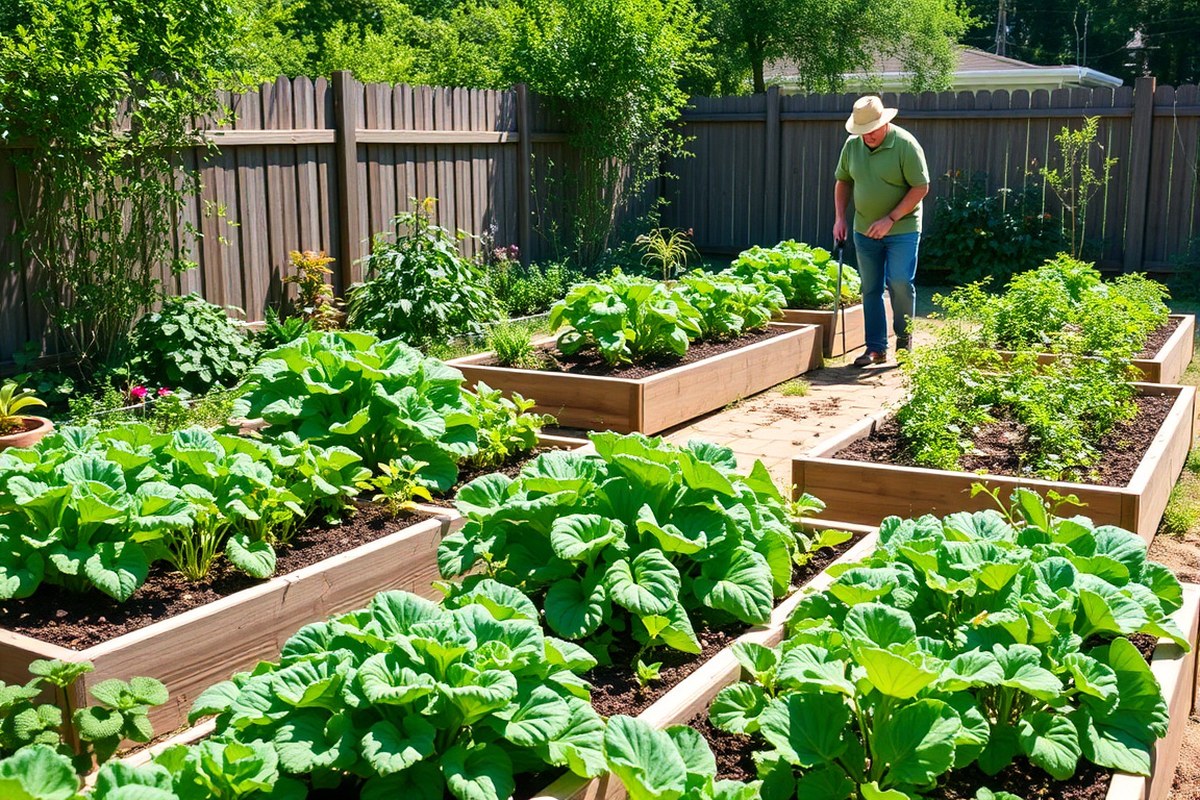
Begin with garden beds about 4 by 8 feet, spaced around 36 to 48 inches apart. This gives you enough room to reach plants comfortably and move tools around.
Buy a soil kit from your garden center to test your soil. This tells you if your soil needs nutrients or pH changes.
Starting seeds indoors can get a head start on your growing season. For example, tomatoes grow well in trays 6 to 8 weeks before planting outside.
Plant outdoors only after the last frost date in your area. This keeps your seedlings safe from cold damage.
Key Takeaways
- Choose a garden location with at least 6 hours of full sunlight daily.
- Use 4×8-foot garden beds spaced 36 to 48 inches apart for ease of use.
- Test your soil with a kit to find out its nutrient and pH levels.
- Spread 2 to 3 inches of finished compost over your soil. Work it into the top 6 inches for best results.
- Start seeds like tomatoes indoors 6 to 8 weeks before the last frost.
- Plant seedlings outside when no frost is expected to prevent damage.
How to Choose the Best Garden Location and Type
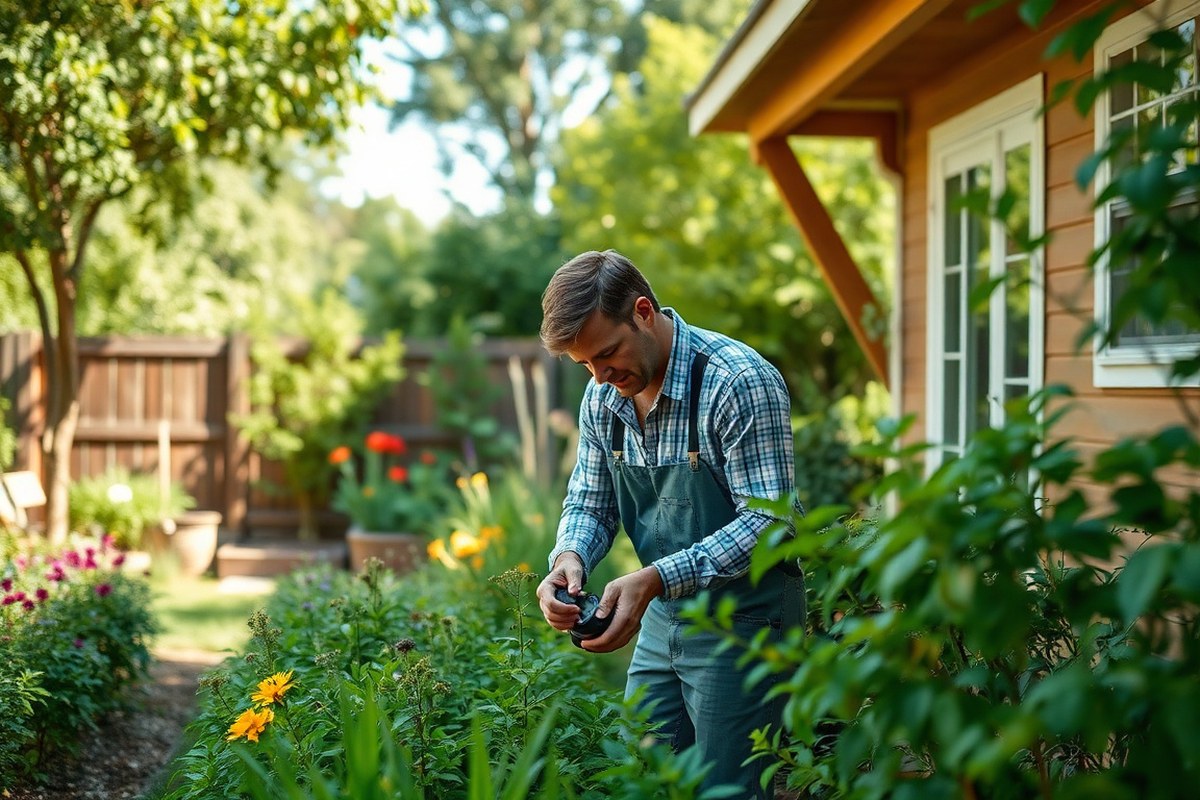
Pick a bright spot with 6 to 8 hours of sunlight for your garden. Choose raised beds or containers if your soil is poor or space is limited. Match your garden type to your space, soil, and plant needs for best results.
Sunlight Requirements and Measurement
Plants need different sunlight amounts to grow well. Most vegetables and flowers do best with 6 to 8 hours of direct sunlight. Leafy greens and herbs can tolerate partial shade with 3 to 5 hours of sunlight.
Measure sunlight by watching the spot during the day. Use your hand or a sun calculator to track hours of direct light. Avoid shady areas near tall trees or buildings that block the sun.
Garden Type Comparison: Pros and Cons
Choosing between raised beds, in-ground, or container gardens depends on your soil and space. Raised beds improve drainage and are easier on your back. Containers work well on patios or balconies but need regular watering.
In-ground gardens cost less but need good soil and take more effort to manage. Use rust-proof metal raised beds for a durable setup that lasts years. Wood raised beds can rot but are cheaper and natural-looking.
| Garden Type | Pros | Cons |
|---|---|---|
| Raised Beds | Fast draining, easier to tend, good for poor soil | Can be costly, wood may rot, requires building |
| In-Ground | Low cost, natural look, uses existing soil | Needs good soil, poor drainage, more weeding |
| Container Garden | Portable, great for small spaces, no soil testing needed | Needs frequent watering, limited root space |
Think about what fits your space and budget before choosing garden type. Raised beds offer control over soil but cost more. Containers suit small areas, while in-ground is best if soil and space allow.
Assessing Your Available Space and Soil Conditions
Measure your garden area to find how much space you have for plants. Plan your beds with enough room to walk between them for easy access. Taller plants should go in back rows to keep sunlight reaching smaller ones.
Test your soil with a local extension service; it usually costs $10 to $15. Raised beds help if your soil has poor drainage, heavy clay, or rocks. Containers use potting mix, so soil testing isn’t needed for new setups.
How to Test and Improve Your Garden Soil Effectively
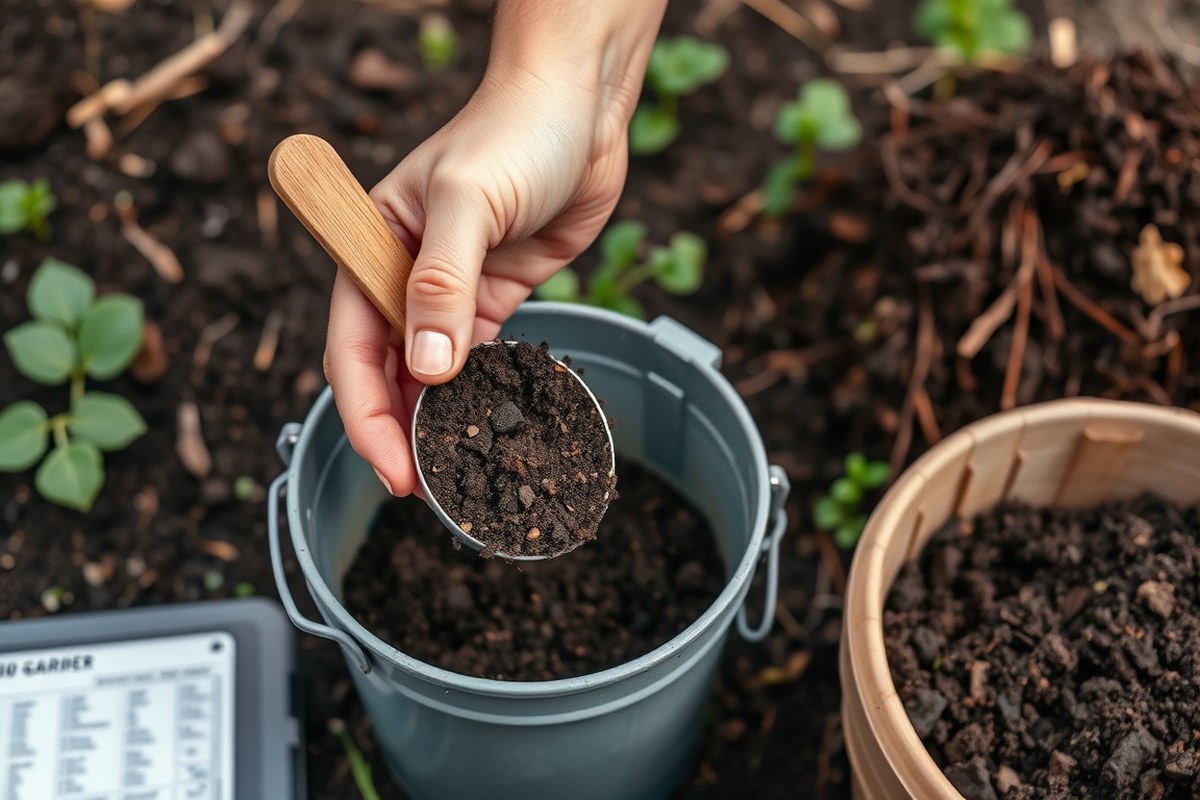
Testing your soil helps you know what your garden needs. You can collect samples, send them for analysis, and then fix your soil with organic materials. This keeps your plants healthy and growing strong.
Collecting and Sending Soil Samples
Start by gathering small amounts of soil from several spots in your garden. This gives you a mix that represents your whole area. Avoid spots with fertilizers, compost piles, or old plants.
Use a clean trowel or soil probe to collect soil about 6 inches deep. Mix the samples in a clean bucket and let the soil dry if it’s wet. Put a cup or two of mixed soil into a clean container.
Use a clean bag or jar. This soil sample will be for testing.
- Choose 5 to 10 spots in your garden to sample.
- Remove surface debris like grass or mulch first.
- Dig 6 inches deep to get soil from each spot.
- Put soil from each spot in a clean bucket and mix well.
- Let the mixed soil air dry if it’s too wet.
- Fill a clean container with about 1 cup of soil.
- Label the container with your name and location.
- Send it to a local extension service or soil lab.
Use clean tools to avoid contaminating your soil sample.
Interpreting Soil Test Results
A soil test will show pH, nutrient levels, and organic matter content. Most labs explain what those numbers mean and suggest fixes. Look for ideal pH range of 6.0 to 7.0 for most vegetables.
High or low pH affects how plants absorb nutrients. Nutrients like nitrogen, phosphorus, and potassium come up in the report. Organic matter percentage tells if your soil holds water and nutrients well.
Follow the lab’s recommendations before planting. Some kits offer quick results but local labs give more detail and reliability. These tests usually cost $15 to $20.
Amending Soil with Compost and Organic Matter
Adding compost improves soil texture and adds nutrients naturally. Spread 2 to 3 inches of finished compost or well-aged manure over the soil. Work it into the top 6 to 10 inches with a garden fork or spade.
Clay soil gets lighter and better draining when mixed with compost. For sandy soil, compost helps it hold water and nutrients longer. Keep adding organic matter every year to boost soil quality over time.
Organic mulches like straw or bark also break down and improve soil health. Avoid synthetic fertilizers if you want an organic garden. Rotting leaves, feather meal, or kelp meal are good organic fertilizers.
Work the compost into moist soil, not dry or soaked, for best mixing.
Adjusting pH Naturally with Lime or Sulfur
Lime raises acidic soil pH, making it less sour for plants. You can find powdered or pelletized lime at garden stores. Spread lime evenly, then work it into the top 6 inches of soil before planting.
Sulfur lowers alkaline soil pH to make it less chalky. It takes several months for sulfur to fully change pH, so apply it early. Follow package directions for how much to use based on your soil test.
Overusing lime or sulfur can harm plants, so measure carefully. Both adjustments work best when combined with adding organic matter. Test soil pH again after a few months and adjust as needed.
Apply pH amendments in fall or early spring for best results before planting.
When and How to Start Seeds or Purchase Transplants
Some plants do better from seeds, while others grow best as transplants. Starting seeds indoors works well for plants needing a longer growing season. Hardening off seedlings prepares them to survive outdoor conditions.
Selecting Seed Varieties for Your Climate
Choose seed varieties that fit your area’s climate and growing season. Cool-season crops like lettuce and radishes can be direct seeded in early spring. Warm-season crops like tomatoes and peppers need more time and often start indoors.
Use a seed starting calendar to decide what plants to start. It shows which plants do best from seeds or as transplants. This helps you plan your garden for the best results.
Local garden centers or extension services usually have region-specific advice. Starting seeds from varieties that thrive locally lowers the risk of failure and increases your harvest.
Timeline for Indoor Seed Starting
Start seeds indoors 4 to 8 weeks before your last expected frost date. For example, tomatoes need about 6 to 8 weeks, peppers about 8 weeks. Faster-growing crops like basil take less time and can start closer to the frost date.
Buy all your seeds at once to avoid last-minute store runs. Label seed trays with planting dates and plant type to track progress. Maintain soil temperature near 70°F and keep seedlings well-watered but not soggy.
Hardening Off Seedlings Outdoors
Hardening off helps seedlings adjust from indoor warmth to cooler, variable outdoor weather. Start about 7 to 10 days before planting them outside permanently. This step reduces transplant shock and improves survival.
Here is a simple checklist for hardening off seedlings:
- Begin by placing seedlings outside in partial shade for 1 to 2 hours.
- Increase outdoor time by one hour each day.
- Gradually expose seedlings to direct sunlight and wind.
- Bring plants indoors overnight or cover if temperatures drop below 50°F.
- Water seedlings regularly during this period.
- After 7 to 10 days, plant seedlings outdoors.
Buying and Acclimating Transplants
Transplants like young tomato or pepper plants give a head start and reduce risk. Look for healthy plants with sturdy stems and no yellowing or spots. Avoid plants that look root-bound or stressed.
Acclimate transplants by gradually increasing sunlight exposure before planting outside. Keep them sheltered from harsh weather for a few days after planting. This step helps new transplants settle into your garden and grow well.
How to Prepare Garden Beds for Planting
Planting beds should be between 1.5 to 4 feet wide and at least 4 feet long. This width keeps your arms from overreaching when you work, protecting your plants.
Aim for at least 8 inches of soil depth. This gives roots plenty of room to grow well.
Loosening the soil without harming it helps roots spread deep and wide. Use a garden fork to break up compacted soil gently.
Focus especially on heavy clay or tight spots. Avoid tilling too deeply or aggressively, as that can harm soil structure and kill helpful organisms.
Adding organic matter like compost is key to healthy beds. Spread 2 to 4 inches of compost or mulch on top first.
Then work it into the top 8 inches of soil. For heavy clay, mix in equal parts compost and coarse sand or perlite for better drainage.
- Clear the area of weeds, grass, and debris using a hoe or garden fork. Remove roots to prevent regrowth. This step avoids competition for nutrients.
- Mark your bed size and outline it with string or stakes. Keep beds 1.5 to 4 feet wide and at least 4 feet long.
- Loosen soil by pushing a garden fork about 8 inches deep. Gently lift soil clumps to break compacted layers without over-tilling.
- Amend soil by spreading 2 to 4 inches of compost over the loosened soil. For clay soils, add 2 inches of coarse sand or perlite too.
- Mix amendments in by using a spade or fork. Incorporate them evenly into the top 8 inches of soil.
- Level and smooth the surface with a rake, removing rocks or large clumps. Your bed should look even and crumbly.
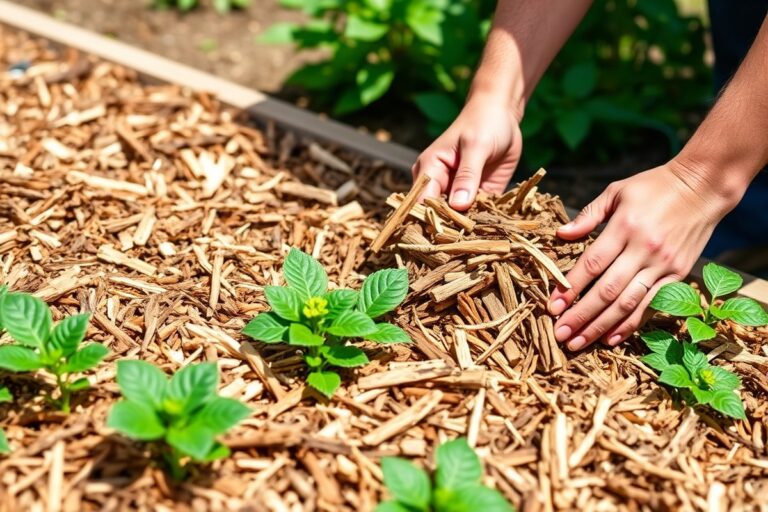
- Apply mulch such as straw or wood chips in a thin 2-inch layer. This helps keep moisture steady after planting.
Raised beds or containers work well if your yard has poor soil or limited space. You can fill them with good-quality soil and compost for a fresh start.
Plant roots should never feel tight or root-bound. Gently loosen roots before planting if needed.
Taking time to prep your beds carefully sets plants up for strong growth. Beds with loose, well-amended soil drain water well and allow roots to spread easily.
Soil that stays hard or that pools water can hurt your plants. Growth may slow or roots may rot.
How to Plant Seeds and Transplants Correctly
Planting seeds at the right depth and spacing helps them grow strong. Most seeds need to be planted 2 to 3 times as deep as they are wide.
For example, small seeds like lettuce need about 1/4 inch deep. Larger beans need about 1 inch.
Spacing varies by vegetable, too. Common crops like carrots require 2 to 3 inches between seeds.
Tomatoes or peppers need more space, around 18 to 24 inches apart. Crowding plants leads to poor air flow and smaller harvests.
Transplants are young plants started in pots that you move to the garden. To avoid transplant shock, plant them at the same soil depth they grew in the pot. Make sure the root ball fits comfortably in the hole without bending roots.
Planting the root ball too deep can cause rot. Planting too shallow can dry out roots. Use pots no larger than 4 inches across for transplants to avoid root-bound plants.
Here’s how to plant seeds and transplants properly:
- Read the seed packet or plant label for depth and spacing instructions.
- Dig holes or furrows with a finger or small tool to the right depth.
- Place seeds evenly in the holes and cover with soil gently.
- Water the soil without washing seeds away or causing puddles.
- Space seedlings slightly closer than recommended, then thin later.
- For transplants, dig a hole wide enough for the root ball.
- Set the transplant at the same depth as it grew in the pot.
- Firm soil around roots and water immediately after planting.
Plant seeds too deep and they may not sprout. Too shallow and birds might eat them.
How to Water, Fertilize, and Mulch Your Garden Well
Water your garden deeply about once a week with roughly 1 inch of water. During hot, dry weather, increase to every 1 to 2 days to keep soil moist. Water early in the morning to reduce evaporation and lower disease risk.
Young plants need more frequent watering, especially right after transplanting. Once roots grow deeper, water less often but more deeply to encourage strong growth. Monitor your soil; dry soil below the surface means it’s time to water again.
Use balanced fertilizers with nitrogen, phosphorus, and potassium for vegetables and flowers. Apply slow-release or organic fertilizers at planting to feed roots steadily. For ongoing growth, side-dress plants with compost or liquid feeds every 3 to 4 weeks.
Timing your fertilizing matters. Feed early in the season to support leaf and root growth. Avoid late-season fertilizing with high nitrogen, as it can reduce fruit and flower production.
Add 2 to 3 inches of organic mulch around your plants. Do this when plants reach 3-4 inches tall. You can also mulch right after transplanting.
Mulch keeps the soil moist, controls weeds, and slowly adds nutrients as it breaks down. Choose mulch like straw, shredded leaves, or grass clippings that decompose within months.
Keep mulch a few inches away from stems to prevent rot and pests. Refresh mulch every season or after heavy rain to maintain its benefits. Mulching saves water and time by reducing the need for frequent watering.
How to Identify and Manage Common Garden Pests and Diseases
Look closely at your plants for common pests like aphids, caterpillars, and whiteflies. These bugs leave signs such as tiny holes in leaves or sticky residue on stems. Yellowing leaves or spots often indicate diseases like powdery mildew or fungal leaf spots.
Control pests naturally by introducing beneficial insects like ladybugs or lacewings. You can spray a mix of water and mild soap on leaves. Do this once a week to reduce pests.
The spray helps keep the bugs away. Handpicking larger insects off plants early in the morning also helps without chemicals.
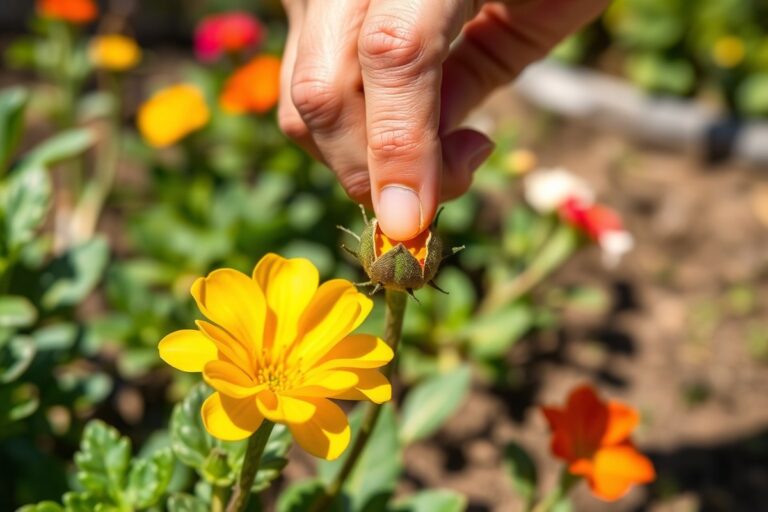
Crop rotation prevents pest buildup by changing plant families in your garden beds yearly. Companion planting, such as growing marigolds near tomatoes, can repel harmful bugs naturally. Keeping plants spaced properly improves airflow and lowers fungal disease chances.
Raised beds cost around $100 to start but help block burrowing pests and keep soil healthy. Keep your garden free of weeds and debris. This cuts down hiding spots for pests.
It also lowers chances of disease sources. Water plants early in the day so leaves dry quickly, reducing fungal growth risk.
Check plants regularly, about twice per week, to catch problems early before they spread. Using seeds or plants without neonicotinoid pesticides supports beneficial insects and the garden’s balance. Adding mulch keeps soil moist and cool, which helps plants resist stress and disease.
Spring and fall are best times to clean up old plants. Removing debris helps get rid of overwintering pests. This stops problems before they start.
Avoid watering overhead during hot afternoons to protect fragile leaves from sunscald and disease. Follow natural pest controls consistently for several weeks to see steady improvement.
When and How to Harvest Your Garden Crops Properly
Look for clear signs that vegetables or herbs are ready to pick. Tomatoes turn fully red or the right color for their variety. Cucumbers get firm and reach about 6 to 8 inches long.
Herbs like basil have large leaves and a strong scent. Pull back leafy greens carefully to check maturity without damaging the plant.
Use sharp garden scissors or hand pruners to cut crops cleanly. Avoid pulling fruits or veggies off roughly because you may harm the plant.
Hold the stem gently and snip close to the base. For root vegetables like carrots or radishes, loosen soil before lifting to avoid breakage.
Harvest in the morning when vegetables are cool and full of moisture. Continuous picking encourages plants to produce more crops.
Keep a basket or container ready to avoid bruising along the way. Wash produce gently with cool water and dry before storage to reduce spoilage.
Crops store best in different ways, so match the method to the vegetable type. Leafy greens last 3 to 7 days in plastic bags inside the fridge.
Root crops like onions and garlic need a dry, dark spot for several months. For longer storage, try freezing herbs or blanching and freezing vegetables within hours of harvest.
Picking smaller fruits like beans or peas often improves total yield. Regular checks every two or three days help you catch ripe produce before it over-ripens.
Watch for signs of pests or disease on harvested crops and remove any bad spots. Keeping tools clean prevents spreading problems from plant to plant.
Use clean, sharp scissors to snip vegetables. Pulling can damage the plant and lower future yields.
Step-by-Step Action Plan to Start Your Garden
Follow these clear steps to get your garden growing from day one. Check results at each step to stay on track.
- Before you start: Pick a spot with 6 hours of sun and well-drained soil. Dig a small hole and fill it with water. The spot is good if water drains in under 4 hours.
- Day 1: Test your soil with a kit from the garden store. Use results to add compost or lime. Mix it in well, then feel the soil, it should be crumbly, not sticky.
- Week 1: Prepare garden beds by removing weeds and loosening soil 8 to 12 inches deep. Rake smooth and mark rows or sections for plants.
- Week 2: Start seeds indoors or buy transplants for your climate zone. Use seed trays with a moist, light soil mix. Check daily for sprouting.
- Week 4: Take seedlings outside for a few hours each day. Increase the time outdoors bit by bit every day. They should look healthy and firm.
- Week 5: Plant seeds or transplants after the last frost date. Water immediately. Check soil moisture daily to keep it evenly damp.
- Week 6 and after: Put 2-3 inches of straw or leaves as mulch. This helps keep soil moist and stops weeds. Watch for pests and spot treat affected plants.
- Harvest time: Pick crops when they reach full size and taste good. Regular picking encourages more growth.
Frequently Asked Questions
How Much Space Should I Leave Between Garden Beds?
Leave 36 to 48 inches between beds. It creates enough room for a wheelbarrow or garden cart to pass easily. This helps keep your garden tidy and lets you work comfortably.
Can I Grow Flowers Alongside My Vegetables?
Yes, adding flowers attracts pollinators and beneficial insects. They also improve garden health and beauty. Mix a few flowers with your veggies for better yields.
How Do I Decide Between Starting Seeds Indoors or Direct Sowing?
Check a seed starting calendar for guidelines. Some plants do better started indoors.
Others thrive when sown directly in the garden. Choose based on your season and plant type.
What Is a Good Size for a Beginner’s Garden Bed?
A 4×8 feet bed is easy to manage and fertile enough. It offers ample space for multiple crops without overwhelming a new gardener. This size also fits standard tools and covers enough variety.
When Should I Rotate Crops in My Garden?
Rotate crops each year or season to reduce pests and soil depletion. This practice keeps soil healthy and helps avoid diseases. Plan your garden beds with crop rotation in mind.
How Can I Improve Clay or Rocky Soil in My Garden?
Use raised beds filled with good soil and compost if soil is poor. This avoids drainage problems and helps plants grow better. Raised beds save time and reduce soil preparation stress.
Key Points to Remember
Growing a garden takes simple steps and daily attention. Start with one seed or transplant this week. Watch your plants closely, and enjoy fresh produce soon.