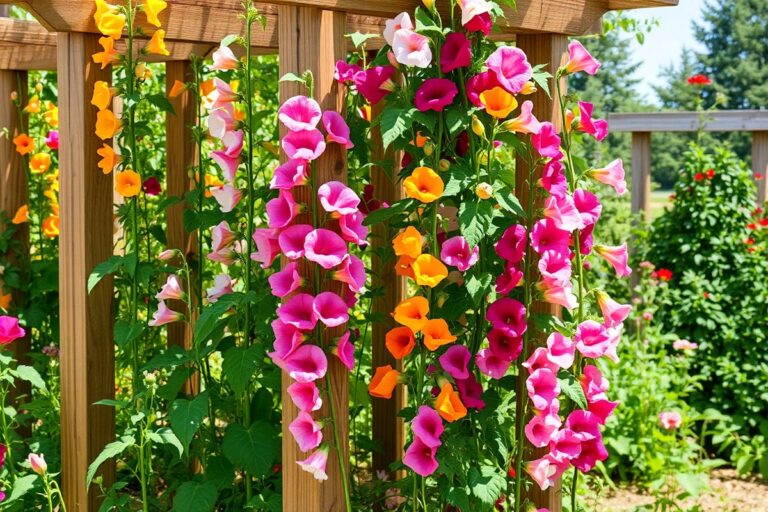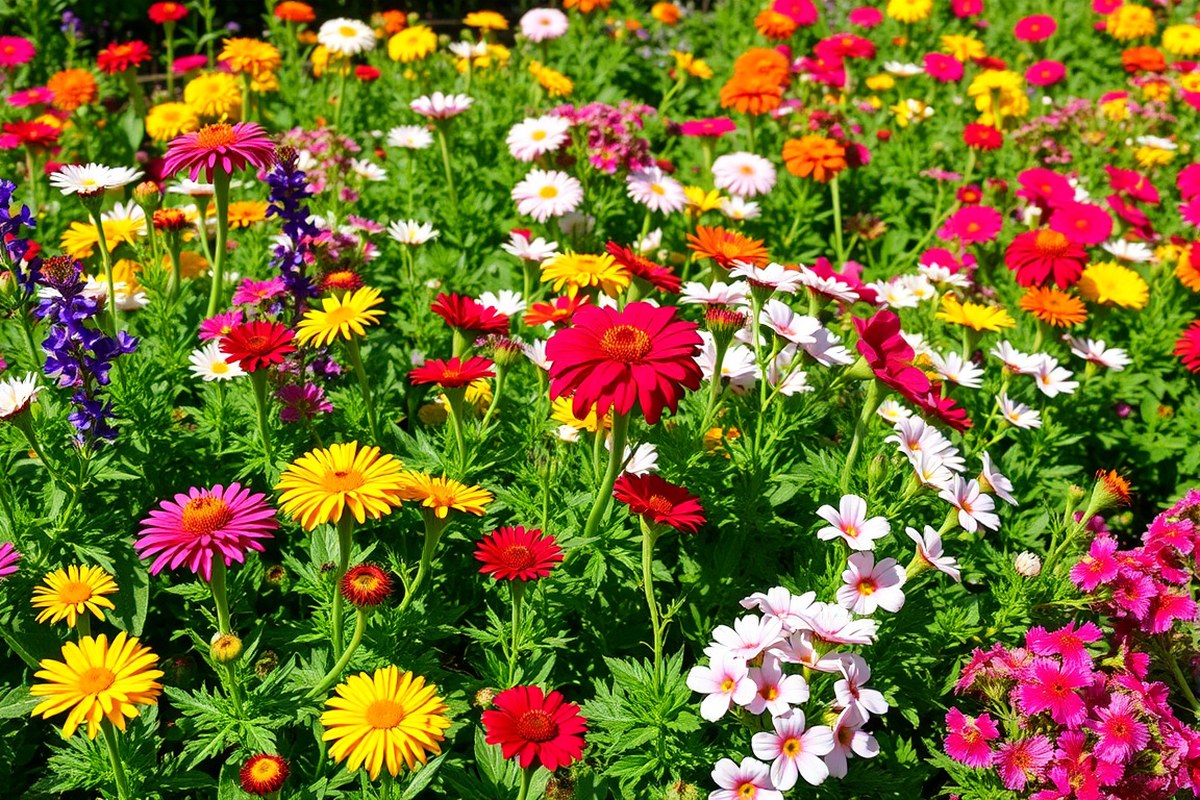
How to Care for Perennial Flowers: Simple Steps for Healthy Blooms
How to care for perennial flowers is simpler than many think. The key is regular attention throughout the year, matching water, soil, and pruning needs. Healthy perennials reward you with blooms every season without constant fuss.
Plant at the right time. Do it in spring after the last frost. Or plant in fall, at least four weeks before the ground freezes.
This timing helps roots establish well before extreme weather. Use organic mulch in late spring to keep soil moist and cool for roots.
Water deeply to reach 6 to 12 inches in the soil, encouraging strong roots. Avoid overwatering by letting the top soil dry between sessions. Keep mulch two inches away from stems to prevent rot and allow air circulation around plants.
Key Takeaways
- Plant perennials in spring after last frost or fall before ground freezes.
- Apply 2-3 inches of organic mulch in late spring to maintain moisture.
- Water deeply enough to soak 6 to 12 inches into the soil.
- Leave a 1 to 2 inch gap between mulch and plant stems or crowns. This helps prevent rot and pests.
- Cut back perennials to 4-6 inches in late fall or early winter.
- Add 2-4 inches of insulating mulch after soil begins to freeze.
Essential Year-Round Care for Perennial Flowers

Perennial flowers need steady care through all seasons to thrive. Start in early spring by checking soil moisture and removing winter mulch. Water them occasionally, about one inch per week, especially if spring rains miss your garden.
As temperatures rise, increase watering frequency to keep soil moist but not soggy. Water deeply early in the morning. This helps roots grow better.
It also avoids water loss on hot days. Feed your perennials in spring with slow-release fertilizer.
Repeat feeding in midsummer. Follow label instructions for best results.
Deadhead faded blooms throughout the growing season to encourage more flowers. Trim back leggy or crowded growth by early summer to maintain plant health and airflow. Apply a 2 to 3 inch layer of organic mulch.
It helps keep moisture in. Mulch also reduces weeds and cools soil.
Cut back on watering in late summer and early fall. Let plants prepare for dormancy. Keep soil slightly moist, not dry.
Cut back perennials after the first frost. Or leave seed heads for winter interest if you want. Adding fresh mulch in fall protects roots from freezing and helps retain moisture during winter.
Healthy perennials show lush green foliage and bright flowers during their growing period. Watch for drooping leaves or browning, which signal watering or feeding issues.
Overwatering can cause root rot. So be careful not to water too often or keep soil soggy.
Adjust your care if your garden receives more or less sun than usual. Shade-loving perennials need less water than those in full sun. Also, sandy or clay soils may require different watering schedules.
Watch seasonal changes and adjust plant care. This helps your garden stay healthy and bloom well every year.
Best Planting Times and Techniques for Perennials
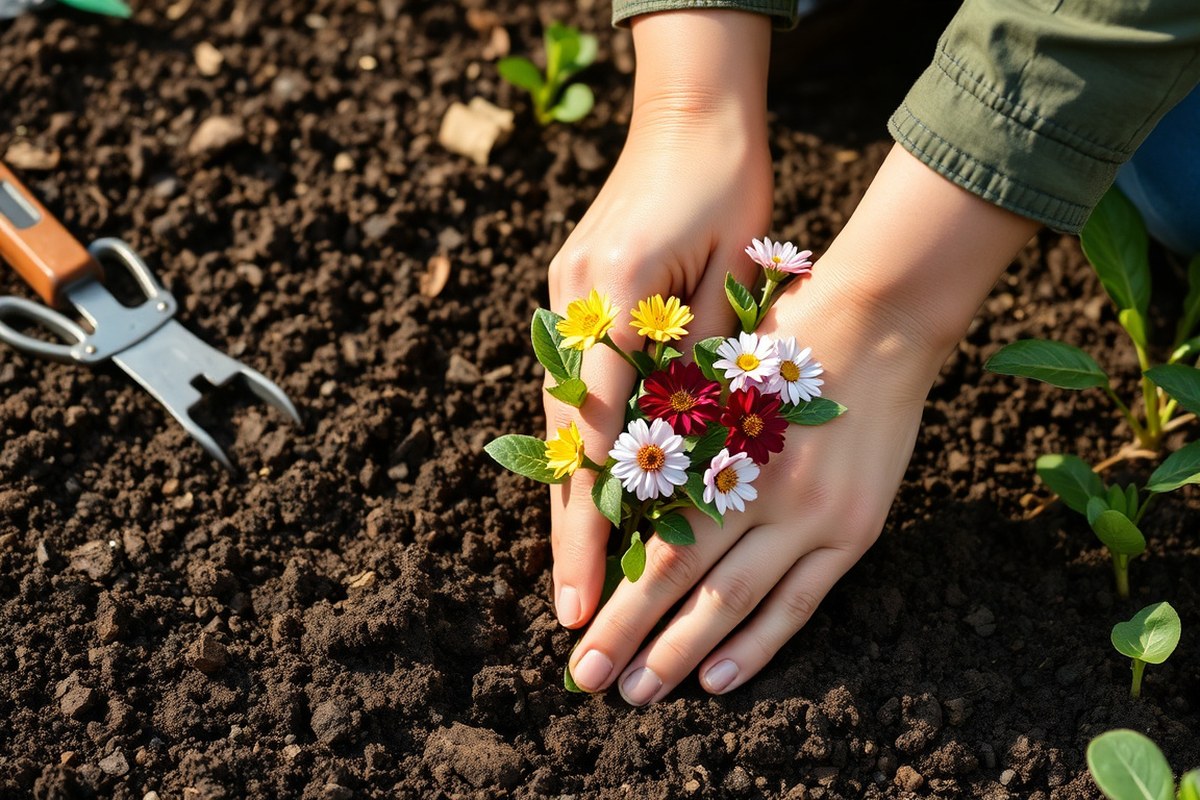
Plant perennials in early spring after the last frost. You can also plant in early fall before the first frost. This timing helps them establish well.
Prepare the soil thoroughly before planting. Plant at the right depth.
Give each plant enough space to grow strong. This approach sets your plants up for long, healthy lives.
Timing Your Planting: Spring vs. Fall
Spring planting is best after the last frost date in your area. Soil is warming, which encourages root growth before hot summer weather arrives. Fall planting gives roots time to settle with cool, moist soil before winter.
Choose fall if you want plants established before summer heat hits. Early fall is better than late fall, so roots have weeks to grow. Planting in spring is safer when you don’t know frost dates.
It also lets you see flowers bloom the first year. This timing avoids frost damage.
Preparing Soil for Healthy Roots
Good soil starts with loosening it to about 12 inches deep. This improves drainage and helps roots spread easily. Add 4 inches of organic matter like compost or shredded bark.
This improves soil nutrients and keeps it loose. Well-prepared soil helps roots spread.
Mix organic matter into the top 12 inches well. This supports beneficial microbes and holds moisture without waterlogging.
Check your soil’s drainage by digging a hole 12 inches deep and filling it with water. It should drain in less than 24 hours.
Test soil pH if possible. Most perennials thrive in slightly acidic to neutral soil, around 6.0 to 7.0. Use lime to raise soil pH or sulfur to lower it.
Check local garden center recommendations for your soil. Adjusting pH helps plants absorb nutrients better.
Proper Planting Depth and Spacing
Dig holes wide enough for roots, about twice their width. Keep the hole’s depth the same as the root ball. Planting too deep can harm roots and stunt growth.
Space perennials based on their mature size to avoid overcrowding. For small plants, leave 12 to 18 inches between them. Larger varieties may need 24 to 36 inches or more to allow air circulation and light.
After placing the plant, gently fill the hole with soil. Press lightly to remove any air pockets around roots. This helps the plant settle in well.
Water deeply after planting to soak the soil 6 to 12 inches down. This reaches roots and settles the soil.
Proper watering supports root growth. Mulch after watering to conserve moisture and reduce weeds.
Plant holes too deep will trap water and harm roots. Always match the root ball’s top with soil surface.
Follow these steps each time you plant perennial flowers to give them the best start:
- Choose a planting site with the right sun and soil for your specific plant.
- Make a planting hole about twice the width of the root ball. Ensure the hole is just as deep as the roots require. This space allows roots to spread without planting too deep.
- Loosen surrounding soil to encourage root spread.
- Mix in 4 inches of compost or organic matter into the soil.
- Place the plant so the top of the root ball meets soil level.
- Backfill gently, firming soil without compacting.
- Water deeply to soak 6 to 12 inches down.
- Apply 2 to 3 inches of mulch after soil warms to protect roots and conserve moisture.
Watering Techniques to Promote Deep Root Growth
Water your perennial flowers deeply but less often to help roots grow downward. Aim to soak the soil at least 6 to 8 inches deep with each watering. Deep watering helps roots grow deeper into the soil.
This makes plants tougher during dry times. They become more resistant to drought over time.
Shallow, frequent watering causes roots to stay near the surface, which weakens plants during dry spells. One thorough watering per week is usually enough during the growing season.
Early spring and fall may require less. Hot summer weeks might need slightly more attention.
Watch for overwatering signs like yellow leaves or wilting plants. Check if the soil is still wet. Mushy stems also mean you may be watering too much.
Underwatering shows as dry, brittle foliage and slowed growth. Checking soil moisture 2 to 3 inches below the surface helps you avoid both extremes reliably.
Consider your local climate and soil type. Sandy soils dry out faster than clay soils.
Hot, windy days increase evaporation, so perennials in these conditions need more frequent watering. Plants in shady or cooler spots will need less water than those in full sun.
Use soaker hoses or drip irrigation to deliver water directly to the roots. These methods keep foliage dry and reduce disease risk. Water early in the morning to let plants absorb moisture before daytime heat rises.
Coreopsis and black-eyed Susan are tough perennials that can tolerate drier soil once established. New perennials need a thorough watering right after planting. This helps soil settle around the roots well.
It supports the plants as they start growing. This helps prevent air pockets and speeds root growth downward.
Pruning, Deadheading, and When to Divide Perennials
Pruning, deadheading, and dividing perennials keep your plants healthy and blooming longer. Deadheading removes old flowers to promote new blooms. Pruning shapes plants and controls growth, while dividing refreshes crowded plants for better growth.
Deadheading Basics and Benefits
Deadheading means cutting off spent flowers right after they fade. Removing these dead blooms stops the plant from making seeds. This encourages it to put energy into more blossoms instead of seed production.
Pinch or snip off each faded flower just above a leaf or bud node. This spot often produces new shoots and flowers soon. Regular deadheading can add weeks to a perennial’s blooming season.
Pruning Techniques for Vibrant Blooms
Light pruning after flowering helps keep plants full and healthy. For many types, the “Chelsea Chop” cuts about one-third of the plant in early summer. This makes stems firmer and delays blooms until later, avoiding heat stress.
After flowering ends, remove leggy stems and wilted blooms to tidy the plant. Different perennials need various pruning styles.
But removing dead or damaged parts is always good. Pruning at the right time helps plants grow stronger and flower well.
Dividing Perennials: When and How
Dividing helps crowded or overgrown plants stay healthy and bloom well. Slowly growing perennials need division every 4 to 5 years.
Fast growers benefit from dividing every 2 to 3 years. Early spring or fall, when the plant is not blooming, is best for dividing.
To divide, dig up the entire plant carefully and shake off loose soil. Use sharp tools to split the root clump into smaller sections with shoots and roots. Plant divisions at the same depth as before and water well to reduce stress.
- Dig around the base carefully, loosening the roots without damage.
- Lift the entire clump from the ground with a garden fork or shovel.
- Shake off excess soil gently to expose roots and shoots.
- Cut or pull apart the clump into smaller sections, each with healthy roots.
- Trim any dead or damaged roots to improve new growth chances.
- Replant sections immediately, placing them at original soil depth.
- Water divisions deeply after planting to help roots settle.
Choosing the Right Fertilizer and Soil Conditions
Most perennial flowers like soil with a pH between 6.0 and 7.0. This range is slightly acidic to neutral. It helps plants absorb nutrients better and keeps them healthy.
Test your soil’s pH before planting. You can buy an easy soil test kit at garden centers. Collect soil samples from several spots around your garden.
Mix the samples and test them according to the kit’s instructions. It usually takes 5 to 10 minutes and costs about $10 to $20.
Your soil is too acidic if the pH is below 6.0), add lime to raise the pH. For alkaline soil (above 7.0), use sulfur or peat moss to lower it. Spread these amendments evenly and water them in.
It takes a few weeks for pH changes to take effect. So test again after a month.
Most perennials thrive in well-drained soil, so add organic matter before planting. Mix in compost or well-rotted manure with your native soil.
Around 2 inches of compost per square foot is a good amount. This feeds the plants and improves soil texture.
Fertilizer choice depends on your soil test results and plant needs. A balanced fertilizer like 10-10-10 (nitrogen-phosphorus-potassium) suits many perennials.
Apply about ½ cup per 10 square feet once in early spring. Avoid overfertilizing, which can cause weak growth or burn roots.
Here’s a quick fertilizer comparison: organic fertilizers release nutrients slowly and improve soil health over time. Synthetic fertilizers give fast results but need careful use to avoid damage. Use organic types like fish emulsion or bone meal if you prefer natural options.
You can apply fertilizer again after the first bloom to help perennials stay vigorous. Don’t fertilize late in the growing season.
It can make new growth tender. This growth won’t harden before winter.
Test your soil every few years to keep pH and nutrients balanced. Skipping this can lead to weak, unhappy perennials.
Preparing Perennials for Winter Survival
Cut back your perennials after the first hard frost but only if the foliage is diseased. Otherwise, leave healthy stems standing for winter protection and garden structure. Let leaves brown naturally on coneflowers and black-eyed Susans first.
Then trim stems to 1 or 2 inches above soil. This helps protect the plant through winter.
Adding mulch after the soil freezes keeps the ground warmer. Use 2 to 4 inches of shredded bark or pine needles.
Keep mulch a few inches from stems to stop rot. Mulch guards roots from winter soil shifts in USDA Zones 7 and 8.
Winter preparation depends on your hardiness zone. In colder zones, cut back most perennials in fall to reduce damage. In milder zones, some species survive better if you leave their foliage standing until early spring.
Move potted perennials to an unheated garage or covered spot. This helps protect their roots from freezing. Keep them safe until warmer weather returns.
Mulching newly planted perennials holds moisture in the soil. It also shields roots during cold or harsh weather. This gives new plants a stronger start.
Common Problems and How to Fix Them Quickly
Common pests like aphids, spider mites, and slugs often attack perennial flowers. These pests target tender new growth, sucking sap or chewing leaves. Spotting sticky residue, tiny webs, or holes in leaves usually signals their presence.
Fungal diseases appear as white powdery spots or orange rust on leaves. These spots can make plants look unhealthy and reduce growth. Watching for these signs helps you catch problems early.
These diseases spread quickly in warm, humid weather and weak plants. Removing and discarding infected foliage keeps spores from spreading next season.
Perennials may stop blooming for several reasons. Over-fertilizing makes plants grow leaves but fewer flowers.
Pruning wrong, drought, or crowded plants also harm blooms. Changing how you care for them can bring flowers back.
- Check plants weekly for pests or unusual spots on leaves
- Spray affected plants with insecticidal soap or neem oil for pests
- Remove and throw away all infected or dead foliage immediately
- Don’t over-fertilize; follow package directions carefully
- Space plants to avoid overcrowding and improve air flow
- Water deeply but less often to reduce stress and fungal risk
Using insecticidal soap costs about $10 to $15 and works well against soft-bodied pests. Apply it early or late in the day to protect beneficial insects and prevent burning leaves. Fungal problems respond best to prevention by keeping foliage dry and well spaced.
At season’s end, cut back perennials to keep disease spores from surviving winter. This practice helps stop fungal issues from coming back. Notice weak blooming?
Check how often you water and feed your plants. These habits affect flower growth and plant health.
Adjust them to improve blooms. Correcting these should bring better flowers next spring.
Top Easy-Care Perennials for Stress-Free Gardening
Perennials that need little care save you time and reduce stress. These plants usually tolerate varied soil and weather while still blooming well. Choosing the right varieties means your garden stays vibrant with minimal fuss.
Characteristics of Easy-Care Perennials
Low-maintenance perennials don’t need daily watering or frequent feeding. They handle dry spells and shady spots better than others. These plants often form clumps but rarely require dividing for several years.
Give each plant enough space to grow without crowding neighbors. Adding a thick layer of mulch keeps soil moist and cuts down on weeds. Watch for fewer flowers as a sign your perennials may need dividing.
Dying centers are another common clue. These issues often show after a few years.
Top Beginner-Friendly Perennials
Here’s a table showing some easy perennials by light and water needs. All these follow your basic care like watering when dry and keeping them spaced. They bloom with little pruning and usually survive cold winters well.
| Perennial | Sun Exposure | Water Needs | Special Tips |
|---|---|---|---|
| Daylilies | Full sun to part shade | Medium | Deadhead to extend bloom time |
| Hostas | Part shade to full shade | Low to medium | Protect from slug damage |
| Black-Eyed Susans | Full sun | Low to medium | Needs good air circulation |
| Coneflowers (Echinacea) | Full sun | Low | Attracts pollinators |
| Sedum (Stonecrop) | Full sun | Low | Great drought tolerance |
Most beginner perennials bloom for weeks with little care. Choosing plants matching your yard’s sun and water conditions helps them thrive naturally. Spread mulch around them to keep roots cool and moist.
Climate Zones and Plant Suitability
Some perennials handle cold winters and others prefer mild climates. For example, gardeners in Northern Minnesota can grow perennials surviving down to -40°F.
Warmer zones allow a wider selection but careful watering is key to avoid diseases. Observe how each plant reacts during seasonal changes and adjust watering or shade as needed.
Watch for sluggish growth or fewer blooms. It may mean you need to trim or space your perennials more.
Step-by-Step Action Plan for Healthy Perennials
Follow these easy steps to keep your perennial flowers growing strong and blooming well. Check your plants regularly to catch problems early.
- Before planting: Choose a sunny spot with good soil drainage. Healthy soil means better blooms.
- Day 1 after planting: Water deeply to settle roots. The soil should feel moist an inch down.
- Week 2: Add mulch around the base to keep moisture and block weeds. Mulch should look fresh and dry on top.
- Month 1: Apply balanced fertilizer once to support early growth. Leaves should turn a deep green color.
- After bloom: Deadhead spent flowers to encourage new buds. Check that old flowers snapped off cleanly.
- Late summer: Plan for dividing crowded plants in fall or spring. New shoots should push up from crowded roots.
- Before winter: Cut back dead stems and add extra mulch. Plants should look neat and soil insulated.
- Early spring: Start regular watering and watch for pests. Leaf tips should be firm and free of spots.
Frequently Asked Questions
How Do I Prevent Perennial Flowers from Spreading Too Much?
Control spreading by dividing plants every few years and using barriers. Dividing helps keep them healthy and prevents overcrowding in your garden bed.
Can I Grow Perennial Flowers Indoors?
Most perennial flowers prefer outdoor conditions but some can grow inside. Use pots with good drainage and place them in sunny spots like windowsills.
How Do I Attract Pollinators to My Perennial Garden?
Plant a variety of perennials with different bloom times and colors. This provides food and shelter for bees, butterflies, and other pollinators throughout the season.
What Is the Best Way to Mulch Around Perennial Flowers?
Use organic mulch like shredded bark or compost, 2 to 3 inches thick. Mulch keeps soil moist, controls weeds, and adds nutrients as it breaks down.
How Do I Protect Perennial Flowers from Deer or Rabbits?
Use physical barriers like fences or repellents made for your area. Deer netting and scent sprays can keep these animals from damaging your plants.
Can I Transplant Mature Perennial Flowers Without Stressing Them?
Transplant in early spring or fall when perennials are dormant or starting growth. Water well before and after moving to reduce transplant shock and help roots establish quickly.
Before You Go
Taking steady care helps your perennials thrive year after year. Begin by setting a weekly reminder to check your plants. This simple habit can keep your garden blooming beautifully.