How to Check Humidity of Room: 8 Practical Ways for Accurate Readings
Knowing how to check humidity of room keeps your home healthy and comfy. Too much moisture leads to mold, dust mites, and wood damage. Too little moisture can irritate your skin and throat.
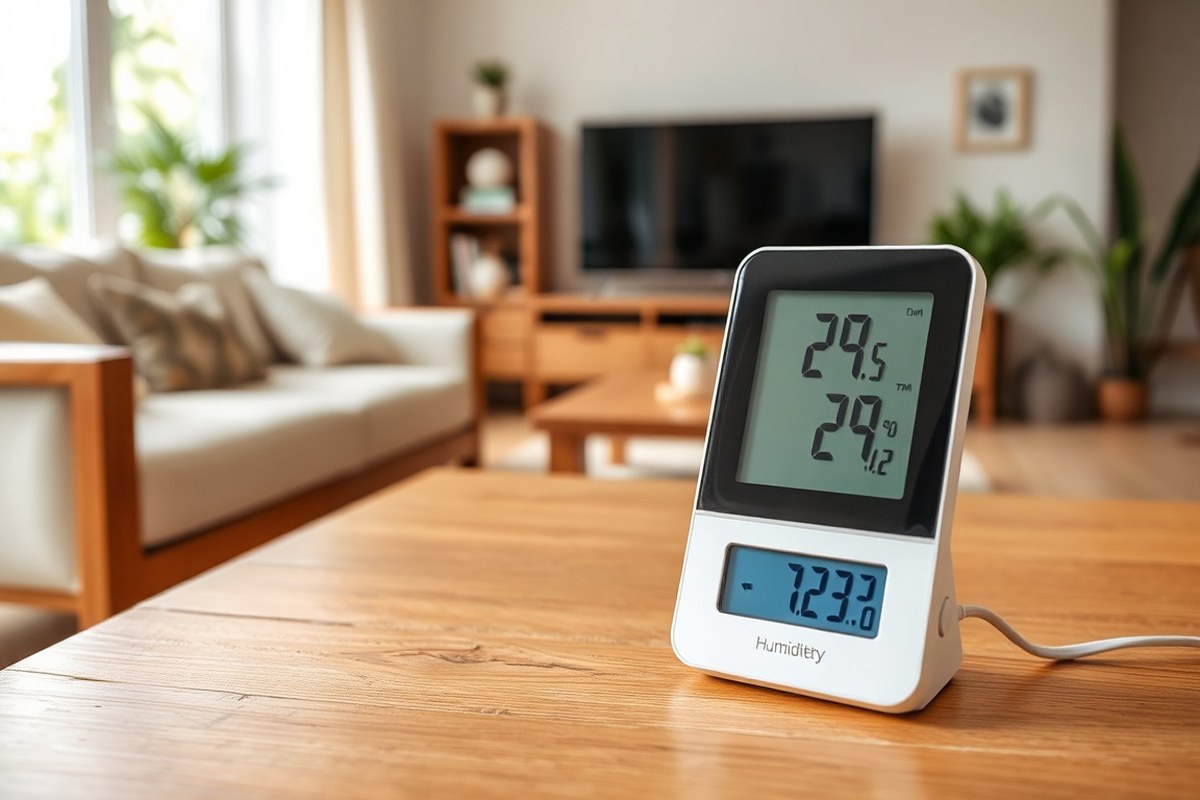
The easiest way is with a digital hygrometer. Place it at chest height, away from doors and windows. Wait about 30 minutes for the reading to settle.
Keep the hygrometer away from vents, heaters, and air conditioners. These can quickly change the air and give false readings. This ensures you get a true picture of room humidity.
Aim for relative humidity between 30% and 50%. Higher causes dampness and mold risk.
Lower makes air dry and uncomfortable. Adjust your humidifier or dehumidifier to stay in this range.
Key Takeaways
- Use a digital hygrometer placed at chest height to check room humidity.
- Wait at least 30 minutes for accurate humidity readings.
- Avoid placing the hygrometer near vents, windows, or heat sources.
- Ideal indoor humidity usually ranges from 30% to 50% relative humidity.
- Too high humidity over 50% raises risks of mold and dampness.
- Salt testing your hygrometer improves its measuring accuracy.
1. How to Check Humidity of a Room Accurately
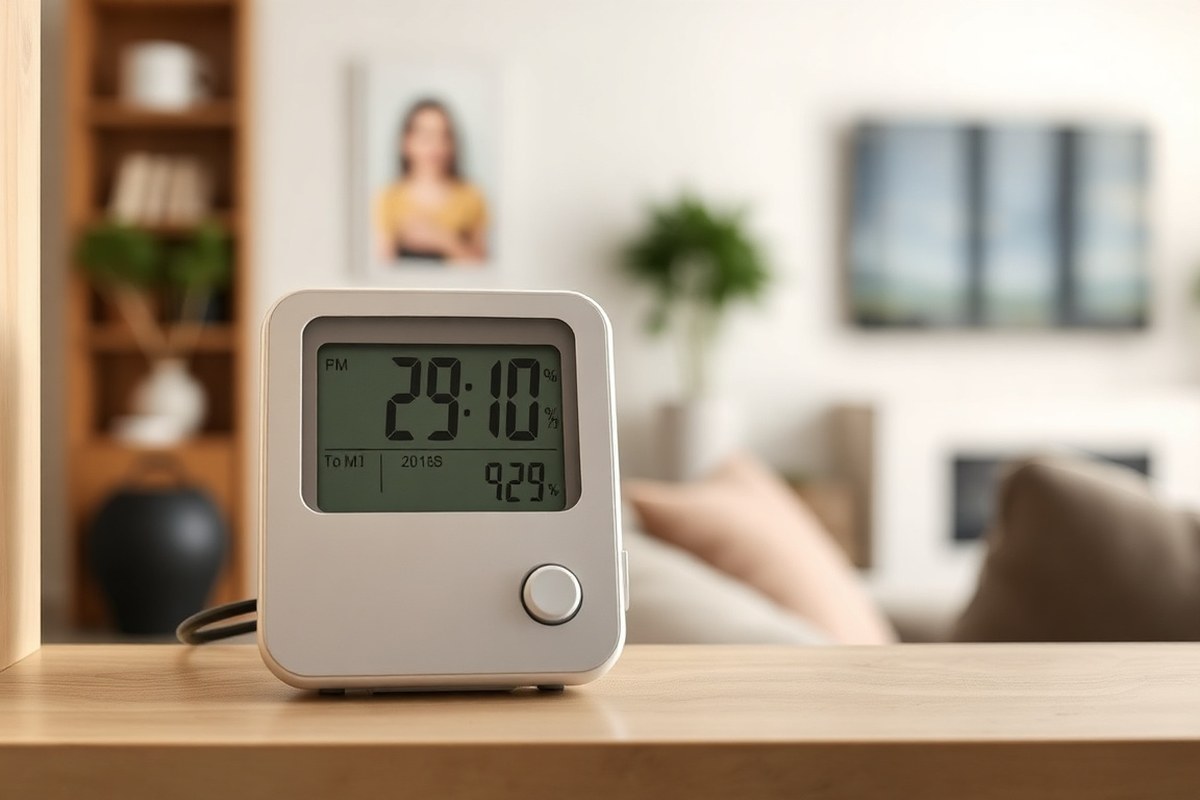
Measuring a room’s humidity accurately starts with the right tool and proper placement. A digital hygrometer gives the most reliable results if you set it up correctly. The sensor should be away from windows, vents, or any heat source to avoid skewed readings.
Wait about 30 minutes after placing the hygrometer. This lets it adjust to the room. Only then check the reading.
This waiting period ensures the sensor picks up the true moisture level in the air. Taking readings too soon can give you inaccurate numbers that don’t match the room’s real conditions.
- Choose a digital hygrometer, which costs around $10 to $30 and offers good accuracy.
- Put the device at chest height. That’s about 4-5 feet off the floor. Place it near the room’s middle.
- Keep the device out of direct sunlight or near vents. Avoid placing it by air conditioners or outside walls. These spots give wrong readings.
- Let the hygrometer stay untouched for at least 30 minutes to stabilize before checking the number.
- Check the humidity after 30 minutes. Aim for 30% to 50% relative humidity. This range fits most normal rooms.
- Repeat these steps in other rooms or different times. This helps you see changes throughout your home. It gives a full humidity picture.
- For ongoing monitoring, check the hygrometer daily or weekly, especially during weather changes or heating seasons.
Some homes have uneven humidity levels in different rooms or times. A bathroom or kitchen might show higher moisture after use. Try placing the hygrometer where you spend the most time for comfort.
Use a digital hygrometer with these steps. It lets you track indoor humidity well. This info helps you adjust your home’s comfort.
Proper timing and placement make all the difference. Without them, the numbers might not tell you the whole story.
2. Types of Devices and Tools to Measure Indoor Humidity

You can use several types of hygrometers to measure indoor humidity. Each type has pros and cons depending on accuracy, cost, and ease of use. Digital, mechanical, and smartphone sensors are common choices for home use.
Digital Hygrometers and Their Features
Digital hygrometers use electronic sensors to report humidity levels quickly. They often show results on easy-to-read displays with backlighting. Costs usually range from $10 to $30 for good models, making them affordable.
They typically have a stated accuracy of about ±2% RH. Many digital models let you adjust the reading by calibration. This means you check it against a known standard first.
Then you set the device to match that standard. You just leave the meter in the room for 10-15 minutes to stabilize before reading.
Some digital hygrometers store minimum and maximum humidity, helping track trends over time. Their rapid responses and easy controls make them popular for home use.
Mechanical and Hair Hygrometers Explained
Mechanical hygrometers rely on materials like hair or paper that change length with humidity. Hair hygrometers use human or animal hair stretched inside the device. These models usually cost $15 to $40.
These can be less accurate than digital meters, often showing a wider error range. You might need to calibrate them manually by comparing to a known humidity level. Their analog dials can be harder to read from across the room.
Mechanical devices are durable and don’t need batteries. But they react slower to humidity changes. They suit those who prefer simple, battery-free tools and value this trade-off.
Using Smartphone Apps and Sensors
Smartphones rarely have built-in humidity sensors. So most apps estimate humidity based on weather data or external sensors.
This often makes them less reliable for precise indoor readings. They can guide general awareness but shouldn’t replace a dedicated hygrometer.
Your phone may work with external smart sensors. These connect using Bluetooth.
They provide decent readings for home use. These setups usually cost $30 or more and require app installation.
Always verify any smartphone-based readings with a physical hygrometer. This helps catch errors before you rely on the data for home comfort or health decisions. Here’s a quick comparison of common hygrometer types to help you decide:
| Feature | Digital Hygrometers | Mechanical/Hair Hygrometers | Smartphone Sensors |
|---|---|---|---|
| Accuracy | ±2% RH typical | Less precise, variable tolerance | Often no direct sensor; estimates vary |
| Calibration | Usually adjustable offset settings | Manual calibration needed | Depends on sensor or app used |
| Cost | $10 to $30 | $15 to $40 | Free app or $30+ for external sensor |
| Display | Digital readout, often backlit | Analog dial, no backlight | Screen on phone or sensor device |
| Power | Battery powered | No power needed | Phone battery or sensor battery |
| Response Time | Fast (minutes) | Slow (several minutes) | Varies |
Matching the right device to your needs depends on prioritizing accuracy, ease, and cost. Digital models offer the best mix for most people.
Leave your hygrometer in the room for at least 10 minutes. This lets the reading become stable and accurate. Avoid checking the reading too soon.
3. How to Calibrate and Test a Hygrometer for Accuracy
Calibrating a hygrometer ensures its humidity readings are accurate. You can use simple tests like the salt or ice cube methods for calibration. These methods help confirm your hygrometer’s reliability and keep your room’s humidity in check.
Salt Test Calibration Method
The salt test works by creating a stable humidity environment using salt and water. You put the hygrometer in a plastic bag with salt and water. Seal it tight.
This helps check if the reading is correct. This process takes about 12 hours at room temperature.
Follow these steps to calibrate your hygrometer using the salt test:
- Pour 1/2 cup of water into a small container.
- Add 1/4 cup of table salt to the water to create a saturated solution.
- Stir the solution until the salt no longer dissolves and some remains at the bottom.
- Place the container and the hygrometer inside a plastic bag.
- Seal the bag tightly to trap the air inside.
- Leave the sealed bag at room temperature, around 70°F, for 12 hours.
- Check the hygrometer’s reading after 12 hours; it should show about 75% humidity.
- Adjust the hygrometer if the reading differs, following its manual instructions.
Ice Cube Method for Quick Accuracy Check
The ice cube method gives a quick humidity check. It shows if your hygrometer is close to the right level. Just watch the reading.
It uses a glass of ice water to establish a known humidity level near 32%. Avoid using this test in the kitchen because cooking moisture can alter results.
To try this method, follow these steps:
- Fill a clear glass with water and add ice cubes until the glass is cold.
- Place the hygrometer near the glass but outside of direct contact.
- Let the setup sit in the room for about 3 to 5 minutes.
- Read the hygrometer; it should show around 32% humidity.
- The reading might be off by a few points. Then adjust your device. Or retest after you recalibrate it.
Frequency and Best Practices for Calibration
You should check your hygrometer’s accuracy every six months or if you move it between rooms. Frequent calibration is important for maintaining precise humidity readings. Batteries or sensor quality in digital models also affect accuracy over time.
Keep your hygrometer away from direct sunlight, heaters, or windows. These spots can create false humidity readings. Always put the hygrometer where air moves easily.
Keep it away from moisture sources. This helps you get the best results.
4. How Temperature and Room Conditions Affect Humidity Readings
Temperature affects humidity readings because warm air holds more moisture. Cold air holds less moisture. This changes how humid it feels.
When room temperature rises, relative humidity (RH) usually drops even if the moisture level stays constant. For example, a 70°F room at 50% RH means some moisture.
Heating to 78°F can drop RH to about 40%. This happens without adding or removing moisture.
Try placing your hygrometer around 3 feet above the floor. Keep it away from windows, doors, and heat sources like radiators or direct sunlight. These spots can give false readings because of temperature swings or drafts.
Humidity changes during the day depending on your home’s activities and weather outside. Cooking, showers, and even people breathing add moisture. Opening windows or running your HVAC system also shifts humidity.
Opening a window on a humid day usually raises indoor RH. Conversely, air conditioning usually dries the air and lowers RH.
Wait 15 to 20 minutes after changing room conditions before taking a reading. That lets the air settle so the meter can measure accurately. To adjust readings, consider the current temperature and HVAC mode.
For example, your AC can run but not reduce humidity well. It may not be drying the air enough. Check if high RH stays after AC runs.
Tracking RH at different times helps understand daily patterns. Morning readings reflect overnight moisture build-up. Evening ones show the effect of cooking and people moving around.
Outdoor weather also matters. Rainy or cloudy days tend to raise indoor humidity. Cold, dry weather lowers it.
The time you check humidity, device location, and HVAC use change readings. These factors all affect what your meter shows. You get condensation on windows when RH stays above 60% often.
That means too much moisture and a chance for mold growth. Adjust your heating, cooling, or ventilation to keep it between 30% and 50% for comfort.
5. Ideal Indoor Humidity Levels and What to Expect
The ideal indoor humidity range is between 30% and 50%. Keeping humidity within this range promotes comfort and reduces health risks. Levels below 30% cause dry skin and sore throats.
Heated rooms in winter make this worse. Your nose may also get irritated.
Humidity above 50% raises the chance of mold growth and musty odors. Mold can start in poorly ventilated spaces at just 55% humidity. High moisture also encourages dust mites and worsens respiratory issues like asthma.
Signs of too much moisture include window condensation, damp basement walls, and slow-drying towels. Too little humidity often shows as static electricity, wood shrinkage, or dry, cracked skin. Watch for these signs day to day, checking humidity readings with a meter.
Health risks differ depending on humidity. Dry air dries out mucous membranes, causing more colds or sinus infections.
High humidity traps allergens and bacteria, triggering asthma and allergy symptoms. Keeping humidity balanced helps prevent both ends of this spectrum.
Check humidity levels several times each day. Write down readings to find the average. This helps you track changes over time.
6. How to Check Humidity in Different Rooms and over Time
To check humidity in different rooms, move your hygrometer to each space. Take readings at similar times during the day to get consistent data. This method helps you compare humidity levels across your home accurately.
Tracking changes over time shows how humidity fluctuates daily or seasonally. Take readings twice daily: once in the morning and once at night. Do this for at least one week.
This gives accurate humidity patterns in your home. Note the dates, times, and readings to spot patterns or spikes.
Humidity often varies with heating, cooling, and weather changes. Monitoring over time helps you catch persistent problems or issues linked to specific activities. This way, you can decide if you need a humidifier, dehumidifier, or ventilation adjustments.
- Use a reliable hygrometer for each room or move one device room to room.
- Measure humidity in the middle of the room, away from windows or vents.
- Check readings twice daily, about 8 AM and 8 PM, for one week or longer.
- Record all results in a notebook or smartphone app for easy comparison.
- Note special events like cooking, showering, or weather changes when checking.
- Compare each room’s data to spot moisture sources or dry areas.
- Look for trends, such as rising humidity in the evening or seasonal swings.
Checking more often than once or twice a day usually isn’t necessary unless specific problems exist. Daily readings can catch sudden moisture buildup or dryer periods, especially in bathrooms and kitchens. For spaces like bedrooms or living rooms, weekly tracking is usually enough.
Monthly checks also work if no symptoms occur. Only check more if issues appear.
Patterns such as humidity above 60% suggest moisture problems that need action. Levels below 30% often mean dry air, especially in winter. 30% to 50% usually feels comfortable.
Comparing humidity in rooms shows where to focus your efforts. Use a humidifier in dry bedrooms. Run a dehumidifier in damp basements.
7. Safe and Unsafe Humidity Levels: When to Take Action
Humidity readings above 60% usually signal too much moisture. High humidity can cause mold and dust mites growth.
These lead to allergic reactions and breathing problems. Droplets on window glass usually mean high humidity inside.
Humidity below 30% means air is dry. This can irritate your skin, eyes, and throat. You might notice static electricity or cracking wood furniture.
Dry air also makes colds and flu feel worse. Aim to keep your home humidity between 30% and 50%.
High room humidity calls for better ventilation right away. Open windows or use exhaust fans when cooking or showering. A dehumidifier helps remove excess moisture from the air.
Run it in problem rooms for hours or days until humidity drops. Fix any leaks you find in pipes, walls, or roofs quickly.
For low humidity, use a humidifier to add moisture. Place it where you spend the most time.
Use distilled water for the best results and clean it often to avoid bacteria buildup. Adding indoor plants can also raise humidity naturally but less predictably.
Call a professional if you suspect hidden mold or leaks. Also reach out if humidity problems persist after using humidifiers or dehumidifiers. Pros can do a thorough inspection and test.
They may suggest repairs or advanced ventilation systems. Expect to pay $150 to $500 for an assessment depending on your location.
Check your home routinely. Use a reliable hygrometer to watch for humidity shifts. Act quickly if you spot condensation on cold surfaces or a musty smell.
These signs suggest moisture problems. Taking quick action helps protect your health and home from damage caused by unsafe humidity levels.
8. Measuring Humidity Without a Hygrometer: Myths and Real Methods
You can check room humidity without a hygrometer, but methods vary in accuracy. Some popular alternatives include the ice cube test, hair hygrometers, and watching condensation. Each can give clues but has limits and common mistakes to watch out for.
Ice Cube Test and Its Accuracy
The ice cube test involves holding a cold glass against your skin or window. Moisture on a surface shows the room is near the dew point. It means the air has as much moisture as it can hold.
This often causes water to form on cooler surfaces. However, this method only shows relative moisture, not exact humidity levels.
Fill a glass with ice and water. Wait one minute for it to cool. Then touch the glass to a surface or near a window.
Condensation means the air is fairly humid, but no condensation doesn’t guarantee dry air. Temperatures and surface materials affect results a lot.
Common mistakes include testing on cold surfaces or in drafts which misrepresent real humidity. Use this test only for a quick check, not for precision.
Using Hair or Homemade Hygrometers
Hair hygrometers use human or animal hair to measure humidity changes. Hair expands and contracts in response to moisture, moving a needle or pointer on a scale. This type was common before electronic tools but requires calibration and care.
You can make a simple hair hygrometer by attaching a hair piece to a lightweight lever. This measures some humidity changes, but readings vary widely with hair type and tension. These tools work for broad trends, not exact percentages.
People often assume these hygrometers are always accurate. Regular calibration against a known humidity source is essential. Without it, readings may drift.
Checking for Condensation and Dew Point Clues
Moisture collecting on windows, pipes, or walls gives practical clues about humidity. Condensation forms when air moisture hits a cold surface below the dew point temperature. This suggests indoor humidity is relatively high.
Use a dew point calculator by entering room temperature and surface temperature to estimate actual humidity. If your thermostat reads 72°F and the window is 52°F with moisture, the humidity is about 50%.
This shows how temperature differences help estimate humidity. This helps interpret what condensation means for your room.
Ignoring condensation signs or assuming it’s from leaks is a common mistake. Check both cause and effect for clear answers.
- Don’t rely solely on condensation or ice test for exact humidity
- Regularly calibrate homemade or hair hygrometers
- Avoid testing during temperature swings or drafts
- Compare new methods to a digital hygrometer when possible
- Use a dew point calculator for precise moisture analysis
- Remember humidity can vary within the same room
Keep in mind that none of these methods replace a good hygrometer for regular, accurate readings.
Step-by-Step Action Plan to Check Your Room’s Humidity
Follow these simple steps to measure and control indoor humidity the right way. This plan helps you get accurate readings and improves your home’s air quality.
- Before you start: Buy a reliable digital hygrometer or humidity monitor. Check reviews and pick one suited for home use.
- Day 1: Place the hygrometer in the room’s center, away from windows and vents. Let it sit for at least one hour to stabilize.
- Day 2: Check the reading and write it down. Then, compare it with readings from other rooms taken at the same time. Note differences above 5% humidity.
- Week 1: Calibrate your hygrometer using a salt test or buy calibration kits. Adjust settings if your device allows it.
- Week 2: Track humidity readings at different times of the day. Look for patterns, especially if humidity swings more than 10%.
- Week 3: Use a humidifier or dehumidifier to adjust levels if readings are outside 30-50% humidity. Recheck after 24 hours for changes.
- Week 4: Reassess each room to confirm balanced humidity. Aim for consistent readings and comfort without condensation or dryness.
Frequently Asked Questions
How Often Should I Check My Room’s Humidity?
Check humidity once or twice a day, morning and evening. This helps spot changes early and keeps levels comfortable and safe.
Can a Smartphone App Accurately Measure Room Humidity?
Most phone apps only estimate humidity using location and weather data. They aren’t accurate compared to a digital hygrometer inside your home.
What’s the Best Height to Place a Hygrometer in a Room?
Place the hygrometer about chest height in the room’s center. Keep it away from windows, vents, or appliances for true readings.
Why Does Humidity Vary Between Rooms in the Same House?
Different rooms have varied airflow, heat, and moisture. Check rooms individually to monitor the specific conditions each has.
How Long Should I Leave a Hygrometer to Get an Accurate Reading?
Leave it for 10-30 minutes to adjust to room air. This ensures the device reflects the true humidity, not just local spikes.
Can Humidity Levels Change Quickly After Cooking or Showering?
Yes, cooking and showers add moisture rapidly. Ventilate the room to return humidity to normal sooner and avoid mold risks.
The Bottom Line
Measuring your room’s humidity helps keep your home healthy and comfortable. Start using a good hygrometer today and watch your indoor air improve. Controlling humidity prevents damage and health problems down the line.