How to Clean Indoor Plant Leaves: Safe Steps and Natural Tricks That Work
Cleaning indoor plant leaves keeps them healthy and bright. Clean indoor plant leaves by wiping or spraying gently with distilled water. Do this every 2 to 4 weeks to keep leaves fresh.
Avoid using harsh cleaners that can harm the plant. This removes dust and boosts photosynthesis by up to 30%, helping plants thrive.
Start by spraying leaves with distilled water and wait five minutes to loosen dirt. Never clean leaves when your plant is stressed because it might harm them. Rotate your plant while spraying to cover all surfaces evenly.
For plants with large leaves, use a microfiber cloth and distilled water to wipe them down. For ferns, a tepid shower or fine spray every two weeks works best. Keeping leaves clean improves both your plant’s health and appearance.
Key Takeaways
- Clean leaves every 2 to 4 weeks, depending on dust and humidity.
- Use distilled water to avoid damaging sensitive leaf surfaces.
- Spray leaves first, then wipe gently with a microfiber cloth if needed.
- Rotate the plant while rinsing to clean all leaf areas evenly.
- Never clean leaves if the plant shows signs of stress or illness.
- Ferns benefit most from a lukewarm tepid shower every two weeks.
How to Clean Indoor Plant Leaves Safely and Effectively

Cleaning your plant’s leaves removes dirt and dust that block light. Clean leaves help plants absorb more sunlight and keep photosynthesis strong. Use simple water or mild soap solutions so you don’t harm the plant.
You can clean both top and bottom leaf surfaces safely by using a gentle method. Avoid harsh chemicals that can burn leaves or disrupt their natural coating.
For greasy residue, add 1 to 2 drops of mild soap to a quart of water. This helps remove oils without damaging the leaf.
- Prepare a cleaning solution. Fill a container with lukewarm water. Add a couple drops of mild soap if grease or pests are present.
- Test a small leaf first. Dab the solution on one leaf to check for damage or stress signs. Wait 30 minutes.
- Gently wipe leaves. Use a soft cloth or sponge dipped in your solution. Wipe both upper and lower leaf surfaces carefully.
- Rinse with clean water. Spray or wipe leaves with plain water to remove soap residue. This prevents buildup that can harm plants.
- Allow leaves to dry. Position your plant where air circulates well. Avoid direct sunlight until leaves are fully dry.
- Repeat every 2 to 4 weeks. Cleaning leaves this often keeps dust and pests at bay without stressing your plant.
- For whole plants, use a gentle shower. Spray water across all leaf surfaces for 3 to 5 minutes. Rotate the plant by 90 degrees every minute to reach all sides.
- Avoid cleaning stressed plants. Wait until after new growth or treatment for pests. Cleaning can add unnecessary strain on sick plants.
How Often to Clean Indoor Plant Leaves for Optimal Health
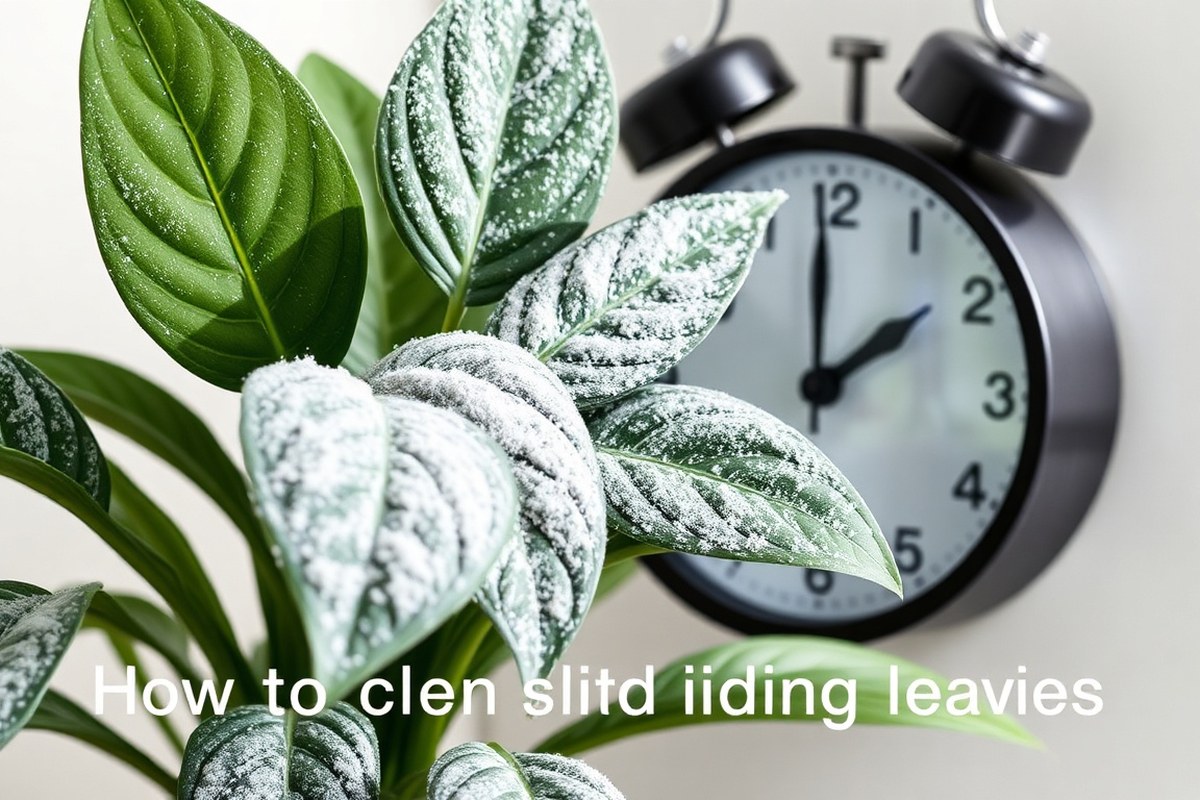
Cleaning indoor plant leaves every 2 to 4 weeks fits most home settings well. Dust blocks light and clogs stomata, slowing photosynthesis. Plants absorb light better with clean leaves, boosting their health and growth.
Rooms with more dust or high traffic call for cleaning once a week. Rooms near vents or heaters need checks during their use, as dry air adds stress. Fuzzy leaves should be brushed only during regular care to avoid damage.
The season also guides cleaning times. Spring and summer demand cleaning every 2 to 3 weeks or sooner. Increased light and airflow bring dust and pollen.
So wipe leaves carefully but avoid active growth areas. In cooler months, leaf cleaning can slow to monthly.
Early morning works best to clean leaves. Plants are dry and ready to absorb light.
Cleaning then avoids leaves staying wet overnight, which can cause mold or disease. Use a gentle spray or wipe soft leaves with a damp cloth for the best effect.
Each plant type calls for different care. Ferns do well with a lukewarm shower every two weeks.
Powder-coated succulents need gentle dusting only. Check leaves during cleaning for pests or signs of disease to catch problems early.
Check your plants often and clean when you see dust buildup. Avoid oil-based leaf shines, as they trap more dust and harm your plants.
Choosing the Best Cleaning Solutions for Your Plant Leaves
Water is the safest and simplest cleaner for most indoor plants. It removes dust without risking leaf damage or chemical buildup. Just use lukewarm water and a soft cloth to gently wipe the leaves.
Mild soap solutions work well to clean dirt and pests but must be diluted carefully. Use 2 to 3 drops of pure potassium-based Castile soap per cup. Each cup equals 8 oz of water.
Mix the soap and water well before use. Avoid dish soap with harsh additives and rinse leaves if you’re unsure how your plant reacts.
Some people use diluted milk or vinegar to shine leaves or remove mineral deposits. Milk offers moderate shine but may leave residue if overused.
Vinegar helps with minerals but suits only tougher, waxy leaves and needs strong dilution. Olive oil is not recommended because it clogs pores and leads to buildup.
| Leaf Cleaner | Effectiveness | Risk Level | Best Use Case |
|---|---|---|---|
| Water | High | Low | Regular dust removal and routine cleaning |
| Milk (diluted) | Moderate | Medium | Occasional shine, used carefully |
| Olive oil | Low | High | Generally not recommended due to residue buildup |
| Vinegar (diluted) | Moderate | Medium | Removing mineral deposits on suitable leaves |
| Dish soap (diluted) | Moderate | Medium | Pest removal, not regular cleaning |
Use a clean, soft cloth dipped in the solution to wipe leaves carefully. Avoid saturating leaves, especially fuzzy or delicate ones. For sensitive plants, rinse afterward with lukewarm water to remove soap.
Each method suits different plants. Thick, waxy leaves tolerate vinegar better.
Soft, fuzzy leaves need just water or mild soap. Try these solutions on one leaf first to check for damage.
Cleaning Leaf Types: Smooth, Fuzzy, and Waxy Leaves Explained
Cleaning methods depend on leaf texture to avoid damage. Smooth leaves need gentle wiping. Fuzzy leaves require dry brushing.
Waxy leaves tolerate light damp cloth cleaning. Using suitable tools and gentle motions helps keep leaves healthy and looking great.
Cleaning Smooth and Glossy Leaves
Use a damp microfiber cloth for smooth, glossy leaves like rubber plants or dracaenas. Place your palm beneath the leaf to support it.
Gently wipe from the base outward along veins. This avoids bending or tearing the leaf while removing dust and grime.
Water should be near room temperature to prevent shock. Clean these leaves every 2 to 4 weeks, more if dust builds up quickly. Avoid harsh scrubbing or soaking as it can damage the surface or encourage fungal growth.
Cleaning Fuzzy or Hairy Leaves
Fuzzy leaves like African violets or some begonias need dry brushing. Avoid using water on them.
Moisture can trap dirt and cause rot in their fine hairs. Brush lightly without rubbing to lift dust, debris, and pests without hurting delicate leaf hairs.
Use a clean, small soft-bristle paintbrush or makeup brush for precision. Only clean fuzzy leaves when necessary to prevent damage. Avoid cleaning solutions or sprays since they may harm their texture and natural protection.
Cleaning Thick, Waxy Leaf Surfaces
Thick, waxy leaves like snake plants or ZZ plants tolerate wiping with a damp cloth. Wipe gently along the veins to keep their natural bloom intact. Avoid using any soapy or oily solutions directly on the leaves to prevent buildup or discoloration.
Limit cleaning to once a month to preserve the waxy coating essential for water retention. After cleaning, keep these plants out of direct sunlight until leaves dry to avoid damage. Minimal handling helps the plant maintain its protective layer.
Tools and Materials Needed to Clean Indoor Plant Leaves
You need the right tools to clean your indoor plant leaves. Using these tools helps avoid damage. It also gives the best results.
Soft microfiber cloths with 400+ GSM work best because they trap dust without scratching the leaves. Regular cloths often miss dirt particles and can be rough, causing tiny leaf tears or bruises.
Microfiber cloths come with split-fiber technology. This means they pull in fine dust and grime easily, even with just room-temperature distilled water.
Use one cloth for wiping and a second damp one to rinse off loosened dirt. This two-cloth method helps remove mineral buildup safely from broad or smooth leaf surfaces.
- High-density microfiber cloths (400+ GSM), soft and split-fiber type
- Distilled water, plain and at room temperature
- Small gentle brush for fuzzy or hairy leaves
- Spray bottle or bowl to soak leaves lightly
- Optional: Soft regular cloths as backups
- A steady hand and a well-lit space for careful cleaning
People sometimes use baby wipes or household wet wipes for leaf cleaning. However, many wipes contain chemicals or fragrances harmful to plants.
They can leave residues that block pores or attract pests. Stick to microfiber cloths with water unless you know the wipe’s ingredients are plant safe.
Baby oil and similar fats, though popular for shiny leaves, can cause sticky buildup. This attracts dust and bugs, creating more work later. Instead, clean leaves gently with water and cloth, letting nature handle the shine.
Clean your plant leaves every 2 to 3 weeks. This keeps leaves healthy and free of dust. Make it part of your regular care.
Always test a small leaf area first to avoid damaging sensitive plants.
Removing Stubborn Residue and Pest Buildup on Leaves
Removing greasy or sticky residues and pest buildup on indoor plant leaves takes gentle care. Use mild soap solutions or natural citrus cleaners to break down grime without harm. Rinsing leaves thoroughly afterward removes any leftover residue or pests safely.
Using Mild Soap and Water
A mild soap and water mix is your best bet for greasy or sticky leaf residue. It cleans well without damaging leaves or blocking their pores. Make the solution gentle to avoid leaf discoloration or soap buildup.
Here’s how to prepare and use a mild soap solution for cleaning:
- Mix 2 drops of castile soap into 1 quart of lukewarm water.
- Dip a soft cloth or sponge into the solution and wring it out.
- Gently wipe both the top and bottom of each leaf.
- Rinse the cloth often in clean water to avoid spreading dirt.
- After cleaning, rinse the leaves with plain distilled water.
- Use a dry towel to pat the leaves dry if indoors.
This low soap concentration breaks down greasy films and kills soft-bodied pests. Avoid stronger detergents that can cause leaf burn or leave residues behind.
Natural Citrus-Based Cleaning
Lemon juice mixed with water works well on mineral deposits and sticky spots. The mild acidity loosens dried-on dirt and leftover pest honeydew naturally. This method suits plants without sensitive leaf surfaces.
Use fresh lemon juice mixed with water at a 1:4 ratio. Pour one part lemon juice and four parts water into a spray bottle.
Shake well before use. Apply it with a soft cloth gently to avoid scrubbing leaf surfaces harshly.
Rub the mixture on the leaves, then wipe off with a clean, damp cloth. Rinse afterward to remove all acid traces. Avoid this method on fuzzy or waxy leaves, which can trap moisture and cause damage.
Rinsing Off Pest Residues
Pests like spider mites leave webs and sticky residue that encourage new infestations. After treating plants for pests, rinsing removes leftover eggs and sprays. This step helps plants recover and breathe better.
Use plain distilled or lukewarm water in a gentle spray or dip method to wash leaves. For tough spots, mix 1 teaspoon neem oil with 1 quart water. Add one drop of mild soap to the mix.
Stir gently before applying. This mixture cleans and helps repel pests naturally.
Spray or wipe with the neem oil solution, then rinse well with water afterward. Dry leaves gently with a soft cloth to avoid mold growth. Repeat this process once weekly until leaves are clear of residue and pests.
Common Cleaning Mistakes and How to Avoid Them
Cleaning indoor plant leaves can backfire if done the wrong way. Using too much lemon juice or vinegar might burn leaves.
It’s better to test any cleaner on a small leaf first to avoid damage. Avoid cleaning when plants look stressed or are newly repotted, as their leaves are more fragile.
Watering hairy or fuzzy leaves directly can cause ugly spots or mildew. Instead, gently brush off dust with a dry, soft cloth or a soft brush.
Missing the undersides of leaves lets pests hide and come back. Clean both top and bottom surfaces to keep plants healthy and pest-free.
- Avoid heavy spraying on hairy or fuzzy leaves; use a brush instead
- Test any new cleaner on a small leaf before full use
- Do not clean when the plant is wilting or recently repotted
- Clean leaf undersides to prevent pest returns
- Use diluted vinegar or lemon juice to prevent leaf burn
- Rinse leaves with plain water if they look dull after cleaning
- Stop cleaning if more than 15% of leaves turn yellow and check roots
Using strong cleaners or skipping rinses can leave buildup and dull leaves. A quick rinse with plain water helps remove residue and restore shine.
If over 15% of leaves turn yellow, check roots for rot before blaming leaf cleaning. Healthy roots keep leaves green, so fix drainage or watering problems first.
Cleaning is about gentle care and patience. Taking small steps prevents stress and damage. Soft cloths, mild solutions, and knowing when not to clean protect your plants’ health and look.
How to Make Indoor Plant Leaves Shine Naturally
To make indoor plant leaves shine naturally, avoid oily or commercial products that block pores. Use gentle cleaning and soft cloth buffing to bring out their natural gloss. Natural methods keep leaves healthy and free from buildup.
Gentle Cleaning Followed by Soft Cloth Buffing
Wipe broad leaves like rubber plants with a soft, damp microfiber cloth every week. Start at the stem and move outward with gentle strokes to protect leaf surfaces. For fuzzy leaves, dust them with a soft brush to remove dirt without wetting.
After cleaning, buff leaves with a dry microfiber cloth to lift natural shine. Avoid harsh scrubbing, which can harm leaves and strip their protective wax. Using lukewarm water helps the plant’s wax stay intact while freshening leaves.
Using Banana Peels and Natural Oils Safely
Rubbing a banana peel on glossy leaves can add extra shine without grease. The peel’s natural oils polish leaves gently without clogging pores. Rub the inside of the peel gently along the leaf surface.
Use a soft cloth to wipe off any leftover residue. This cleans the leaf without harming the plant.
Do not use coconut, olive, or baby oils directly on leaves. These fats can block pores and harm the plant’s ability to breathe and absorb light. Stick to water-based cleaning and natural peel treatments to avoid problems.
Avoiding Harmful Commercial Leaf Shine Products
Leaf shine sprays, mayonnaise, and milk might look appealing. But they clog pores and attract pests.
These substances build up a greasy layer that interferes with photosynthesis. Instead, keep cleaning simple with water and a soft cloth to prevent damage.
Vinegar mixed with water (one tablespoon vinegar per quart) can remove white residue safely. Wipe leaves gently, then rinse with clean water to avoid acidity harm. Skipping chemical and oil-based products ensures your plant stays healthy and shiny long-term.
Never apply oil-based products on leaves; they block pores and cause harm.
Step-by-Step Action Plan for Cleaning Your Indoor Plant Leaves
Follow these practical steps to keep your plant leaves clean and healthy. Each step helps you spot progress and stay on track.
- Before you start: Gather soft cloths, lukewarm water, and mild soap. Check leaves for dust or pests to target.
- Day 1: Dust gently with a dry microfiber cloth. Leaves should look brighter and free of loose dirt.
- Day 3: Wipe leaves with a damp cloth or sponge dipped in mild soap water. Confirm dirt and sticky spots come off easily.
- Day 5: Rinse leaves with plain water using a spray bottle. You can also use a damp cloth to remove soap residue. Leaves will feel clean, not sticky.
- Week 2: Check fuzzy or waxy leaves for dirt carefully. Use soft brushes or diluted milk to clean them gently. Check if their natural texture stays intact.
- Week 4: Shine leaves naturally by wiping with half-strength vinegar solution or a crushed aspirin mix. Leaves should have a healthy, soft glow without slickness.
- Monthly routine: Repeat dusting and wiping steps regularly to prevent buildup. Plant leaves stay fresh and you spot issues early.
Frequently Asked Questions
How Do I Make My Indoor Plant Leaves Shine?
Clean leaves gently with a soft, damp cloth to remove dust and grime. Shine appears naturally when leaves are clean and healthy, without needing wax or polish.
What Homemade Solution Can I Use to Clean Leaves on My Plants?
Mix 1-2 drops of pure Castile soap in a quart of water for a safe cleanser. This mild soap helps remove dirt without harming your plants.
Can I Use Dawn Dish Soap to Clean My Plant Leaves?
Dawn dish soap can be risky if overused and might irritate leaves. Use it sparingly and rinse leaves well to avoid damage.
Can I Use Alcohol Wipes to Clean Plant Leaves?
Alcohol wipes can dry out or damage leaves, so they are not recommended. Stick to gentle soaps or water for cleaning.
How Often Should I Clean Indoor Plant Leaves?
Clean leaves every 2-4 weeks depending on dust, humidity, and location. Regular cleaning helps your plant photosynthesize better and prevents pests.
Are There Special Cleaning Tips for Fuzzy or Waxy Leaves?
Use soft brushes or misting for fuzzy leaves to avoid damage. Waxy leaves clean best with a damp cloth to keep their natural coating intact.
Final Thoughts
Clean leaves help your indoor plants stay healthy and look their best. Start by dusting gently and move to deeper cleaning as needed. Watch your plants for signs they enjoy the care you give them.