How to Dry and Cure Weed: A Complete Guide for Perfect Cannabis Every Time
Knowing how to dry and cure weed is key to tasty, smooth buds. Drying slowly at about 75°F with 50% humidity helps keep buds fresh and mold-free. After drying, cure your buds in jars.
Keep jars at 60°F and 60% humidity. This method brings out the best flavor and potency.
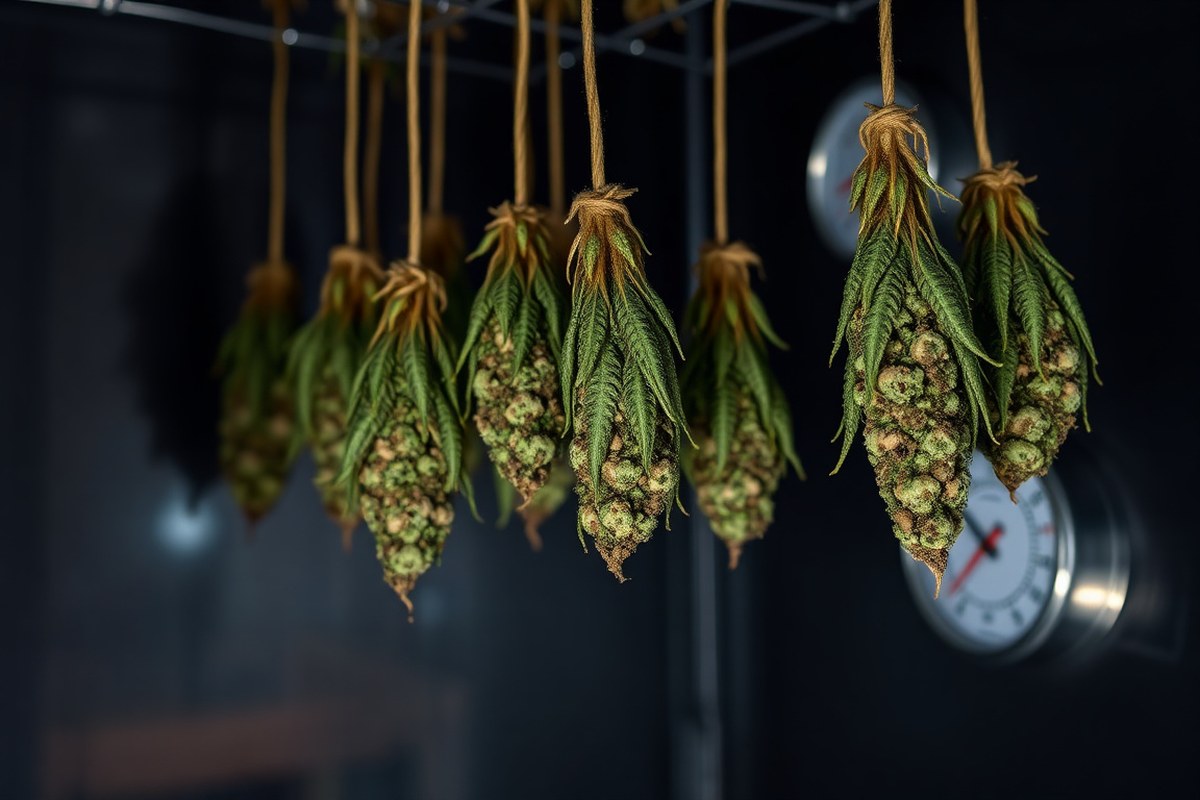
First, hang your trimmed buds in a dark, well-ventilated room for 3 to 7 days. Make sure the buds feel dry enough to snap but not crumbly before curing. This slow drying stops mold and preserves the cannabis’s quality.
Once dry, put your weed in airtight jars for curing. Crack the jars daily at first to let moisture escape and fresh air in. Keep humidity around 60% inside the jars to avoid harsh smoke or mold growth.
Key Takeaways
- Hang trimmed buds in a dark room at 75°F and 50% humidity to dry.
- Dry buds until stems snap but don’t crumble for perfect curing readiness.
- Cure in airtight jars at 60°F and 60% humidity to improve flavor.
- Open jars once daily during the first week to release moisture.
- Use a digital hygrometer to monitor jar humidity for best results.
- Drying too fast (under 3 days) causes harsh, less potent bud.
What Does Drying and Curing Weed Involve?
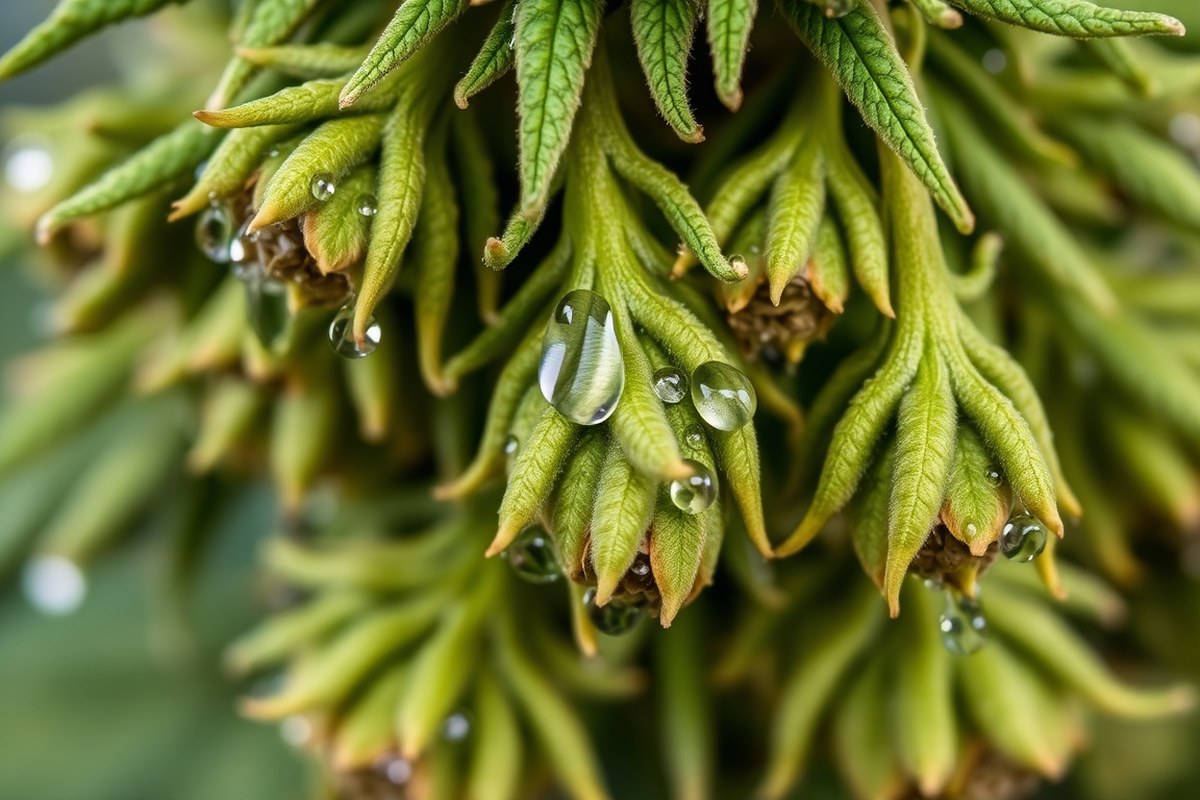
Drying and curing weed are two separate but linked steps after harvest. Drying removes most moisture, usually over 10 to 14 days at about 60°F and 60% humidity. This slow, cool method keeps buds from getting harsh or losing potency.
Curing follows drying and involves storing buds in sealed jars to slowly balance moisture inside. It usually takes up to 4 weeks to cure weed. The time depends on the strain and the quality you want.
Some strains may need longer curing times. Curing helps buds develop their full flavor, smoothness, and potency by gradually converting compounds like chlorophyll.
You can smoke dried weed right away. But uncured buds often feel harsher and taste less rich. Proper curing smooths the smoke and unlocks better highs by preserving THC and CBD levels.
Curing keeps your weed fresh for up to two years. Dried flower alone loses quality much faster. Proper curing slows this loss down.
Good drying means buds feel dry on the outside but still spring back slightly when pressed. This stage is ideal for starting the curing jars. Failing to dry slowly or curing before drying fully causes harsh smoke or mold.
Low humidity under 55% dries buds too much. Over 65% humidity risks mold growth during curing.
Both drying and curing together shape how potent, tasty, and smooth your finished product will be. Rushing drying or skipping curing cuts potency and ruins smoothness. The right curing time and conditions matter a lot.
Studies show they affect nearly half of the bud quality. Taking care during curing pays off in quality.
How to Prepare Cannabis for Drying: Trimming and Harvesting Steps
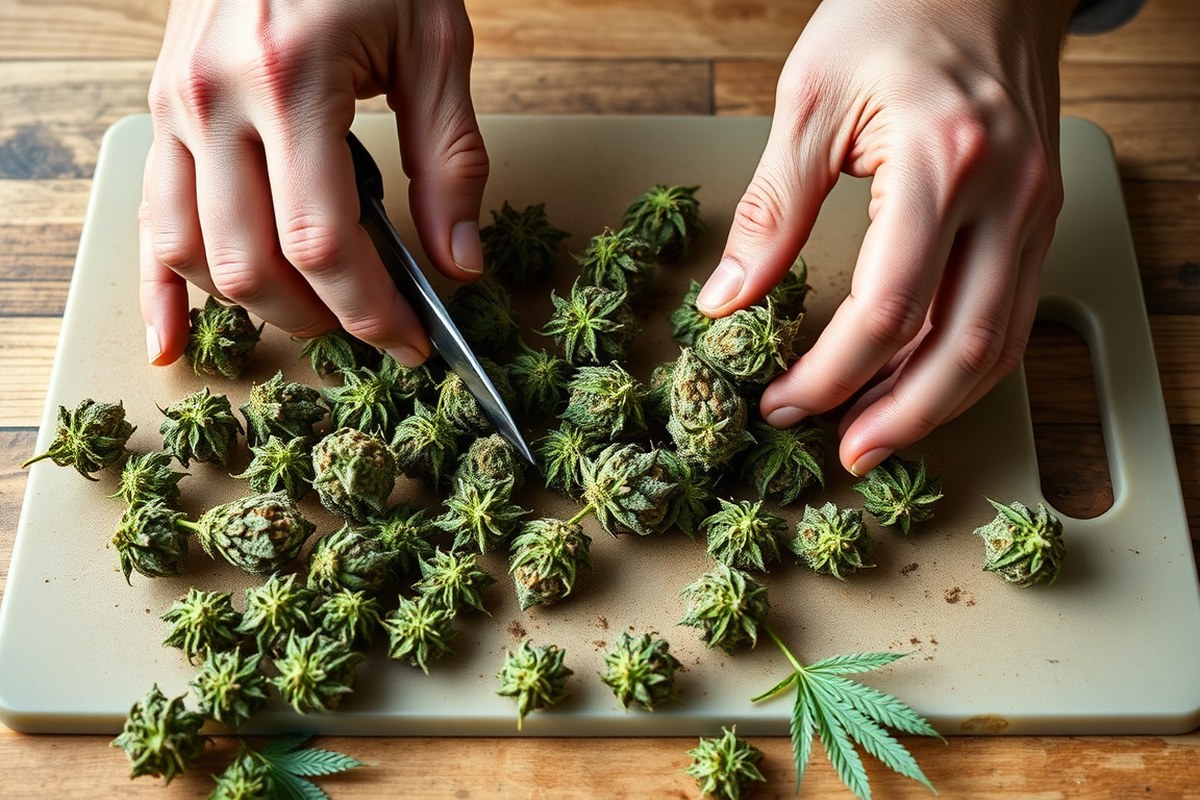
Trimming your cannabis before drying depends on your drying method and room humidity. You can trim buds wet right after harvest. Or, you can wait and trim them dry after initial drying.
Both ways work for home growers. Each method affects drying time, moisture control, and ease of handling your buds.
Wet Trim vs Dry Trim Approaches
Wet trimming means cutting fan leaves off immediately after harvest. Dry your buds on racks or mesh screens. This method usually takes five to ten days.
It helps speed up the drying process. This is best if your room humidity is above 55%, helping prevent mold.
Dry trimming involves hanging whole branches or plants intact for 7 to 14 days. The leaves stay on during drying and act as moisture buffers. Wait to trim fan and sugar leaves until buds feel dry.
Buds should snap, not bend when ready. This way preserves taste and quality.
Wet trim offers a faster dry but needs more attention to airflow. Dry trim slows drying for even moisture loss and can improve taste. The choice depends on your space, humidity, and patience.
Preparing Branches for Hanging or Rack Drying
Start by cutting branches from the main stem with sharp pruning shears. Remove large fan leaves first if you’re wet trimming to reduce moisture load. Leave smaller sugar leaves if you prefer them for later trimming.
Hang branches upside down using a strong string or rod, spacing so buds don’t touch. For wet trim, spread individual buds spaced out on a drying rack or mesh tray. Avoid stacking buds, which traps moisture and risks mold.
Keep drying areas around 60°F and 50-60% humidity for standard drying times. Dense buds or cooler rooms may need 10 to 14 days. You can adjust humidity or add a fan for better air circulation.
Checklist for Ideal Harvest Prep
Follow these steps to prepare your cannabis for drying properly:
- Cut whole branches from the main plant carefully to avoid damage.
- Decide on wet or dry trim based on your drying setup and humidity.
- Remove large fan leaves before drying if wet trimming, or wait if dry trimming.
- Hang branches upside down with space so buds do not touch.
- Use a drying rack for wet-trimmed buds to keep them separated.
- Check room temperature and humidity, adjusting for ideal drying conditions.
- Monitor buds daily to catch mold or uneven drying and adjust as needed.
- Trim sugar leaves after dry trimming once buds snap when bent.
Only trim big fan leaves wet if your drying space is humid, or mold risks rise.
Ideal Conditions for Drying Cannabis Buds
The ideal temperature for drying cannabis buds is between 60 and 70°F (15 and 21°C). Keep the drying area completely dark to protect THC and terpenes. Use gentle airflow to avoid trapped moisture but don’t dry too quickly.
Humidity in your area changes how you dry your buds. Hanging cannabis upside down works well in 50 to 60% relative humidity. High humidity over 60% needs extra airflow to stop mold.
Using a dehumidifier can also help reduce moisture. Keep air moving without drying buds too fast.
Drying slowly for about 7, 14 days is ideal. Too hot or too dry leads to brittle buds.
Too cold or too moist invites mold and harsh smoke. Light damages quality, so keep the drying area dark.
| Setting | Target | Too High | Too Low |
|---|---|---|---|
| Temperature | 60, 70°F (15, 21°C) | Faster dry, terpene loss | Slow dry, mold risk |
| Humidity | Aim for 45 to 55% relative humidity when drying, up to 60% if the temperature is 60°F. | Mold and bud rot | Fast dry, harsh smoke |
| Airflow | Gentle, around the buds | Outside dries first, moisture trapped inside | Stagnant air, mold |
| Light | Total darkness | Light degrades THC and terpenes | – |
| Time | 7, 14 days | Brittle, over-dried bud | Hay taste, harsh smoke |
In humid areas, use a fan to keep the air moving gently. Make sure the fan doesn’t blow directly on the buds.
Use a digital humidistat to watch conditions closely. A small heater or dehumidifier keeps temperature and humidity steady in cooler or wetter places.
Drying buds right stops mold and holds the best smell and flavor. Don’t rush by turning up heat or blowing tough air directly on the flower.
Keep the drying room dark and at the right temperature. Use gentle airflow to dry buds evenly over about a week.
How to Know When Cannabis Is Dry Enough to Cure
You know your cannabis is ready for curing when buds feel dry outside. Inside, they still hold some slight moisture. This balance is key before starting the cure.
A clear snap of the stem and a hygrometer reading near 58% humidity confirm dryness levels. Drying usually takes ten to fourteen days for the buds.
They reach about 10 to 12 percent moisture by then. This range is typical for most growers.
Performing the Snap Test Correctly
The snap test checks if your cannabis stems are dry enough but not brittle. You want stems to break cleanly with a snap sound, not bend like a fresh twig. This tells you the internal moisture is right for curing.
To do the snap test, take a small stem from your bud. Bend it sharply to check its condition. This test tells you if it’s dry enough.
It snaps off with a crisp break when it’s ready. This means the drying process is at the right point.
It bends or feels soft if it’s not ready yet. Keep drying your buds a bit longer to improve quality.
- Pick a small stem from a freshly dried bud.
- Bend the stem sharply near the middle.
- Listen for a clean snap sound.
- Check for any bending without snapping.
- Repeat on several stems for consistency.
- Decide if buds need more drying based on the snap test.
Using Hygrometers to Measure Moisture
A hygrometer helps you measure the relative humidity (RH) in your drying or curing environment. When buds are dry enough for curing, the hygrometer reads about 58% RH or a little less.
This humidity level shows they are ready for the next step. This means moisture is low but still enough inside the buds for curing to continue.
Place the hygrometer inside your drying room or inside the curing jars to track humidity. Keep the reading steady around 58% during drying. This avoids drying buds too fast or too slow.
A stable humidity helps maintain quality. The key is slow, even drying to protect flavors and cannabinoids.
Typical Drying Timelines and Variability
Drying cannabis usually takes 10 to 14 days depending on your environment. Humidity, temperature, and air circulation change drying speed. Higher humidity and cooler rooms slow drying, while hot dry air speeds it up.
Don’t rush drying by using quick methods like dry ice or heat. Quick drying removes too much moisture too fast, stopping the curing process. Buds dried slowly cure better, taste smoother, and smoke less harsh.
Watch for stems snapping and use a hygrometer reading below 60% to decide when drying ends. Dry too much, and curing slows or stops completely. Your flower loses flavor, aroma, and overall quality this way.
Step-by-Step Cannabis Curing in Jars for Best Quality
Curing cannabis in jars improves potency, freshness, and aroma over weeks. You need to store dried buds in glass jars, open them regularly, and control humidity. Daily attention at first, then less often, leads to top-quality results.
Loading Jars and Initial Sealing
Fill clean glass jars loosely with dried buds to leave air space around them. Avoid packing buds too tightly to keep airflow and prevent mold. Leave about half an inch of headspace at the jar’s top.
Seal jars airtight to trap moisture inside. This traps flavors and locks in terpenes for better taste. Keep jars at room temperature near 70°F (21°C).
Store them in a dark place. This environment helps your buds cure well.
- Pick clean glass jars with airtight lids.
- Gently place dried buds inside without squeezing.
- Leave about half an inch of empty space atop the buds.
- Seal each jar tightly to prevent air leaks.
- Store jars in a cool, dark area around 70°F (21°C).
Burping Frequency and Duration Schedule
Open jars (“burping”) daily during the first two weeks. This releases moisture and replenishes oxygen to prevent mold and stale smells. The process also helps buds dry evenly inside the jar.
Burp jars for 5 to 10 minutes each time. After two weeks, switch to burping every other day for one more week. Then reduce burping to once or twice a week as moisture stabilizes.
After four weeks, open jars once a month if humidity stays steady between 55% and 62%. Monitor with a small hygrometer inside each jar to track conditions closely.
- Open jars daily for 5-10 minutes in weeks 1-2.
- Switch to every other day in week 3.
- Burst frequency to once or twice weekly in week 4.
- Open jars once a month afterward if humidity remains stable.
Don’t skip daily burping early on; excess moisture builds mold quickly.
Using Humidity Packs to Maintain Stability
Place Boveda Humidipaks inside jars after initial drying to control humidity. Packs rated 58% or 62% keep moisture steady at ideal curing levels. These help buds avoid drying out or becoming too moist.
Add humidity packs once burping decreases, usually after the first two weeks. Packs cost a few dollars each.
They last several months. This makes trimming and curing easier and more reliable.
Try adding a humidipak if buds feel too dry during curing. Use it only for a short time.
Remove the pack once humidity stays at 55-62%. This stops extra moisture and mold risk.
- Choose Boveda 58% or 62% humidity packs suited to cannabis.
- Put the pack in the jar after burping frequency drops.
- Monitor humidity with a hygrometer to ensure it stays in range.
- Remove packs if humidity rises above 62% to prevent mold.
- Replace packs every 2-3 months to maintain effectiveness.
Common Mistakes When Drying and Curing Cannabis (and Fixes)
One common mistake is drying cannabis too fast, which can harm the flavor. Drying quickly dries out the outer parts while trapping moisture inside.
It creates a risk of mold and harsh smoke. You want to dry buds slowly, around 60-70°F with humidity between 45% and 60%.
| Drying Room Temperature | VPD (kPa) | What to Expect |
|---|---|---|
| 60°F (15.6°C), 60% RH | 0.71 | Slow and gentle drying; watch humidity not too high |
| 62°F (16.7°C), 55% RH | 0.85 | Even dry; safe for dense buds |
| 65°F (18.3°C), 50% RH | 1.05 | Middle range; about 10 days drying |
| 68°F (20°C), 50% RH | 1.17 | Faster for small buds; check often |
| 70°F (21.1°C), 45% RH | 1.38 | Fast drying; small buds need daily checks |
Another mistake is putting buds into jars before they’re dry enough. This traps moisture and causes mold inside the jar. Spot mold?
Open the jar right away and take out the bad buds. After spotting mold, leave the jar open in the drying space.
Let it dry more for about 24 hours. Then close the lid again.
Leaving too much moisture after curing leads to mold or “moist pockets.Some growers keep humidity at 55% or lower. This avoids mold, especially on big or dense buds.
Burp your jars every day for two weeks. Open the lid and leave it off for about 15 minutes.
Overdrying buds is another issue. When humidity in curing jars drops below 40%, buds become brittle and lose aroma. You can fix dry buds.
Add a tiny humidifier pack or a wet cotton ball for a few hours. After that, reseal jars and monitor humidity for a safe range of 55% to 65%.
Choosing the Best Drying Method for Your Climate and Setup
Drying method choice depends on your room’s humidity and crop size. Hang buds for most average conditions. Use drying racks when you have lots of buds in a small space.
They help control moisture in humid conditions. This keeps your buds drying well.
Higher humidity slows drying so remove stems to dry faster. Drying racks spread individual buds and cut stem moisture.
This helps avoid mold but can dry buds quicker than hanging. Fans and humidity control help keep your room near 70°F and 45%-55% humidity.
For very humid climates, racks prevent moisture buildup better than hanging. Your space is dry. Hanging whole branches takes 10 to 14 days.
This method keeps buds’ quality. Dry trimming suits dry rooms and premium-quality buds. Wet trimming fits humid rooms and speeds drying to 5-10 days.
| Drying Method | Best For | Dry Time |
|---|---|---|
| Wet Trim (cut buds before drying) | Humid rooms (above 55-60% RH) | 5-10 days |
| Dry Trim (hang branches whole) | Dry rooms or premium quality | 10-14 days |
| Drying Rack (buds spaced out without stems) | High humidity, large crops, small space | Faster than hanging; varies |
Small grows with just a few plants usually hang buds on string in a room. For large grows with many buds, use racks to save space and dry evenly. Box drying can work for very small batches but often slows airflow and risks uneven drying.
To adjust drying, use a hygrometer to check humidity. Raise air circulation with fans in humid rooms. Dehumidifiers help when humidity stays too high.
Drying goes too fast. You can reduce airflow or lower the temperature. This helps buds cure better.
How to Store Cannabis After Curing for Long-Term Freshness
After curing your cannabis, store it in airtight containers to keep it fresh. Glass jars with sealed lids work best because they stop air and moisture from entering. Avoid plastic bags or regular containers since they can crush buds or let in air.
Keep your storage area cool, dark, and dry. The ideal temperature is around 60 to 70°F. Avoid heat or sunlight, which can dry buds out and degrade potency quickly. Store your jars in a cabinet, closet, or drawer away from heat sources.
Humidity control matters a lot for long-term freshness. Around 58 to 62 percent relative humidity in jars helps buds stay moist. This level prevents mold growth.
It keeps your cannabis fresh and pleasant. Boveda humidipacks made for cannabis at 58% can keep humidity steady and even rehydrate dried buds.
- Use small glass jars with airtight lids for storage
- Keep the temperature between 60 and 70°F
- Maintain 58, 62% humidity inside jars with humidipacks
- Store jars in a dark, cool, and dry place away from sunlight
- Check the buds every 1-2 weeks for mold or dryness
- Open jars briefly to refresh air and prevent stale smell
- Use cured buds within 6 to 12 months for best potency
Cured buds feel dry but should still be slightly sticky inside. Storing for months improves flavor and smoothness but check for mold each week.
Opening jars briefly lets fresh air in and stops stale smells. Slowly taper how often you open jars over time as buds stabilize.
Don’t keep cannabis in the fridge or freezer unless vacuum-sealed. Otherwise, it may get moldy or brittle. Proper sealing protects your buds from damage.
For longer cures over several months, keep humidity steady around 62%. Too dry, and buds lose potency and flavor. Too wet, and mold can grow inside sealed jars.
Slow curing and proper storage improve cannabis flavor over time. They reduce the green, grassy taste in buds. This process makes the smoke much smoother.
Step-by-Step Action Plan
Follow these clear steps to dry and cure your cannabis properly. Each step helps keep your buds fresh and potent.
- Right after harvest: Trim large leaves and hang buds in a dark room. Check for steady temp (60, 70°F) and humidity (45, 55%).
- Days 1, 7: Hang buds until stems snap, not bend. This shows they are dry enough to move.
- Day 7 or when dry: Place buds in glass jars about half full. Seal jars to start curing.
- First 2 weeks in jars: Open jars 2, 3 times daily for 10, 15 minutes. This releases moisture and prevents mold.
- Weeks 3, 4: Open jars once daily. Buds should smell sweeter and feel dry but sticky.
- After 4 weeks: Store jars in a cool, dark place. Open jars weekly to keep buds fresh long-term.
Frequently Asked Questions
How Long Should You Dry Weed Before Curing?
Cannabis usually needs 7 to 14 days to dry properly before curing. This timing lets buds lose enough moisture for curing. It stops them from getting too dry or moldy.
Can You Speed Up Drying with a Fan or Heater?
Using a fan is okay for air circulation. But heaters can dry buds too fast.
Too much heat makes weed harsh and less flavorful. Keep drying slow and cool for the best results.
Is It Better to Trim Buds Before or After Drying?
Trimming before drying helps buds dry more evenly and reduces mold risk. Wet trimming is common for home growers since it’s easier to shape buds while moist.
Can Humidity Affect How Weed Cures?
Yes, humidity controls moisture loss and mold risk during curing. Keep jars at 58-62% RH to keep buds moist but avoid mold or harsh smoke.
What’s the Snap Test for Dry Cannabis?
The snap test checks if stems break cleanly, not bend. It means your weed is dry enough to cure but not over-dried. Handle buds gently to avoid damage during testing.
Does the Curing Time Affect Potency?
Curing for 2 to 4 weeks helps cannabinoids and terpenes develop fully. Longer cures can improve flavor and smoothness but don’t dramatically boost potency after a month.
Wrapping Up
Drying and curing your cannabis the right way gives you stronger, smoother smoke. Take time with each step and watch your buds improve. Start your drying process today to see the difference in quality.