How to Plant a Raised Garden: A Complete Guide for Beginners
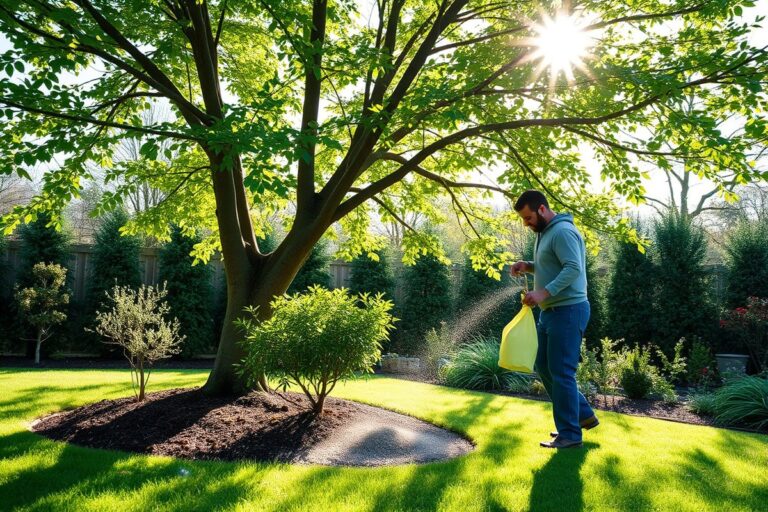
Start by picking a level spot with direct sunlight. Your garden should get at least 6 to 8 hours of sun daily. This sunlight helps plants grow strong and healthy all season.
Choose materials and size carefully for your raised bed. A 4-foot width lets you reach the plants without stepping on the soil. Cedar wood works well since it lasts 10 to 15 years and resists rot.
Fill the bed with a soil mix containing about 40% topsoil. Avoid potting soil because it’s too fluffy and holds fewer nutrients. Topsoil keeps moisture and nutrients where roots need them most.
Before adding soil, loosen the ground 8 to 12 inches deep. This makes it easier for roots to grow and water to drain effectively.
Key Takeaways
- Select a level area with full sun and easy water access for your raised garden.
- Keep raised beds 4 feet wide to reach plants without stepping on the soil.
- Use cedar wood to build frames; it resists rot and lasts longer.
- Loosen the native soil 8 to 12 inches deep before filling your raised bed.
- Fill beds with 40% topsoil mixed with compost, avoiding lightweight potting soil.
- Build beds 12 to 20 inches deep for most plants. 36 inches if using a garden cart.
What Is a Raised Garden Bed and How Does It Work?
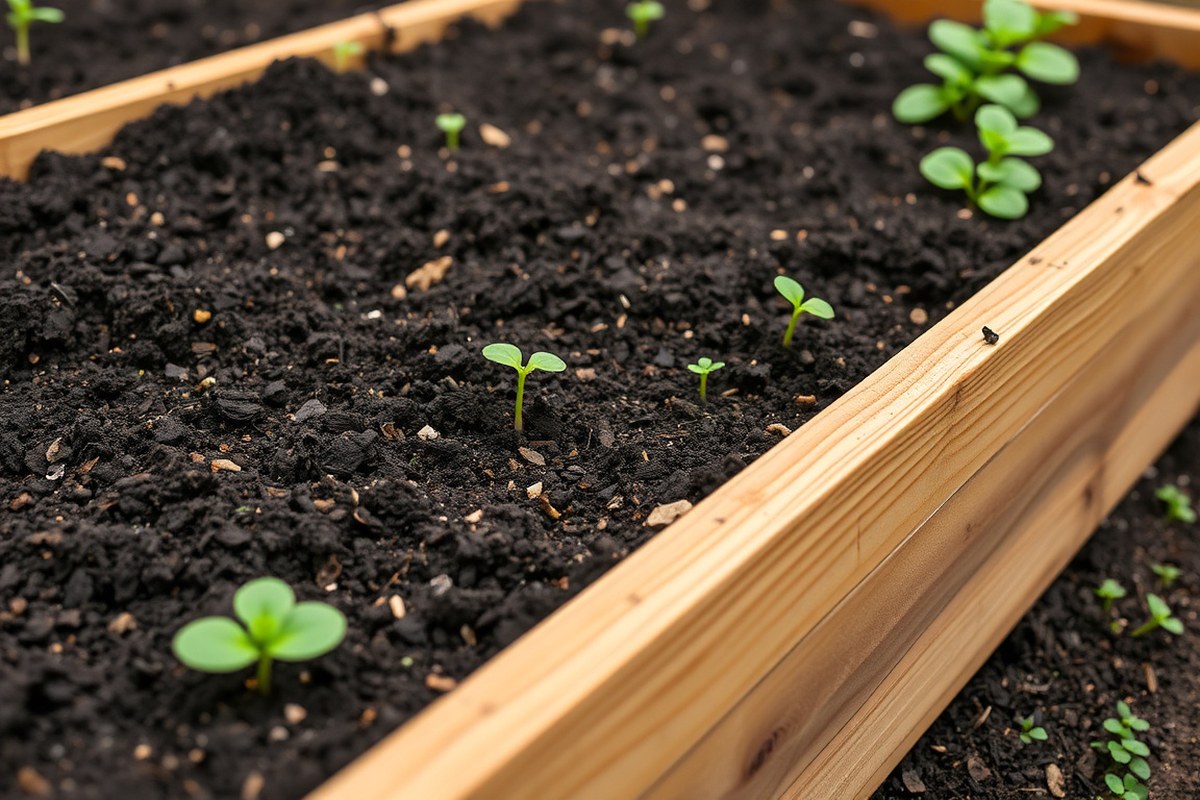
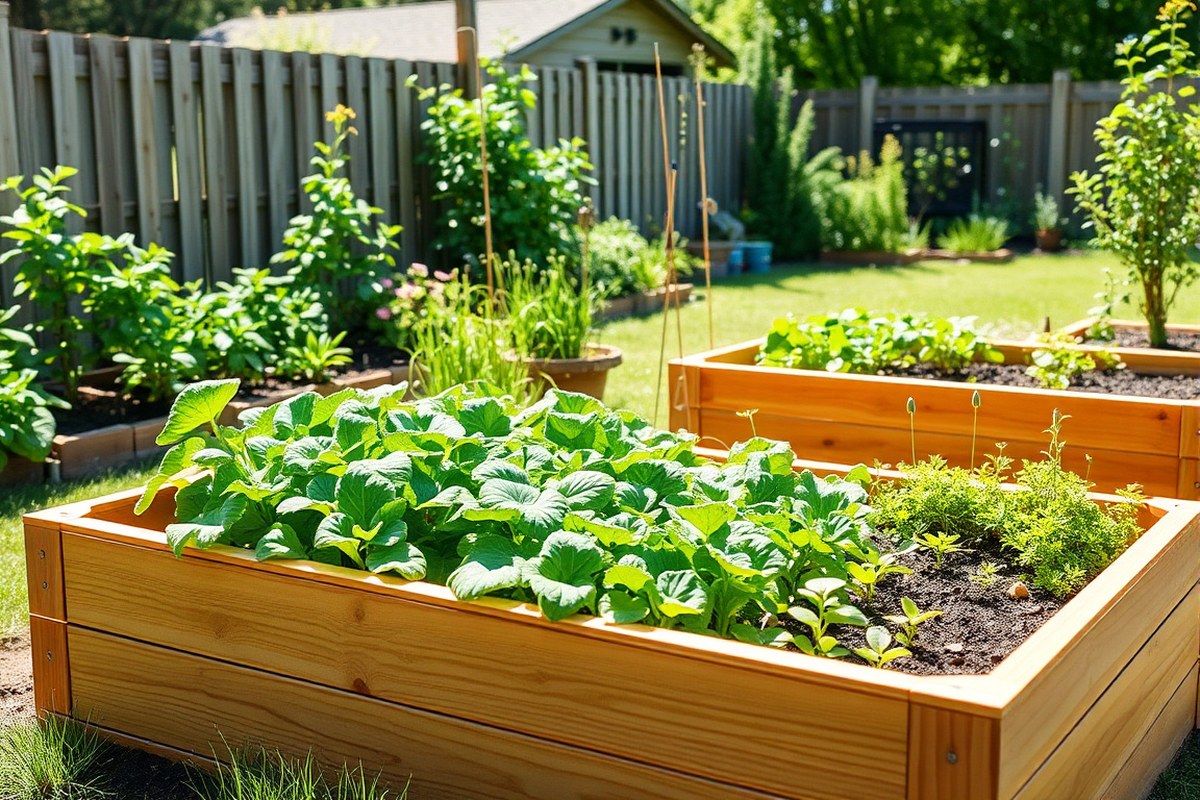
A raised garden bed is a freestanding box that sits above the ground. It usually has no bottom and holds good-quality soil for growing plants. These beds are often 12 to 20 inches high.
This height helps with drainage. It also supports better root growth.
The structure allows plant roots to spread quickly through lighter, fluffier soil than typical garden soil. This soil is rich in organic matter, which gives plants better access to nutrients. Because raised beds drain well, roots avoid sitting in water, reducing rot risks and boosting growth.
Raised beds come in common sizes like 4 feet wide by 8 feet long. Keeping the width at 4 feet or less lets you reach all plants without stepping inside. Stepping on soil compacts it, which slows root growth and reduces yields.
Heights vary but are usually 12 to 20 inches. This makes the bed easy to reach. It also provides enough soil depth.
Compared to traditional in-ground gardening, raised beds provide several advantages. They let you fix poor or hard soil by filling the bed with nutrient-rich mix. This is especially helpful over rock, clay, or contaminated soil.
Raised beds also warm faster in spring, given their exposed sides. So you can plant earlier.
A raised bed helps solve drainage problems too, since excess water drains freely below. It also restricts weed roots coming up and keeps paths cleaner. The design allows for denser planting.
Better soil aeration helps plants grow strong. It prevents crowding found in compacted ground.
Most raised beds use untreated wood or composite boards to build the box. You can line the bottom with landscape fabric to reduce weed growth. A simple 4×8-foot bed costs between $50 and $150.
Material choice affects the price. Adding soil and compost raises the total.
Choosing the Best Location for Your Raised Garden Bed

Choose a site that gets at least 6 hours of direct sunlight daily. Most vegetables and flowers need this much to grow well. Avoid shady spots near big trees or buildings that block the sun.
Good drainage matters. The ground should not stay soggy after rain. Raise the bed on level ground to keep water from pooling.
You can loosen the soil under the bed with a garden fork. Use a broadfork or garden fork to reach 8 to 12 inches deep.
This helps roots grow better and improves drainage. This helps water drain and roots spread easier.
Think about accessibility. Place your raised bed close to a water source. This makes watering easier and saves time.
Also, pick a spot with enough room around the bed to work comfortably. You should be able to reach all parts without stepping on the soil.
- Get 6, 8 hours of daily direct sunlight
- Pick firm, level ground to avoid water pooling
- Loosen soil 8, 12 inches deep under the bed
- Stay clear of large trees and their roots
- Place near a water source for easy irrigation
- Leave enough space for walking and gardening tasks
- Avoid spots prone to strong winds or frost pockets
Remove grass or weeds from the chosen location before building your raised bed. This will reduce the chance of weeds growing up through your soil.
Adding a 2, 3 inch layer of compost on the bed improves soil quality each spring. Good soil warms faster in raised beds, but poor ground can slow this.
Check the ground slope carefully. Even a slight tilt can cause water to run off the bed. This runoff leaves dry spots in your raised garden bed. Keep the bed level to avoid this problem.
Watch for common site problems like compacted soil or poor air circulation. These reduce plant growth and increase disease risk. Avoid tight spaces or places where water puddles after rain, as that usually means poor drainage.
Picking the right spot makes your garden easier to manage. It also helps your plants grow better and be more productive. Take time to find a good location before starting.
Picking Materials and Dimensions for Your Raised Bed
Choosing the right materials and dimensions sets your raised garden up for success. Wood like cedar or redwood lasts long and is food safe.
Beds 4 feet wide work well for access. Height depends on your plant needs and reach.
Common Wood Types and Longevity
Cedar is popular for raised beds because it resists rot for 10 to 20 years. Redwood lasts even longer, from 15 to 25 years. But costs more and is mainly found in the western US.
Douglas fir is cheaper but lasts only 3 to 7 years. So it suits short-term projects or starters.
Pressure-treated lumber made after 2004 is safe for growing food. It can last 20 to 30 years outdoors. This makes it a durable choice for raised beds.
Composite or recycled plastic can last 25 years or more. But it costs much more upfront. Wood is easy to cut and assemble quickly with a drill and screws.
| Wood Type | Lifespan | Cost | Food Safe | Notes |
|---|---|---|---|---|
| Cedar | 10, 20 years | $$ | ✓ Yes | Naturally rot-resistant, most popular choice |
| Redwood | 15, 25 years | $$$ | ✓ Yes | Superior durability, mainly western US availability |
| Douglas Fir (untreated) | 3, 7 years | $ | ✓ Yes | Affordable but shorter lifespan, good starter choice |
| PT Lumber (post-2004) | 20, 30 years | $ | ✓ Yes* | Modern ACQ treatment is food-safe per EPA guidelines |
| Composite / Recycled Plastic | 25+ years | $$$$ | ✓ Yes | Very durable, higher cost, low maintenance |
These options give you a range of durability and budgets. Wood that resists rot without chemicals is best for safe food gardening.
Recommended Bed Dimensions for Different Uses
A 4-foot width lets you reach the center from either side without stepping on soil. This size keeps your soil loose and healthy. Common lengths are 4 to 8 feet, matching typical lumber sizes for easy building.
Heights of 12 to 24 inches suit most vegetable roots well. Taller beds, 24 to 36 inches high or more, reduce back strain. They work well for gardeners with limited mobility or strength.
Using taller beds makes gardening easier and more comfortable. But taller beds cost more to fill and may need sturdy legs or supports.
Legs can raise beds to waist height, improving comfort for long sessions. They add cost and complexity but are worth it if bending causes pain. For regular gardeners, simple beds on the ground work fine.
Materials Safety Considerations
Untreated woods like cedar and redwood breathe well and are safe for growing food. Avoid older pressure-treated lumber since some treatments can leach harmful chemicals. Modern PT lumber made with ACQ treatment is EPA-approved as safe.
Composite or recycled plastic frames don’t rot or leach chemicals but are pricier. They’re low maintenance and last decades. Confirm any material’s food safety, especially if you’re growing root vegetables that touch walls.
Use screws and a drill for quick assembly. Cut your materials to size, then assemble on a flat surface.
A single 4×8-foot frame takes about 20, 30 minutes to build. Clear pathways around beds help you tend your plants easily.
Preparing and Filling Your Raised Bed with Soil Mix
Fill your raised bed with loose, rich soil that drains well. Loosen the ground beneath the bed and layer amendments properly for healthy roots. Deep soil suits most vegetables, while shallow roots need less depth.
Recommended Soil Mix Recipe
Use a mix of topsoil, compost, and coarse sand or perlite for good drainage. A common ratio is 60% topsoil, 30% compost, and 10% coarse sand or perlite. This combination keeps the soil loose and nutrient-rich.
You can also buy pre-mixed raised bed soil from garden centers. These are ready to use and often balanced for raised beds. Compost adds nutrients, while sand or perlite improves drainage.
How to Prepare the Ground Before Filling
Loosen the soil under your bed to 6 inches deep. Use a garden fork or tiller to do this. Make sure to break up the soil well.
This helps water drain and roots breathe better. It also prevents soil compaction under the bed.
Avoid using landscape fabric; it blocks earthworms and slows water movement. Instead, remove any grass or weeds by hand or with a hoe. Put a thin layer of clean straw or shredded leaves on the bottom.
This helps cut down on weeds. It also adds nutrients slowly over time.
Filling and Layering the Raised Bed
Start with a base layer of coarse, weed-free organic material like straw or shredded leaves. This breaks down slowly and releases nutrients. Then fill the rest with your soil mix, topping off to the bed’s height.
Here’s how to fill and layer your raised bed:
- Clear the ground of any grass or weeds.
- Loosen underlying soil to 6 to 12 inches depth.
- Place a 2 to 3 inch layer of straw or shredded leaves if desired.
- Mix 60% topsoil, 30% compost, and 10% coarse sand or perlite.
- Pour the mix into the bed, filling to the top edge.
- Lightly rake the surface to level the soil.
Fill soil depth depends on your plants. Root vegetables like carrots need at least 12 inches of soil.
Leafy greens and herbs do fine with 8 to 10 inches. Taller crops, like tomatoes, prefer 12 to 18 inches for strong root growth.
Selecting Plants and Planning Your Raised Garden Layout
Choose plants that fit your raised bed’s soil depth and space. Plan the layout by spacing plants right to avoid crowding or wasting space. Use companion planting to put plants together that help each other grow.
Best Plants for Raised Beds
Raised beds suit many vegetables, herbs, and small fruits. Most vegetables and herbs thrive well due to the loose, fluffy soil. Small fruits like strawberries grow well in raised beds.
Raised beds keep the soil quality high. They also reduce weeds around your plants.
Perennials and annual flowers also grow fine, but check soil depth needs first. Annual flowers usually want 8 to 12 inches of soil depth for roots. Larger plants and many vegetables may need deeper soil, so plan accordingly.
Plant Spacing and Depth Guidelines
Seed packets or plant labels guide how deep to plant. They also show how far apart seeds should go. Follow these tips for best results.
Overcrowding stunts plants, while too much space wastes your bed. Aim to follow spacing exactly for each plant type.
Use this simple chart to plan your planting depth and space for common vegetables and herbs:
| Plant | Recommended Soil Depth (inches) | Spacing Between Plants (inches) |
|---|---|---|
| Lettuce | 8 | 6 |
| Tomato | 12 | 24 |
| Carrot | 12 | 3 |
| Basil | 8 | 12 |
| Strawberry | 10 | 12 |
Following these specifications improves root growth and prevents plants from crowding. Adjust spacing slightly if you grow plants with different root sizes nearby.
Companion Planting Suggestions
Place plants that grow well together to boost yield and reduce pests. For example, tomatoes grow well near basil, which can help improve tomato flavor and repel insects. Use this companion planting guide to plan your raised bed layout:
| Plant | Good Companions |
|---|---|
| Tomato | Basil, Carrot, Lettuce |
| Carrot | Tomato, Lettuce |
| Lettuce | Carrot, Tomato |
| Basil | Tomato |
Mixing these companions in your raised bed helps plants share nutrients and space better. It also cuts down on pests and lets you grow more in less space.
Practical tip: Always check seed packet instructions first for best spacing and planting depth.
Step-by-Step Guide to Planting Your Raised Garden
Planting in a raised garden bed needs some careful steps. These steps help your seeds and seedlings grow well. Taking care makes a big difference.
Proper soil contact, the right depth, and gentle watering set the stage for healthy growth. Follow these steps to plant your garden the right way.
They help your plants get a good start. This makes your garden stronger.
- Loosen the soil surface gently with a hand rake or trowel to prepare it. This makes it easier for roots to grow and for water to soak in.
- For seeds, check the packet for the correct planting depth. Most need to be planted about two to three times as deep as the seed’s size. For example, a ¼ inch seed should go about ½ to ¾ inch deep. Make shallow rows or holes accordingly.
- Space seeds or seedlings based on the plant type and size. Leafy greens like lettuce may be 6 to 12 inches apart. Larger plants like tomatoes should be 18 to 24 inches apart. Following spacing rules avoids crowding and improves airflow.
- Soak large seeds like beans or peas in water for a few hours before planting. This softens their seed coat to boost germination. Seedlings do not need soaking. Handle their roots gently to avoid damage.
- Place seeds or seedlings into the holes or rows. Cover them lightly with loose soil and pat gently. So they stay in place and roots connect with soil. Avoid packing down soil hard.
- Water newly planted seeds and transplants very gently. Use a fine spray or watering can with small holes. This avoids washing seeds away or harming plants. This prevents soil washout and protects tiny plants. Water until the soil feels moist but not soggy, usually about ½ inch of water.
- Keep soil consistently moist for the first two weeks until seeds sprout or seedlings establish. Water your garden every day or every other day. Use less water when it’s cool or rainy outside. Adjust watering based on the weather to save water. Avoid overwatering to prevent root rot.
- Thin seedlings after they grow their first true leaves, leaving the strongest plants spaced well. This helps the remaining plants grow bigger and healthier.
These steps help young plants start strong. Following seed depth and spacing guidelines allows more air, sunlight, and nutrients to reach plants.
Gentle watering stops soil from drying out or washing away seeds. Once roots establish, you can water less often but deeper to encourage strong roots.
Watering and Maintaining Your Raised Garden Bed
Raised garden beds need regular watering to keep plants healthy. Water deeply about 1 to 2 inches per week in spring and fall.
During hot summer months, water your garden every day or every other day. Check the soil’s moisture to decide how often to water.
Water early in the morning or late in the afternoon. This helps reduce evaporation and gives plants time to absorb water. Avoid overhead watering to prevent leaf diseases, use soaker hoses or drip irrigation if possible.
Weeds rarely grow up through tall raised beds. But they can still appear on the surface. Pull weeds by hand regularly before they go to seed.
Add mulch such as straw or wood chips on the soil. Mulch blocks sunlight and stops new weeds from growing.
- Water 1-2 inches per week, more in summer
- Water early morning or late afternoon
- Use drip irrigation or soaker hoses
- Pull weeds by hand before seeding
- Apply mulch to suppress weed growth
- Fertilize every 3-4 weeks during growing season
- Check for pests weekly and act immediately
Raised beds benefit from frequent fertilizing because nutrients wash out faster. Use a balanced organic fertilizer every 3 to 4 weeks while plants grow.
Compost also helps replenish soil nutrients and improves texture. Add a few inches of compost or aged manure during seasonal clean-up.
Check your plants for pests at least once a week. Look for holes in leaves, sticky residue, or tiny bugs.
Use natural pest control like neem oil or insecticidal soap. Encourage beneficial insects such as ladybugs, which eat harmful pests.
Each season, remove spent plants and clear debris to prevent disease buildup. Add fresh compost and soil to keep the bed fertile and level. Replant according to your gardening plan and local frost dates for the best growth.
Extending the Growing Season and Troubleshooting Raised Beds
Raised beds warm up quicker than ground soil, letting you plant earlier. Use hoop tunnels made from wire hoops and clear plastic to protect plants from cold.
These tunnels trap heat and protect seedlings from frost. They help you start planting a few weeks earlier.
Mulching also helps keep soil warm and moist, making the growing season last longer. Spread a 2- to 3-inch layer of organic mulch around plants.
Use straw or shredded leaves for best results. Mulch lowers soil temperature swings and blocks weeds that steal nutrients and water.
Look out for compacted soil signs like hard, crusted surfaces that don’t absorb water well. Roots may struggle to grow, and plants can look stunted or yellow.
To fix compaction, gently rake the soil surface. Add organic matter like compost to improve airflow.
Poor drainage shows up when water puddles on your bed or plants wilt even after watering. Raised beds usually drain well. If plants don’t grow, check if soil mix is too heavy.
Also see if bed sides block water flow. Adding coarse sand or more compost can help loosen soil for better drainage.
Watch for pests by checking leaves and stems regularly. Holes, chewed edges, or sticky residue signal insect problems.
Use row covers to protect young plants, introduce beneficial insects like ladybugs, or carefully handpick pests. Avoid pesticides unless absolutely necessary and safe for your plants.
Tracking what and when you plant helps spot problems early. Write down planting dates, pest issues, and harvest times. This info gives clues to adjust watering or pest control next season.
Don’t water raised beds too often. Deeper watering once a week beats light daily sprays.
Step-by-Step Action Plan
Follow these simple steps to get your raised garden growing strong. Each step helps you build success from the ground up.
- Day 1: Set up your raised bed in a sunny spot. Check that it gets at least six hours of light.
- Day 2: Fill the bed with your prepared soil mix. It should be loose and moist but not soggy.
- Week 1: Plant your seeds or seedlings according to your layout plan. Press soil gently around them for good contact.
- Days 3-7: Water your garden lightly every day. Look for moist soil but avoid puddles or dryness.
- After 2 weeks: Thin out crowded seedlings carefully to give space for growth. You’ll see which plants look healthy and strong.
- Month 1: Add mulch to keep soil moist and suppress weeds. Mulch should cover the soil without touching plant stems.
- Every week: Check for pests or disease signs. Remove any affected leaves or bugs you spot early.
- After harvest: Clear old plants and mix in fresh compost before planting again. This keeps your soil rich over time.
Frequently Asked Questions
What Not to Plant in a Raised Bed?
Avoid plants with deep roots or aggressive spreaders like mint. They can crowd out other plants and require more space than most raised beds offer. Stick to compact veggies and herbs for best results.
What Do I Put in the Bottom of a Raised Garden Bed?
Most raised beds are open at the bottom, so nothing special is needed there. Native soil below provides extra nutrients and drainage. You can add a weed barrier if weeds are a concern.
What Plants Should Be Planted Together in a Raised Bed?
Choose companion plants that help each other grow or repel pests. For example, tomatoes with basil or carrots with onions work well together. Plan your layout to keep taller plants from shading shorter ones.
What Are Some Common Mistakes People Make When Using Raised Garden Beds?
People often overwater or underwater because raised beds dry out fast. Not planning plant spacing leads to crowded growth. Also, skipping mulch can let soil dry quickly and weed growth happen.
How to Plant a Raised Garden?
Start by filling the bed with a rich soil mix and compost. Arrange plants by size and sun needs, then dig holes just big enough. Water plants right after planting, and mulch to keep moisture in.
Can I Plant Raised Beds Directly on Concrete or Asphalt?
Yes, but the bed must have good drainage. Use a layer of gravel or broken pots at the bottom. This stops water from pooling and helps roots stay healthy.
Before You Go
Growing a raised garden bed takes planning but pays off with healthy plants. Keep a close eye on watering and soil health for best results. Start by setting up your bed today, and watch it grow week by week.