How to Encourage Moss Growth: 8 Proven Ways for Lush Moss Patches
Wondering how to encourage moss growth in your garden or indoors? Start by creating the right conditions: shady spots, moist surfaces, and acidic soil.
Moss grows best in temperatures from 40°F to 80°F. It needs plenty of moisture without letting water pool. Keep the soil damp but not soaked for healthy moss.
Begin by picking areas with less than 3 hours of direct sunlight daily. Prepare your soil or surface by reducing alkalinity and adding sphagnum peat moss if needed. Keep the area moist for at least three weeks to help new moss establish strong roots.
Spacing new moss patches about 6 inches apart allows room for growth and air circulation. Watch out for overly dry or overly wet conditions, as either can stunt moss development. With steady care, you’ll see lush moss patches start to spread within a month or so.
Key Takeaways
- Choose shaded areas with under three hours of direct sunlight daily.
- Maintain soil pH between 4.5 and 6.0 for most moss types.
- Before planting, blend sphagnum peat moss into the top two inches of soil. This helps improve soil texture and moisture retention. Use this method to create a better bed for your plants.
- Space moss plugs about 6 inches apart to encourage healthy growth.
- Water daily for the first 3 to 4 weeks to keep moss moist.
- Keep temperatures mostly between 60°F and 80°F for best results.
1. Effective Methods to Encourage Moss Growth
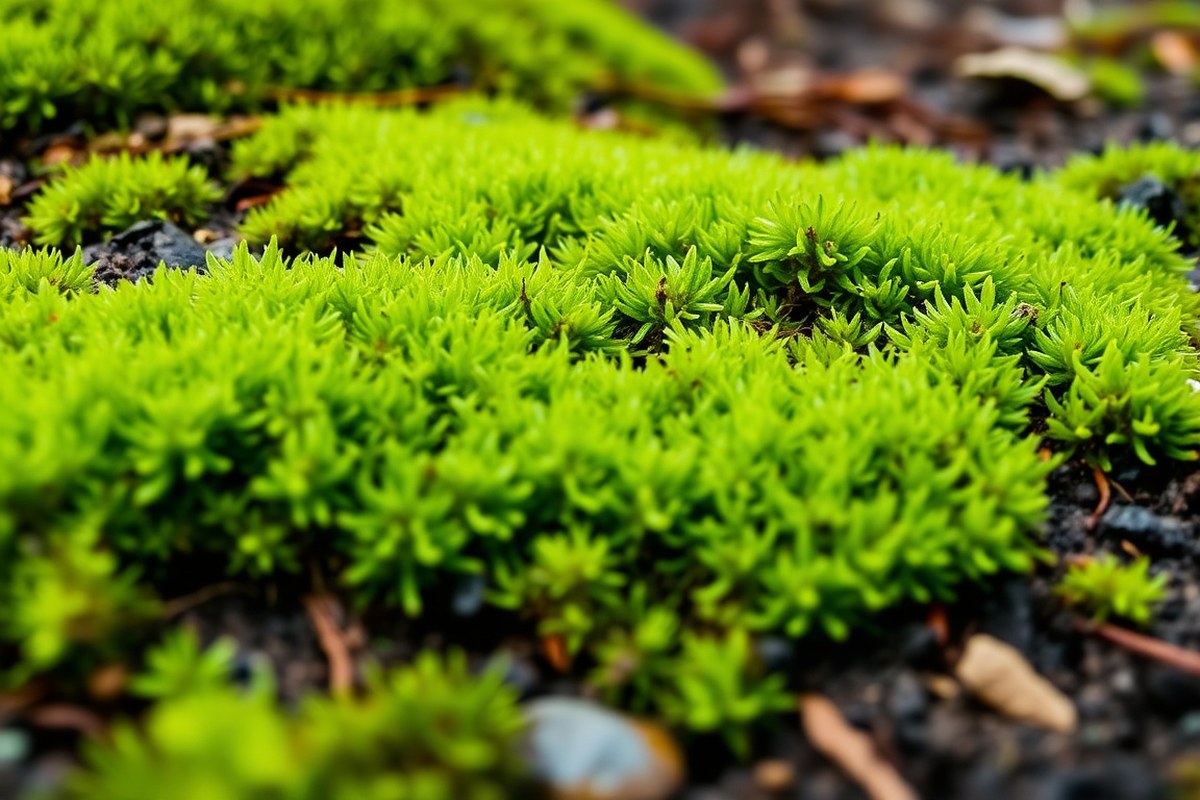
To grow moss well, you need specific moisture, light, and soil. Moss likes shady, humid spots with temperatures from 40°F to 80°F. It also needs acidic soil, with pH levels between 4.5 and 6.0, for strong growth.
The location should have indirect sunlight and consistent moisture but not soggy soil. Moss also thrives on compacted surfaces. Add a thin layer of peat moss or soil if nutrients are low.
This helps make the area more acidic, which moss likes. It supports moss growth by improving the soil. Regular misting keeps moss hydrated without washing it away.
- Test the soil pH. Use a home testing kit to measure soil acidity. Aim for a pH between 4.5 and 6.0. Adjust acidity by mixing in acidic materials like peat moss if needed.
- Prepare the surface. Clear away debris, weeds, and loose soil. Flatten or smooth the ground before planting moss. This creates a solid surface for moss to attach to. Firm soil helps moss stick and spread evenly.
- Add moss-friendly soil or peat moss. Spread a thin layer of acidic soil or sphagnum peat moss over the prepared surface. This helps moss get a good start.
- Choose a shaded spot. Find a place that receives indirect light or shade for most of the day. Moss grows slower or dries out in direct sun.
- Keep the area moist. Water gently and mist the moss regularly using a spray bottle. Avoid heavy watering that may wash moss away.
- Maintain moderate temperatures. Most mosses grow well between 40°F and 80°F. Protect moss from freezing or extreme heat where possible.
- Check and maintain humidity. Moss thrives in humid environments. Misting daily or placing moss near a water source indoors improves humidity.
Following these steps should help moss take root and spread. Moss should look vibrant green and soft over 3 to 6 weeks.
Pale or brown patches may indicate too much sun or dryness. Moss grows slowly, so patience is key.
2. How to Prepare Soil and Surfaces for Moss Growth
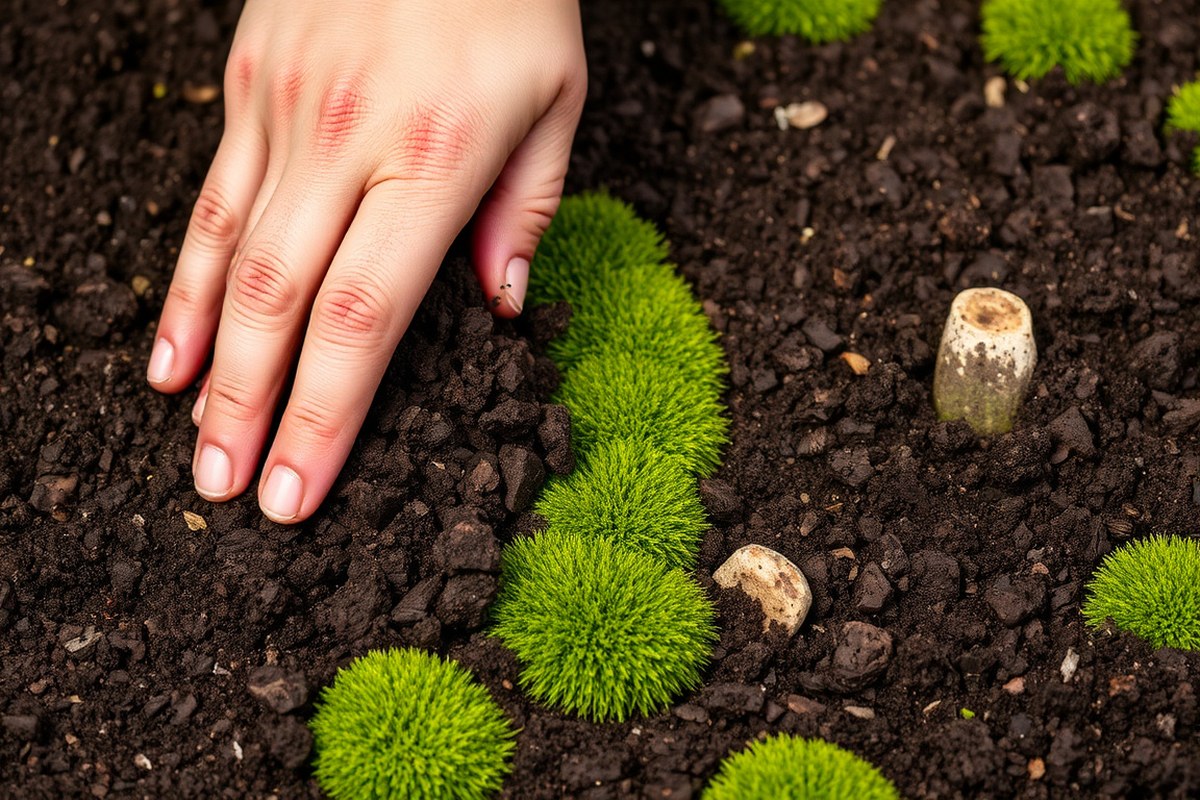
Preparing the right surface is key to helping moss grow well. Moss likes stable, moist spots with acidic and compact bases. Cleaning and preparing the area helps a lot, whether planting on soil, rocks, or concrete.
Testing and Adjusting Soil pH
Moss grows best in soil with a pH from 5.0 to 6.0. You can get a soil test kit at garden centers for about $10 to $15. Testing your soil first helps you avoid conditions that stop moss growth.
Your soil is too alkaline if the pH reads above 6.5, add materials like peat moss or elemental sulfur to lower the pH. Mix these into the top 2 inches of soil. Keep the soil moist for about a week.
This helps adjust the soil properly for moss. This acidic layer encourages spores to take hold and thrive.
Keep the soil loose but firm enough so moss can stay put. Clay soils can be loosened with sand or perlite. Sandy soils benefit from some organic matter to hold moisture.
Cleaning Hard Surfaces for Moss
Rocks and concrete can host moss. But leftovers like dirt, oils, or algae block growth. Use a stiff brush and water to scrub these surfaces gently.
For tough grime, a mild detergent can help. But rinse it well to avoid chemical residues.
After cleaning, roughen smooth stones or concrete a bit with a wire brush. This rough texture lets moss grip better and spread quicker. Let the surfaces dry slightly but stay damp before applying moss or slurry mixtures.
Avoid harsh chemicals and power washers during cleaning. They can kill moss spores and damage surfaces.
Creating a Compact Surface for Planting
First, clear away leaves and dirt from soil areas. Then, loosen the top 1 to 2 inches of soil. This creates a good base for moss to grow.
Press the soil down gently afterwards to avoid loose spots where moss can dry out. Flat, compact areas help moss anchor strongly and spread evenly.
On rocks or concrete, focus on providing texture and a thin layer of organic matter. You can mix peat moss, perlite, and vermiculite for moss planting.
This mix works well in cracks or flat spots. This mix holds moisture and nutrients without drowning the moss.
Here’s a checklist for preparing surfaces to plant moss:
- Clear away any leaves, dirt, or debris
- Test soil pH and adjust it to 5.0, 6.0 if needed
- Scrub rocks or concrete with a stiff brush
- Roughen smooth surfaces slightly with a wire brush
- Loosen and then lightly compact soil surfaces
- Apply a peat moss mixture on non-soil surfaces
- Keep the prepared area damp but not soaked before planting
3. Choosing the Right Moss Species for Your Environment
Picking the right moss species depends on your growing space and climate. Mosses thrive best in temperatures between 60°F and 80°F during the day.
50°F to 60°F at night. Indoors, keeping the temperature steady around 65°F to 75°F works well.
Moss prefers shade, but some types tolerate low light better than others. Sphagnum moss stands out for indoor spaces with limited natural light. Other moss species fit shaded gardens and landscaping better based on their growth rate and texture.
| Moss Type | Light Preference | Temperature Range (°F) | Ideal Humidity | Best Use |
|---|---|---|---|---|
| Sphagnum Moss | Low to partial shade | 60, 75 | High (above 70%) | Indoor, terrariums |
| Sheet Moss | Partial to full shade | 60, 80 | Moderate to high | Shaded gardens, pathways |
| Cushion Moss | Partial shade | 60, 75 | Moderate | Rock gardens, landscaping |
| Haircap Moss | Partial shade to sun | 65, 80 | Moderate | Open gardens, lawns |
| Fern Moss | Full shade | 60, 70 | High | Shady forest gardens |
Think about moss texture and growth speed too. A smooth, fast-growing moss suits ground cover in shaded gardens. Rougher, slower mosses work better on rocks or as accents.
Matching moss to your local humidity matters. High humidity helps sphagnum moss and fern moss thrive.
More moderate humidity suits haircap and cushion moss. If you want moss for landscaping, pick species adapted to your garden’s light and moisture conditions.
4. Watering and Moisture Maintenance for Healthy Moss
Water moss regularly to keep it moist but not soaked. Use a fine spray or gentle watering method to avoid damage. Keep humidity steady indoors to help moss stay lush and green.
Daily Watering During Establishment
Water your moss every day for the first 3 to 4 weeks after planting. Use a spray bottle or watering can with a fine nozzle to mist the moss gently. This helps the moss absorb moisture without washing it away.
Apply enough water to keep the moss surface damp but not dripping wet. Avoid soaking because standing water can harm the moss. Check daily and adjust watering if rain or humidity is high.
Maintaining Optimal Humidity Levels
Keep humidity levels around 50% to 70% for moss to thrive indoors. You can use a humidifier to maintain steady moisture in the air. Regular misting also adds moisture directly onto moss during dry spells.
Place moss away from direct heat sources or vents that dry out the air quickly. Pair misting with mulch or damp ground nearby to hold moisture longer. Good air circulation is important to prevent fungal growth while keeping humidity.
Avoiding Overwatering and Root Rot
Do not let water pool on or beneath the moss. Excess moisture causes root rot and kills moss quickly. Watch for slimy, dark green patches that show too much water.
Water only enough to keep moss moist. If leaves start turning brown or dry, increase watering frequency slightly.
Check soil drainage too. Adding mulch helps soil drain and hold moisture without drowning roots.
5. Common Challenges in Moss Growth and How to Fix Them
Causes of Moss Browning
Moss turns brown mainly from drying out or too much sun exposure. Moss needs consistently moist, shaded spots to stay healthy and green.
Poor air humidity and compacted soil also stress moss. These conditions block water and air, causing moss to die or turn brown.
Promoting Spreading and Coverage
Slow moss growth is often due to dry soil or too much light. Keep moss moist and shaded to encourage spread within 3 to 6 weeks.
Clear the area of debris and loosen compacted soil before planting. This gives moss a soft surface to take root and expand over time.
- Keep soil pH slightly acidic, around 5.0 to 5.5
- Water regularly to maintain dampness without puddles
- Avoid walking or compressing moss patches to preserve structure
- Provide indirect sunlight or forest-like shade conditions
- Add a thin mulch with chopped leaves in fall to protect
- Use a moss slurry or transplant pieces to encourage spread
Adding moss pieces or a slurry mix jumpstarts growth. This creates a thicker, healthier moss carpet in a few weeks.
Weed and Grass Management in Moss Beds
Grass and weeds compete aggressively with moss for water and nutrients. Removing them helps moss grow without harsh chemicals.
Hand-pull weeds early to stop roots from spreading. Use a small rake or hoe gently to avoid moss damage.
- Pull weeds when soil is moist for easier removal
- Maintain a damp environment to keep moss strong
- Use mulch like leaf litter to suppress new weed seeds
- Edge moss beds to prevent grass invasion
- Avoid herbicides which can harm moss health
Regular checking and removing grass runners prevent moss from thinning. Keeping moss beds clear supports lasting green patches.
Never walk on moss when it’s dry or wet; it crushes its growth. Use stepping stones if needed.
6. Propagating Moss for Larger Coverage
You can cover large spots with moss three ways. Use plugs, moss slurry, or let moss spread naturally. Transplanting plugs means lifting small moss patches and moving them to new areas.
This works well for small to medium spots. The moss starts sticking quickly if it stays moist.
Moss slurry is a paint-like mix made by blending moss with water and a little buttermilk. You spread or paint this mix on bare soil or rocks.
Moss slurry helps moss grow where plugs don’t fit. It also creates a moss blanket fast.
Natural spreading happens slowly but needs no extra work. Moss releases spores or runners that travel to nearby surfaces.
Keep the moss moist to help it grow naturally. Moss will seed over months or even years.
Transplant moss plugs during cool, moist weather in spring or fall. That gives moss a chance to settle before dry or hot times.
Keep the planted moss shaded and watered every day for at least two weeks. Avoid stepping on it until it looks anchored.
- Choose healthy moss patches from shady, moist spots.
- Gently lift moss plugs about 2 to 3 inches square with some soil.
- Prepare the new area by clearing debris and moistening soil or rocks.
- Press moss plugs firmly onto the new surface to ensure contact.
- Water the moss immediately to help it start growing.
- Keep the moss shaded and watered daily for 14 days.
- Avoid walking on the moss until it’s firmly rooted.
- Check regularly and water during dry spells for the first month.
To make moss slurry, blend 1 cup fresh moss with 2 cups buttermilk or plain yogurt. Add 2 cups water. Blend the mix until smooth.
Spread it on rocks, walls, or bare soil using a brush or sprayer. Keep the area damp and shaded.
Tiny green sprouts should appear within weeks. They grow into thicker moss patches over several months.
Propagating moss this way is cheap and easy. It needs patience as moss grows slowly. Avoid using moss from polluted areas to keep your garden healthy.
Moss loves low light and steady moisture. So think about how much shade your spot gets before choosing methods.
7. Creating a Moss-Friendly Microclimate Indoors
Moss grows best indoors with light that is bright but indirect. Avoid placing your moss in direct sunlight since it can burn its delicate leaves. A north-facing window works well for moss light.
Sheer curtains can soften the sunlight. This keeps light right for photosynthesis without harm.
Humidity is essential for moss to thrive indoors. Maintaining humidity levels around 70% helps keep moss moist but not soggy. Put a shallow water tray near the moss to raise humidity.
You can also run a humidifier on low for hours each day. Both ways help moss stay moist.
Air movement stops mold and fungus on moss. Too much airflow dries moss fast. Find a spot with gentle air circulation.
You want gentle circulation while keeping moss moist. A small fan set on low and pointed away from the moss lets air move slowly. Avoid fans or vents blowing directly on the moss surface.
- Place moss near a north-facing or shaded window
- Keep air humidity around 70%, using a humidifier or water trays
- Use indirect light for 8 to 12 hours daily
- Set a fan on low speed away from moss for gentle airflow
- Trim any overhanging plants to improve air circulation
- Check moss daily to prevent drying or waterlogging
Temperature indoors should stay between 65°F and 75°F for moss. Sudden temperature swings stress moss and slow growth. Avoid placing moss near heaters or air conditioners where temperatures fluctuate widely.
Trimming overhanging branches or leaves indoors helps air move freely around the moss. This practice reduces the chance of mold without drying it out.
Keep moss moist consistently. But be careful not to soak the soil, which can lead to rot.
8. Using Moss in Landscaping and Hardscapes
Moss works great in landscaping because it adds a soft, natural look. It grows well between pavers, breaking up hard lines with green texture.
To get moss growing there, keep the gaps between pavers narrow, about ¼ to ½ inch. This helps moss stay moist and protected from foot traffic.
Start by cleaning the spaces between stones and removing weeds or debris. Then, spread moss fragments or a moss slurry mixture into the cracks. Mist the area daily to keep it damp.
Avoid making it soggy. Do this especially in the first 2 to 3 weeks. Moss usually takes a month or more to establish, depending on moisture and shade.
Rocks and garden walls make good spots for moss. They often stay cool. They also stay shaded most of the time.
Clean the surface with water and a soft brush to remove dirt. Apply moss slurry or press live moss patches directly onto stone.
Keep the stones moist until moss anchors itself, which can take 4 to 6 weeks. Avoid direct sunlight because moss dries out quickly there.
Adding moss to your landscape suits shady areas with consistent moisture. It looks nice under trees and near water features. Use moss to soften edges, create ground cover, or highlight rocks and pathways.
Moss needs low foot traffic and good shade to thrive. So avoid putting it in busy garden spots.
Maintaining moss in landscaping involves watering once or twice a week during dry times. Avoid strong fertilizers or chemicals, as moss doesn’t like them. When moss thins, add moss slurry or move moss pieces there.
Moss is usually cheap. You can harvest it from your yard. Small patches are also easy to buy.
Keep moss damp but not soaked, especially in the first few weeks after planting.
Step-by-Step Action Plan to Encourage Moss Growth
Follow these steps to get moss growing well in your space. Check each step’s result before moving on.
- Before you start: Pick a shaded, damp spot that rarely dries out. Clear it of leaves and debris. You’ll see bare soil or old rock ready for moss.
- Day 1: Test the soil pH using a kit. Moss likes acidic soil (pH 5.0-6.0). Adjust with sulfur if needed until the pH is right.
- Week 1: Prepare the surface by gently roughening smooth stones or hard soil. Rough texture helps moss hold on.
- Week 2: Collect moss or buy moss suited to your area and climate. Spread it evenly over your prepared surface.
- Weeks 2-4: Mist the moss with water twice daily. The moss should look fresh and not dry or brown.
- After 4 weeks: Check for new growth in patches. Small and green? Keep watering it regularly. Avoid stepping on it.
- Month 2: Add shade cloth to create a microclimate. Use a spray bottle to mist on sunny days. This keeps moisture consistent.
- Month 3 and beyond: Remove any weeds or invasive plants that appear. Moss spreads slowly, so patience is key.
Frequently Asked Questions
How Long Does It Take for Moss to Establish Fully?
Moss typically takes 6 to 12 weeks to establish. Patience is key, and keeping it moist helps speed growth.
Can Moss Survive in Full Sun?
Moss prefers shaded or partly shaded spots over full sun. Too much sun dries it out quickly and slows growth.
Does Moss Need Fertilizer to Grow Well?
Moss does not need fertilizer and can be harmed by it. Nutrient-rich soil encourages other plants, not moss.
Is Tap Water Safe to Use for Moss Irrigation?
Tap water is usually fine unless very hard or chlorinated heavily. Use rainwater if your tap water is high in minerals.
How Do I Prevent Moss from Drying Out Indoors?
Keep humidity high and mist moss regularly inside your home. Avoid placing moss near heaters or vents that dry air quickly.
Can Moss Grow on Artificial Surfaces Like Plastic?
Moss can grow on plastic if it holds moisture and isn’t too hot. Clean the surface and keep it damp for best results.
Key Points to Remember
Moss grows best with steady moisture and low light. Start small and keep the spot undisturbed to see steady progress. Your next step is to pick a quiet, shady spot and prepare it today.