How to Get Rid of Mites on Plants Fast: 8 Proven Effective Methods
How to get rid of mites on plants fast? Start by spotting early signs like tiny white or yellow spots on leaves.
These marks signal mite activity and damage. Check your plants every 3 to 5 days to catch infestations early.
Since mites are almost invisible, get a magnifying glass to inspect undersides of leaves. You’ll want to confirm the infestation before taking action.
Different mite species attack various houseplants and vegetables. So quick identification saves time and effort.
Controlling mites means breaking their life cycle. Use safe treatments like neem oil with a surfactant. Spray every 3 to 5 days.
This helps kill both eggs and adult mites. This interrupts breeding and reduces numbers quickly.
Key Takeaways
- Check plants every 3-5 days for white or yellow leaf spots.
- Use a magnifying glass to see tiny mites on leaf undersides.
- Confirm mite damage before starting any treatments.
- Apply neem oil mixed with surfactant every 3-5 days to kill eggs and mites.
- Focus on breaking the mites’ life cycle for fast control.
- Inspect plants especially if they are drought-stressed or weak.
1. How to Identify and Confirm Mite Infestations
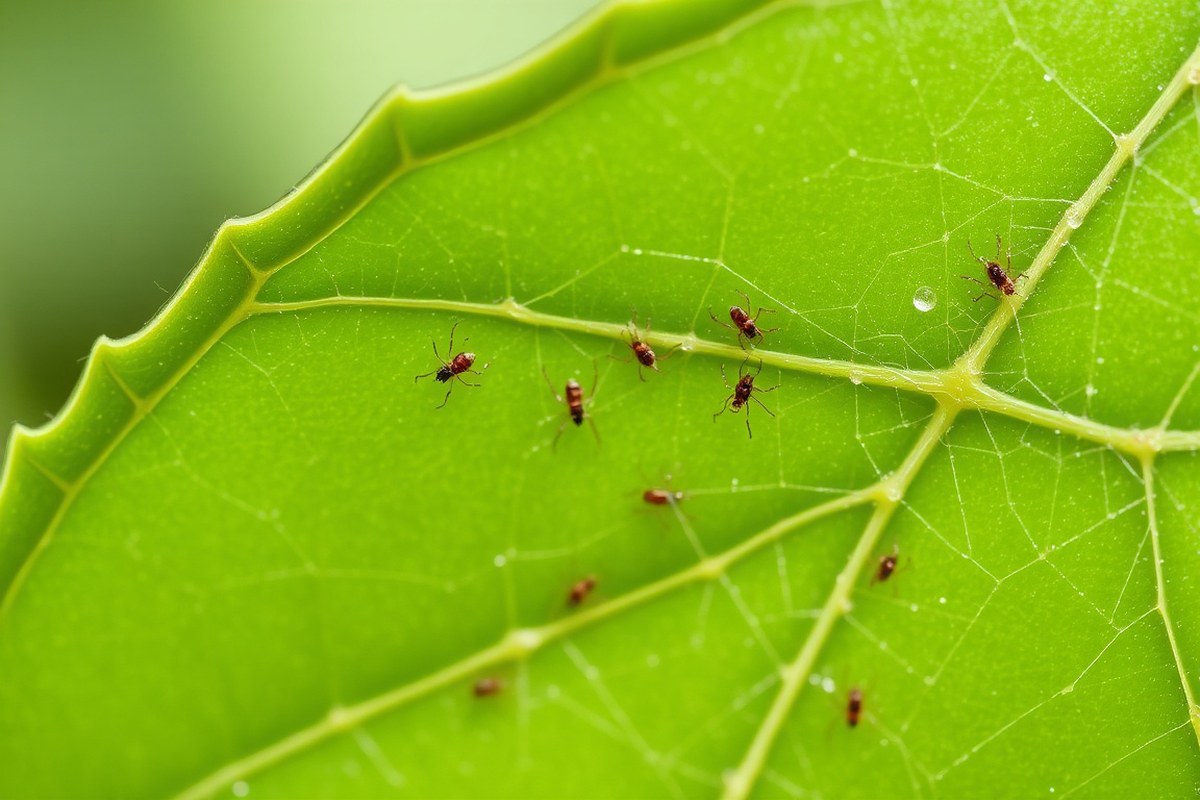
Spider mites are tiny and hard to see, but their damage is clear. Check plants carefully for signs like leaf spots or fine webs. Confirming their presence before treatment helps target the right pest.
Key Physical Symptoms to Look For
Spider mites leave tiny discolored dots called stippling on leaves. This happens as they feed by piercing plant cells. Look for yellowish, pale, or bronze spots on the upper leaf surfaces.
Fine webbing is a clear signal but may not always appear early. These webs often cover leaf undersides or form between stems. Leaves may also look dusty or faded due to mite presence.
Leaves may curl, dry out, or drop if mites multiply unchecked. Wilting or general leaf decline, especially on drought-stressed plants, can suggest mite damage. New leaf growth might slow or become distorted.
How to Inspect Leaves Thoroughly
Look closely at leaves and stems, especially under leaves where mites like to hide. Healthy plants can still have mites, so check regularly. Use a magnifying glass with at least 10x zoom for the best view.
Carefully turn leaves over and scan the undersides for tiny moving dots. Mites are tiny, less than 1 mm, and can be red, white, or greenish. Inspect several leaves from different parts of the plant for a clear picture.
New or suspect plants deserve extra attention before bringing them inside or near others. Mites spread quickly if leaves touch.
So early spotting keeps them from jumping to neighboring plants. Make it part of your regular plant care routine.
Using Simple Tests to Detect Mites
Try the tap test to spot mites without a microscope. Hold a white sheet of paper under a branch. Tap or shake the branch sharply so mites fall onto the paper.
Check the paper closely with your magnifier for tiny moving specks. These specks are likely mites if visible. Repeat this several times around the plant to improve your chances of detection.
- Choose a leaf or stem branch with visible damage or webbing.
- Turn the leaf over to check the underside carefully with a magnifying glass.
- Tap the leaf or branch over a white sheet of paper to dislodge mites.
- Look for tiny moving dots on the paper with your magnifier.
- Repeat taps on multiple parts of the plant for accurate results.
- Note any discoloration, stippling, or leaf curling during inspection.
- Watch for fine webs in leaf axils or between leaf joints.
- Keep a regular schedule to inspect new and existing plants closely.
2. Environmental Conditions That Promote Mite Growth
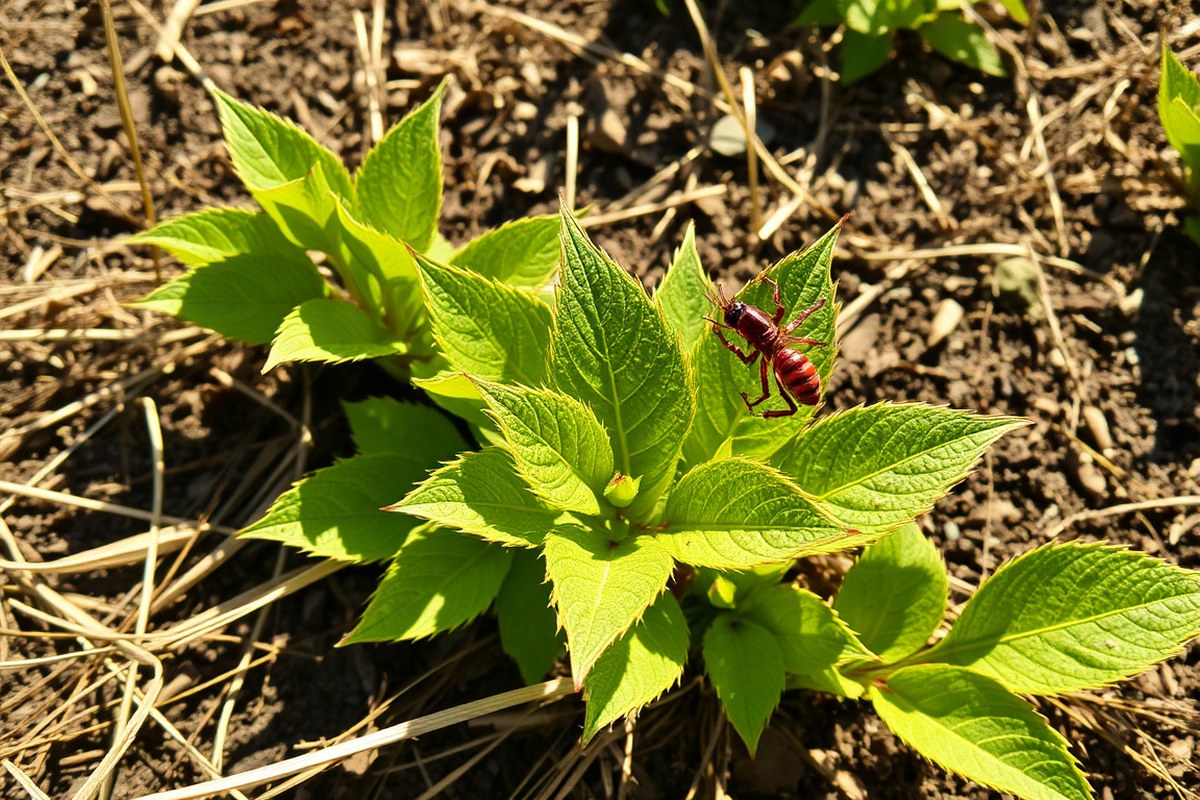
Spider mites grow fastest in hot, dry environments that stress plants. They thrive in temperatures between 75°F and 85°F and low humidity below 50%.
Dry air causes mites to multiply quickly and damage plant leaves with their feeding. High heat combined with drought stress weakens plant defenses, allowing mite populations to explode.
Maintaining good air circulation helps prevent mites from settling. Crowded plants increase humidity and trap warm air, making it easier for mites to spread.
Space your plants at least 12 inches apart to improve airflow around leaves. Using an oscillating fan indoors can also disrupt mites and lower humidity near houseplants.
Keep your plants properly watered without overwatering. Avoid soggy soil and puddles, which raise humidity and attract mites. Water when the top inch of soil feels dry.
Give enough water to keep plants from drought stress. Check soil moisture regularly before watering again. For indoor plants, raise humidity to about 60%.
Use a humidifier or a pebble tray to help. Higher humidity makes it hard for spider mites to survive. These conditions slow their reproduction and help plants stay strong.
Quarantine new plants for two weeks before adding them to your collection to stop mite spread.
Here are some key do’s and don’ts for environmental care:
Do: Space plants 12 inches or more apart. Keep humidity around 50-60%. Water when soil surface feels dry.
Use fans for airflow in crowded rooms. Increase humidity during dry seasons or indoors.
Don’t: Let soil stay soggy or plants sit in water. Crowd plants with poor air circulation. Keep plants in hot, dry rooms above 85°F. Let drought stress weaken your plants.
3. Effective Physical Methods to Remove Spider Mites
Physically removing mites from plants works well to reduce their numbers. You can wipe them off by hand, rinse the leaves with water, and prune damaged parts. These steps keep pests down without using chemicals and protect nearby plants.
Washing Leaves Properly to Remove Mites
Using water to wash off spider mites is simple and effective. A steady, strong spray helps knock mites off leaves, especially underneath where they hide. Washing also removes eggs and debris that support mite growth.
To wash leaves properly, focus on the whole plant and use lukewarm water. Cold water shocks the plant, while hot water can cause damage. Make sure you spray both the top and underside of each leaf for the best results.
- Take your plant to a sink or outside where water drainage is easy.
- Use a handheld spray nozzle or a hose with a moderate-to-strong setting.
- Spray the entire plant, turning leaves to reach the undersides fully.
- Apply water long enough to see mites wash off, about 30 seconds per side.
- Wipe stubborn mites and eggs with a soft damp cloth or cotton swab gently.
- Repeat rinsing to flush out loosened mites and residue.
- Let the plant drain and dry in a shaded spot to prevent leaf burn.
Pruning and Removing Infested Plant Parts
Removing badly damaged leaves is key to stopping mites from hiding and breeding. Dead or yellow leaves usually host more mites and their eggs. Pruning keeps your plant healthier and reduces overall pest pressure.
Focus on trimming only leaves and stems that look wilted, spotted, or covered in webbing. Cut back sections showing heavy damage rather than removing healthy parts. This gentle pruning lets your plant recover faster.
Isolating Plants to Prevent Spread
Spider mites can easily move from one plant to another. So keep infested plants separate. Put new or affected plants in another room.
Keep them on a separate shelf. Make sure they are several feet away from others. Isolation limits mites’ chance to spread through the whole garden or house.
Check isolated plants daily while treating them physically. Keep them apart until you’re sure mites are gone. This step helps protect all your other healthy plants from catching the pests.
Timing and Frequency of Physical Treatments
You won’t get rid of mites with just one wash or prune. Repeat these physical methods weekly or more often if mite numbers stay high. Regular treatments stop mites from rebuilding their population and damaging plants more severely.
Inspect your plants between treatments and act if you spot new mites or webbing. Dusty or dry environments can help mites return faster.
So combine physical removal with good watering habits. Consistency is key to keeping mites under control without chemicals.
4. Natural and Homemade Remedies That Control Mites
You can fight plant mites with natural oils like neem oil. Use insecticidal soap or garlic spray for control. These work well on your plants.
These treatments kill adult mites and disrupt their eggs’ growth cycle. Each remedy fits different needs depending on plant type and mite severity.
Neem Oil and Its Mode of Action
Neem oil comes from the neem tree seed and acts as a natural pesticide. It suffocates mites by coating their bodies and blocks their ability to lay viable eggs. Neem oil also interrupts mite reproduction, stopping new generations from developing.
Take 1 to 2 teaspoons neem oil and mix with half teaspoon mild soap. Stir into one quart of warm water.
Spray every 3 to 5 days indoors. Avoid mixing neem oil with other pesticides unless allowed by labels.
Insecticidal and Horticultural Soaps Explained
Insecticidal soaps kill mites immediately by breaking down their outer shell, causing dehydration. Horticultural oils smother mites and eggs by coating them with a thin oil film. Both are contact treatments that work best on soft-bodied mites like spider mites.
You can find insecticidal soap and horticultural oil ready-made at garden centers. Apply them thoroughly to all plant surfaces where mites live. These soaps rarely harm plants but always test on one leaf first.
Watch the leaf for any damage over the next day. This helps avoid hurting your whole plant.
| Natural Remedy | How It Works | Pros | Cons |
|---|---|---|---|
| Neem Oil | Smothers mites, disrupts egg production | Effective on eggs and adults; organic | Needs mixing; avoid after releasing predatory mites |
| Insecticidal Soap | Breaks mite exoskeleton; dehydrates them | Fast-acting; safe for many plants | Must cover all parts; possible plant damage if misused |
| Horticultural Oil | Smothers mites and eggs | Good for soft-bodied mites; longer residual action | Avoid in high heat; can harm sensitive plants |
| Garlic Spray | Natural repellent and mild pesticide | Easy to make; non-toxic to plants and humans | Lesser direct killing effect; needs frequent reapplication |
Neem oil and insecticidal soaps focus on killing mite eggs and adults. Horticultural oil effectively covers eggs and kills them by suffocation. Garlic acts more as a repellent but helps reduce mite populations on your plants.
Making and Using Garlic Spray for Mites
Crush 8 to 10 garlic cloves for your spray. Soak the crushed garlic in one quart of water. Let it rest for 24 hours before using.
Strain the mixture to remove solids. Pour into a spray bottle and apply directly to the infested leaves and stems.
Use garlic spray every 3 to 4 days until you see fewer mites. This spray works best when combined with neem oil or insecticidal soap for quicker mite reduction. Garlic spray won’t kill eggs as effectively but deters adult mites.
Frequency and Safety Tips for Natural Sprays
Apply natural treatments like neem oil or insecticidal soap every 3 to 5 days. Frequent spraying interrupts mite life cycles and controls eggs. Stop spraying outdoors if rain is forecasted to avoid washing off treatments.
Test sprays on a small plant section first to ensure no leaf burn or damage. Avoid mixing different treatments unless labels say they are safe together. Using natural predators with these treatments requires caution, as some oils can harm beneficial insects.
5. Using Chemical Treatments and When to Choose Them
Chemical treatments can help control mites when infestations get severe or don’t respond to other methods. Use products labeled specifically for mite control to avoid harming your plants. Always read the label before use to know the right amount.
Apply the product at the right time. Use safety gear to protect yourself and your plants.
Insecticidal soaps work well for most indoor plants. They kill mites by suffocating them and are less harsh than other pesticides. Neem oil is another option; it disrupts mite growth and limits reproduction.
Cover leaves fully with the solution for best results. You may need to reapply every 7 to 10 days. This helps keep the mites under control.
Stronger chemical acaricides target mites directly but pose more risks. Reserve them for heavy infestations that natural remedies can’t control.
These products often need careful handling. So wear gloves and avoid spraying when plants are stressed or temperatures exceed 85°F. Repeat applications depend on the product, usually every 5 to 14 days.
Never apply chemical treatments to dry or wilted plants. Avoid use during the hottest part of the day. This helps prevent leaf damage.
Check your plants regularly after treatment to track mite activity. Try switching products or adding physical removal if mites come back. Increasing humidity can also help reduce mite problems.
Keep chemicals in a safe place away from kids and pets. Follow label instructions to throw away unused products safely.
6. How to Prevent Mite Infestations on New and Existing Plants
Keep new plants separate from your collection for at least two weeks. This quarantine helps spot mites or other pests early. Place them in a different room or a well-ventilated spot away from your other plants.
Check plants daily during quarantine. Look for tiny webs, pale spots on leaves, or tiny moving dots.
Spot these signs? Don’t move the plant until it’s all clean.
Regular inspections on all your plants catch mites before they take hold. Use a magnifying glass to scan leaves and stems every week. Focus especially on undersides of leaves, where mites prefer to hide.
Cleaning tools and pots stops mites from spreading among plants. Use rubbing alcohol or bleach to clean your tools. Mix one part bleach with nine parts water first.
Wipe your tools after every use to stop pests. Don’t forget to clean pots before reusing them for new plants.
Air circulation and moderate humidity can keep mites away. Use a fan to improve airflow around plants without chilling them. Aim for humidity between 40% and 60% to keep mites less active and your plants healthy.
- Quarantine new plants away from others for two weeks
- Inspect plants weekly, especially the leaf undersides
- Clean pruning tools with alcohol or bleach solution after use
- Wash and disinfect pots before reuse
- Improve air circulation with a fan near plants
- Maintain humidity levels between 40% and 60%
- Remove and discard heavily infested leaves promptly
Removing infested leaves stops mites from spreading to healthy parts. Keep the area around your plants free of fallen leaves and debris. Dirty leaf litter can hide mites and let them creep back.
Routine care makes a huge difference. Plants under stress are easier targets for mites. Keep your plants well-watered and fertilized to strengthen their natural defenses.
7. Monitoring Treatments: How to Know If Mite Control Is Working
After starting treatment, watch your plants closely for signs of improvement. You should see less webbing and fewer tiny specks on the leaves within about a week.
Mites reproduce fast. So check every three to five days to catch new activity early.
To track progress, inspect the undersides of the leaves and other hiding spots. Use a magnifying glass if needed and take photos for comparison. Watching changes in leaf color helps you track mite activity.
Most mite species complete their life cycle in 7 to 14 days. So repeat treatments at least twice during this window.
Follow product instructions for how often to spray or reapply homemade solutions. Reapplying every 5 to 7 days often kills new hatching mites before they spread.
After two to three treatments, switch methods if webs persist. For example, alternate between insecticidal soaps and stronger chemical options to prevent resistance. Also, combine physical removal like wiping leaves with sprays for better control.
No webs, speckles, or moving mites in checks over two weeks means your plants are clear. Keep monitoring weekly, especially in warm, dry weather that mites like. Catching reinfestations early saves your plants from damage and extra work.
8. Common Mistakes in Mite Control and How to Avoid Them
One common mistake is stopping treatment too soon. Mite eggs can hatch after spraying. So you must repeat treatments according to the label.
Usually, treat every 5 to 7 days. Do this for at least two cycles. This helps break the pest’s life cycle.
Watering mistakes also reduce treatment success. Spraying on water-stressed plants makes them weaker and less able to recover. Always water your plants well a day before applying treatments to help them handle the spray.
Avoid mixing insecticides without checking labels. Some chemicals interfere or harm your plants.
Use only products made for spider mites and safe for your plant type. When in doubt, apply treatments separately with days in between.
- Don’t overcrowd plants; improve airflow to reduce mite-friendly humidity.
- Choose products labeled for the specific plant you treat.
- Follow the full treatment schedule to cover all mite stages.
- Apply treatments only when plants are healthy and not stressed.
- Double-check product compatibility before mixing pesticides.
- Rotate products with different modes of action to avoid resistance.
- Hire licensed pest control experts for severe infestations.
Resistance happens when mites survive treatments and reproduce. To handle this, rotate between insecticides with different ingredients.
Use natural or mineral-based options when possible to reduce buildup. Keep monitoring closely for any signs of returning mites.
Always avoid spraying pesticides on dry or wilting plants to prevent damage.
Using broad-spectrum pesticides too often can kill natural predators that control mites. This may cause mite populations to explode after treatment. Instead, use targeted sprays and include physical controls like wiping leaves.
Step-by-Step Action Plan to Get Rid of Mites on Plants
Follow this plan to control mites safely and effectively. Check your plants often and act fast.
- Day 1: Inspect all plants closely for signs of mites. Use a magnifying glass if needed to spot tiny webs or specks. Confirm the infestation before starting treatment.
- Day 2: Increase humidity around your plants by misting or using a humidifier. Mites hate moist air, so this helps stop their growth. Check if webs and spots reduce by Day 7.
- Day 3: Spray affected plants with a strong water jet to remove mites. Focus on leaf undersides and stems. Look for fewer webs and less leaf damage after three days.
- Week 1: Apply a natural remedy like neem oil or insecticidal soap. Follow label instructions closely. See if mites drop after this dose before repeating.
- Week 2: Recheck plants for signs of mites. If you see fresh damage, repeat the natural treatment or move to chemical options if severe. Monitor closely for improvement.
- Week 3: Isolate treated plants from others to avoid spread. Continue to maintain high humidity and wipe leaves regularly. No new webs mean treatment worked.
- Month 1: Inspect all plants weekly to catch new mites early. Keep plants well watered and healthy to resist pests. Early detection stops reinfestation.
Frequently Asked Questions
What Should I Do If I Find Mites on a Newly Bought Plant?
Quarantine the new plant for at least two weeks. This stops mites from spreading to your other plants during this time.
Can Mites on Houseplants Affect My Health?
Mites on plants usually don’t harm humans directly. Still, controlling them is important for your home’s air and your well-being.
How Often Should I Spray Natural Remedies to Control Mites?
Spray your plants every five to seven days for best results. Repeating helps catch mites that hatch later.
Can I Use the Same Treatment on All Types of Plants?
Not always. Some plants react differently to treatments. Always test a small area first to avoid damage.
Should I Prune Mite-Damaged Leaves from My Plants?
Yes, remove heavily infested leaves to reduce mite numbers. Dispose of them far from your other plants.
When Is It Better to Call a Professional for Mite Control?
Call a pro if infestations are severe or keep coming back. They can handle tough cases safely and effectively.
Wrapping Up
Mites can damage plants fast if ignored. Start checking plants and taking action now to protect them. Regular care keeps your plants strong and mite-free.