How to Use Worm Castings in Potted Plants: A Complete Guide for Healthy Growth
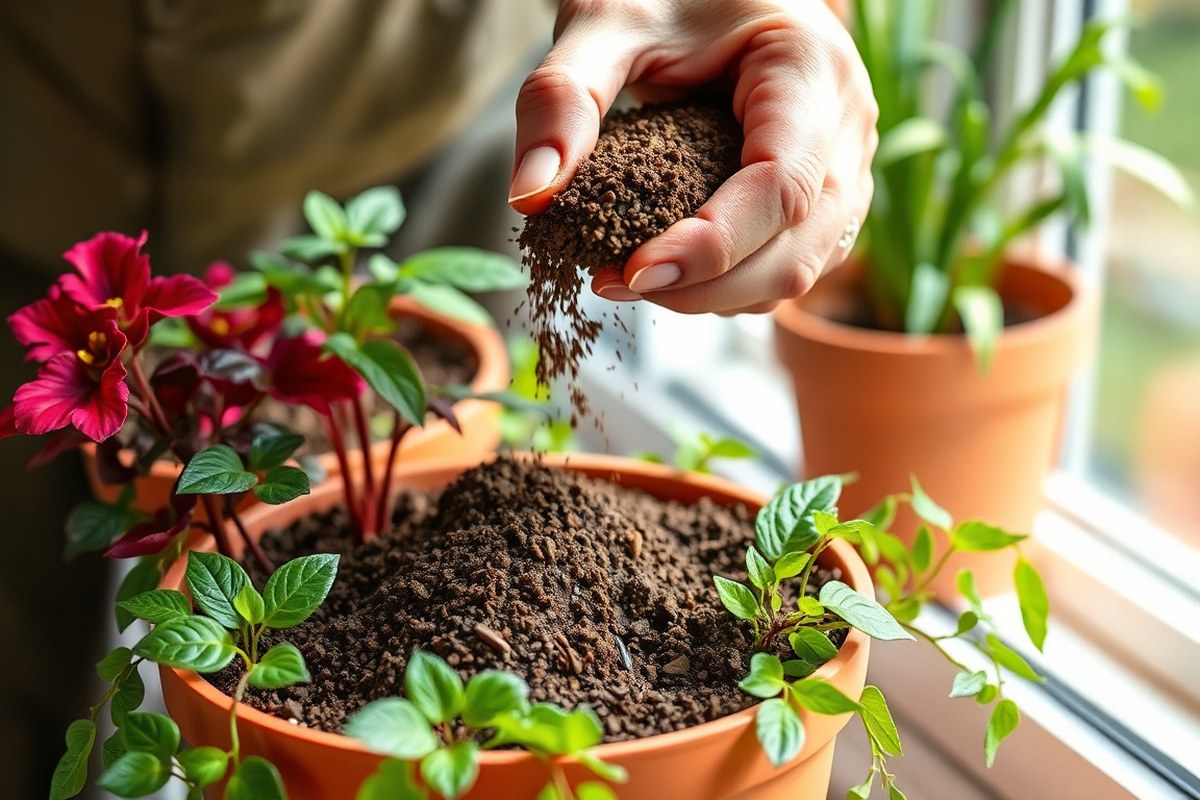
Knowing how to use worm castings in potted plants can boost their growth fast. Start by mixing them into your potting soil at about 10 to 20 percent by volume. This feeds your plants without drowning their roots.
It gives needed nutrients gently. Roots get just the right amount of organic matter.
Worm castings add minerals and helpful microbes that make your soil richer. Instead of using them pure, gently blend castings with your existing soil for best results. Watch how your plants quickly improve in leaf color and new growth.
Start by adding a half-inch to one-inch layer. Do this on top of your potted soil. Repeat every few months to help your plants.
Water it in gently so nutrients seep toward the roots. This simple step keeps your container plants thriving between pottings.
Key Takeaways
- Mix worm castings into potting soil at 10-20% volume for best growth.
- Use 1/2 to 1 inch of worm castings as a top layer every 2-3 months.
- Pure worm castings can harm roots, always mix with existing soil.
- Castings feed plants with minerals and microbes that boost plant health.
- Adding worm castings often shows leaf color and growth changes in weeks.
- Water castings in gently to help nutrients reach plant roots.
How to Use Worm Castings in Potted Plants for Best Results
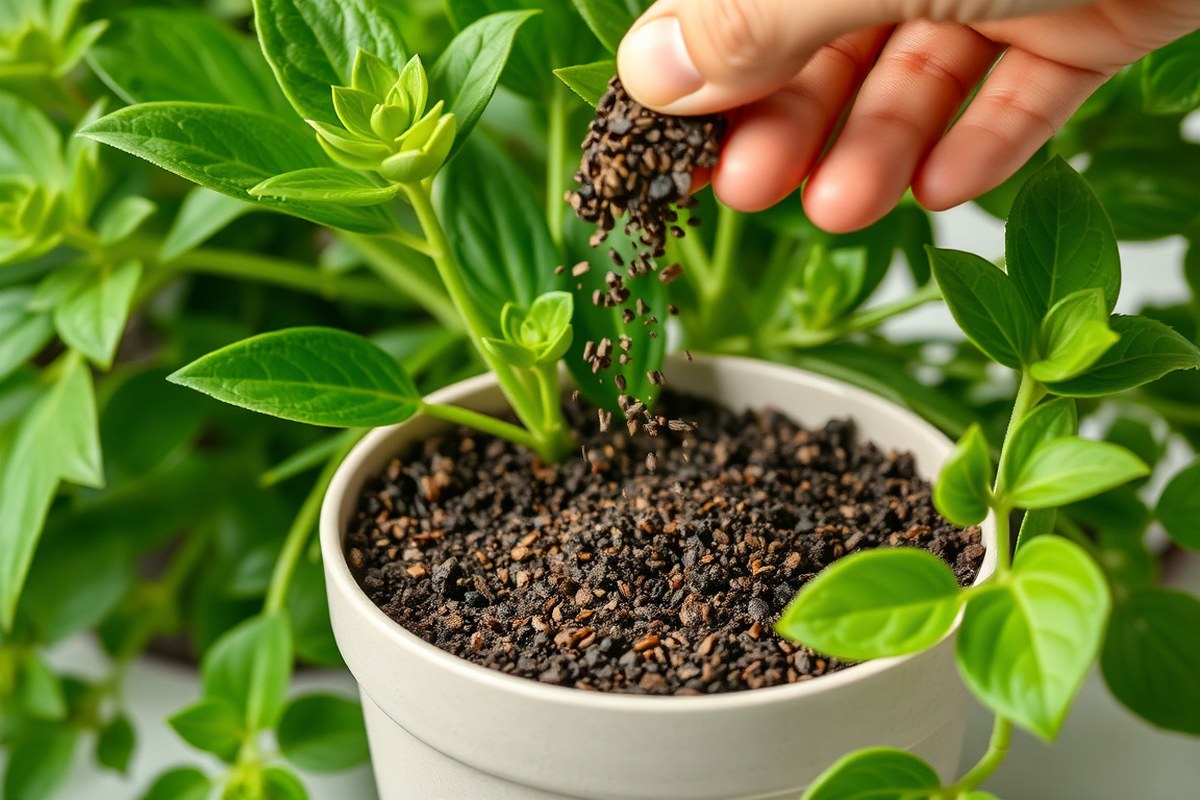
Use worm castings in potted plants by mixing them into soil. You can also add them as a top dressing. Another way is to make worm casting tea for your plants.
Each method feeds plants differently but improves soil health and growth. Choose the best way to match your plant’s needs and your care routine.
Method 1: Mixing into Potting Soil
Mixing worm castings into potting soil gives plants a nutrient-rich base to grow in. This method works well when repotting or starting new plants. Use about 15-20 percent worm castings by volume for the best effect without overdoing it.
- Measure your potting soil for the pot size you’re using.
- Add worm castings at about 1 part castings to 4 parts potting soil.
- Combine the worm castings and soil thoroughly in a container.
- Fill the pot with this soil mix, leaving room for the plant’s root ball.
- Place your plant in the pot and cover roots with the mix.
- Water the plant thoroughly to settle the soil and castings.
- Watch for greener leaves and stronger growth within a few weeks.
Don’t use more than 20 percent worm castings to avoid nutrient imbalance. Mixing them in improves microbial activity and soil aeration. This creates a healthier, more resilient root environment for your plants.
Method 2: Top Dressing for Established Plants
Top dressing adds worm castings directly to the surface of the soil. It refreshes nutrients without disturbing roots in established potted plants. Applying a half to one inch of castings monthly is typical during active growing seasons.
- Remove any dead leaves or debris from the soil surface.
- Sprinkle 1/2 to 1 inch of worm castings evenly around the base of the plant.
- Keep castings a little away from the plant stem to prevent rotting.
- Lightly water the soil to help castings activate and settle in.
- Repeat top dressing every four to six weeks to keep soil healthy.
This method improves soil biology slowly and reduces risk of over-fertilizing. It is perfect for plants sensitive to repotting or if you want less fuss. You’ll see more vigorous leaves and better root health after several top dressings.
Method 3: Making and Using Worm Casting Tea
Worm casting tea is a liquid fertilizer that feeds plants quickly and evenly. It works well as a foliar spray or soil drench. Brewing tea extracts nutrients and microbes for faster absorption by plants.
- Fill a bucket with 1 gallon of clean water at room temperature.
- Add about 1 cup of worm castings to the water.
- Stir the mixture well to release nutrients and beneficial microbes.
- Let it steep for 24 to 48 hours, stirring occasionally.
- Strain the liquid through a fine cloth or mesh to remove solids.
- Pour the tea around the base of your potted plants or spray on leaves.
- Use every two weeks during the growing season for best results.
Keep the tea refrigerated if you don’t use it right away. Avoid brewing longer than 48 hours to prevent bad smells or harmful bacteria. This method boosts growth and helps plants fight stress quickly with a nutrient boost.
Determining the Right Amount of Worm Castings to Use

Use worm castings sparingly to avoid crowding roots. Mix about 15 to 20 percent worm castings into potting soil. Use 80 to 85 percent potting soil for the rest of the mix.
This helps your plants get good nutrients. This balance provides nutrients without harming plant growth.
For new potted plants, mix worm castings directly into your soil. For existing plants, sprinkle a thin layer on top every few months to refresh the nutrients.
| Plant Type | Amount of Worm Castings | Frequency |
|---|---|---|
| Vegetables, Perennials, Annuals | Spread 1 to 2 inches of worm castings on the soil’s surface. | 2-3 times per year (spring, summer, fall) |
| House Plants & Hanging Baskets | ½ to 1 inch sprinkled on top of soil | Every 2-3 months |
| Trees, Shrubs, Vines, Roses | 2 to 3 inch layer around base | 2-3 times per year |
Combine worm castings with soil using about one part castings to three or four parts soil. For a 1-gallon pot, add ¼ to ⅓ cup worm castings. Use more castings for larger pots.
Too much worm castings won’t usually harm your plants but don’t overdo it. It can reduce aeration, which your roots need. Always aim for a light mix to keep the soil fluffy and well-drained.
Adding more than 20-30% worm castings can slow growth due to poor soil airflow.
Add ½ inch of worm castings to soil every two or three months. This refreshes the soil nutrients. It keeps your plants healthy.
You don’t have to dig it in; just sprinkle it on top. This gradual feeding keeps nutrients balanced without overloading the roots.
To adjust amounts, match the casting volume to pot size. For example, mix ½ cup of worm castings into potting soil for a 2-gallon container.
For a large 5-gallon pot, use at least 1 cup in the soil mix. Smaller plants need less, stick to one tablespoon per quart of potting mix.
Benefits of Worm Castings for Indoor and Container Plants
Worm castings add essential nutrients to potted plants, including nitrogen, phosphorus, and potassium. These nutrients come in a gentle, slow-release form that plants can readily absorb. They also contain important micronutrients, beneficial enzymes, and minerals that support strong root development.
The structure of worm castings dramatically improves soil texture. Their fine, crumbly particles increase aeration and drainage in container soil.
This porous quality helps the soil hold moisture longer. So your plants don’t dry out as quickly between watering sessions.
Active microbes in worm castings play a big role in plant health. These beneficial organisms compete with harmful fungi and bacteria that cause diseases. They make natural antifungal compounds.
These help your plants fight root rot. They also stop common pests in pots.
Indoors, soil nutrients wear out quickly since container plants live in a closed system. Adding worm castings rebuilds and refreshes the microbial life and nutrient balance. You’ll often see leaf color improve and new growth within a few weeks after applying castings.
Because worm castings improve water retention, you’ll end up watering less often. This helps prevent overwatering problems that soil in pots can suffer from. The better soil structure also allows roots to breathe and soak up nutrients more effectively.
Not all plants use worm castings the same way. Plants that focus on leaf growth benefit the most from castings’ nutrient mix.
Flowering plants may need extra phosphorus alongside worm castings to boost blooms. Adjusting how much you add depends on the plant’s specific needs and pot size.
The combination of nutrients, microbes, and improved soil texture prevents many common container plant problems. Pests and diseases have a harder time gaining a foothold in soil rich with worm castings. They create a balanced environment where roots and beneficial soil life can thrive safely.
Adjusting Worm Casting Use by Plant Type and Container Material
Adjust the amount of worm castings depending on your plant’s needs. Use different amounts for different pot types. Pay attention to what your plant requires most.
Some plants need fewer nutrients, so use less worm castings to avoid overfeeding. The pot material also changes how fast soil dries, which affects worm casting amounts.
Plants That Require Lower Worm Castings Levels
Plants that don’t need rich soil, like herbs and some indoor plants, use fewer worm castings. Overfeeding can cause weak growth or root issues.
So stick to the lower range of 1 tablespoon around the root. Too much worm casting may hold too much moisture for these plants.
- Herbs like basil, thyme, and mint
- Green-leaf houseplants (e.g., pothos, spider plants)
- Plants that prefer lean soil, like orchids
- Seedlings and young plants still establishing roots
- Slow-growing foliage plants
Use 1 tablespoon of worm castings per plant around the stem. Water well each time to help nutrients absorb. Avoid adding more than 20% of worm castings to the pot soil volume.
Considerations for Succulents and Cacti
Succulents and cacti need excellent drainage and less fertilizer. Too much worm castings affects soil porosity and traps water. Use less castings, under 20% of the total soil mix, and increase drainage materials.
- Mix worm castings with coarse sand or perlite
- Use only 1 tablespoon or less per 6-inch pot
- Add castings sparingly around the stem, not mixed deeply
- Avoid thick layers of castings to prevent soggy soil
- Water lightly after applying castings to avoid root rot
Less feeding fits succulents’ slower growth and water needs. Keeping castings minimal prevents damp roots and fungal problems. They still get a nutrient boost but stay dry and healthy.
Using Castings with Different Pot Materials
Pot material impacts water retention and soil drying speed a lot. Clay pots dry faster and drain well.
So use less worm castings to avoid drying out roots quickly. Plastic and glazed pots hold moisture longer, allowing a heavier worm casting dose.
- Clay pots: limit to 1, 2 tablespoons, mix well with soil
- Plastic pots: 2, 3 tablespoons is fine due to slower drying
- Glazed pots: similar to plastic, can hold moisture longer
- Adjust watering needs based on pot type and worm castings
- Check soil moisture every few days to avoid drying or sogginess
Using worm castings in clay pots calls for a lighter touch. Plastic and glazed pots let you use more castings without drying issues. Tailoring the amount keeps roots happy and soil balanced for your plant type and pot.
How Often to Apply Worm Castings to Potted Plants
You should top dress your potted plants with worm castings about once a month. This works well during the growing season when plants use more nutrients. Spread a thin layer, roughly a quarter-inch thick, around the plant’s base without covering the stem.
Top dressing every 4 weeks refreshes the soil’s nutrient content and helps soil microbes stay active. During winter, reduce feeding to every 2 or 3 months.
Plants need less food when dormant. Frequent top dressing can lead to too much moisture or salt buildup in small pots.
Repotting is the perfect time to mix worm castings into new potting soil. Add about 10 to 20 percent worm castings by volume to your regular soil mix. This gives your plants a slow, steady nutrient release right from the start.
Avoid using pure worm castings as a growing medium. It can retain too much water and harm roots.
Worm casting tea is a liquid fertilizer made by soaking castings in water. Use it for watering plants every one to two weeks in the growing season.
Mix about ½ to ¾ cup of worm castings with 2 gallons of water. Strain the liquid before applying it to avoid clogging your watering can.
The tea works well for plants in pots where top dressing is tricky, like hanging baskets. Water indoor plants at the soil, not on leaves.
Leaf sprays can make spots and mess. During slow growth times, applying worm casting tea monthly is enough.
Don’t overdo worm castings. Too much can cause damp soil and root problems in pots.
Common Mistakes When Using Worm Castings in Pots and How to Fix Them
Worm castings don’t burn plants like synthetic fertilizers might. They release nutrients slowly and gently, reducing the risk of root damage. Using too much at once can cause soggy soil.
It leads to poor drainage. This will stress your plants.
Overapplying worm castings usually happens when you add more than 30% of the potting mix volume. For tropical foliage plants, that’s fine, but most container plants do better with less. Too many castings make the soil dense.
It can hold too much moisture. This may cause root rot.
Signs of misuse include yellowing leaves, wilting, or a sour smell from the soil. These point to overwatering combined with heavy soil, not actual toxicity from the castings. Cut back on watering and remove some of the casting layer if it’s sitting on top.
- Avoid piling more than 1 to 2 inches of castings on existing plants.
- Mix castings thoroughly with potting soil before planting new plants.
- Water gently after applying to help nutrients start feeding roots.
- Use about 10 to 30% worm castings in the total soil volume.
- Don’t add castings to dry pots; moist soil helps spread nutrients.
- Reduce watering if soil stays wet for days after adding castings.
Timing matters too. Adding castings at planting is best but you can also top-dress later.
Apply castings as a shallow layer and then water well. This helps the castings mix into the soil without smothering roots.
Watering with worm casting tea or diluted nutrient solutions complements solid castings well. Avoid overwatering to keep roots oxygenated. Your plant shows stress after adding castings.
Pull back on watering. Check the pot drainage.
Pay attention to your plants and soil condition over time. Worm castings are forgiving but don’t expect instant growth.
Plants often respond within weeks, but underwater or soggy roots can slow things down. Adjust your amount and watering to find what works best.
How to Store and Prepare Worm Castings for Potted Plants
Store worm castings in a cool, dark, and dry spot to keep them fresh. Avoid damp or warm places because moisture can cause mold or lose nutrients. When stored properly, worm castings can stay effective for 12 to 18 months.
You don’t have to mix worm castings with manure or compost before using them. Unlike animal manure, worm castings are ready to use straight away on indoor plants. Lightly sift the castings to remove clumps.
Pick out any large bits you don’t want in pots. This helps keep the soil texture consistent.
Before adding worm castings, check their moisture level. Moisture helps nutrients release slowly. Moisten the castings slightly if they feel dry.
Add enough water for a damp crumb texture. Avoid soaking wet or it could compact. Compaction lowers airflow around plant roots.
- Keep worm castings in a sealed container to avoid moisture and pests
- Store away from direct sunlight and heat sources
- Check for mold or bad smells before use; toss if present
- Sift castings through a fine mesh to remove lumps or debris
- Sprinkle a little water if dry. Mix until castings feel evenly damp throughout.
- Use within 12 to 18 months for best fertility benefits
- Do not over-moisten, or castings may compact and lose air flow
Using dry, unsifted worm castings may cause uneven nutrient release or clumpy soil. Overly wet castings can suffocate roots or promote mold. Store and prepare castings well to keep nutrients rich.
This makes them easy to mix into potting soil. Healthy plants depend on this step.
How to Make Worm Casting Tea for Efficient Plant Feeding
Worm casting tea nourishes your potted plants with gentle, ready-to-use nutrients. Mix one part worm castings to three parts water and let it steep for a day. Then strain and water your plants with the liquid to give them an easy nutrient boost.
Gathering Materials and Proportions
Before brewing the tea, gather fresh worm castings, clean water, and a bucket or large jar. Using a good ratio helps extract the nutrients without wasting materials or creating waste. This is the basic setup to start with for a balanced worm casting tea.
- Fill a clean bucket with 3 parts room-temperature water, about 3 cups.
- Add 1 part fresh worm castings, about 1 cup.
- Use non-chlorinated water to protect beneficial microbes.
- Stir the mix gently to break up clumps and blend well.
Chlorinated tap water can kill helpful microbes. So let it sit 24 hours or use filtered water.
Steeping and Straining Process
Let the mixture steep to release nutrients and microbes into the water. Proper steeping time extracts the benefits and gives you a nutrient-rich tea. You want to keep the solution active but not stagnant.
- Cover the bucket loosely to allow air but keep insects out.
- Let it steep for 24 hours at room temperature, away from direct sun.
- Stir the mixture once or twice during steeping to oxygenate it.
- After steeping, strain the liquid through a fine mesh or old cloth.
- Discard the solids or add them back to your compost pile.
Oversteeping beyond 24 hours can turn the tea sour and harm plants.
Applying the Tea to Potted Plants
Use the worm casting tea as a liquid fertilizer for your plants. It enriches the soil and promotes root growth when applied carefully. Water plants only after the soil is moist from regular watering.
- Water your plant normally to moisten the soil first.
- Pour the strained worm casting tea evenly over the soil surface.
- Apply about ½ to 1 cup of tea per medium-sized pot.
- Use the tea once every 1 to 2 weeks as part of your feeding routine.
- For cuttings, soak the base briefly in diluted tea before potting.
Never use undiluted worm casting tea; it can burn plant roots and cause damage.
Step-by-Step Action Plan for Using Worm Castings in Potted Plants
Follow these steps to boost your potted plants with worm castings. Watch how your plants respond to each step before moving on.
- Before planting: Mix one part worm castings with three parts potting soil. Your soil should look dark and crumbly, not heavy or wet.
- Day 1: Plant your seeds or transplants in the prepared soil. Check that the soil drains well and stays moist but not soaked.
- Week 2: Water your plants with worm casting tea once a week. You’ll see leaves look greener and growth feel stronger.
- Month 1: Add a thin layer of worm castings on top. Use about 1/4 inch of castings. This lightly feeds your soil without overwhelming it. Watch for steady leaf growth and fewer yellow spots.
- Every 4 weeks: Repeat top dressing and worm casting tea watering. This keeps nutrients coming and soil lively.
- When repotting: Add fresh worm castings to the new potting mix. Your plants should bounce back quickly after repotting.
- Monthly check: Look for signs of over-fertilizing like leaf burn or droop. Spot these? Cut back on worm castings next time you add them.
Frequently Asked Questions
Can I Use Worm Castings on All Types of Potted Plants?
Yes, worm castings work well with most potted plants. They improve soil health and nutrient availability for flowers, vegetables, and houseplants alike.
Can Worm Castings Prevent Pests in Container Plants?
Worm castings can help reduce pests due to beneficial microbes. They improve soil health, making plants stronger and less prone to pests like fungus gnats.
Should I Water My Potted Plants After Applying Worm Castings?
Yes, water your plants after adding worm castings. This helps nutrients release slowly and reach plant roots more effectively.
Can Worm Castings Change the pH of My Potting Soil?
Worm castings usually have a neutral pH and won’t drastically change your soil’s acidity. They gently balance soil conditions without harming your plants.
Is It Okay to Use Worm Castings on Succulents and Cacti?
Use worm castings sparingly with succulents as they need less nutrient-rich soil. Mix in small amounts to avoid overfeeding these plants.
Can Worm Castings Improve Water Retention in Potted Soil?
Yes, they boost soil structure and water retention. This helps keep potted plants hydrated without making the soil too heavy or soggy.
Final Thoughts
Worm castings give potted plants better soil and healthier growth. Try adding them carefully and watch your plants thrive. Start today by mixing worm castings into your potting soil for your next planting.