How to Indoor Plant Successfully: Complete Care Tips That Help Plants Thrive
How to indoor plant starts with planting your new plant correctly. Most indoor plant deaths happen because of poor initial potting.
Make sure your pot has drainage holes for excess water. Choose a pot 1 to 2 inches wider than the root ball to help your plant grow without too much extra soil.
Use fresh potting mix to supply nutrients. Gently loosen roots to help them spread out. Place the plant carefully in the pot and pack soil around it.
Avoid air pockets but don’t press too hard. Keep soil moist, not soaked, after planting.
Put your plant where it gets the right amount of light for its species. Look for new growth within two weeks to see if it’s adjusting well. Keep caring for it as usual to prevent early problems and help it thrive.
Key Takeaways
- Choose a pot with drainage holes to prevent water buildup and root rot.
- Use fresh soil and a container 1-2 inches larger than before for healthy roots.
- Water new plants lightly after potting, keeping soil moist but not soggy.
- Look for new growth 10-14 days after potting as a success sign.
- Match your plant’s light needs with its location for better health.
- Gently loosen root balls before potting to encourage root spread.
How to Plant and Establish Indoor Plants Properly
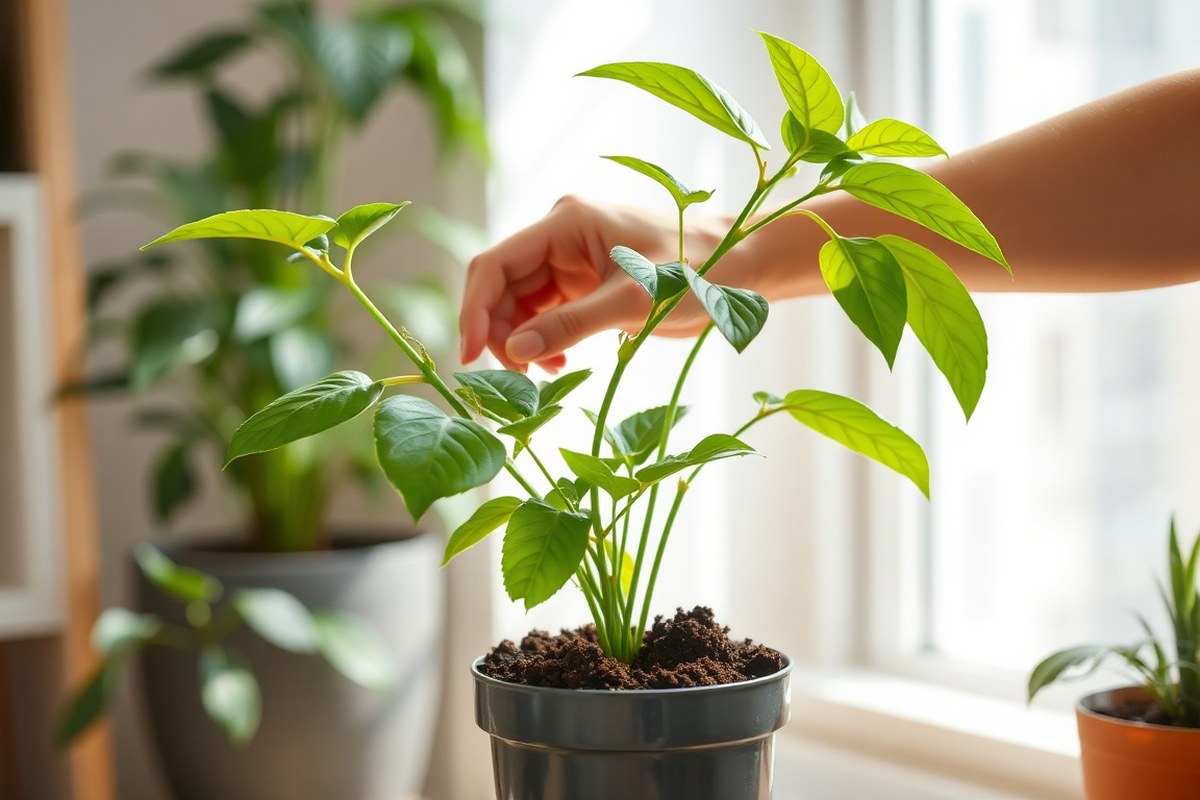
Starting your indoor plants off right is the best way to avoid early failures. Most indoor plants die in the first month due to bad potting. Watering or light issues are less common causes.
Potting mistakes stress young roots and stunt growth. Use a pot the right size to help roots grow.
Choose good soil for healthy root development. Plant carefully to avoid shocking your plant.
Get a pot with drainage holes to avoid water buildup. Pick one 1 to 2 inches larger than the old pot. This space helps roots spread properly.
Too large a pot holds too much water and can cause root rot. Fresh potting mix designed for indoor plants with good drainage is key.
Moisten it until just damp before you use it. Dry or overly wet soil makes roots die off quickly.
Repotting can cause transplant shock, a stress period lasting from two to six weeks. During this time, growth may slow, and leaves might droop. Keep temperatures between 70°F and 80°F during the day.
Avoid overwatering to prevent root rot. Stable conditions help plants recover faster. Waiting for strong root growth before repotting again avoids repeating this stress.
- Pre-moisten potting mix until damp with no water runoff. Use a bucket, trowel, and water. This prevents dry pockets and helps roots absorb moisture evenly.
- Fill the bottom of a clean pot with 1 to 2 inches of fresh potting mix. Make sure the pot drains well before potting your plant. This makes a stable base and keeps roots from sitting in old wet soil.
- Remove the plant gently from its old pot. Loosen roots lightly if they’re tightly packed but avoid breaking them. This helps spread roots in the new soil.
- Center the plant upright in the new pot. Fill sides with soil, firming it gently to remove air pockets. Even soil coverage supports root growth and stops drying out.
- Water the plant thoroughly but allow excess water to drain out. This settles the soil around roots and supports hydration without causing root rot.
- Place your plant in a spot with appropriate light and stable temperature. Avoid direct harsh sunlight initially to reduce transplant stress.
- Monitor soil moisture by feeling the top ½ to 1 inch of soil. Water when it feels dry, avoiding constant wetness or dryness, which both harm roots.
Choosing the Best Indoor Plants for Your Space and Light
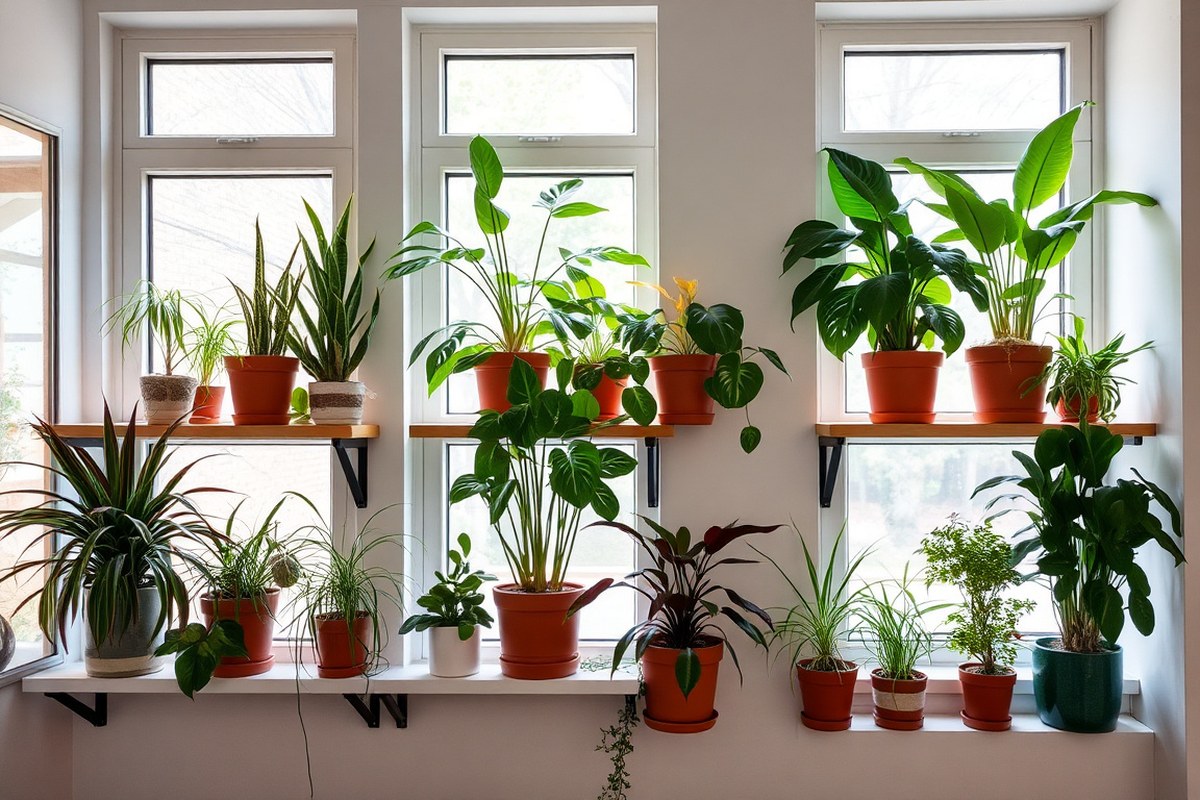
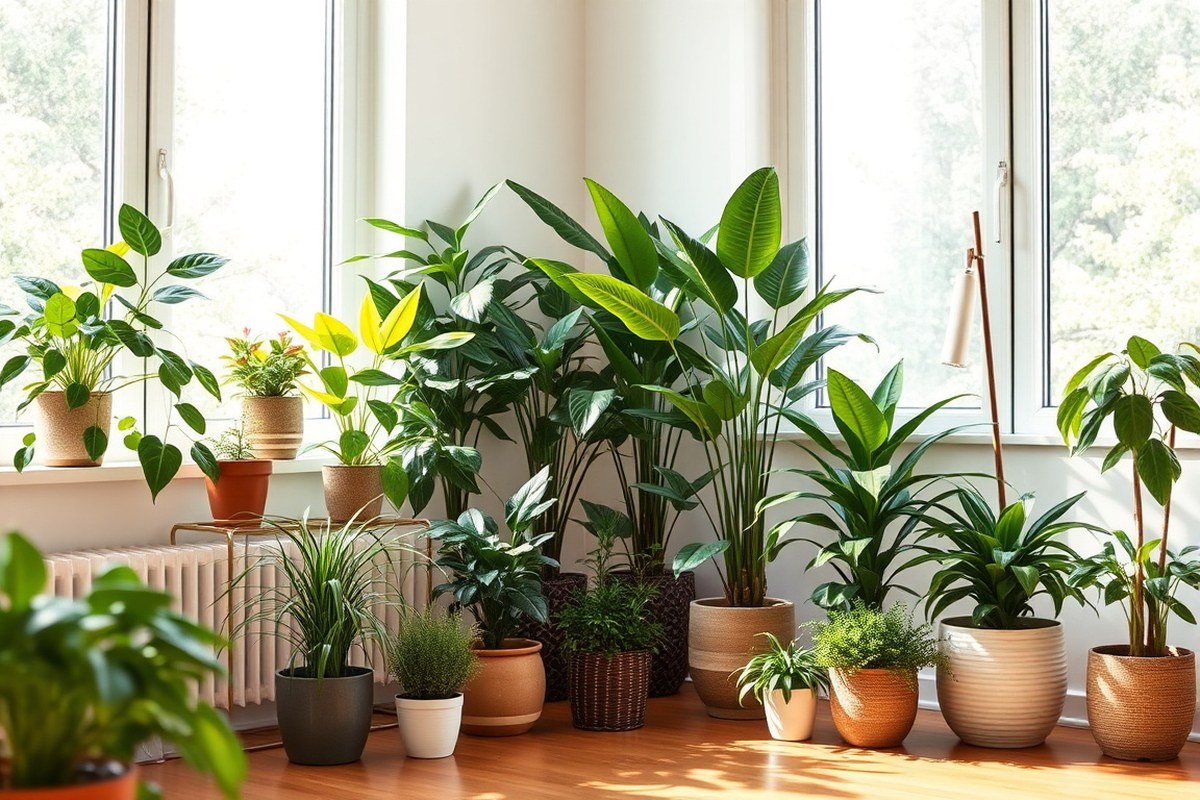
Choosing the right indoor plants depends on how much light your home gets. Low-light plants do well near north-facing windows or shaded corners. In these spots, snake plants, pothos, or cast-iron plants thrive without much sun.
Bright rooms with south- or west-facing windows support plants needing indirect or direct sunlight. You can grow cacti, aloe vera, or ponytail palms there. These plants need several hours of bright light daily to stay healthy.
Match your plants to the amount of space you have. Tall ceiling rooms can hold larger plants like fiddle leaf figs.
When space is tight, compact plants like small ferns or succulents fit best. Use corner plant stands to fit tall plants in small spaces easily.
| Light Condition | Example Plants | Maintenance Level | Typical Space Need |
|---|---|---|---|
| Low Light (north-facing) | Snake Plant, Pothos, Cast-Iron Plant, ZZ Plant | Low | Small to medium, fits shelves or corners |
| Bright Indirect Light (east/west-facing) | Peace Lily, Spider Plant, Boston Fern | Medium | Medium, tables or plant stands |
| Bright Direct Sunlight (south-facing) | Cactus, Aloe Vera, Ponytail Palm | Low to medium | Compact to medium, windowsills or floors |
Pick plants that fit your daily routine. Choose snake plants or ZZ plants when you want plants that need little care. They need less watering and grow slowly, making them ideal for beginners or busy people.
Keep your pets safe by choosing non-toxic plants. Some popular low-maintenance houseplants are also pet-safe, like spider plants and Boston ferns. Avoid toxic plants like pothos if pets chew on leaves.
Do not place low-light plants in direct sunlight, it can stress and burn their leaves.
Consider using grow lights for rooms without enough natural light. Full-spectrum LED grow lights brighten plants gently, mimicking sunlight.
This helps plants grow well even in darker areas. Choose lights around 5000K to 6000K color temperature for best results.
Lighting Needs: How Much and What Type Is Best for Houseplants
Indoor plants usually need about 12 to 16 hours of light daily. This can be a mix of natural sunlight and artificial grow lights. Using the right light helps plants grow strong and healthy.
Natural vs Artificial Light for Plants
Natural light varies by room and season. So it’s important to pick plants that fit your home’s lighting. South-facing windows offer the brightest sun, best for plants needing high light.
Snake plants and ZZ plants like lower light. They need less sun daily. They do well in shaded spots.
Artificial grow lights come into play when sunlight is weak or missing. They help plant growth during winter or in windowless rooms.
Use full-spectrum LED bulbs rated 60 watts or higher. They provide light plants use for photosynthesis.
Setting Up and Using Indoor Grow Lights
Place grow lights 12 to 24 inches above your plants, depending on the light intensity needed. Keep the lights on for 12 to 16 hours a day to imitate natural daylight. Timers make this task easy and consistent, preventing too much or too little light.
Full-spectrum LEDs that mimic sunlight help plants at all life stages. Adjustable plant stands let you change the light height. You can fit different pot sizes.
Light fixtures can also adjust. Use grow lights to help plants needing medium to high light. This works when bright windows are not available.
Spotting and Correcting Light Deficiencies
Too little light causes slow growth. Leaves turn pale or yellow. Plants may lean towards the light source.
Excessive light may cause burnt leaf edges or faded colors. Move the plant closer or farther from windows when you see these signs. Adjust the grow light height too.
Plants gradually adapt to new lighting, but sudden changes can stress them. Add more artificial light when moving plants to darker rooms.
Lower the light when moved to brighter spots. Watch your plants for 1 to 2 weeks and adjust lighting as needed for healthy growth.
Watering Indoor Plants Correctly and Avoiding Root Rot
Water indoor plants only when the soil feels dry an inch or two below the surface. Avoid a fixed schedule because each plant and pot type changes watering needs. Using the finger test or a moisture meter can prevent overwatering and root rot.
Root rot happens when the soil stays wet too long. The University of Illinois Extension says root rot relates to soil saturation time. It is not about how often you water.
Proper drainage matters most in preventing root problems. Water plants until water runs freely from the pot.
Wait 45 minutes after watering. Then, remove any extra water left in the trays.
Different plants need different watering methods. Succulents like cacti can go one to two months without water. Flowering plants, or those in clay pots, usually need more water.
For large plants, a handheld moisture meter works best. Place pots in a shallow dish filled with water.
Let roots take up the water they need. This method can reduce overwatering risk.
Use this checklist to water properly and avoid problems:
- Check soil moisture with your finger or moisture meter around roots.
- Water slowly until you see water drain from the pot’s holes.
- Remove any leftover water from saucers after 45 minutes. Standing water can cause problems for your plant roots. Make sure water doesn’t sit too long.
- Adjust watering frequency by season: less in winter, more in growing seasons.
- For succulents, water deeply but infrequently, every 4 to 8 weeks is common.
- Use pots with good drainage to stop water from pooling around roots.
- Look for yellowing leaves or soggy soil as warning signs of root rot.
- Trim any roots showing signs of rot immediately. Use fresh soil when repotting your plant. Cut back on watering to help recovery.
Touching soil before watering prevents underwatering too. A moisture meter like Rapitest® can help with exact readings. Water from the top until runoff feels steady.
This flushes salts and hydrates roots well. Standing water, over 30 minutes long, invites harmful fungi.
Plants in clay pots dry faster than plastic ones, so check soil more often. Tropical plants benefit from humidity methods but still need well-drained soil.
Remember, thorough watering is better than frequent shallow watering. It encourages roots to grow deep and stay healthy.
Maintaining Ideal Humidity and Temperature for Healthy Growth
Most indoor plants do best with humidity between 40% and 60%, especially tropical ones. Use a hygrometer to check these levels at different spots in your home.
Low humidity causes leaves to dry out and brown. Too much can lead to mold or fungal problems.
To raise humidity, group plants close together to form a mini humid zone. Place trays filled with water and pebbles near your plants.
The water slowly evaporates, creating moisture. Small humidifiers work well for tropical plants, keeping humidity steady all day without soaking the leaves.
Indoor plants thrive best within a temperature range between 65°F and 75°F. Avoid sudden drops below 55°F since many tropical plants get stressed and slow their growth. Cooler plants like some ferns and orchids tolerate 50°F to 60°F. But most houseplants prefer warmer conditions.
During winter and seasonal changes, keep plants away from cold drafts near windows and doors. Turning off heat vents near plants reduces dry air blasts. Use a room thermometer to check temperature changes.
Keep swings under 5 degrees within 24 hours. This helps your plants avoid stress from sudden heat shifts.
Different rooms in your home might have varied temperatures; use this to your advantage. Warm-loving plants can go in sunniest spots around 75°F or higher in the daytime. Cool-loving plants do best in cool spots like basements.
These must stay near 60°F to thrive. Shaded rooms can also provide the right coolness they need.
Check humidity and temperature early in the day. They often dip lowest then, which can stress plants more than midday highs.
Fertilizing Indoor Plants: Schedule, Types, and Common Mistakes
Feed your indoor plants every 4 to 6 weeks during spring and summer. Use fertilizers suited to your plant type, keeping a clear schedule to avoid overfeeding. Watch for signs of too little or too much fertilizer to keep plants healthy.
Types of Fertilizers for Indoor Plants
Use a balanced fertilizer with equal parts nitrogen, phosphorus, and potassium for leafy plants. For flowering plants, pick a fertilizer higher in phosphorus to encourage blooms. Liquid, granular, and slow-release types all work well indoors depending on your care routine.
Liquid fertilizers feed plants quickly and are good for fast results. Granular types release nutrients slowly over weeks, reducing how often you feed. Slow-release pellets work well if you want to set it and forget it for a while.
Making a Fertilizer Schedule
Set a feeding plan to give fertilizer every 4 to 6 weeks from spring through summer. Change the schedule to every 2 to 4 weeks. Do this if your plant grows quickly.
Also, adjust if it needs more nutrients. Stop feeding in fall and winter, when many plants rest and slow their growth.
Write down feeding dates on a calendar to keep track. Check your plant’s needs and growth regularly so you can change feeding times if necessary. Water the soil first before applying fertilizer to avoid burning the roots.
Identifying Fertilizer Issues
Yellow leaves may mean nutrient deficiency, especially a lack of nitrogen. Brown leaf tips or curling often show fertilizer overdose. Avoid feeding too often or in the wrong amounts to prevent these problems.
Look at your plant’s overall growth as well. Slow or weak growth can mean too little fertilizer.
But also check watering and light as causes. After adjusting fertilizer, watch your plant for several weeks to see if it improves or worsens.
Preventing and Treating Common Indoor Plant Pests
Check your plants for pests like tiny webs and sticky leaves. Look for small holes, too. These signs show pests might be there.
You might spot tiny bugs crawling or clusters of white, brown, or yellow spots. Leaves yellowing or dropping suddenly can also mean pests are attacking roots or stems.
Quarantine any new plants for 2 to 3 weeks before placing them near others. This keeps pests from spreading unnoticed.
Use a humidifier nearby if your home air is dry. Many pests dislike humid environments and avoid weak plants.
Keep your plants healthy by pruning regularly to manage size and improve airflow. Always use sharp, clean scissors or pruning shears to avoid spreading disease. Avoid overwatering or poor drainage, since weak plants attract pests more easily.
Spray leaves with diluted neem oil or insecticidal soap. Do this every 7 to 10 days. It helps control pests naturally.
These treatments work well against spider mites, aphids, and scale insects without chemicals. Another option is wiping leaves with soapy water to remove pests manually.
Spot a severe infestation? Isolate the plant right away. This stops pests from spreading.
You can place it in a separate room or far away from other houseplants. If the damage is heavy or the plant won’t get better, think about discarding it.
This protects your other plants. Acting early helps avoid more problems.
Regular monitoring is key. Check leaves, stems, and soil weekly. Look under leaves and along stems where pests hide.
Catching problems early helps you treat them before they spread. This saves time and money. Don’t wait too long to act.
Seasonal Care: How to Adapt Indoor Plant Care for Winter
Winter demands less water, more light, and steady warmth for indoor plants. Air indoors gets dry, so humidity needs a boost to avoid leaf damage. Plants near heating vents risk stress and may need special moves or extra care.
Watering Adjustments in Winter
Plants use less water in winter because growth slows with cooler temperatures and shorter days. Water only when the top inch of soil is dry. This usually means watering every 2 to 3 weeks.
Many houseplants follow this schedule. Overwatering is a common problem in winter and can cause root rot.
Check the drainage holes often to prevent water buildup. Use room temperature water to avoid shocking roots during colder months. Some plants, like succulents, need less water.
They can go up to a month without watering. Keep an eye on their soil dryness.
Using Supplemental Lighting in Low-Light Months
Short winter days reduce natural light, which can stunt plant growth or cause leggy stems. Place plants near south-facing windows if possible, but watch for cold drafts. Supplemental grow lights provide consistent light, ideally 12 to 16 hours daily, to mimic spring conditions.
LED grow lights use less energy and produce little heat. Setting them up costs about $20 to $50. They are cost-effective for indoor plants.
Position lights 6 to 12 inches above plants, adjusting height as they grow. Avoid frequent moves; consistent lighting helps plants recover and stay healthy over winter.
Protecting Plants from Dry Indoor Air
Heating systems dry out indoor air, which risks brown leaf tips and brittle leaves. Keep plants away from heating vents or radiators to prevent heat stress. Use a humidifier or group plants to raise humidity to 40-60%.
Many tropical plants like this in winter. This helps keep plants healthy and happy.
Misting leaves can help. But it only raises humidity briefly and may encourage fungal issues if overdone. Place pots on trays filled with water and pebbles.
Make sure the pots don’t sit directly in the water. This raises humidity around the plants. This method slowly adds moisture around the plants without drowning the roots.
Never place plants directly on heating vents, as dry heat can kill them quickly.
Step-by-Step Action Plan to Start Growing Indoor Plants
Follow this simple plan to get your indoor plants thriving from day one. Each step helps you avoid common problems.
- Before you start: Choose plants that match your light and space. Healthy plants grow best where conditions fit.
- Day 1: Plant in well-draining soil pots with holes. Water lightly and look for moist, not soggy soil.
- Week 1: Place plants where they get proper light. Check if leaves reach toward or away from light.
- Week 2: Water only when top inch of soil is dry. Check by touching the soil with your finger.
- Month 1: Add balanced fertilizer once a month. Watch for steady new growth and healthy leaf color.
- Month 2: Monitor humidity and temperature. Use a spray bottle or humidifier and keep plants away from drafts.
- Ongoing: Inspect plants weekly for pests. Catch bugs early to keep plants healthy.
- Seasonal: Adjust watering and light during winter. Plants need less water and lower light then.
Frequently Asked Questions
What Soil Is Best for Indoor Plants?
Use well-draining soil mixed with peat moss and perlite. This mix keeps roots moist but not soggy, preventing root rot.
How Do You Know When to Repot Indoor Plants?
Repot when roots grow out of drainage holes or soil dries quickly. Check the plant’s growth; slow growth or wilting may also signal repotting time.
Can You Grow Indoor Plants Without Sunlight?
Some indoor plants tolerate low light but still need indirect sunlight or grow lights. Place low-light plants like ZZ or snake plants in shaded spots.
Should I Use Fertilizer for Indoor Plants All Year?
No, most indoor plants need less fertilizer in fall and winter. Feed monthly during spring and summer when growth is active.
Can Indoor Plants Improve Air Quality?
Yes, many houseplants can reduce indoor air toxins. Plants like spider plants help clean the air inside your home.
Studies show pothos plants also remove air pollutants well. Both are good choices for better indoor air quality.
How Often Should You Dust Indoor Plant Leaves?
Dust leaves every week or two to keep pores clear. Clean leaves help plants absorb light and breathe better.
Key Points to Remember
Healthy indoor plants need a good start and steady care. Begin with the right plant, pot, and light. Check your plants this week to see how they respond.