How to Fix a Hose: 8 Proven Methods for Reliable Repairs
Figuring out how to fix a hose starts with finding the leak. The fastest way to repair is by sealing small holes or replacing damaged sections. Knowing where the damage is helps you pick the right fix method quickly.
Look along the length and near fittings for wet spots or sprays. Run water through the hose and slowly check for leaks.
Small punctures can be patched. But bigger cuts usually need a connector or new hose piece.
Before repair, gather simple tools like clamps, utility knives, and hose connectors. Pay attention to the type and size of your hose to match parts well. This careful prep saves time and prevents leaks from coming back.
Key Takeaways
- Inspect the hose with water on to spot leaks clearly.
- Use a utility knife to cut away any badly damaged hose sections.
- Match connector sizes to your hose’s inside diameter for tight fits.
- Always use new gaskets or washers when replacing hose ends.
- Allow patches to dry fully, usually 24 hours, to avoid future leaks.
- Soften rubber hose parts in warm water before attempting repairs.
1. How to Locate and Identify Hose Leaks Accurately
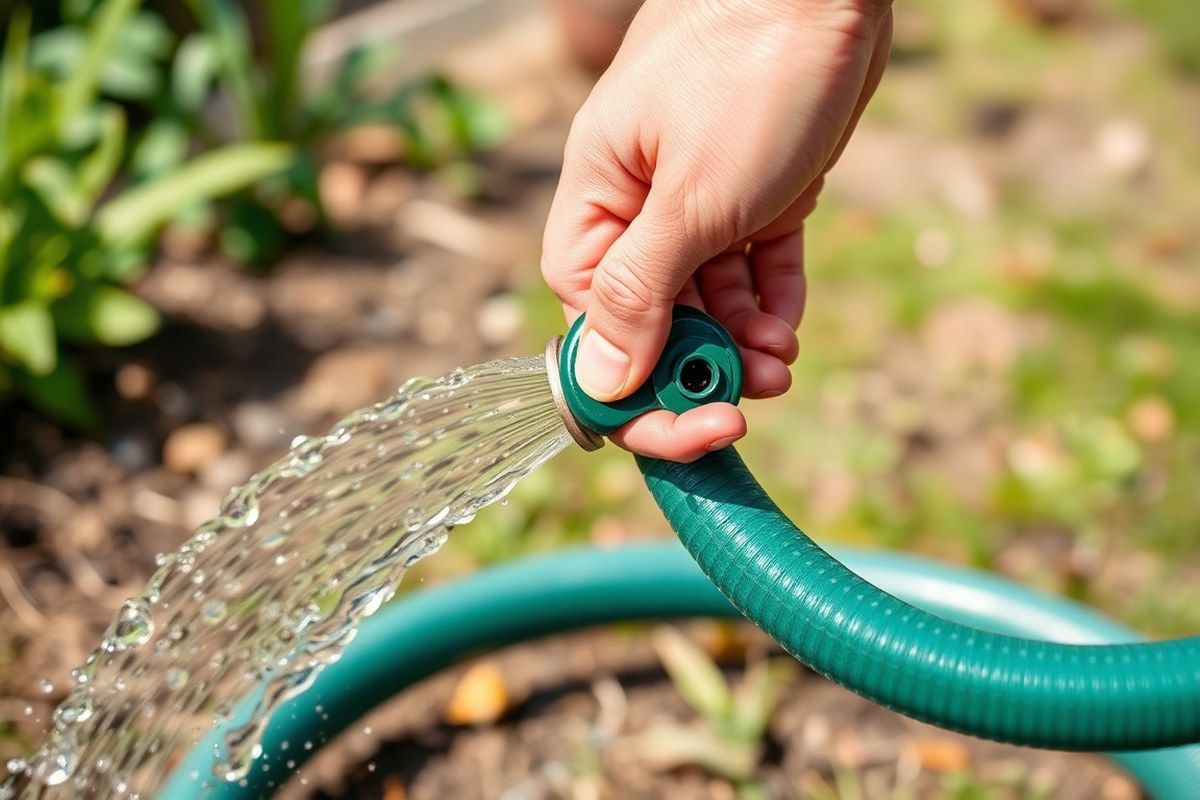
Finding the exact hose leak spot saves you a lot of time. It also helps you choose the right way to fix it.
Leaks usually look like small sprays or wet spots on the hose surface. They might also come from fittings or connectors, not just the hose itself.
Start by turning on the water and running your hand along the hose. Your hand can feel moisture or cold air rushing out if there’s a hole.
Listen carefully for hissing or trickling sounds near the hose. These noises often show hidden leaks inside thick sleeves.
Check common signs that hint at different damages. Pinholes or small tears under 1 inch often spray water in tiny jets. Larger gashes make water gush out.
Multiple holes clustered together usually mean the damaged section needs replacing. Leaks at connectors may come from worn rubber washers or loose fittings.
- Turn on water at the faucet to pressurize the hose.
- Run your hand slowly along the entire hose length to feel for wet spots.
- Listen carefully for hissing or water sounds indicating hidden leaks.
- Inspect hose connectors for cracks, loose parts, or missing washers.
- Stretch torn hose sleeves gently to see if the inner tube is damaged.
- Mark or note any wet, cracked, or soft spots as likely leak sites.
- Use a flashlight and wipe hose sections dry to reveal fresh leaks if needed.
- Tighten loose fittings and retest to see if leaks stop at connections.
Tightening connections can fix many fitting leaks in just a few minutes. Rubber washers inside fittings usually wear after several years and may cause leaks with small drips. Pinhole leaks often spray water in tiny geysers, visible with water on.
Larger rips cause streams that water pressure pushes out fast. Spotting damage early can save you money. Small holes take less than an hour to fix.
Adhesive patches cost under $10. Delaying can mean more sections need replacement, which takes around 30 minutes plus parts costs.
2. Tools and Materials Needed for Hose Repair

Fixing a garden hose needs a few essential tools and materials. Start with scissors or a utility knife for clean cuts. A screwdriver helps remove old connectors when replacements are needed.
Waterproof repair tape and rubber patch kits are the go-to for sealing small holes. These materials stick well to wet surfaces and handle outdoor conditions. You can also use waterproof adhesive or sealant for tougher cracks or splits.
- Scissors or utility knife
- Waterproof repair tape or rubber patch kit
- Replacement connectors and hose repair coupling
- Screwdriver for connector removal
- Fine-grit sandpaper for prepping the hose surface
- Clean cloth to dry the hose before repair
- Bucket of water for testing the repair
Replacement connectors come in plastic or metal, usually with clamps for a tight fit. These kits often include rubber gaskets to stop leaks. Repair couplings join two hose sections if cutting out a damaged part.
Expandable hoses need special kits with barbed connectors and quick fittings. They come with instructions and sizes matching the hose diameter. Using regular tape or patches on these hoses can fail because they stretch.
Always dry the hose completely before starting. Sand the area well. This helps tape or patches stick better for a tight seal.
3. Step-by-Step Guide to Repair Small Holes and Punctures
To fix small holes or punctures in your garden hose, first clean the area well. Make sure it is dry before repair.
Use a waterproof adhesive or repair tape designed for hoses to seal the hole. Let the patch cure completely before testing the hose for leaks to ensure a waterproof seal.
Cleaning and Drying Damaged Area
Remove all dirt, grime, and moisture from the punctured area. Wipe the hose with a clean cloth.
Then, leave it in the sun or warm place to dry fully. A dry surface improves adhesive bonding and prevents leaks under pressure.
Sand lightly with fine-grit sandpaper if needed to roughen the surface. This helps the adhesive or patch stick better. Avoid roughening too much or causing more damage to the hose.
Applying Adhesive or Repair Tape Correctly
Choose a waterproof adhesive like E6000 or Aquaseal for a strong, permanent fix. Apply a generous but even layer over the hole and surrounding area. Smooth the edges to avoid air gaps or wrinkles that cause leaks later.
For quick repairs, use self-adhesive repair tape made for hoses. Wrap it around the puncture tightly but without creasing the hose. Common duct tape is not reliable outdoors and won’t last long.
Secure the patch area by pressing down firmly. Use tape by wrapping it around the hose 2 or 3 times. Don’t wrap it too tight.
Curing and Testing the Patch
Let the adhesive cure for at least 24 hours at room temperature for a waterproof seal. Curing times may vary with product instructions or colder weather, so check the label. Avoid moving or pressurizing the hose during this time.
After curing, reconnect the hose and slowly turn on the water. Watch for leaks or bubbles around the patch. A good repair won’t allow any water to seep through or cause soft spots.
- Clean the damaged hose area with a cloth, removing dirt and moisture.
- Dry the spot completely in sunlight or warm air to ensure no moisture remains.
- Lightly sand the patch area for better adhesive grip, avoiding extra damage.
- Choose waterproof adhesive or hose-specific repair tape suitable for the hole size.
- Apply adhesive evenly or wrap tape around tightly without creasing.
- Press down on the patch area to ensure good contact and seal.
- Allow the adhesive to cure for at least 24 hours before use.
- Test the hose by slowly turning on water and checking for leaks.
4. Replacing Damaged Hose Sections with Connectors
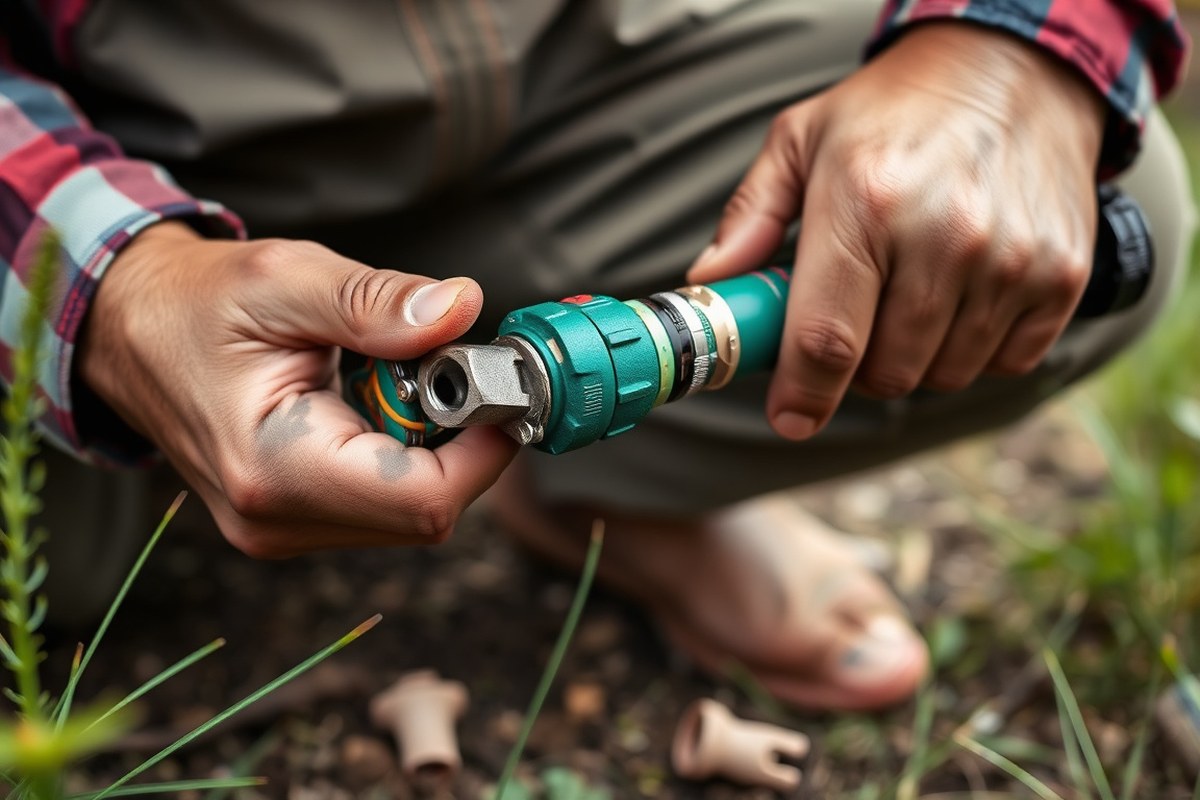
Cutting out a large damaged hose section works best. Do this for big tears, gashes, or many holes. Rejoin the hose ends after cutting out the section.
Use the right size barbed or compression connectors for a secure fit. This method replaces the damaged part and prevents leaks better than patching.
Removing the Damaged Hose Portion Safely
Cut the damaged section carefully with a utility knife or sharp scissors. Remove about 1 to 2 inches of hose material beyond the damaged area on both sides. Make sure the cuts are straight to allow a clean, snug fit for the connectors.
Throw away the damaged piece and clear away any debris or dirt around the cut ends. Clean hose ends help the connectors fit tightly and avoid leaks. Remove any frayed edges or inner tubing bits that could block the connection.
Selecting and Using Barbed or Compression Connectors
Pick a connector that fits your hose diameter exactly. Hose sizes usually come in 5/8 inch or 3/4 inch outer diameters. Check your hose’s size with a measuring tape before buying a repair kit or connectors.
Barbed connectors grip the hose with ridges inside. They seal tightly as you push them in. This keeps the hose secure at the connection.
Compression connectors use collars that tighten around the hose outside by twisting. Both types need good contact to stop leaks.
Lubricate the barbed connector lightly with water or WD-40 for easier insertion. Push the connector fully into one hose end, then the other. For compression connectors, twist the collars clockwise until tight.
Securing Clamps and Testing the Repaired Section
Use hose clamps to reinforce your connector. Slide clamps over both hose ends after installing the connector. Tighten clamps with a screwdriver until snug but avoid crushing the hose.
Test your repair by turning on the water slowly and watching closely for leaks. Water seeping out means the clamps might be loose. Try tightening the clamps a bit more.
This often stops leaks around the connection. Leaks often happen if the connector is pushed too little or clamps are loose.
- Measure the damaged hose area plus 1 to 2 inches extra on both sides.
- Cut the damaged section out with a utility knife, making clean straight cuts.
- Clean the hose ends to remove dirt and rough bits for a tight fit.
- Select the correct size barbed or compression connector matching your hose diameter.
- Lubricate the barbed connector if needed and push it into one hose end fully.
- Insert the other hose end onto the connector, making sure it fits tightly.
- Slide hose clamps over both ends and tighten securely with a screwdriver.
- Turn water on slowly to check for leaks; tighten clamps if necessary.
| Damage Type | Recommended Repair |
|---|---|
| Small holes or punctures | Patching with sealant or tape |
| Large tears, gashes, or burst seams | Cut and replace with barbed/compression connector |
| Damage within 1 foot of hose ends | Cut end and replace hose connector |
| Repeated failures or multiple damages | Consider full hose replacement |
5. Fixing Leaks at Hose Fittings and Connectors
Leaks at hose ends and connectors often come from worn washers or loose fittings. Fixing these usually requires replacing rubber washers or tightening connections. Damaged or bent couplings may need full replacement to stop leaks effectively.
Inspecting and Replacing Rubber Washers
Start by looking inside the hose end fitting for a rubber washer. Worn washers often look cracked, flattened, or missing. These washers seal the hose connection and keep water from leaking out.
Replacing washers is simple and affordable. Use washers that match the size of your hose end fitting for the best seal.
Most garden hoses use a 5/8-inch or 3/4-inch washer size. But check fits by testing new washers before final assembly.
- Turn off the water supply and disconnect the hose.
- Remove the old rubber washer from the hose end.
- Choose a new rubber washer matching the old one’s size.
- Insert the new washer fully inside the hose end fitting.
- Reattach the hose end to its fitting, twist it tight but avoid over-tightening.
- Turn on the water to check for leaks.
Never skip this step: even a small crack in the washer causes leaks.
Tightening Hose Clamps and Connectors
Loose hose clamps and connectors are a common cause of leaks. A screwdriver is enough to tighten metal clamps on couplers used to join hose sections. Hold the hose firmly when tightening to avoid twisting or damaging the rubber.
Some fittings have a threaded collar for tightening. You can screw them tighter by hand. Or use pliers for a better grip.
Tightening often stops leaks without replacing parts. Avoid overtightening, which can crack plastic fittings or crush washers.
- Locate the clamp or connector at the leak site.
- Use a screwdriver to tighten any hose clamps until snug.
- Tighten threaded fittings by hand or with pliers if needed.
- Never force the fitting beyond its normal turning limit.
- Turn on the water and watch carefully for leaks.
Loose fittings can often be fixed with a quick turn of your screwdriver.
Replacing Damaged Hose Couplings
Damaged couplings, especially cracked or bent ones, need to be replaced. Couplings connect hoses to spigots, sprinklers, or other hoses. Replacing damaged couplings prevents water waste and hose damage.
Pick couplings sized for your hose diameter, usually 5/8 or 3/4 inch. Using clamp couplers helps fix leaks in the middle of hoses as well. Cut out damaged sections when possible for a solid repair.
- Cut off the old damaged coupling with a sharp utility knife.
- Slide a new clamp coupler or replacement coupling onto the hose end.
- Push the hose onto the coupling firmly to seat it well.
- Tighten hose clamps around the coupling using a screwdriver.
- Test the repair by turning on water and inspecting for leaks.
Make sure your hose diameter matches the coupling to avoid leaks.
6. Special Repair Considerations for Expandable and Pocket Hoses
Expandable hoses differ from rubber or vinyl hoses mainly in construction. They have an inner latex tube that expands under water pressure.
This inner tube is covered by a flexible outer fabric that looks like a sleeve. When repairing, the inner tube needs special care because it stretches and contracts.
Standard adhesives and patch kits for rubber hoses won’t work well on expandable hoses. The stretching action peels off regular tapes or patches quickly.
Instead, use a flexible adhesive designed for latex or silicone materials. These adhesives stay sealed during expansion and contraction.
To patch small holes, first drain the hose fully. Next, let it dry completely before repairing. Cut a patch of flexible repair tape slightly larger than the damage.
Apply the adhesive to both the tube and the tape. Press them together firmly and let it cure for 24 hours without pressure. Avoid water pressure above 60 PSI to prevent stressing the repair.
A tear in the inner latex tube needs cutting out the damaged section. Use sharp scissors to remove the bad part. Then, insert a replacement tube section of the same diameter, usually 1/2 inch or 5/8 inch.
Secure it with special connectors and flexible adhesive on all seams. Let the adhesive dry fully before using the hose again.
A good repair kit has tape for flexible materials and silicone adhesive. It also includes new latex tubing and connectors for your hose size.
These kits cost about $15 to $25 online or at hardware stores. Avoid duct tape or superglue; they’ll fail as soon as the hose stretches.
Expandable hose repairs last longest when you follow pressure limits and let adhesives cure fully. Multiple large tears or repeated connector leaks mean replacing the hose is cheaper.
Patching works best on small damage that stays stable during hose use. Frequent stretching after a bad patch will cause leaks to come back quickly.
7. Testing Repairs and Ensuring Leak-Free Performance
Reconnect the repaired hose to your outdoor faucet or attach a nozzle. Turn on the water to full pressure and watch closely for any drips or sprays. Testing at normal household water pressure helps find leaks safely.
This pressure is about 40 to 60 psi. It avoids risking any damage during testing.
Hold the hose straight and check the entire length carefully. Look for small wet spots or bubbles, meaning slow leaks might still be there. Test the hose for at least five minutes.
This catches any slow drips. It also finds drips caused by pressure changes.
- Attach the hose securely to avoid leaks at connections.
- Run water at full pressure for accurate testing.
- Check the whole hose length for hidden punctures or weak spots.
- Watch at the repair site and at fittings for drips or sprouts.
- Keep the hose stretched to avoid hiding leaks in kinks.
- Test for around five minutes or longer if the leak is slow.
Leaks after repair often mean there’s another tiny hole or the patch isn’t sealed well. Dry and reapply the patch or clamp tightly as needed. The hose still drips?
Replace the washers inside fittings. Check the faucet for any pressure problems too.
Soak a soft hose end in warm water for several minutes. This can make fittings fit better. It helps the hose end stay soft.
Avoid raising water pressure above normal levels during testing. Higher pressure may worsen small leaks or burst weak spots. Work patiently for best results and repeat tests as you fix new leaks.
8. Maintaining Your Hose to Prevent Future Leaks and Damage
Water pressure affects how long your hose lasts. Most garden hoses handle up to 80 to 100 psi safely.
Avoid using much higher pressure to prevent bursts or fittings popping off. You can add a pressure regulator or choose a hose rated for higher pressure if needed.
Remove washers and replace them as soon as they start leaking. A worn washer causes drips and wastes water and money.
Check washers at hose ends every three to six months, especially before and after winter storage. Washers usually cost less than $1 each and are easy to swap out.
Drain all water from your hose after use to stop standing water from causing damage. Coil the hose loosely on a reel or hanger.
Tight coils cause kinks that weaken the hose over time. Uncoil and straighten any kinks immediately by laying the hose flat and gently tugging it.
Disconnect the hose from spigots when not in use. This prevents stress and leaks at the fittings. Store your hose in a shaded, cool area or indoors to avoid sun damage.
A hose left baking in the sun weakens and cracks faster. Rotate the storage place occasionally to help avoid buildup of sunlight damage in one spot.
Regularly clean dirt and debris off the hose fittings. Check the hose for cracks or leaks every month. This keeps your hose in good shape longer.
Replace worn fittings to restore good connections and avoid water loss. Fix or replace damaged hose ends with a male or female mender kit.
These kits can extend your hose’s life by one to three years. Weather exposure affects how long it lasts.
Tip: Always drain the hose fully and coil it loosely before storing it.
Step-by-Step Action Plan for Hose Repair
Follow these steps to fix your hose and make sure it won’t leak again.
- Before you start: Gather all tools and materials, like tape, connectors, and replacement parts. Check you have everything for a smooth repair.
- Day 1: Find any leaks by running water through your hose. Look for wet spots or spray patterns to spot holes easily.
- Day 1: Fix small holes using waterproof tape or rubber patch kits. Check if water still drips after drying.
- Day 2: Replace damaged hose sections with connectors. Cut cleanly, insert connectors fully, and tighten clamps for no leaks.
- Day 2: Fix leaks near fittings by loosening and resealing or replacing washers. Turn on water to test the repair.
- Day 3: For expandable or pocket hoses, follow brand-specific repair tips. Test carefully under pressure to avoid bursts.
- After repair: Run water through the hose at full pressure to confirm no leaks remain. Look for any wet spots again.
- Weekly: Inspect your hose for damage and store it properly to prevent future leaks.
Frequently Asked Questions
How Do I Fix a Hose That Won’t Turn On?
Check the water source and make sure the faucet is open fully. Also, clear any blockages inside the hose or nozzle that might stop water flow.
What Causes Hoses to Crack over Time?
Sun exposure and cold weather often cause hoses to crack. Store hoses in shade and drain water before winter to prevent damage.
Can I Repair a Garden Hose with Electrical Tape?
Electrical tape is not reliable for hose repairs. Use a proper hose patch or compression mender instead for a watertight seal.
How Often Should I Replace Hose Washers?
Replace washers every three to 10 years, or when you notice leaks at connectors. This keeps the hose connections leak-free and secure.
Is It Okay to Use Household Glue to Fix Hose Leaks?
Most household glues won’t hold on hoses. Use water-resistant adhesives like E6000 for small latex or pocket hose repairs.
Can I Fix a Hose Leak in Freezing Weather?
It’s best to fix leaks when temperatures stay above freezing. Cold makes hoses stiff and harder to repair properly.
Final Thoughts
Fixing a hose takes simple steps but careful checks. Start with small repairs first and test well. Keep your hose in good shape by checking regularly and storing it right.