How to Fix a Leaking Hose: 8 Proven Methods for Lasting Repairs
Start fixing a leaking hose by finding the leak’s exact spot. Check if it’s a hole, tear, or if the connection is loose.
The repair method depends on what you find. Many hose fixes take less than 30 minutes and avoid replacements.
Look at the hose ends first since leaks happen there often. Cleaning or replacing rubber washers usually stops leaks quickly. Gaskets wear out over time and should be replaced every 3 to 10 years.
Small holes can be sealed with garden hose tape wrapped tightly. For big tears, cut out the damaged section and use a repair clamp or kit. Cleaning threads with vinegar can stop leaks at connections caused by rust.
Key Takeaways
- Start by inspecting hose ends and replacing worn rubber washers.
- Wrap small holes with garden hose tape tightly for a lasting seal.
- Cut out large tears and use repair clamps to join the hose.
- Clean rusty or scaled threads with vinegar before reconnecting hoses.
- Re-torque hose clamps to manufacturer specs to fix minor leaks.
- Change hose gaskets every 3 to 10 years to prevent leaks.
1. How to Identify and Fix the Leak on a Garden Hose
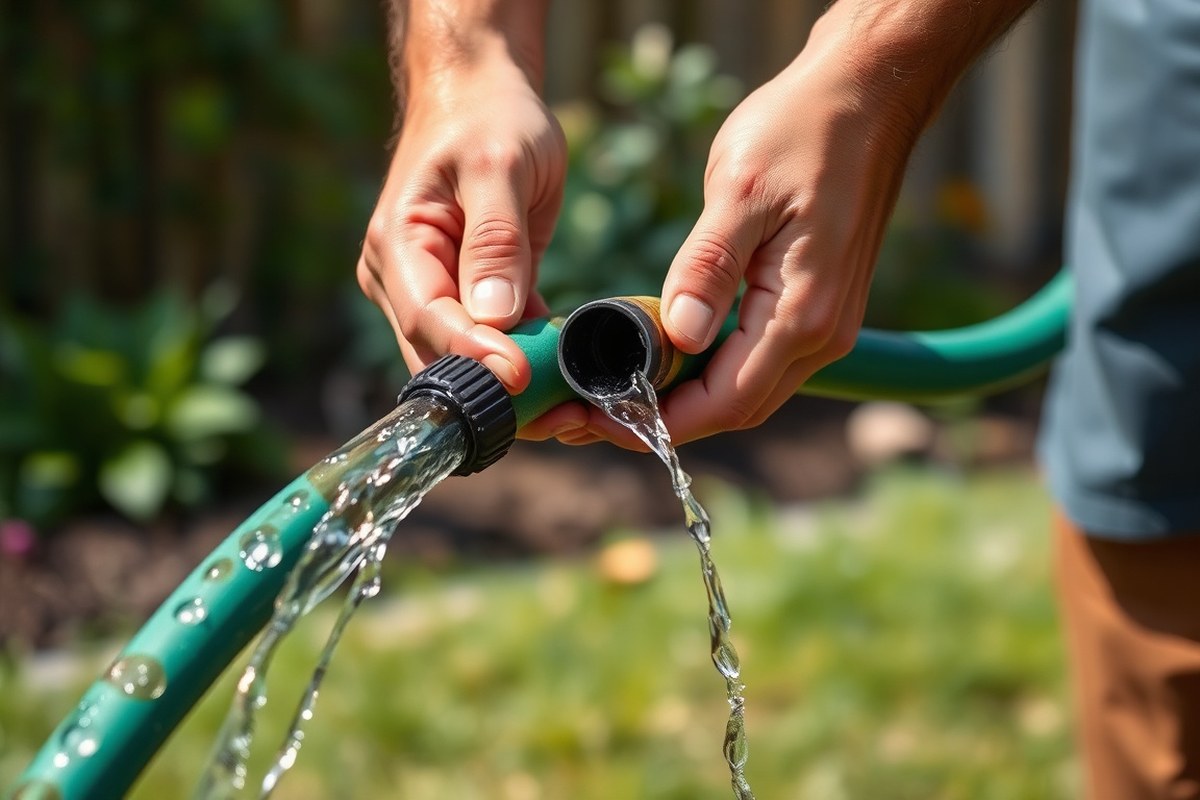
Finding the exact leak in your garden hose starts with a close look. Dry the hose well and then turn on the water slowly.
Watch carefully for drops or streams of water where you didn’t expect any. Leaks often happen where the hose shows cracks, pinholes, or loose connections.
Quick repairs work well for tiny holes or leaks near hose ends. Tightening fittings helps sometimes but doesn’t always fix leaks. A leak under the hose nut usually means the washer is worn.
You might need to replace it. Small repairs like this usually take 10 to 30 minutes. They cost just a few dollars.
- Turn off the water supply to stop flow before working on the hose.
- Dry the hose completely and inspect it visually for cracks or wet spots.
- Slowly turn the water back on. Check carefully to see where it leaks. Stop when you find the leak.
- Try tightening the hose fitting by hand first to see if the leak stops.
- Try tightening the hose nut first. If that doesn’t work, unscrew the nut and remove the rubber washer.
- Replace the old washer with a new one that fits your hose model.
- Reassemble the fitting and turn the water back on to check for leaks.
- Use self-fusing silicone tape for small holes if the hose material isn’t damaged near the leak.
Fix leaks in the hose only if the hole is small. It works best when the hole is near the edge. Self-fusing tape seals the opening tightly for a temporary fix.
For leaks at joints and connections, broken or cracked washers and loose fittings are common culprits. Regularly checking and replacing washers can prevent leaks from starting at the fittings.
2. Best Ways to Repair Small Holes and Pinhole Leaks
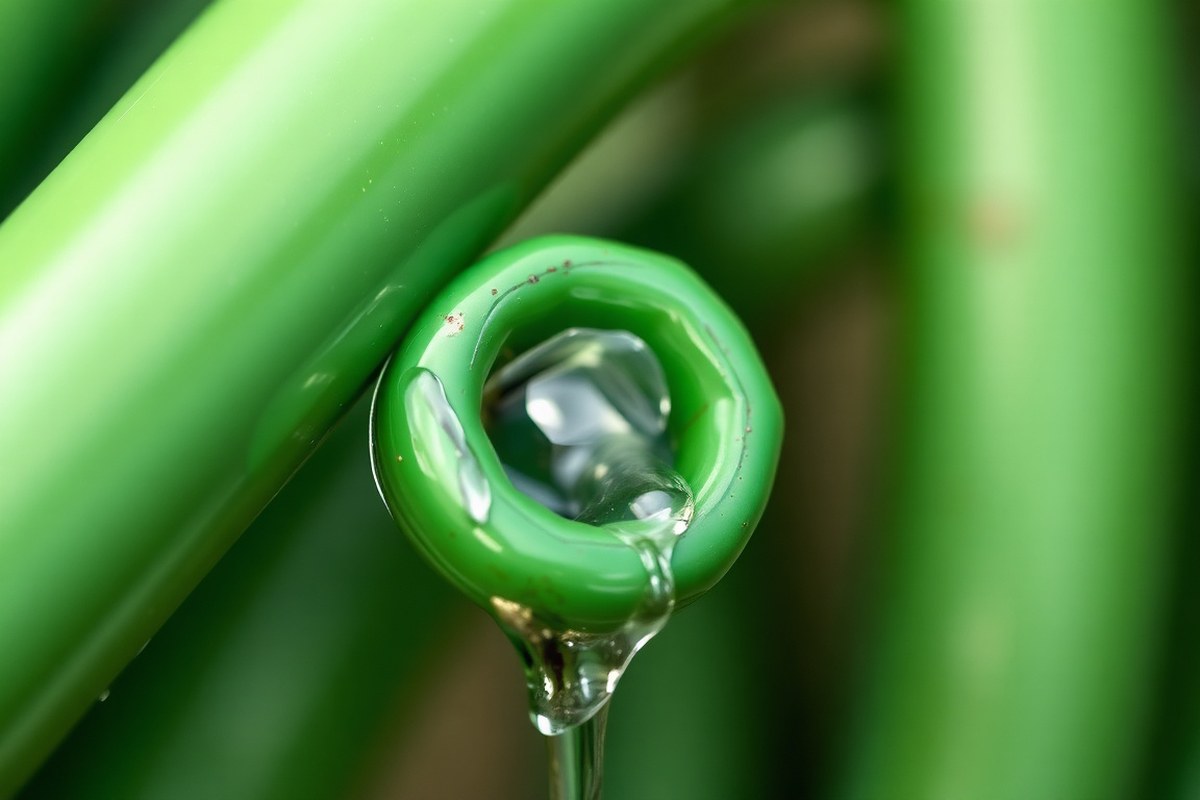
Small holes and pinhole leaks in garden hoses can stop leaks quickly using tapes and sealants. Electrical tape, hose repair tape, or waterproof tape work well for these minor fixes.
Applying the tape right makes a strong, lasting seal. It holds until you fix the leak permanently.
Comparing Tape Types for Hose Repairs
Not all tapes handle hose leaks the same way. Electrical tape has good elasticity and weather resistance, sealing small punctures effectively for a while.
Special hose repair tapes offer stronger adhesive and tensile strength, often lasting longer than electrical tape. Plumbing tape may help, but it’s less reliable for hose materials than the others.
Waterproof tape can stop leaks temporarily. But it usually loses stickiness after exposure to water and sun. Look for tape designed for outdoor use on hoses for the best outcome.
Applying Hose Repair Tape Properly
The key to a durable seal is cleaning the hose surface before taping. Dirt and moisture reduce tape adhesion and cause leaks to return quickly.
Wrap the tape tightly around the hole, overlapping each layer by half. Five to six wraps work well to cover the leak and provide strength.
Stretch the tape slightly while wrapping to activate its adhesive and create a tight bond. Avoid wrapping on a wet surface, as the tape won’t stick well.
- Dry the area around the leak thoroughly with a cloth.
- Clean the surface to remove dirt and grease.
- Cut a piece of tape about 6 to 8 inches long.
- Start wrapping the tape tightly around the hole, overlapping half of each layer.
- Stretch the tape gently as you wrap to improve adhesion.
- Wrap 5 to 6 layers for a solid seal.
- Press each wrapped layer down firmly to ensure good contact.
- Test by turning on the water slowly to check for leaks.
Don’t wrap tape over wet or dirty hose surfaces, or the seal will fail quickly.
Using Sealants Safely on Small Leaks
Sealants like silicone or rubber-based adhesives can fill tiny holes and pinhole leaks. They cure to form a flexible, waterproof patch that withstands water pressure better than tape alone.
Put sealant on dry surfaces only. Let it cure completely.
Then, turn the water back on. Curing times vary from 1 hour to 24 hours, depending on the product.
Sealants offer a longer-lasting fix than tape but cost more and take longer to apply. Using both tape and sealant can improve repair durability in tough spots.
3. How to Fix Large Tears or Damaged Sections of a Hose
Fixing large tears means cutting out the damaged section and adding a hose mender. Use clean cuts and the right mender for a solid fix. This method restores your hose’s function and stops water from gushing out.
Cutting and Preparing the Hose Ends
Start by cutting out the torn hose section cleanly. Use a sharp utility knife or hose cutter for a straight edge. Clean the cut ends carefully before attaching the mender.
Removing dirt and drying the ends makes the repair last longer. Rough or dirty edges can cause leaks after repair. Make sure the ends fit snugly on the mender before moving on.
Installing Metal Versus Plastic Hose Menders
Choose metal menders for more durable repairs, especially under high pressure. Plastic menders cost less and work well for light to medium use. Both types slide into the hose ends and secure with clamps or compression fittings.
Metal menders usually come with compression nuts, tightening down to seal. Plastic menders often use hose clamps to hold the fit. Tighten clamps firmly but avoid crushing the hose material.
Double-check the size of the mender and hose before buying. Most menders fit standard garden hoses, but confirm diameter to avoid leaks.
Testing Repair Integrity Under Pressure
Turn on water slowly after installing the mender to test for leaks. Watch closely where the mender joins the hose. Small drips mean the connection needs tightening or adjustment.
Check the repair again after 10 minutes of water flow. A good fix stays dry and holds pressure without bulging. Re-cut and reinstall if leaks persist to avoid further damage.
- Turn off the water supply and drain the hose fully.
- Use a sharp knife or hose cutter to remove the damaged section.
- Clean and dry both cut ends carefully before proceeding.
- Insert the hose ends into the metal or plastic hose mender.
- Secure each side with the correct clamp or compression fitting.
- Tighten clamps or screws evenly, avoiding over-tightening.
- Turn water on slowly and observe for leaks at the repair site.
- If leaks appear, tighten connections or repeat the cut and fit process.
4. Fixing Leaks at Hose Connections and Fittings
Leaks at hose connections often come from worn washers or loose fittings. Check where water pools or drips near the metal threads. Water there usually means a leak.
The connection likely leaks if water is around the threads. Water seeping where the hose meets the fitting means a problem. The hose end washer or O-ring inside the connector may be faulty.
Remove the hose end from the spigot or fitting to inspect the washer or gasket. These parts are small rubber rings that press tightly to seal water. They need replacing if cracked, flattened, or brittle.
Use washers that fit your hose size. Replace old washers with new ones. New washers cost a few dollars and come in packs from hardware stores.
Put the new washer inside the hose end before reconnecting. Put a little thread sealant or plumber’s tape on threads. This creates a better seal.
Apply it neatly and evenly. Slide the hose back onto the fitting. Twist the clamp or collar clockwise until snug.
Tighten it firmly but don’t overdo it. Don’t overtighten, or you may damage threads or squash the washer unevenly.
You can fix minor leaks by tightening the connector. This works only if the washer is still good. Don’t tighten if the washer looks bad.
Water still seeping after tightening means more work. The washer or connector might need replacing. Check both parts carefully.
Replace the hose end fitting if the metal threads look stripped or rusted. This part usually screws off and costs around $5 to $10, depending on the material.
Test your fix by turning on the water and watching for leaks. Tight collars hold firm without cracking the rubber parts. Keep checking leaks by sliding the hose fully over the fitting.
Make sure the fitting and hose end are clean. Clean parts help prevent leaks when reassembled. Dirt or debris can prevent a tight seal and cause water to drip.
Leaks around bib handles or spouts often mean worn valve seats or packing nuts need replacement. These require unscrewing the faucet bonnet and swapping out small parts.
This job might be trickier without plumbing experience. So consider a licensed plumber for faucet repairs.
5. Using Hose Repair Kits and Specialized Clamps
Hose repair kits usually have washers, seats, and packing parts to fix leaks. Using clamps and connectors is key for solid repairs that last. You match clamp types to hose materials and install them to cover fresh, good hose sections.
Contents of Standard Repair Kits
A typical hose repair kit includes new washers, seat rings, and packing materials. These parts fit where the hose meets the faucet or connectors. Washers stop drips by sealing tight inside hose fittings.
Seat rings hold washers in place. Packing parts prevent leaks around stems or valves.
Most hardware stores carry repair kits for garden hoses, usually below $10. They fit rubber or vinyl hose types but work best with rubber.
That’s because rubber resists cracking and keeps seals tight longer. Kits do not fix big tears or burst hoses.
Choosing the Right Clamp Type
Spring clamps work well on rubber hoses while worm gear clamps suit vinyl hoses better. Rubber needs less pressure, so the spring clamps avoid crushing the hose wall. Vinyl hoses are stiffer and handle the tighter grip of worm gear clamps.
Pick clamps sized a little larger than your hose diameter, usually 5/8 to 3/4 inch wide. Too small clamps slip off or cut into the hose.
Too big clamps won’t hold firmly. Some clamps come in adjustable sizes to fit multiple hose diameters.
Installing a Hose Repair Clamp Properly
First, turn off water and dry the hose around the leak. Slide the clamp onto the hose past the damaged area.
Use spring-clamp pliers to move the clamp about 1/8 inch further onto fresh rubber. This avoids placing the clamp over worn or cracked spots that still leak.
Tighten the clamp steadily, not too tight to cut the hose, just enough to stop leaks. Check for leaks by turning water back on.
If dripping continues, reposition the clamp or try a slightly bigger size. Leave about 1/4 inch of hose beyond the clamp for flexibility.
Always test your repair under normal water pressure to make sure no leaks remain.
6. When to Replace Hose Parts or the Entire Hose
Check the hose itself for cracks or bulges along its length. When you see hard or brittle spots, it means the hose material has broken down. Leaks that keep coming back usually mean the hose is worn out.
It often happens in several places along the hose. You may need to replace the hose.
Look closely at hose fittings. Replace washers or O-rings if they are cracked, flattened, or missing.
Sometimes the fittings rust or get bent, which reduces their seal and causes leaks. Swapping out the fitting is best when tightening does not stop dripping.
Repeatedly fixing the same spot wastes time and money. After three or more repairs along the hose, it’s wise to get a new one. Repair kits cost about $10 to $15.
But a good garden hose runs between $20 and $50. A fresh hose usually lasts years longer and saves hassle with constant leaks.
You can follow this quick test before deciding. Check the hose for brittle or cracked spots. Look at fittings for worn washers or rust.
Next, try fixing small leaks with a clamp or patch. Replace the hose or fittings if leaks keep appearing or spread to more spots. This method avoids long trips to stores by letting you decide on the spot.
Don’t ignore soft or swollen spots that feel different than the rest of the hose. Water standing inside can wear out seals and cause internal damage not fixed by patches. Bends or poor water flow after repairs often show hidden hose damage.
Replacing worn parts keeps your hose working longer. Washers often wear within a year under heavy use. So replace them as soon as leakage begins.
You can buy washers and O-rings for about $5. This lets you change them fast without special tools.
7. Avoiding Common Mistakes When Fixing Leaking Hoses
A common mistake in hose repair is rushing through prep work. Dirt, moisture, or old tape left on the hose can stop new patches from sticking well.
Spend time cleaning and drying the area around the leak before starting any fix. This step helps the repair materials bond and last longer.
Tape fails often when put on wet or oily spots. It also fails if used alone on big tears. Always dry the surface and use patches for large damage.
Most repair tapes need a few minutes to set before water pressure tests. Tape also wears out from sun and cold.
So it’s best for temporary fixes or small pinholes. For larger leaks, use a proper patch or replacement section.
Seasons change hose conditions. Water freezing inside in winter can undo poor repairs or crack weak spots.
Cover repaired areas with extra tape or a hose sleeve during colder months. Also, disconnect and store your hose properly to avoid damage that starts new leaks.
- Clean and dry the hose before repairing it.
- Allow tape repairs to set 5 minutes before turning water on.
- Use repair kits or clamps for big holes or cracks.
- Check for leaks after each repair by turning on water slowly.
- Apply extra tape or a sleeve during cold weather to protect fixes.
- Replace old or brittle hose sections rather than patching repeatedly.
- Store the hose inside or off the ground during harsh seasons.
Sometimes a repair looks solid but leaks return. This usually means the patch missed part of the damage. Or the hose material got weaker over time.
Both cause leaks to come back. Cut out the repair if it bubbles, softens, or smells rubbery.
Then try fixing the spot again with fresh materials. Keeping tools handy for quick fixes saves frustration.
Good repairs take about 10 to 15 minutes each. They cost between $5 and $20 in parts for most kits. Doing them right means less waste and longer hose life.
Checking your work by running water through the hose ensures no leaks remain. Don’t forget to tighten any fittings after the repair to avoid loose connections that drip.
8. Maintaining Your Garden Hose to Prevent Leaks
Store your garden hose off the ground to prevent kinks and damage. Use a hose reel or hang it on a sturdy hook in a shaded spot. Avoid leaving it in direct sunlight because heat can weaken the hose material over time.
Drain the hose completely before storing it for winter or long periods without use. Water left inside can freeze and cause the hose or faucets to burst. Keep hoses indoors or in a sheltered location during freezing weather to avoid hidden breaks.
Check washers and gaskets at least once every planting season, or every 6 to 12 months. Replace them if they look cracked, flattened, or brittle. These small parts cost less than $5.
New ones stop leaks at connections. They are cheap and easy to replace.
Look over the hose monthly during active gardening seasons for soft spots, cracks, or leaks. Tighten connections but avoid overtightening, which can strip threads and cause leaks. A gentle snug fit makes the hose last longer and reduces water waste.
Use these steps for your seasonal check. Drain and store your hose in fall. Check washers and fittings in early spring.
Do a leak check every month during use. Keeping up with these simple tasks costs little but saves money on replacements and water bills.
Always drain your hose before winter. Store it off the ground to stay dry. This helps stop cracks and hidden breaks.
Step-by-Step Action Plan for Fixing Your Leaking Hose
Follow these steps to stop leaks fast and keep your hose in good shape. Check each fix carefully to see if the leak stops.
- Before you start: Turn off the water. Drain the hose fully. This stops more leaks.
- Day 1: Find the leak by running water through the hose. Mark spots that drip or spray.
- Day 2: Fix small holes with waterproof tape or rubber patches. Make sure the patch sticks well and water stops leaking.
- Day 3: For large tears, cut out the damaged part and insert a hose repair coupling. Tighten clamps until there are no leaks.
- Day 4: Check hose connections and replace worn washers or tighten fittings. Test by turning water on and watching for drips.
- Day 5: Use a hose repair kit with clamps for tricky spots. Follow the kit’s instructions and check for leaks again.
- After 1 week: Inspect the whole hose. Leaks that come back or weak parts may need replacement. Change those parts or the whole hose.
- After 2 weeks: Keep the hose dry and store it out of sun. Regularly inspect it to prevent new leaks.
Frequently Asked Questions
Will Duct Tape Fix a Hose Leak?
Duct tape can temporarily seal a hose leak but is not a long-term fix. It may fail under water pressure or after exposure to sun and weather. Use it only for emergency repairs before a proper fix.
What Type of Tape Can I Use to Fix a Leaking Hose?
Use self-fusing silicone or specialized garden hose tape for a better seal. These tapes bond tightly and resist water, making the fix last longer than regular tape. Wrap the tape 3 to 5 inches beyond the leak on both sides.
What Can I Use to Patch a Rubber Hose?
You can use a barbed hose fitting or self-fusing silicone tape for rubber hoses. These options create a water-tight seal and are sold in most hardware stores. Match the repair method to the material type of your hose.
Will Flex Seal Work on Garden Hose?
Flex Seal can work for a temporary hose leak repair but may not hold long. It dries into a rubbery coating on the hose surface. This coating can peel off.
Peeling happens more when you bend or squeeze the hose. Consider it only for quick fixes before better repairs.
How Do I Fix a Leaking Garden Hose Nozzle?
Tighten or replace the nozzle’s internal rubber washer to fix most leaks. Sometimes the nozzle itself needs replacement if it’s cracked or damaged. Unscrew the nozzle to inspect for worn parts before buying new ones.
Can a Leaking Hose Cause Low Water Pressure?
Yes, a leak lets water escape, reducing flow and pressure at the end. Fix the leak to restore full water pressure. Check both the hose and connections for holes or loose fittings.
Final Thoughts
Fixing a leaking hose is simpler than you might think. Start with a quick inspection, then patch or replace damaged spots. Grab a repair kit today to keep your garden watering without waste.