How to Grow Flowers from Seeds in Pots: A Complete Guide for Beginners
Growing flowers from seeds in pots is an easy way to add color. It brightens your space. You can try it yourself.
Start with good-quality seeds and pots that have drainage holes to keep roots healthy. Use loose, well-draining soil for planting.
Plant seeds at the right depth. This helps seeds sprout well.
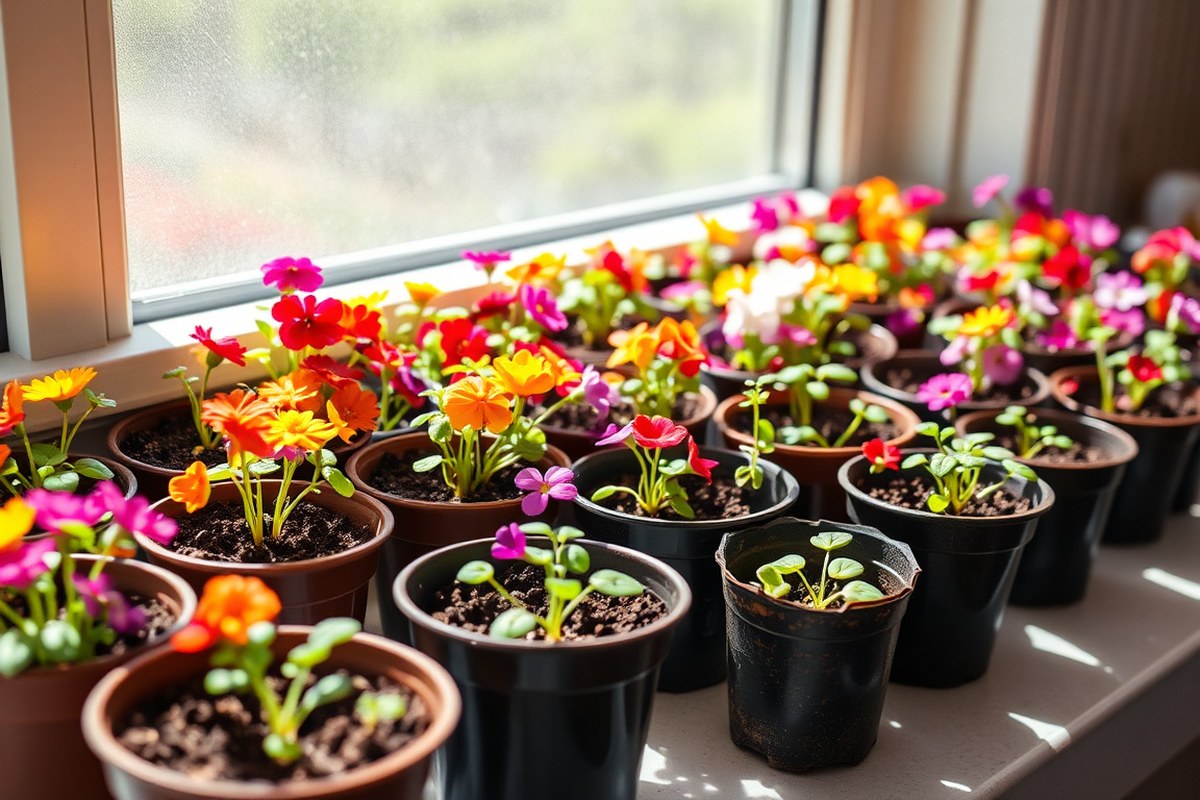
Place your pots where they get plenty of light, at least six hours daily. Keep the soil moist but not soggy.
Maintain indoor temperatures between 65 and 75 degrees Fahrenheit. These simple steps help seeds germinate and seedlings grow strong indoors or outside.
Watch the seed packets for germination times and soak seeds if directions suggest. Sow faster-growing seeds like pansies directly in small pots.
Others may take longer before you see sprouts. This approach helps control watering, light, and temperature for healthy roots and shoots.
Key Takeaways
- Choose pots with drainage holes and 6 to 8 inches deep for most flowers.
- Use loose potting soil designed for seed starting to avoid waterlogging.
- Keep soil moist but not soaking wet during germination.
- Place pots where seedlings get at least 6 hours of direct sunlight.
- Supplement with grow lights 6 to 12 inches above if natural light is limited.
- Sow seeds at the depth recommended on the packet for best results.
How to Start Growing Flowers from Seeds in Pots
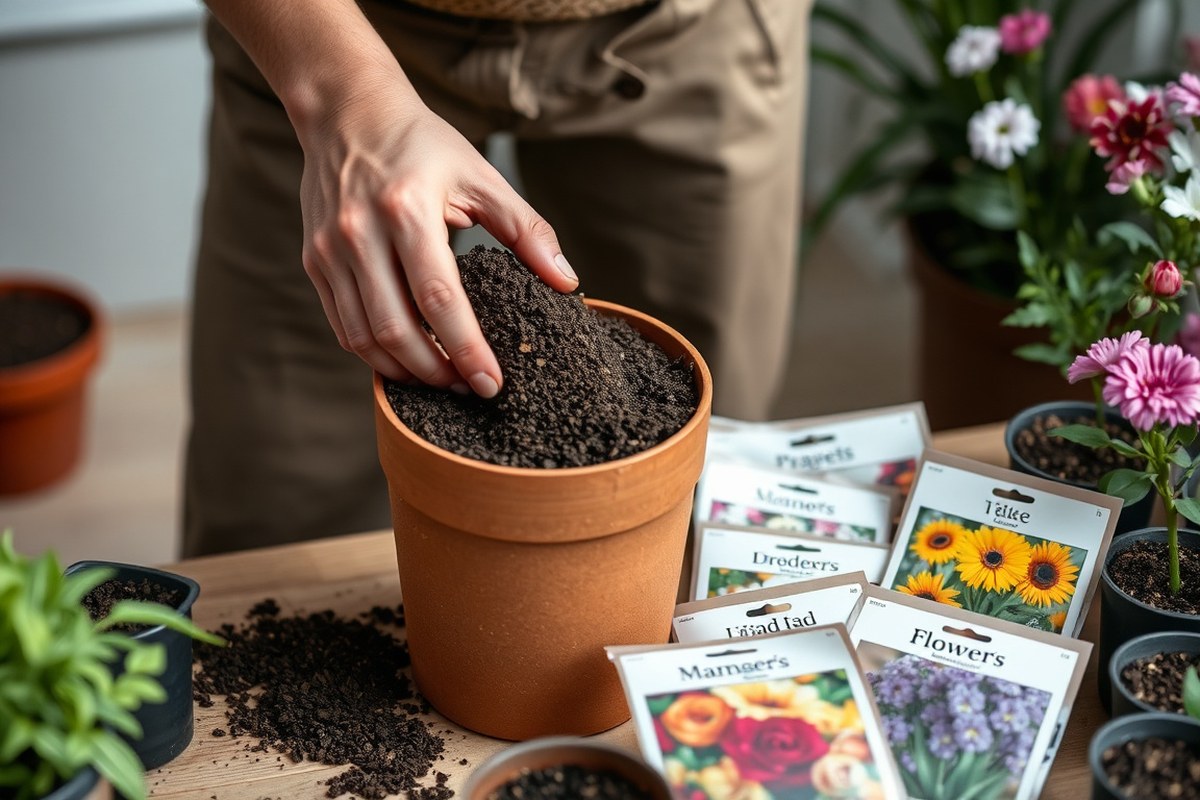
Choosing the right pot, preparing soil, and sowing seeds correctly sets you up for success. Pots should hold moisture without waterlogging roots.
Seed-starting mix works better than garden soil because it drains well but still holds some moisture. You want to give your seeds a gentle start with proper depth and spacing.
Follow these steps to get your flower seeds growing strong in pots:
- Pick pots that have drainage holes. Plastic or clay pots work well. For beginners, a 4-6 inch diameter pot suits most flower seeds.
- Fill pots with a lightweight seed-starting mix. Avoid regular garden dirt since it may compact and hold too much water.
- Moisten the soil so it’s damp but not soggy. Use a spray bottle or gentle watering to avoid washing seeds away.
- Read your seed packet for recommended sowing depth. Most seeds go about twice as deep as their size. Tiny seeds may just need light pressing into the surface.
- Plant seeds evenly without crowding. Space prevents mold and makes success easier. Cover seeds with soil according to packet instructions.
- Label your pots with the flower name and date. It helps track growth and know when to expect sprouts.
- Place pots in a warm spot (65-75°F). Consistent warmth speeds germination. A sunny window works well if light is good.
- Keep soil moist but never soaked. Check daily and mist or water gently when the surface starts to dry out.
Using pots with drainage helps avoid root rot and soggy soil. Seed-starting mix is light and drains better than regular soil, stopping seedlings from drowning or rotting. Following planting depth matters because too deep means seedlings may fail.
Labeling keeps you organized and avoids guessing which seed planted where. Keeping moisture right supports seeds while avoiding fungal problems.
Choosing the Best Flower Seeds for Container Growing

Choosing flower seeds suitable for pots means picking types that fit space and care. Some seeds germinate quickly, while others take longer.
Some seeds do better indoors; others thrive when sown directly outside. Matching seeds to your pot and conditions saves frustration and helps your flowers grow strong.
Fast, Medium, and Slow Germinating Seeds
Seeds vary widely in how fast they sprout. Fast germinators like cosmos and zinnias often appear in 5 to 7 days.
Medium-speed seeds, such as snapdragons, take about 10 to 14 days. Slow germinators, like foxgloves, can take 20 days or more to sprout.
Picking seeds by germination time helps you plan your container garden. Fast seeds give quick blooms, perfect for impatient gardeners. Slow seeds often need extra care to avoid drying out or rotting.
Pots 6 to 8 inches wide fit most seed types well. They give roots enough space to grow healthy and strong. Choose this size for easy seedling care in containers.
| Germination Speed | Common Flowers | Typical Germination Time |
|---|---|---|
| Fast | Zinnias, Cosmos, Sunflowers | 5-7 days |
| Medium | Snapdragons, Marigolds, Stock | 10-14 days |
| Slow | Foxglove, Delphinium, Sweet Pea | 20+ days |
Knowing these groups helps avoid mistakes like overwatering slow seeds or underwatering fast ones. Keep pot soil moist but not soggy for all seeds to avoid root problems.
Seeds Ideal for Indoor Starting Versus Outdoor Sowing
Some flowers are easier to start indoors. These include snapdragons and foxgloves, which need stable warmth around 65 to 75°F to germinate. Starting indoors also shields tiny seedlings from pests and weather.
Other seeds, like zinnias and cosmos, grow well sown directly into outdoor pots. Sowing seeds outdoors is simpler and needs less care. It works best for seeds that like warm soil.
These seeds also need to grow quickly to do well. Matching seed type to sowing spot makes a big difference in success.
Indoor seed starting helps control light and temperature for sensitive seeds.
Remember, indoor pots need good drainage and a quality peat-free potting mix topped with seed compost. A 6-8 inch pot suits a few seedlings spaced about 5 cm apart.
Special Requirements Like Soaking or Stratification
Certain seeds need soaking or cold treatment before planting. Soaking can soften hard seed coats, speeding up germination. For example, sweet pea seeds benefit from soaking 12 hours before sowing.
Stratification means chilling seeds to mimic winter. Seeds like foxglove or delphinium require this for better sprouting. You can stratify by placing moist seeds in the fridge for a few weeks before planting.
Without these treatments, such seeds may just sit in the pot for weeks without sprouting. Follow seed package instructions for any special demands to avoid wasted time and effort.
Selecting and Preparing Pots for Flower Seed Growing
Pick pots that match your flower type for the best results. Most annual flowers like marigolds or petunias do well in pots 6 to 8 inches deep.
Smaller pots are fine for tiny flowers. But those with bigger roots need deeper containers.
Drainage is key for healthy seeds. Without holes, water pools at the bottom and rots roots or seeds. Check each pot has several drainage holes about ¼ inch in size.
Your pot needs holes for drainage. Drill some or add gravel first.
You can reuse old pots but clean them well first. Dirt and disease can linger and harm new seedlings. Wash pots with warm, soapy water.
Soak them in bleach and water. Use one part bleach to nine parts water for 10 minutes. Rinse thoroughly and let them dry fully before use.
- Choose pots 6, 8 inches deep for most flowers.
- Use larger pots for flowers with deep roots.
- Always check for drainage holes on pots.
- Drill holes if your pot has none.
- Rinse old pots, then soak in bleach mixture.
- Dry pots completely before adding soil.
- Add gravel layer only if needed for better drainage.
Materials also matter. Plastic pots keep soil moist longer but may overheat in full sun. Clay pots dry faster but are heavier and brittle.
Pick what fits your watering habits and location. Start with clean pots and good drainage. This helps your seeds grow strong flowers.
Preparing Soil and Sowing Flower Seeds Correctly
Use a light, well-draining soil mix to give seeds the best start. Mix equal parts potting soil, peat moss or coconut coir. This blend holds moisture but drains excess water, preventing seed rot.
Plant seeds two to three times as deep as their size. Tiny seeds just need a fine soil dusting, while larger seeds require more coverage. Check the seed packet for specific depths, as some flowers have special needs.
Space seeds evenly to avoid overcrowding and competing roots. Small seeds can be sown closer, about 1 inch apart. Larger seeds need 2 to 3 inches.
This spacing helps seedlings grow strong and reduces the need for early thinning. Follow these steps to prepare soil and sow your flower seeds correctly:
- Mix potting soil, peat moss or coir, and perlite or coarse sand evenly.
- Fill your pot three-quarters full with the prepared soil and moisten it lightly.
- Check your seed packet for exact planting depth and spacing instructions.
- Plant seeds at the recommended depth, pushing them gently into the soil.
- Cover seeds lightly with soil, no more than two to three times seed size.
- Space seeds evenly to allow room for root and leaf growth.
- Water gently but thoroughly to settle the soil around the seeds.
- Place the pot in a warm location, ideally 65 to 75°F, to encourage germination.
Planting too deep can slow or prevent seeds from sprouting. Seeds set too shallow may dry out or wash away during watering. Even soil moisture speeds germination; avoid soggy or bone-dry soil.
Roots need room, so keep spacing in mind from the start. Overcrowded seedlings grow weak and require early transplanting or thinning. Pot height and width matter: 2 to 3-inch soil depth is good for most seedlings.
Watering and Moisture Management for Seed Germination
Keep the soil moist but not waterlogged for flower seed germination. Water gently with a spray bottle or watering can. Use a fine rose to avoid moving tiny seeds.
This prevents seed displacement. Check the soil every day.
Most seeds need steady moisture. They start growing in 7 to 14 days.
Overwatering can cause seed rot and root rot, especially if your pot lacks drainage holes. Use pots with drainage to prevent trapped water around the roots. Water small amounts more often rather than soaking the soil heavy once or twice a week.
Adjust watering based on your seed type and conditions. For example, large seeds like nasturtiums soak up more water and may need wetter soil. Tiny seeds like lobelia need soil that stays lightly moist.
Avoid soggy soil because it blocks oxygen. Too much water can harm seeds.
Seedlings usually appear a few days to two weeks after sowing. Once you see sprouts, reduce watering frequency slightly but keep soil surface evenly moist. Water less often once plants start growing roots.
Usually every 2 to 3 days works. Adjust for temperature and humidity.
Cooler nights slow soil drying. Watering late can cause root rot. Avoid watering too late in the day.
Water in the morning so soil dries before nightfall. Avoid heavy watering at night, since damp soil overnight can cause wilting or fungal problems.
Check soil moisture by feeling it daily. If the top inch is dry, water gently. Repeat as needed.
Providing Adequate Light for Seedlings Indoors and Outdoors
Flower seedlings need 6 to 8 hours of good light daily. Outdoors, place them where sunlight lasts most of the day. Indoors, use bright windows or grow lights for 12 to 16 hours.
Natural Light Requirements for Seedlings
Most flower seeds do best with at least 6 hours of direct sunlight each day. South-facing windows usually offer the brightest natural light for indoor seedlings. Outdoor seedlings thrive when placed where sunlight reaches for 6 to 8 hours daily.
Check that seedlings get steady, direct light for healthy growth. Without enough light, they stretch tall and weak.
Overcrowding plants can block sunlight. So thin seedlings to about 10 cm apart to help.
Types of Supplemental Grow Lights
Indoors, LED grow lights are a good choice for seedling light. They use less power and provide the right light colors plants need. Set them 6 to 12 inches above your seedlings for best results.
Run the lights 12 to 16 hours daily if natural light is dim or short. Timers help keep this schedule steady. Avoid using regular household bulbs since they may not support strong plant growth.
Positioning and Adjusting Light Distances
Keep grow lights 6 to 12 inches above seedlings to avoid burns and stretching. Raise the light as seedlings grow taller. Move seedlings closer to a bright window if possible, turning pots daily to keep growth even.
Too little light makes seedlings leggy and floppy. Too much intense light can dry and damage leaves. Watch seedlings closely in the first weeks and adjust lighting or placement if they look unhealthy.
Here’s a quick comparison to help pick lighting options for your seedlings indoors:
| Type | Light Duration | Distance from Seedlings | Cost Range | Energy Use |
|---|---|---|---|---|
| Natural Sunlight | 6-8 hours daily | By window or outdoors | Free | None |
| LED Grow Lights | 12-16 hours daily | 6-12 inches above | $20 – $60 | Low |
| Incandescent Bulbs (Not recommended) | Varies | Varies | $5 – $20 | High |
When using supplemental lights, try to keep a timer on to provide consistent hours. Regular adjustments ensure seedlings get just enough light without getting burned or too shaded. Proper light helps your seedlings grow strong and ready for planting.
Fertilizing and Feeding Flower Seedlings in Pots
Start fertilizing flower seedlings when their true leaves appear. This usually happens about two weeks after germination. Use a balanced liquid fertilizer diluted to half strength to avoid burning tender roots.
Apply the fertilizer every 10 to 14 days. A half-strength dose feeds seedlings without causing soft, weak growth. Overfertilizing can harm or stunt young plants, so stick to this schedule.
Choose a balanced fertilizer with equal parts nitrogen, phosphorus, and potassium. A common ratio is 10-10-10 or 20-20-20. Liquid fertilizers work well because you can precisely control strength and timing.
At planting, adding a slow-release granulated fertilizer or starter mix can boost seedling health. This feeds roots gently as the seeds sprout. Check your potting mix label to see if fertilizer is already included.
If seedlings look pale or grow slowly, they might need more nutrients. Slightly increase feeding frequency or use a light dose of fertilizer. Watch carefully to avoid soft, leggy stems caused by too much nitrogen.
Once seedlings grow sturdy, transplant them into larger pots or outdoors. At this stage, switch to a regular feeding routine suited to mature plants. Flowering plants usually need less nitrogen and more phosphorus through blooming.
Clean pots and fresh soil at the start reduce disease risk and nutrient imbalances. This helps fertilizer work more effectively.
Fertilizer costs can vary. Small liquid bottles range from $5 to $15 and last for many feedings.
Good seedling growth looks like firm stems, deep green leaves, and steady height gain. Yellowing or soft tissue signals feeding issues. Careful timing and proper dilution help your seedlings thrive inside pots.
Transplanting Seedlings: When and How to Repot or Move Outdoors
Seedlings are usually ready to move when they reach 2 to 3 inches tall. Transplanting carefully protects roots and helps plants grow stronger. Hardening off toughens seedlings for outdoor sun and wind before you plant them outside.
Signs Seedlings Are Ready for Transplant
Once seedlings reach 2 to 3 inches in height, they can handle being moved. They should have their first set of true leaves, which appear after the initial seed leaves. Roots poking through drainage holes or circling pot tightly mean transplant now.
Seedlings that stay small or pale could mean poor light or nutrients. Healthy ones look sturdy with bright green leaves. Watch for slow growth or leggy stems, they need better conditions before transplanting.
Step-by-Step Transplanting Procedure
Moving seedlings without harming roots builds strong plants. Use pots slightly larger than the original to give roots space. Separate seedlings carefully, especially if planted close together, to avoid damaging tiny roots.
- Prepare new pots with fresh, well-draining soil suited for flowers.
- Water seedlings lightly to help soil stick to roots during moving.
- Gently loosen seedlings from their tray or cells using a spoon or your fingers.
- Grasp seedlings by their leaves instead of stems to prevent harm.
- Place each seedling in a hole in the new soil, matching previous soil depth.
- Firm soil gently around the roots without compacting it too much.
- Water the transplanted seedlings to settle soil around roots.
- Put them in a shaded spot for a few days to reduce stress.
Never pull seedlings by the stem; this can kill the plant.
Hardening Off Seedlings for Outdoor Conditions
This step prepares seedlings for sunlight, wind, and cooler nights. Start 7 to 10 days before permanent outdoor planting. Gradually increase time outside, starting with just a few hours each day.
Move seedlings to a shady, protected spot first, then add light and wind exposure daily. Bring them indoors overnight or cover them if frost risk remains. This hardening period reduces shock and sunburn when you plant outside.
Troubleshooting Common Problems When Growing Flower Seeds
Seeds that don’t sprout often come from old stock or wrong planting depth. Using fresh seeds within a year boosts success.
Planting too deep keeps tiny seedlings from reaching light. So follow package depth instructions precisely.
Moisture also matters. Dry soil kills seeds before they grow, but soggy soil causes rot. Keep the soil damp but not wet, checking it daily by touch.
When the pot feels heavy and wet, wait one or two days. Avoid watering during that time to prevent overwatering. Overwatered seeds often turn moldy or mushy at the soil surface.
Leggy seedlings stretch thin and weak when light is too low or too far away. Bright, direct light helps seedlings grow sturdy and compact.
A sunny south-facing window or grow light 2 to 4 inches above the plants works well. Rotate pots to keep stems straight and strong.
Pests like aphids or fungus gnats often appear on seedlings. Aphids cluster on new growth, sucking sap and stunting leaves. Fungus gnats look like tiny flies and thrive in moist soil.
Spray aphids off gently with water. Use insecticidal soap labeled safe for edible plants. This helps keep pests under control.
Fungal diseases cause damping-off, where seedlings suddenly collapse at soil level. It grows in cool, wet conditions and crowded pots. Avoid this by planting seeds in fresh, sterile soil and spacing pots apart.
Water from the bottom to keep leaves dry. Remove any affected seedlings immediately.
Check these points if flower seeds struggle. Use fresh seed and plant them at the right depth. Keep soil moist but not wet.
Increase light to stop legginess and watch for pests daily. Prevent diseases by using clean pots and soil, then space seedlings to improve airflow. These steps will give your seedlings the best start.
Step-by-Step Action Plan for Growing Flowers from Seeds in Pots
Follow these clear steps to start growing flowers from seeds in pots today. Each phase helps you track your progress and care for your flowers properly.
- Before You Start: Pick flower seeds that grow well in pots. Read seed packets for planting tips. Make sure you understand the instructions. This ensures good chances of success.
- Day 1: Prepare pots with well-draining soil and sow seeds at the recommended depth. Seeds will absorb water and start to swell.
- Days 2 to 14: Keep the soil moist, but don’t let it get soaked. Put pots in a spot with plenty of light. Watch the seedlings closely. Seedlings should begin to appear around this time.
- Weeks 2 to 3: Once seedlings have true leaves, feed them with diluted liquid fertilizer. Use a weak solution to avoid burning roots. Feed them regularly during this time. Watch growth speed and leaf color for clues.
- Weeks 3 to 6: Thin seedlings so they don’t crowd each other. Transplant them if roots grow too big for the pot. Keep plants spaced for good growth. Healthy growth and space confirm this step.
- After 6 Weeks: Harden off seedlings by slowly exposing them outdoors over several days. Give them more time outside before planting for good adjustment. Protect them from harsh weather during this period. Plants should look strong and ready.
- Ongoing Care: Water regularly, provide enough light, and watch for pests or diseases. Healthy, thriving plants show your efforts worked well.
Frequently Asked Questions
What Is the Best Time of Year to Start Flower Seeds in Pots?
Start most flower seeds indoors 6 to 8 weeks before the last frost date. This gives seedlings time to grow before outdoor transplanting.
Can I Reuse Soil from Old Pots for Planting New Flower Seeds?
It’s better to use fresh seed-starting mix for new seeds. Old soil may hold pathogens or lack nutrients needed for young seedlings.
How Deep Should I Plant Flower Seeds in Pots?
Plant seeds about twice as deep as their size. Very tiny seeds should barely be covered with soil to get enough light.
Do I Need to Cover Flower Seed Pots with Plastic?
Covering pots with plastic helps keep moisture in during germination. Remove it once seedlings appear to stop mold growth and allow airflow.
Can I Grow Flower Seeds in Small Pots on a Balcony?
Yes, smaller pots work if the flowers have enough root space and water. Choose compact or dwarf flower varieties for limited spaces.
How Often Should I Rotate Seedling Pots on a Windowsill?
Rotate pots every few days to keep seedlings growing straight toward light. This prevents uneven stretching or leaning to one side.
Final Thoughts
Growing flowers from seeds in pots is quite doable with some care and attention. Start by picking the right seeds and get your pots ready today. Watching your flowers sprout and bloom is a rewarding experience you’ll enjoy again and again.