How to Start Seeds Indoors for Healthy Seedlings: A Complete Step Guide
Many gardeners ask how to start seeds indoors. You can grow healthy plants early this way. It gives your garden a head start.
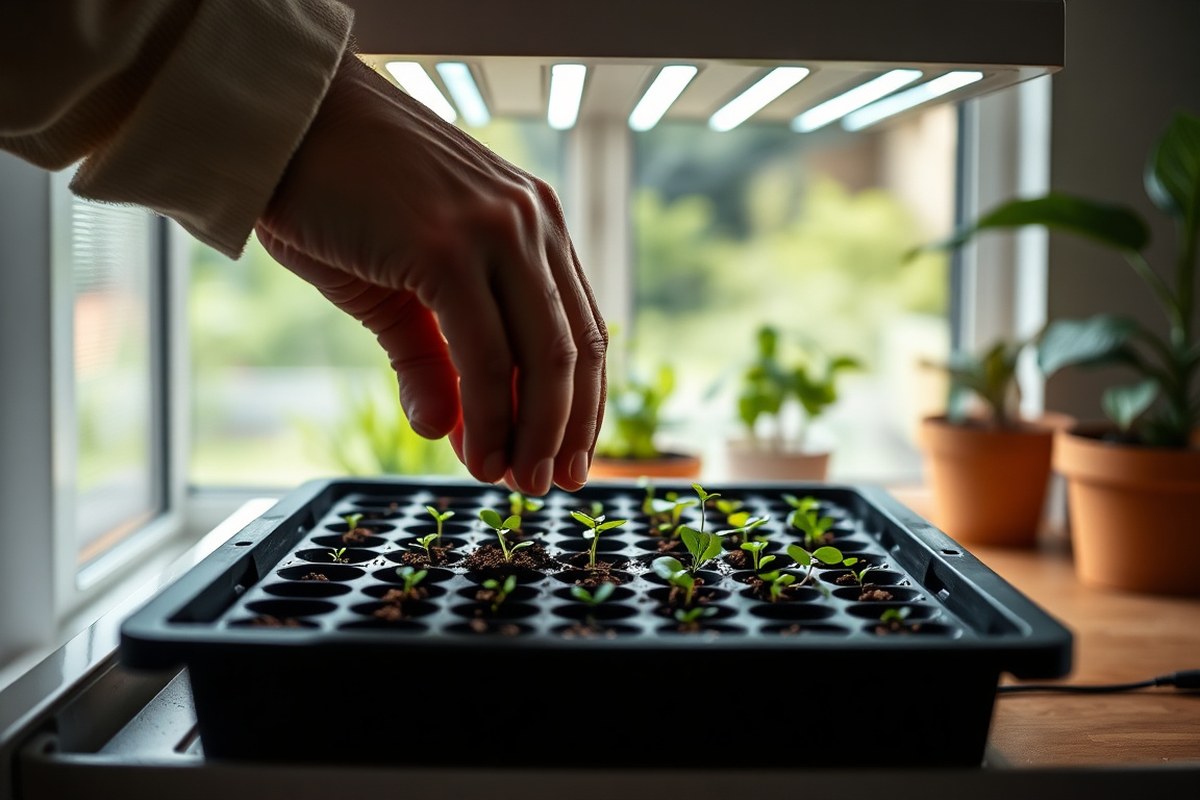
Start by sowing seeds six to eight weeks before frost. Use a warm, well-lit spot for seed trays.
This helps seeds sprout and grow well. This timing gives seedlings the right head start before going outside.
Use a seed starting mix, which is lighter and drains better than regular potting soil. Keep the soil temperature between 68 and 86 degrees Fahrenheit to encourage quick germination. Supplemental heat mats can help keep the temperature steady.
Lighting is key; most seedlings need up to 16 hours of light daily. Natural light may be too weak for seedlings.
Use a basic LED grow light to keep them strong. It helps plants stay sturdy and green.
Key Takeaways
- Start seeds indoors about 6 to 8 weeks before your last frost date.
- Use a light, well-draining seed starting mix instead of garden soil.
- Keep soil temperature between 68 and 86 degrees Fahrenheit for germination.
- Use a heat mat to maintain consistent warmth if your house is cool.
- Provide seedlings with 12 to 16 hours of bright light daily for best growth.
- Natural light might not be enough indoors. Use an LED grow light to stop plants from stretching. It keeps seedlings compact and healthy.
How to Start Seeds Indoors: Step-by-Step Process
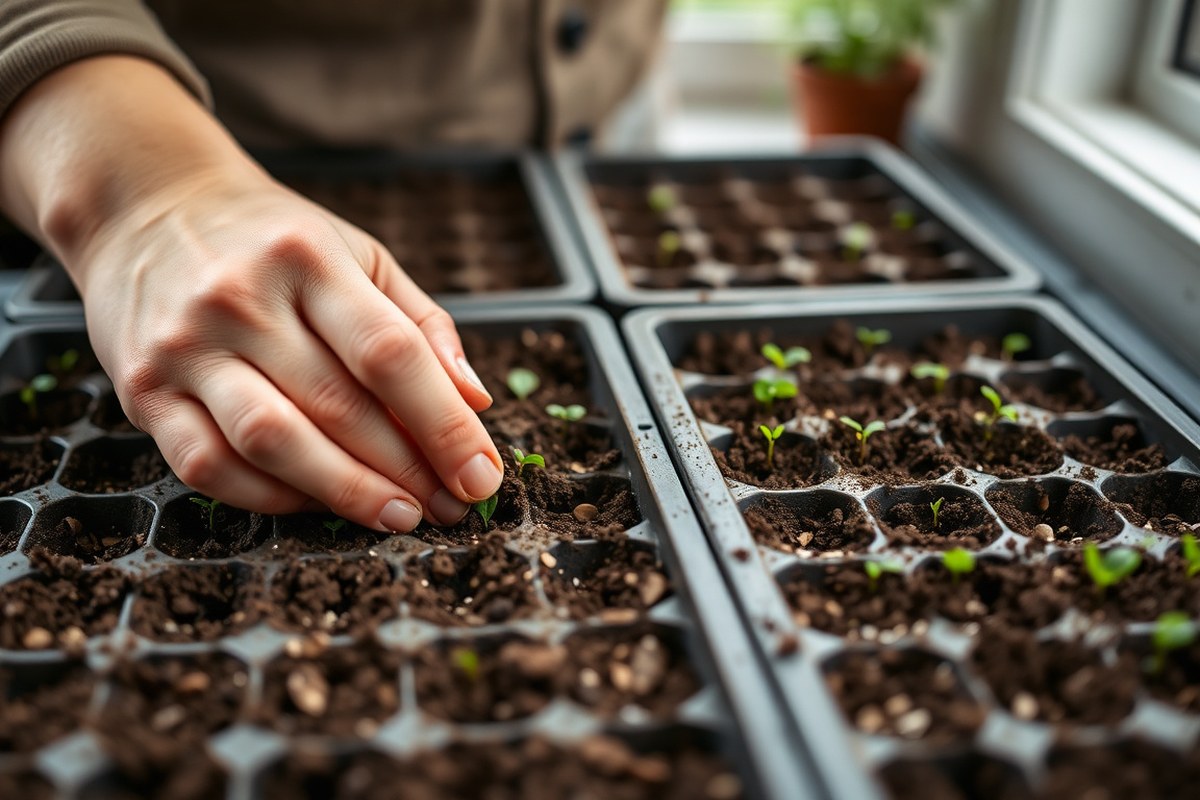
Starting seeds indoors needs a few clear steps to ensure healthy seedlings. Using fresh seed starting mix and clean containers helps avoid disease and supports growth. Following the right depth and moisture for each seed encourages faster germination.
- Fill containers about three-quarters full with a fine, soilless seed starting mix. Tap the container gently to settle the mix. Water it well until moist. Avoid making it soggy.
- Plant seeds according to the seed packet instructions for depth and spacing. Press the seeds gently into the surface. Cover them lightly with more mix if needed. Usually, use about twice the seed’s diameter.
- Label each container with the seed type and planting date. This helps track growth and know when to transplant later.
- Cover containers with a clear dome or plastic wrap to keep humidity high. This prevents the seed surface from drying out during germination.
- Place containers in a warm spot with temperatures between 68 and 86 degrees Fahrenheit. Use a heat mat if your house feels cool. Most seeds germinate best between these temperatures. This helps improve their growth.
- Check daily to keep the soil moist but never soaked. Use a spray bottle to water gently if the soil surface starts to feel dry.
- Remove the cover once seedlings emerge to prevent mold and allow fresh air. Move them under grow lights or a bright window to keep them from growing leggy.
These steps take about 1 to 3 weeks depending on seed type. Seeds usually need consistent warmth and moisture to sprout well. Overwatering can lead to rotting, especially before germination.
Check for tiny green sprouts every day once the seeds start germinating. Avoid moving the containers too much early on. Busy seedlings need stable conditions to grow strong and healthy.
Which Seeds Are Best for Indoor Starting
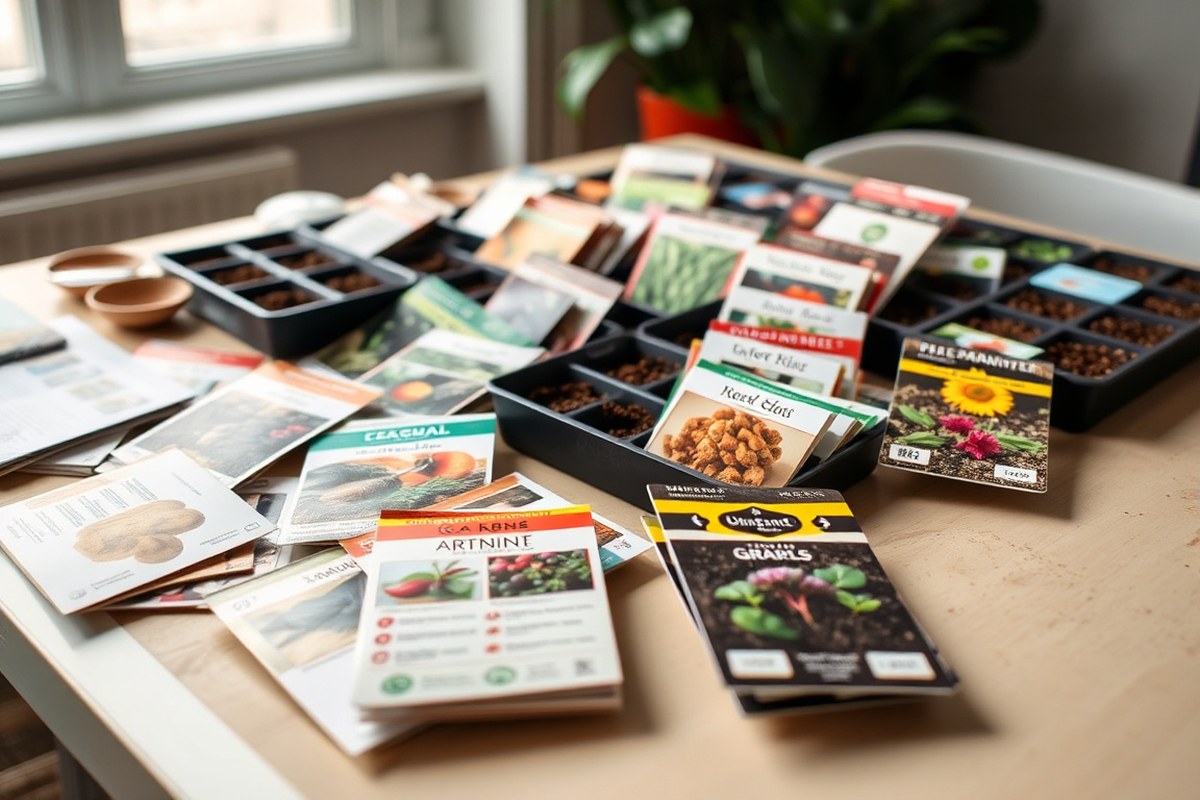
Seeds best for indoor starting are usually those needing warm soil or a long growing season. Start warm-season plants like tomatoes 6 to 8 weeks before your last frost date.
Some cool-season crops and many flowers also do well indoors. But not all seeds benefit from this.
Warm-Season Vegetables Requiring Early Indoor Start
Warm-season vegetables like tomatoes, peppers, and eggplants come from warm climates. They need warm soil and longer growing periods to produce well. Start these indoors 6 to 8 weeks before last frost.
This helps them grow strong. They get a good head start this way.
These plants will grow too slowly if sown outside before the soil warms. Move them outside only after frost danger is gone.
Soil temperature should be at least 60°F. This ensures better growth. Starting indoors also protects young seedlings from cold damage.
| Vegetable | Indoor Start Time | Transplant Time |
|---|---|---|
| Tomatoes | 6, 8 weeks before last frost | After last frost, when soil > 60°F |
| Peppers | 6, 8 weeks before last frost | After last frost, warm soil |
| Eggplant | 6, 8 weeks before last frost | After last frost, warm soil |
| Basil | 4, 6 weeks before last frost | At least 4 weeks after last frost |
Starting warm-season seeds indoors too early can cause them to outgrow their containers.
Cool-Season Crops Suitable for Indoor or Direct Sow
Cool-season vegetables like lettuce, spinach, and radishes handle cooler soil and air. You can start these indoors 4 to 6 weeks before frost. Many do well when planted straight in the garden.
Sow seeds as soon as soil is workable. This avoids extra transplant stress.
Starting indoors lets you transplant healthy seedlings before temperatures get too warm. In warmer regions, you can get an early harvest or a second round before summer heat. For short growing seasons, indoor starts make sure cool crops mature in time.
| Vegetable | Indoor Start Time | Direct Sow |
|---|---|---|
| Lettuce | 4, 6 weeks before last frost | As soon as soil can be worked |
| Spinach | 4, 6 weeks before last frost | Early spring or fall |
| Radish | 3, 4 weeks before last frost | Early spring |
| Peas | Rarely start indoors | Early spring |
Common Flowers Ideal for Indoor Seed Starting
Many annual flowers thrive from indoor seed starting, especially those with long growing seasons. Marigolds, petunias, and zinnias fit well in this category. Begin indoors 6 to 8 weeks before last frost date.
This gives seedlings a head start. They will grow stronger this way.
Some flowers, like morning glories, and sunflowers, grow fast and tolerate direct sowing outdoors. Start flowers indoors if you want earlier blooms or to protect young plants from pests. Make sure to check the seed packet for timing and light needs.
| Flower | Indoor Start Time | Direct Sow |
|---|---|---|
| Marigold | 6, 8 weeks before last frost | Yes, outdoors after frost |
| Petunia | 6, 8 weeks before last frost | No, best indoors first |
| Zinnia | 6, 8 weeks before last frost | Yes, after last frost |
| Sunflower | Usually direct sow | Yes, after soil warms |
Choosing Containers and Seed Starting Mixes
Plastic trays, small pots, and peat pellets work well for starting seeds indoors. Use a seed-starting mix instead of potting soil for cleaner, faster germination. Biodegradable peat pots and coir pots are handy reusable options that reduce transplant shock.
Containers: Trays, Pots, Pellets, and Biodegradable Options
Plastic seed trays with drainage holes are popular because they hold moisture and fit many seedlings. You can reuse them each season if cleaned properly to avoid diseases. Small plastic pots or cell packs also work well for larger seeds.
Peat pellets swell when wet and create easy plugs to plant directly into the garden. These reduce transplant damage since roots stay intact. Biodegradable pots come in peat or coconut coir types.
You can plant these pots directly in the soil. This helps avoid transplant shock for your plants. They break down naturally but can dry out faster than plastic.
Seed Starting Media: Peat, Coir, Vermiculite, Commercial Mixes
Seed starting mixes are lighter, sterile blends made to keep seeds moist and disease-free. They often contain peat, coconut coir, and vermiculite to hold water without being soggy. Avoid regular potting or garden soil because it’s heavy and can carry pests or disease.
Vermiculite helps with moisture retention and aeration, making it easier for roots to grow. Coconut coir is a sustainable option that holds moisture and air well too. Commercial seed starting mixes provide a reliable balance of these elements for better germination results.
| Container Type | Benefits | Drawbacks |
|---|---|---|
| Plastic seed trays | Reusable, good moisture retention, affordable | Needs cleaning, potential mold if overwatered |
| Small plastic pots | Easy to handle, good for larger seeds | Not always reusable, plastic waste |
| Peat pellets | Easy transplant, keeps roots intact | Can dry out fast, single-use |
| Peat biodegradable pots | Plant directly into soil, reduces shock | Dries quickly, may crumble when wet |
| Coconut coir pots | Biodegradable, holds moisture and air | Less common, costs more than peat pots |
Choose containers based on seed size and your watering style. Use seed starting mix in all containers for best growth.
How to Make Your Own Seed Starting Mix
Mix equal parts peat moss or coconut coir with vermiculite. Add equal parts compost to this mix. This makes a good seed-starting medium.
Moisten it before filling pots so roots don’t dry out. Use this sterile blend instead of garden soil to avoid pests and diseases.
This mix holds moisture well but drains enough to prevent soggy soil. Adding compost gives seedlings some nutrients. Because of this, fertilize less often.
This helps avoid overfeeding your young plants. Keep the mix light and fine-textured so small seeds can push through easily.
Lighting and Temperature Requirements for Seedlings
Seedlings grow best with 12 to 16 hours of light each day. Place a grow light 2 to 3 inches above them. Adjust the light height as the seedlings get taller.
A simple LED grow light costing $30 to $60 works well. It gives full-spectrum light and stays cool during use.
South-facing windows can work if your home gets enough sunlight year-round. Natural light through glass often misses UV rays. In winter, days may be too short for seedlings.
This can slow plant growth. Use a timer to control your grow light. Set it for 14 to 16 hours on.
Then allow 8 to 10 hours of darkness. This keeps light consistent without tiring you out.
Temperature plays a big role in seed germination and growth. Aim for a soil temperature of 70 to 80 degrees Fahrenheit to speed up sprouting. Place a heating mat under your seed trays.
Use it until the seeds sprout their first leaves. This supports early growth. Air temperature should stay between 65 and 75 degrees Fahrenheit for best seedling health.
Heating mats usually cost between $15 and $40. They speed up seed germination. This helps vegetable seeds grow better.
Remove the mat once you see leaves; too much heat can weaken seedlings. Keep the grow light close but not too near the plants.
Avoid burning seedlings by balancing warmth and light. Aim for compact plants with deep green leaves.
Watering, Fertilizing, and Maintenance Tips
Water seeds gently to keep them from moving or getting damaged. Use a spray or squirt bottle to moisten soil lightly and evenly. Place trays in shallow water for 20 to 30 minutes once roots appear.
This method, called bottom-watering, encourages strong root growth without soaking soil surface. Avoid overly wet soil because it can cause damping off, which kills seedlings quickly.
Start fertilizing about two weeks after seedlings emerge. Mix a balanced fertilizer or dilute ocean water in your watering routine every two weeks. This feeds seedlings without burning tender roots.
Stop fertilizing if leaves turn yellow or edges brown. Those signs mean you are overfeeding.
For seedlings still tiny or in their first week, skip fertilizer. They get enough nutrients from the seed to start.
- Always keep soil moist but not soaked to avoid rot.
- Give seedlings 12 to 16 hours of bright light each day.
- Thin seedlings by snipping smaller ones to boost air flow.
- Use containers at least 2 inches deep for root space.
- Turn trays occasionally to prevent leaning to one side.
Check seedlings daily for water needs. Mist or bottom-water right away when soil starts drying on the top. A common mistake is watering too little or too much.
Thin seedlings when they crowd each other. Removing extra plants lets the strongest grow thick stems and roots. Keep trays away from drafts or extreme heat.
Consistent temperature helps steady growth. Turn trays often so seedlings grow upright and don’t stretch toward light.
Too much wetness invites damping off. So water just enough to keep soil moist but never soggy.
When and How to Harden Off Seedlings for Transplanting
Hardening off means slowly getting seedlings used to outdoor conditions before planting. This process takes about 7 to 10 days. It helps seedlings survive changes in light, temperature, and wind.
Starting with Brief Sheltered Outdoor Exposure
Begin hardening off when daytime temperatures hit at least 45 degrees Fahrenheit. Choose a shady, wind-protected spot outside. Set seedlings there for 1 to 2 hours the first day.
This short exposure lets seedlings adjust without stress. Keep them out of direct sun and cold wind. Bring them back indoors overnight to avoid temperature shocks.
Increasing Time and Sun Exposure over 7, 10 Days
Each day, increase the seedlings’ outdoor time by 1 to 2 hours. Gradually move them into more sunlight and less sheltered areas. Aim for about 6 to 8 hours outside by the end of the week.
Keep an eye on the weather and skip hardening if it’s rainy or below 45 degrees. Wind can dry out seedlings quickly.
So protect them as they get used to it. Water them well before moving outside.
Signs Seedlings Are Ready for Transplanting
Seedlings with tougher stems and less leaf wilting are ready for planting. Leaves should look healthy, not scorched or droopy. After the hardening period, seedlings can handle full sun and normal winds.
Start planting when the ground has warmed and frost risks are low. Transplant on a cloudy day or in late afternoon to reduce shock. Keep watering seedlings well after planting.
Follow these steps to harden off your seedlings properly:
- Check daytime temperatures; wait until they reach 45°F or higher.
- Place seedlings outside in a shaded, sheltered spot for 1, 2 hours day one.
- Bring seedlings back indoors before temperatures drop at night.
- Increase outdoor exposure time by 1, 2 hours daily.
- Move seedlings gradually into sunnier and less sheltered areas.
- Avoid hardening off during rain, cold snaps, or strong wind days.
- Watch for stronger stems and healthy leaves signaling readiness.
- Transplant when seedlings tolerate full sun and outdoor weather.
Common Seed Starting Problems and How to Fix Them
Damping off causes seedlings to suddenly wilt and collapse. It comes from fungal growth in wet, poorly drained soil and high humidity. To prevent damping off, use a well-draining seed starting mix and avoid overwatering.
Also, space seedlings well for good air flow. Don’t cover them with plastic too long. This helps prevent diseases and mold.
Seedlings become leggy when they stretch for light. This makes stems thin and weak. They get tall but floppy, which can lead to snapping.
To fix leggy seedlings, give 12 to 14 hours of light daily. Use grow lights if needed.
That keeps stems strong and short. Move them closer to windows or turn them regularly to keep stems straight.
Poor germination often means seeds didn’t get right temperature or moisture. Seed packets show the best soil temperature for germination, usually 65 to 75°F. Seeds that stay dry or get too cold might not sprout. Make sure they stay moist and warm to grow.
You can try soaking hard seeds overnight before planting to speed germination. Always keep the seed starting mix moist but not soggy.
- Use a high-quality seed starting mix for best root health
- Thin seedlings to one per cell to avoid crowding and disease
- Keep soil moist but not waterlogged to stop fungus growth
- Provide 12 to 14 hours of light to prevent legginess
- Maintain temperatures between 65 and 75°F for most seeds
- Provide good air circulation to reduce fungal problems
Yellow or dying seedlings can mean overwatering or poor drainage. Check soil moisture and pot drainage holes closely. Yellow leaves often mean too much water or low nutrients.
Seedlings need gentle feeding after the first true leaves appear. Use a weak liquid fertilizer once a week. Check for pests or disease if problems continue.
Timing Seed Starting Relative to Frost Dates and Seasons
Find your last frost date to plan seed starting right. Use websites like the National Gardening Association or your local extension office for this date. It marks when outdoor frost usually stops, helping you avoid seedling damage.
Different plants need varying lead times before transplanting outdoors. For example, tomatoes and peppers should start indoors 6 to 8 weeks before the last frost.
Broccoli and cabbage go 4 to 6 weeks ahead. Cucumbers want only 3 to 4 weeks before transplant.
To figure your seed starting date, find your last frost date. Subtract the seed’s indoor start period from that date. That gives you the date to start seeds indoors.
For a tomato with a last frost around April 15, sow seeds indoors by March 15. Check your seed packets for exact timing and maturity details.
Starting fall crops indoors during summer also works with proper timing. Begin seeds 6 to 8 weeks before the first expected fall frost. This schedule lets you transplant seedlings outdoors while temperatures are still warm enough for fast growth.
Keep in mind this timeline changes some by climate and year. It’s smart to wait a week after the last frost date before putting seedlings outdoors. This reduces risk if cold snaps happen later than usual.
Never plant seedlings outside before your area’s last frost date. Early planting can kill young plants.
Step-by-Step Action Plan for Starting Seeds Indoors
Follow these steps to start your seeds indoors and grow strong seedlings. Stay on schedule to get good results.
- Before you start: Choose seed varieties suited for indoor starting. Check seed packets to confirm indoor growing is recommended.
- Day 1: Fill containers with seed starting mix and moisten it evenly. The mix should feel damp but not soggy.
- Day 2: Plant seeds at the depth listed on the packet. Cover gently with mix and mist with water to settle the soil.
- Days 3, 7: Give your seedlings bright light for 12 to 16 hours daily. Keep room temperature between 65°F and 75°F. These conditions help seedlings grow strong. Seedlings should begin to sprout.
- Week 2: Check soil moisture daily. Water from below if possible to avoid disturbing seedlings.
- Week 3: Start feeding seedlings with a weak liquid fertilizer every 7, 10 days. Leaves should look green and healthy.
- Week 4 or when seedlings have 2, 3 true leaves: Start hardening off seedlings by placing them outdoors. Begin with a few hours each day. This prepares plants for outdoor life. This helps seedlings adjust to outdoor conditions.
- After 1 week of hardening off: Transplant seedlings into your garden or bigger pots. Plants should look sturdy and ready to grow outside.
Frequently Asked Questions
Can I Reuse Seed Starting Mix from Last Season?
Reusing old seed mix isn’t ideal because it may lose nutrients. It can also harbor diseases, so fresh mix gives seeds the best start.
How Can I Tell If My Seeds Are Still Viable?
Check seed packet dates or do a germination test by soaking seeds in water. Over half sprouting means seeds are still good to plant.
What’s the Best Way to Label Indoor Seed Trays?
Use waterproof labels or popsicle sticks with permanent marker. They keep your seedlings organized and prevent mixing.
Should I Cover Seeds While They Germinate Indoors?
Many seeds need light to germinate, so don’t cover those. Covering works only if the seed packet suggests it or light hinders them.
Can I Start Seeds Indoors Without Using a Heat Mat?
Yes, but some seeds need warmth to sprout quickly. Placing trays on top of the fridge or near a sunny window can help warmth.
How Long Can Seedlings Stay Indoors Before Transplanting Outside?
Generally, seedlings grow indoors for 6 to 8 weeks. Watching their size and leaf count helps you decide when to harden off and move outside.
Before You Go
Starting seeds indoors takes attention but pays off with healthy plants. Start today by picking your seeds carefully. Watch your seedlings grow and enjoy your garden soon.