How to Grow Sweet Potatoes in a Bag: A Complete Guide for Best Harvests
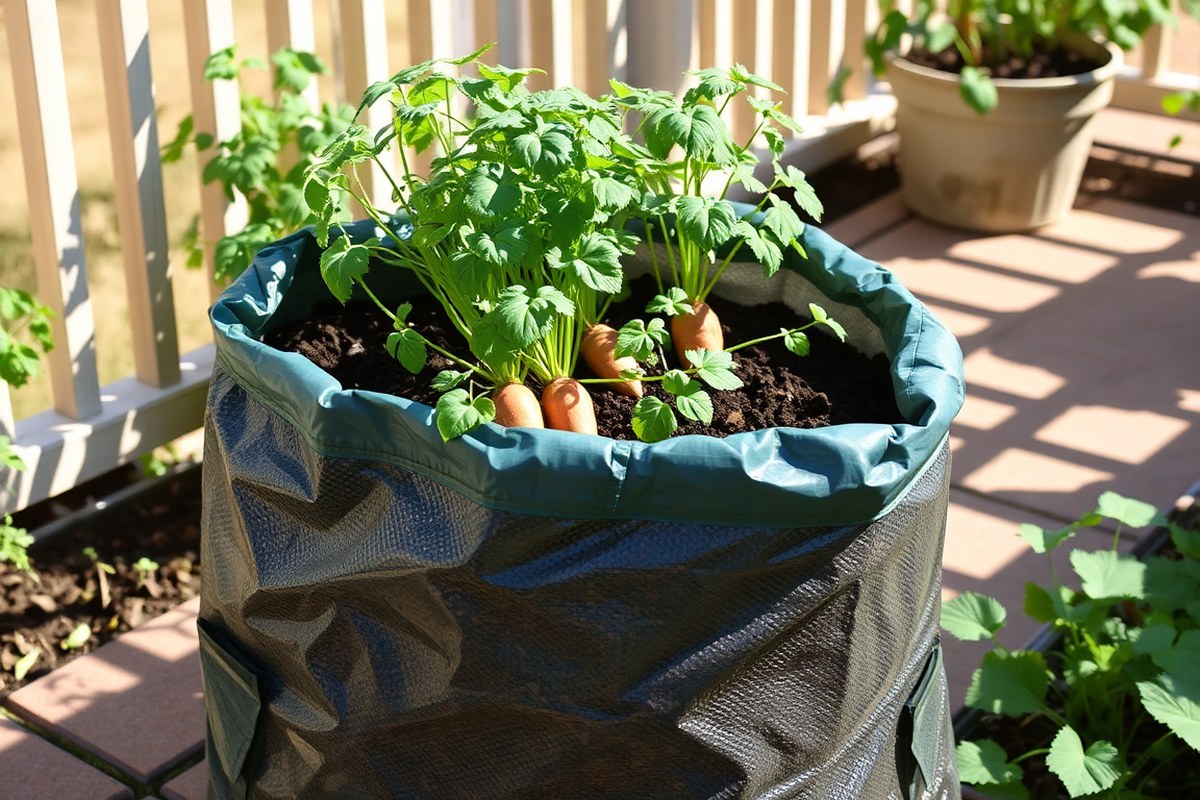
How to grow sweet potatoes in a bag starts with choosing the right container. Pick a grow bag at least 15 gallons to give roots plenty of room. Bigger bags, like 50 to 100 gallons, hold more soil.
You can grow several plants together this way. This helps get a larger harvest.
Next, select a light but rich soil mixture for quick drainage and steady nutrition. Sweet potatoes need warmth, so plant only after soil warms past 60°F (15°C). Give each slip at least 12 inches deep space.
Make sure they have 2 feet wide room. This lets roots spread well.
Set your bag in a spot with 6 to 8 hours of full sun every day. Water regularly but avoid soggy soil to keep the roots healthy. With these basics, you’ll grow sweet potatoes well, even in tight spaces.
Key Takeaways
- Use grow bags of at least 15 gallons for healthy sweet potato root growth.
- Plant slips only when soil temperature reaches 60°F or warmer outdoors.
- Fill bags with rich, well-draining soil to prevent root rot and nutrient loss.
- Place grow bags where sweet potatoes get 6 to 8 hours of sunlight daily.
- Water sweet potatoes regularly but avoid waterlogged soil to protect roots.
- Allow 12 inches depth and 2 feet spread per plant to prevent overcrowding.
How to Grow Sweet Potatoes Successfully in a Bag
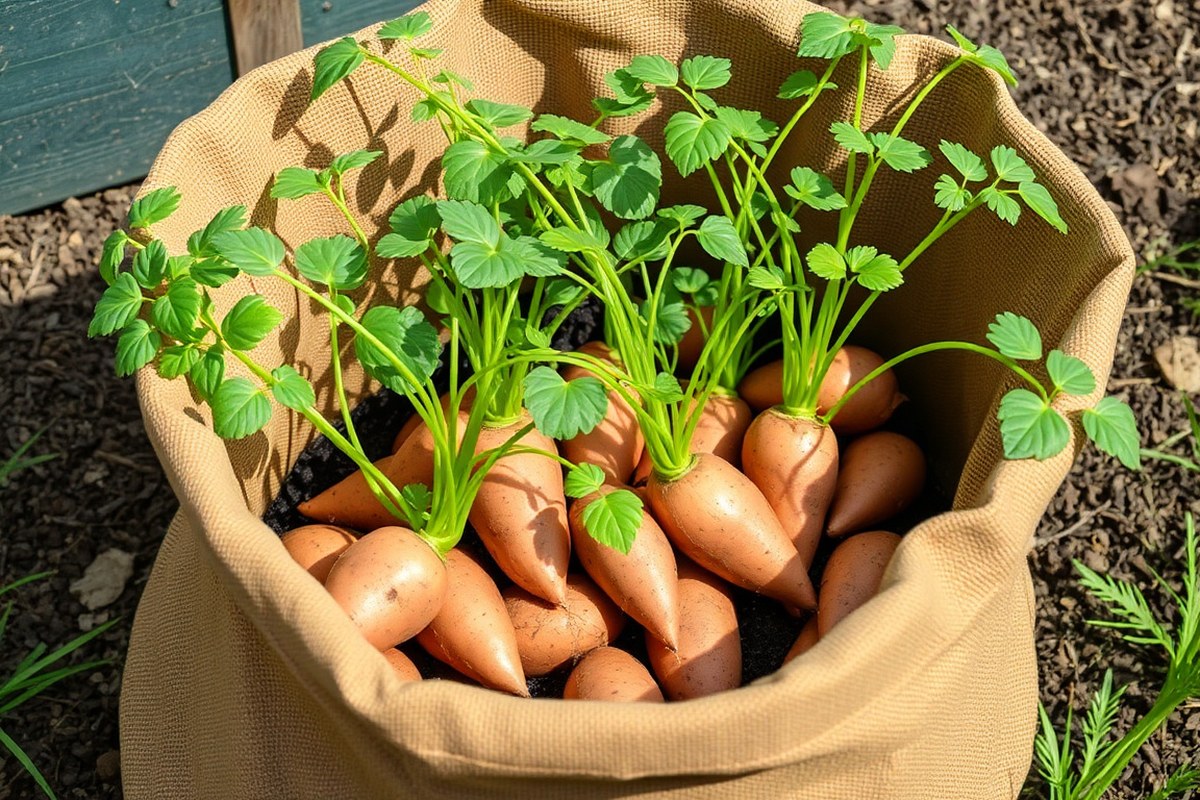
Growing sweet potatoes in bags is simple and rewarding. Pick a grow bag large enough, at least 20 gallons, to give roots room to spread. Wider bags work better than tall, narrow ones.
Sweet potato slips need room to grow side by side. Give each slip plenty of space to spread out.
You start by filling the bag with a quality container soil mix. Adding compost and a bit of organic fertilizer helps the sweet potatoes get nutrients early on.
Plant slips spaced evenly and keep soil moist but not soaked. Air circulation through the fabric bag helps prevent root rot.
- Select a grow bag: Choose a fabric or breathable bag holding 20 to 50 gallons. A 25-gallon bag is great for 3 to 5 slips.
- Fill the bag: Use container potting soil. Mix in a shovelful of compost and ½ cup of granular organic fertilizer.
- Plant the slips: Space slips evenly, leaving several inches between each. Plant slip roots into moist soil about 4 inches deep.
- Place in sunlight: Put the bag where it gets sun. Make sure it has at least 6 hours of sunlight daily.
- Water consistently: Keep soil moist but not soggy. Water when the top inch feels dry to touch.
- Support growth: Check for pests periodically, though problems are rare in bags. Remove weeds if they appear.
- Monitor tuber development: Sweet potatoes take 90 to 120 days to mature. Bag size will limit harvest size.
You can grow several slips in one large bag. A 50-gallon bag is good size. It measures about 24 inches square and 16 inches deep.
Larger bags hold more soil and let roots expand deeply, boosting your harvest. Smaller bags restrict root space, meaning fewer or smaller tubers.
Good airflow through the bag stops soggy soil and root rot. Fabric bags on a deck or patio work well.
They keep your sweet potatoes growing without messy garden beds. Just remember soil moisture and spacing, these two things help sweet potatoes thrive in bags.
Choosing the Best Bags and Soil Mixtures
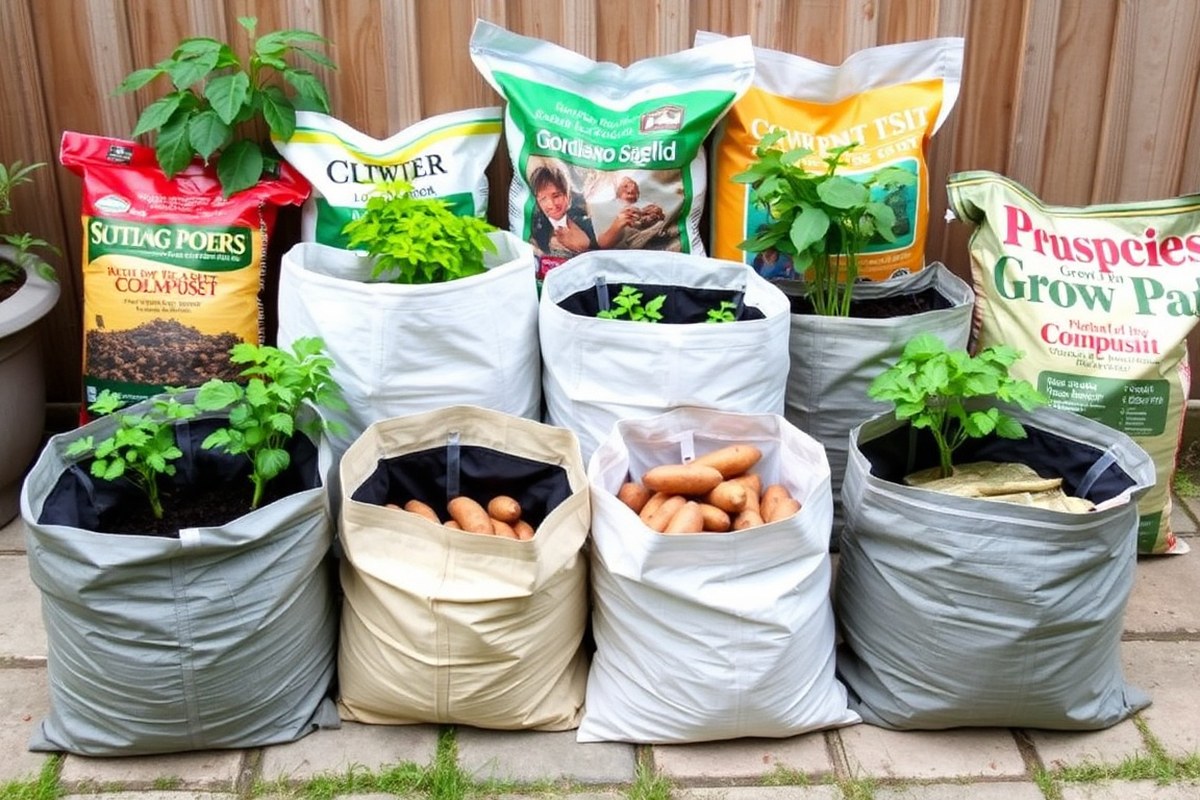
Choose a grow bag at least 15 to 20 gallons for one sweet potato plant. Sweet potatoes need soil that is 12 inches deep and about 2 feet wide. This space lets the tubers grow downward and spread out comfortably.
The bag’s material should allow good drainage and airflow. Fabric grow bags work well because they breathe and prevent waterlogging. Avoid plastic bags or containers that hold too much water and can cause rot.
Your soil mix should be half rich compost and half organic potting mix. This mix provides nutrients and keeps the soil loose. Loose soil lets the roots expand easily and reduces the risk of boring pests.
| Aspect | Recommendation | Reason |
|---|---|---|
| Bag Size | 15-20 gallons | Enough room for 1 plant to grow tubers |
| Bag Depth | At least 12 inches | Allows tubers to grow downward |
| Bag Width | Approximately 2 feet per plant | Tubers expand laterally for good yield |
| Bag Material | Fabric (breathable grow bag) | Prevents waterlogging and encourages airflow |
| Soil Mix | 1:1 compost and organic potting mix | Provides nutrients and good drainage |
A bag that is too small will restrict growth and lower your harvest size. Using heavy, compacted soil makes it difficult for sweet potatoes to develop tubers.
Avoid garden soil unless you mix it with compost and potting soil. This mix improves texture and nutrients for sweet potatoes.
You can also turn the bag sideways for more growing space in tight areas. Use this trick to grow several sweet potatoes in one bag.
Make sure to leave space between each potato. Just ensure the bag stays sturdy and drains well in that position.
Use fabric grow bags over plastic to keep roots dry and avoid rot problems.
Starting and Planting Sweet Potato Slips
Start sweet potato slips indoors by placing a potato in water or soil. When slips reach about 6 inches long, you’re ready to plant them in grow bags. Plant slips 4 to 6 inches deep with roots down and leaves above the soil line.
Growing Slips from Store-Bought Sweet Potatoes
You can grow slips from most sweet potatoes. But seed slips from online companies are more reliable.
Store-bought ones may not sprout well or carry disease. To start, place a whole sweet potato in a jar of water with half submerged.
Set the jar in a bright, warm spot (around 70 to 80°F). After 2 to 4 weeks, sprouts start growing. Wait until slips reach about 6 inches long before cutting them off for planting.
Preparing Slips for Transplanting
Remove the slips carefully from the sweet potato by twisting or cutting them off. Place each slip in a cup of water to develop roots before planting. Healthy roots are at least 1 inch long.
Keep slips in water for 5 to 7 days to allow root growth. This step strengthens slips for transplanting and improves survival rates when planted in bags. You can also start slips directly in moist soil to root.
Planting Depth and Spacing in Grow Bags
Plant slips 4 to 6 inches deep in the grow bag soil to protect young roots. The roots should be fully covered while leaves stay above soil. This depth prevents drying out or damage.
Space slips about 12 to 18 inches apart in wide 10-gallon bags. For tall 10-gallon bags, one slip per bag is best. Planting too close can stunt growth or reduce root size.
Choose a grow bag with loose, well-draining soil to avoid soggy roots. After planting, water the bag gently to settle the soil.
Keep the soil moist but not soaked. Water enough to stay damp around the roots.
- Place the sweet potato in water or moist soil to sprout slips.
- Keep the potato in a warm, bright spot until slips grow to 6 inches.
- Cut or twist off slips carefully to avoid damage.
- Put slips in water for 5 to 7 days to develop 1-inch roots.
- Fill your grow bag with loose, draining soil.
- Plant slips 4 to 6 inches deep with roots down, leaves up.
- Space slips 12 to 18 inches apart in wide bags; one per tall bag.
- Water gently to settle soil and maintain moisture after planting.
Providing Optimal Sunlight and Watering
Sweet potatoes in a bag need full sun for at least 6 to 8 hours daily. Place the bag where it gets direct sunlight in the morning or afternoon. Vines grow with weak sunlight, but tuber production often drops.
Water the sweet potato bags regularly but avoid overwatering. The soil should stay moist, not soggy.
Check the soil by sticking a finger an inch deep. Water when it feels dry at that depth.
Water deeply each time to help roots grow well. About 1 to 2 cups per watering usually works for a medium-size bag. In hot weather, water more often, possibly every day, especially if the surface dries quickly.
Place a light mulch over your sunny bag to keep moisture. Bags dry out faster than garden beds, so watch for droopy leaves. Drooping leaves morning or afternoon often signal thirst.
Water early in the day to help prevent fungal problems. Avoid wetting the sweet potato vines too much; focus on soil moisture instead. Using a drip irrigation or soaker hose on the soil surface works well.
Adjust watering during rainy periods by checking soil moisture first. Excess water can cause rot, especially in poorly draining bags. Lift the bag to check weight; a light bag usually means it needs water.
Nutrient Management and Fertilizing in Grow Bags
Sweet potatoes need steady feeding to grow well in bags. Before planting, mix a balanced fertilizer like 10-10-10 into your soil. This spreads nutrients evenly and helps roots grow strong from the start.
During the growing season, feed the plants again every 4 to 6 weeks. Choose a fertilizer with low nitrogen and higher phosphorus and potassium to support tuber growth. Excess nitrogen makes leaves grow more than roots, which can reduce your sweet potato harvest.
- Mix 1 to 2 tablespoons of 10-10-10 fertilizer per gallon of soil before planting.
- Apply a side dressing of fertilizer 4 to 6 weeks after planting.
- Use a fertilizer with a ratio like 5-10-10 or 5-15-15 during the growing season.
- Avoid over-fertilizing to prevent excessive leaf growth and fewer tubers.
- Water after fertilizer application to help nutrients reach roots.
- Consider slow-release fertilizer pellets mixed into the soil for fewer feedings.
- Stop fertilizing 2 to 3 weeks before harvest to let tubers mature.
Use a liquid fertilizer or side-dress with granular fertilizer for regular feedings. Liquid fertilizer feeds plants faster but needs applying more often. Granular fertilizer lasts longer and is easier for steady feeding.
Prices vary. A small bag of balanced fertilizer usually costs $10 to $20. It lasts a season for a few bags.
Too much nitrogen can keep sweet potatoes from producing good tubers. So feed lightly after the initial soil mix.
Keep soil moist but not soaked to help fertilizer work well. Growing in a bag means nutrients can wash out faster with watering. Add fertilizer carefully and watch how your plants respond to avoid nutrient burn.
Signs of deficiency include pale leaves or slow growth. Healthy leaves should stay deep green with good fertilizer.
Managing Growth Space: Planting Multiple Slips in Large Bags
Yes, you can plant three or four sweet potato slips in a large grow bag. Choose bags that hold 15 to 20 gallons to give roots enough room to spread.
Sweet potatoes develop deep, thick roots. So good space below the surface is key for big tubers.
Fill the bag with nutrient-rich potting soil, mixing in balanced fertilizer before planting. Make sure the soil is loose and deep, at least 12 inches, to support root growth. Press the slips gently into the soil.
Space them 6 to 8 inches apart. This keeps them from crowding each other.
Space slips at least 6 inches apart. Closer spacing makes tubers compete for nutrients. This stunts their growth.
The 6- to 8-inch gap helps the plants grow wide enough leaves and strong roots. After planting, water evenly to keep soil moist but not soggy during the growing season.
Put your grow bag in full sun where temperatures stay above 60°F, especially at night. Crowding slips in small bags leads to stunted tubers. Roots get tangled.
Harvesting becomes difficult. Use large bags and space slips correctly.
This gives plants enough nutrients and room. Roots can grow deep.
Using three to four slips per 15- to 20-gallon bag balances space and yield. This setup fits patios or small gardens well. It gives a good harvest in small spaces.
You get more from less space. Check roots if you reuse bags to avoid soil compaction, which can hold back growth.
Recognizing and Fixing Common Growing Problems
Yellow leaves often mean your sweet potatoes need more nutrients or water. Check the soil moisture with your finger.
When it feels dry, water deeply until water drains out. Add a balanced fertilizer with equal parts nitrogen, phosphorus, and potassium to boost leaf health.
Rot shows as soft, dark spots on roots or stems. It usually happens from watering too much. Let the soil dry between watering to keep the bag from staying soggy.
Make sure the bag has good drainage holes. Poke a few more holes to stop water buildup.
Pests like sweet potato weevils and aphids can damage your plants by eating leaves or tubers. Regularly inspect leaves and stems for tiny bugs or holes.
Spray insecticidal soap or neem oil every 7 to 10 days. Follow the label instructions closely for safe use.
- Yellow Leaves: Often caused by low nitrogen or uneven watering
- Rot: Overwatering or poor drainage leads to soft, dark areas
- Pests: Aphids and weevils chew leaves and tubers
- Fix Yellow Leaves: Water deeply; apply balanced fertilizer
- Fix Rot: Allow soil to dry; improve bag drainage
- Fix Pests: Spray insecticidal soap or neem oil every week
Keep your bags off cold surfaces during cool nights to avoid chilling injury. Sweet potatoes like soil temperatures around 70 to 85°F. Use mulch or move bags to sunnier spots if plants look weak or don’t grow well.
Sticky traps near your bags can catch flying pests early. Remove affected leaves if pest damage spreads. Healthy plants tolerate minor pest presence but act fast if damage gets worse.
Harvesting Sweet Potatoes Grown in Bags Without Damage
You can harvest sweet potatoes about 90 to 120 days after planting, depending on the variety. Waiting for the right time helps you get the best texture and taste. Harvest carefully to avoid bruising or cutting the tubers.
Signs Sweet Potatoes Are Mature
Watch the leaves closely in late summer or early fall. This signals the tubers have stopped growing and are ready. The skin should be firm and hold together when rubbed gently.
Another sign is the growing time. Count between 90 to 120 days from planting slips.
Check the specific variety’s days to maturity for better timing. Too early means small tubers; too late risks rot or sprouting.
Preparing the Bag for Harvest
Stop watering about a week before harvest to help dry the soil and toughen skins. This makes harvesting cleaner and reduces tuber damage.
Move the bag to a flat surface if you raised it. So it won’t tip during digging.
Remove any dry vines or leaves on top carefully. Clean the area around the bag.
So dirt or debris doesn’t fall back inside during digging. Use soft gardening gloves to protect your hands and the tubers.
Careful Tuber Removal Techniques
Starting slow and gentle will help you get all the sweet potatoes out without harm. Dig around the edges of the bag first to loosen soil. Avoid stabbing or cutting motions close to the tubers.
Lift the bag’s edge and gently tip soil out to find the tubers. Handle them softly and don’t drop or knock them together. After removal, let tubers dry for a few hours before curing or storage.
- Stop watering the plants one week before planned harvest.
- Remove dead vines and clear debris from the bag area.
- Gently loosen the soil around the edges with your hands.
- Sit the bag on a flat surface to prevent tipping.
- Slowly lift the bag’s sides and tip out soil gradually.
- Handle tubers carefully, removing them without dropping or cutting.
- Lay tubers on newspaper or a soft surface to dry and inspect.
- Check for bruises or cuts; separate damaged tubers for quicker use.
Never pull tubers by the stem; this breaks them or the roots.
Curing and Storing Sweet Potatoes for Long-Term Use
Sweet potatoes need curing right after you harvest to last longer. Curing helps heal their skin and turns starches into sugars. Store them after curing in a cool, dry place to keep them fresh for months.
Ideal Temperature and Humidity for Curing
Cure your sweet potatoes in a warm spot between 80 and 90 degrees Fahrenheit. Keep humidity high, around 85 to 90 percent, to stop the skin from drying out. This warm, moist environment heals cuts and thickens the skin.
This step is important because it helps protect the potatoes from rot and moisture loss. Without proper curing, they might spoil faster or shrivel up. A garage or covered porch works well for storage.
Use a heater and humidifier if outside is too cold. These keep sweet potatoes at the right temperature and moisture levels.
Curing Duration and Airflow Needs
Let the sweet potatoes cure for 10 to 14 days. Keep air moving gently around them. But avoid strong drafts that dry the skin too fast.
Place them in a single layer, not piled up. So air flows all around each tuber.
Too short of a curing time can cause quick spoilage in storage. Curing longer than two weeks rarely adds benefits and might increase water loss. Check occasionally for soft spots or mold during this time.
Proper Storage Locations and Conditions
After curing, store sweet potatoes at 55 to 60 degrees Fahrenheit in a well-ventilated, dry spot. This temperature range slows decay while keeping texture and taste. Avoid storing them in a refrigerator, which can cause cold damage and odd flavours.
A cool basement or unheated closet is good for storing tubers. You can also use an orchard rack made for root crops. These spots keep sweet potatoes fresh for longer.
Keep sweet potatoes away from potatoes and other vegetables. These can release moisture and gases that spoil them faster.
Store separately to keep sweet potatoes fresh longer. Under right conditions, they can last 3 to 6 months or more.
Choosing Sweet Potato Varieties Best Suited for Bags
Sweet potato varieties differ in size, flavor, and yield when grown in bags. Choosing one suited to your climate and space helps you get the best results. Some types make smaller tubers and fit better in containers.
Here’s a comparison of common sweet potato varieties for bag growing. This includes their typical yield, tuber size, and climate preferences. These details guide you to pick the right type for your setup.
| Variety | Yield (lbs per 5-gal bag) | Tuber Size | Flavor | Best Climate |
|---|---|---|---|---|
| Beauregard | 5 to 8 | Medium, 5-7 inches | Sweet, moist | Warm, temperate |
| Georgia Jet | 6 to 10 | Large, 7-9 inches | Sweeter, dense | Mild winters |
| Japanese Purple | 3 to 6 | Small to medium | Nuttier, dry texture | Cooler climates |
| Vardaman | 4 to 7 | Medium | Mildly sweet, dry | Warmer zones |
| O’Henry | 5 to 7 | Medium-large | Sweet, creamy | Temperate to warm |
Beauregard is popular because it grows well in many containers. It produces medium tubers with sweet, moist flesh. This variety grows best in warm, temperate areas.
It usually produces 5 to 8 pounds. Use a 5-gallon bag for best results.
Georgia Jet produces larger tubers and higher yields. It’s great if you want bigger potatoes and have mild winters. Keep in mind, bigger tubers need deeper bags or containers for space.
Japanese Purple has smaller tubers and a drier, nuttier taste. It suits cooler climates better and yields less. You might choose this for unique flavor over quantity.
Vardaman offers a dry texture and mild sweetness. It needs warmer zones to thrive and gives moderate yields.
O’Henry makes creamy, sweet tubers in medium to large sizes. It grows well over a range of mild to warm climates.
Select a variety based on how much space you have and what flavor you prefer. Cooler regions should lean toward Japanese Purple.
Warmer places do well with Beauregard or Vardaman. Larger bags allow bigger varieties like Georgia Jet.
Step-by-Step Action Plan for Growing Sweet Potatoes in a Bag
Follow these easy steps to start growing sweet potatoes in bags today. Each step helps you check that your plants are doing well.
- Before you start: Pick a large, strong bag with drainage holes. Fill it with loose potting soil. Make sure the soil is moist but not soggy to help slips root.
- Day 1: Plant healthy sweet potato slips about 12 inches apart in the bag. Press the soil gently around each slip to support it.
- Week 1: Give your plants 6-8 hours of sunlight daily. Check soil moisture every day and water if the top inch feels dry.
- Week 3: Start fertilizing using a balanced, slow-release fertilizer. Watch for new leaf growth as a sign your plants are getting nutrients.
- Week 6: Remove any dead or yellow leaves to keep plants healthy. Adjust watering if leaves look wilted or scorched.
- Week 10: Notice the vines filling the bag and slowing growth. This means your sweet potatoes are maturing underground.
- Week 12-16: Stop watering heavily to let the soil dry a bit before harvesting. Test by gently digging; sweet potatoes should feel firm.
- Harvest day: Carefully lift the bag and pull out your sweet potatoes to avoid damage. Cure them in a warm, dry place for 1-2 weeks before storing.
Frequently Asked Questions
Can I Reuse the Same Grow Bag for Sweet Potatoes Year After Year?
Yes, you can reuse grow bags if cleaned and stored properly. Wash them with mild soap, dry thoroughly, and keep in a dry place to prevent mold.
Should I Cut Sweet Potato Slips Before Planting in a Bag?
It’s best to plant whole slips without cutting for stronger growth. Cutting may stress the plant and reduce yield in a container.
How Often Should I Rotate or Turn My Sweet Potato Bag?
Rotating helps expose all sides to sunlight evenly. Turn the bag every few days to promote balanced vine growth.
Can I Add Mulch on Top of the Soil in the Grow Bag?
Adding mulch can keep soil moist and reduce weeds inside bags. Use straw or shredded leaves to lightly cover the surface.
Does Bag Color Affect Sweet Potato Growth?
Dark bags absorb more heat, which can warm soil faster. In hot climates, lighter-colored bags help prevent overheating and root stress.
How Long Can I Leave Sweet Potatoes in the Bag After Harvesting?
It’s best to remove tubers soon after harvest to avoid rot. Leaving them in damp soil encourages decay and pests.
Key Points to Remember
Growing sweet potatoes in a bag is rewarding and fits small spaces well. Start now by getting a bag and some slips ready. You’ll enjoy fresh, homegrown sweet potatoes by harvest time.