How to Keep a Spider Plant Alive: 8 Essential Tips for Healthy Growth
Keeping a spider plant healthy requires the right mix of light, water, and room. Check the soil and water only when the top inch dries.
Most spider plant issues happen from overwatering, so avoid too much water. Use well-draining soil to prevent root rot and keep the plant comfortable.
Choose a bright spot but avoid direct sunlight that can burn its leaves. Your spider plant will also appreciate moderate temperatures between 65 and 75°F. Avoid placing it near drafts, air conditioners, or heating vents to keep it happy and stress-free.
Use a pot about two inches larger than the root ball for healthy growth. Repot only when the roots begin to crowd, usually every one to two years. Trim off any brown tips or dead leaves to maintain the plant’s appearance and health.
Key Takeaways
- Water your spider plant when the soil’s top inch is dry to touch.
- Avoid overwatering, as it’s the main cause of spider plant death.
- Place the plant in bright, indirect light for best leaf health.
- Keep room temperature steady between 65°F and 75°F for growth.
- Pick a pot two inches larger than the root ball when repotting.
- Repot spider plants every one to two years when roots crowd.
1. How to Water Your Spider Plant for Best Results
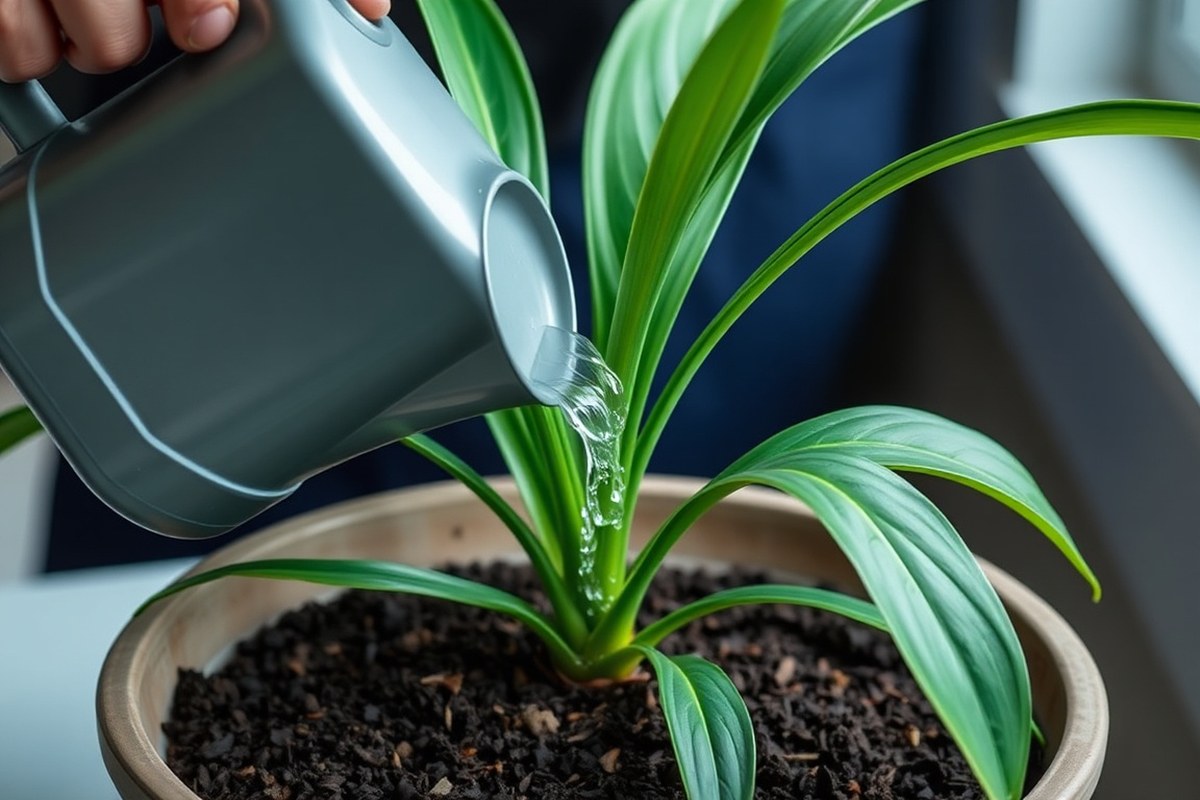
Water your spider plant about once a week. Let the top inch of soil dry out before watering again. This avoids overwatering, which can cause yellow leaves and mushy roots.
Signs your spider plant needs water include wilting leaves, dry soil, and brown leaf tips. These symptoms mean the plant is underwatered and thirsty. Check soil moisture regularly, especially in warmer months.
Use distilled or rainwater to care for your spider plant. Tap water often contains fluoride, which can build up and cause brown leaf tips. Collect rainwater in a clean container or buy distilled water at the store.
When watering, pour enough water to soak the soil through its drainage holes. Avoid leaving water standing in the saucer under the pot. Standing water promotes root rot and other fungal problems.
You can adjust watering frequency if your home is very dry or warm. In those cases, check soil more often and water when the top inch dries. In cooler or more humid spots, watering every 10 to 14 days may work better.
Remember to water less in the winter because your spider plant grows slower. Overwatering during dormancy can cause root damage. Feel the soil before watering; only water when it’s dry to the touch.
2. Choosing the Ideal Light and Location for Spider Plants
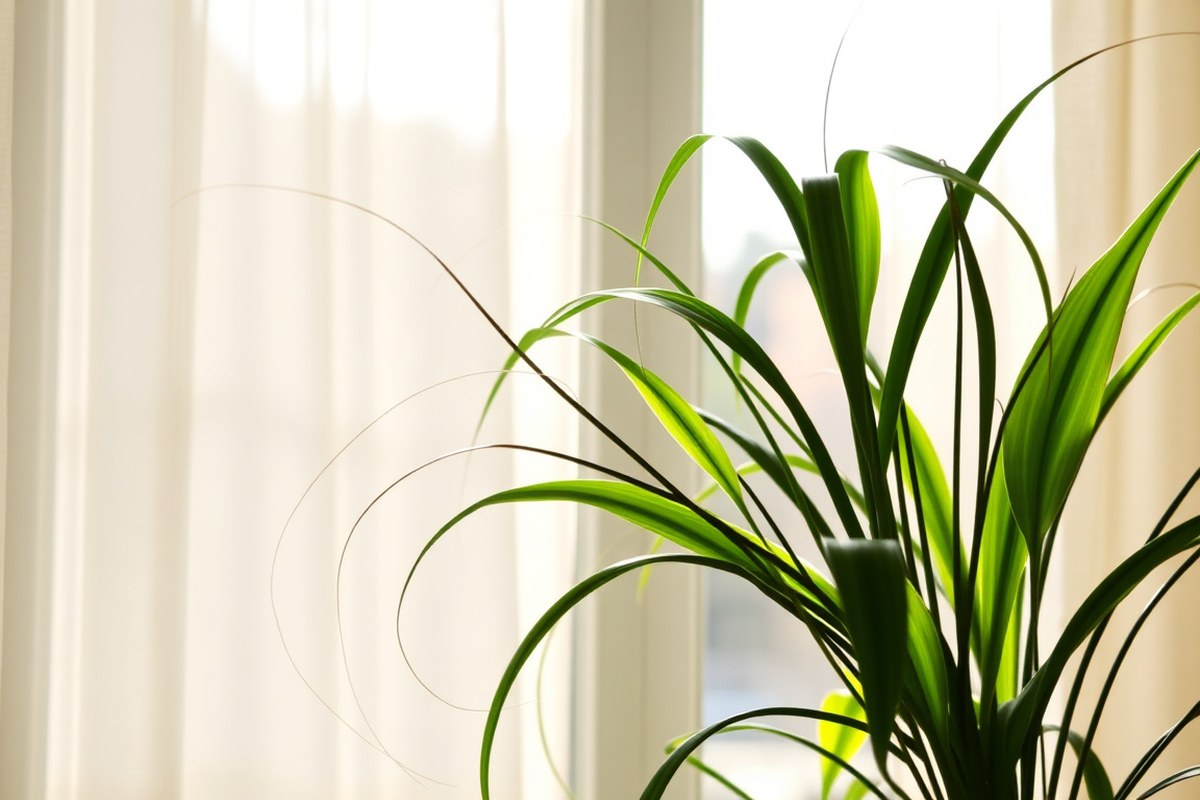
Spider plants do best in bright, indirect light but can tolerate lower light. They handle artificial light well, making them ideal for offices or rooms without windows. Keep spider plants away from direct sunlight to stop leaf burn.
Brown tips happen if they get too much sun. Put your plant by north- or east-facing windows instead.
Bright Indirect Sunlight Benefits
Bright, indirect light gives spider plants the best energy for growth. It mimics their natural environment, helping leaves stay green and healthy. Placing your plant near a window with filtered light or using sheer curtains works well.
This light helps spider plants produce baby shoots and maintain vibrant foliage. Too little light slows growth but doesn’t kill the plant. Bright indirect light is the “sweet spot” for them.
| Sunlight Condition | Effect on Spider Plant |
|---|---|
| Indirect Sunlight ☀️ | Ideal for growth; prevents leaf burn & ensures healthy foliage |
| Direct Sunlight 🚫 | Can cause leaf scorching & brown tips; avoid prolonged exposure |
| Artificial Light 💡 | Grows well under fluorescent lights; great for offices |
Placing your plant in this light range encourages lush leaves and baby spider plants. Without it, leaves might lose variegation or turn dull.
Artificial and Fluorescent Lighting Effects
Spider plants grow well under fluorescent lights common in offices. You can keep them healthy even in rooms without windows. Artificial grow lights also work in winter when daylight is short.
Low light slows growth but is manageable for solid green spider plants. Colored or variegated spider plants may lose their patterns under only artificial light. Use a grow light 10-12 hours daily for steady growth indoors.
Keep your spider plant under fluorescent light for at least 10 hours daily in dim rooms.
This flexibility makes spider plants ideal for indoor spots away from natural sunlight. You don’t have to move them often if lighting stays consistent.
Avoiding Harmful Direct Sunlight
Direct afternoon sun is too intense and can burn leaf tips quickly. Avoid windows facing south or west without a curtain. Morning sun is gentler and okay with some protection.
Burned spider plants show brown spots or crispy leaf edges. Move plants farther from windows or use sheer curtains to diffuse direct rays. Shadows from furniture or blinds help shield plants from harsh sun.
Keeping a spider plant out of direct sun extends leaf health and avoids stress. Monitor leaf color for early signs of sun damage, then adjust placement promptly.
3. Soil, Pot Selection, and When to Repot Spider Plants
Spider plants need well-draining soil and pots with drainage holes. Pick a pot about 2 inches larger in diameter than the root ball.
Repot when roots crowd the surface or poke out drainage holes. This usually happens every 1 to 2 years.
Choosing Well-Draining Soil Mix
Spider plants prefer soil that drains quickly to avoid root rot. Use a light, well-draining potting mix made for indoor plants. Avoid heavy garden soil or mixes that hold too much water.
You can find potting mixes labeled for houseplants that include peat moss or perlite. These components help keep soil moist but not soggy, which spider plants like best. Well-draining soil supports healthy root growth and prevents waterlogging.
Selecting Pot Size and Drainage
Choose a pot with drainage holes to let extra water escape. This stops water from sitting at the bottom and causing root problems. Plastic or ceramic pots both work well if they have good drainage.
Pick a pot about 2 inches wider in diameter than the spider plant’s current root ball. This gives roots space to grow without too much empty soil, which can hold excess moisture. Bigger pots aren’t better; just one size up is enough.
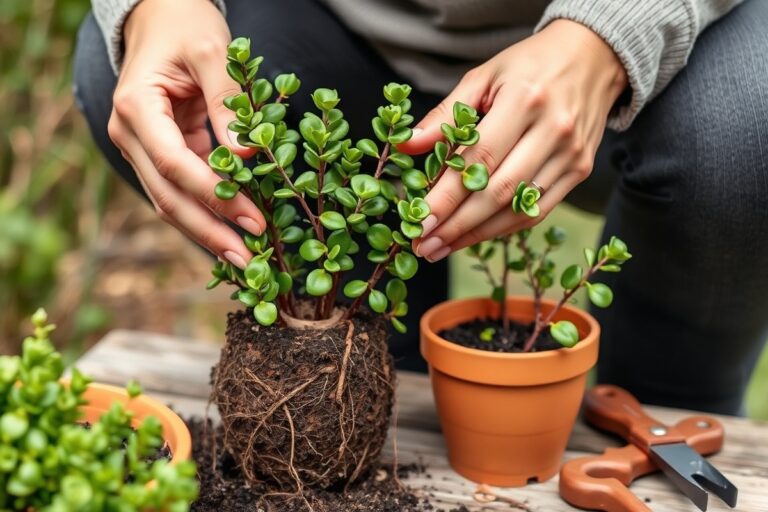
Repotting Step-by-Step Process
Repotting spider plants is best in spring or early summer when growth is strongest. Check for signs like roots circling the pot’s inside or poking from drainage holes. Poor soil or slow water drainage also means it’s time to repot.
Follow these steps to repot your spider plant:
- Water the plant a day before repotting to soften the soil.
- Gently remove the plant from its current pot, holding the base.
- Loosen any tight or circling roots lightly with your fingers.
- Fill the new pot with fresh, well-draining potting mix.
- Set the spider plant in the new pot, centering the root ball.
- Add soil around the roots, pressing gently to fill gaps.
- Water thoroughly to settle the soil and eliminate air pockets.
- Place the plant in a bright spot with indirect light for recovery.
Repotting takes about 15 to 20 minutes. It usually costs $10 to $20 for soil and a pot. Repotting refreshes nutrients and space, helping your spider plant thrive indoors.
4. Pruning and Propagating Spider Plants Successfully
Prune spider plants by trimming dead or brown leaves to keep them healthy. You can also remove or keep spiderettes depending on how you want your plant to grow. Propagating spiderettes is easy and gives you new plants for free.
Pruning Dead and Brown Leaves
Cut off brown tips and dead leaves to keep the plant neat. Cut dead leaves close to the base to protect healthy parts. Prune lightly in early spring to manage growth and keep the spider plant tidy.
Using clean scissors helps prevent disease spread when cutting. Remove just the brown tips gently if the plant looks bare without leaves. Removing dead or yellow leaves encourages new, fresh growth.
Timing and Method to Remove Spiderettes
Keep spiderettes attached if you want a bushier look for your plant. Removing them helps the parent plant stay strong and produces fewer but healthier leaves. You can cut spiderettes anytime they look mature and have roots or small plantlets.
Use clean scissors to cut the thin stems attaching spiderettes to the main plant. Cut close to the base to leave less stem on the spiderette. Leave baby plants on if you enjoy the natural look and have space.
Propagation Methods and Rooting Tips
Propagate spiderettes by placing them in water or moist soil to grow roots. Start with spiderettes that have visible roots or small leaves for best success. Keep new plants in indirect light and maintain moisture until the roots deepen.
Follow these steps to propagate successfully:
- Cut a mature spiderette using clean scissors near the stem.
- Place the spiderette in a glass of water, submerging only the root area.
- Change the water often, about every few days, to keep it clean. This stops the water from going bad and prevents rot.
- Once roots grow about 1 to 2 inches, prepare a pot with moist soil.
- Plant the rooted spiderette carefully in the pot, covering roots without burying leaves.
- Keep the soil moist but not soggy. Place the pot where it gets bright indirect light.
- Wait two to four weeks so the spiderette can settle and grow new leaves. After that, you can start regular care again.
5. Feeding Your Spider Plant: Fertilizer Tips by Season
Feed your spider plant every 4 to 6 weeks during spring and summer. Use a balanced liquid fertilizer diluted to half strength. This helps the plant grow strong, green, and bushy during its active growing season.
Stop fertilizing in fall and winter when growth slows down. The plant needs less food then because it uses energy more slowly. Overfeeding during cold months can stress your spider plant and cause problems.
Look for a fertilizer with equal parts nitrogen, phosphorus, and potassium. A 10-10-10 or 20-20-20 mix works well. Avoid fertilizers made only for flowering plants because spider plants need balanced nutrients for healthy leaves.
Adding too much fertilizer causes brown tips on the leaves. These burnt tips often mean your spider plant got fed too much. You might have fertilized too often or with too strong a dose.
Cut back on feeding to prevent more leaf burn. Cut back feeding if you see browning. Also, flush the soil with water once a month to wash out built-up salt.
Brown leaf tips often mean your spider plant is overfed. Always dilute fertilizer and follow the feeding schedule.
Begin feeding your plant in early spring right after repotting. Feed it every month or six weeks until late summer. Stop feeding once fall arrives to let the plant rest.
Stop around September and avoid feeding through winter. Resume in spring to follow the plant’s natural growth cycle.
Cheap liquid fertilizers cost about $10 to $15 for a bottle that lasts several seasons. You only need a few drops each time. This keeps feeding easy and affordable while helping your spider plant thrive for years.
6. Maintaining Temperature and Humidity for Optimal Growth
Spider plants grow well between 55°F and 80°F. They don’t do well near cold drafts or sudden temperature shifts. Avoid placing them close to heating vents or cold windows in winter to prevent stress and damage.
Humidity should stay around 40% to 60% for happy spider plants. They’re not super picky but prefer some moisture in the air. Place a tray with water and pebbles under the pot to raise humidity.
You can also use a room humidifier to add moisture to the air. Both methods help your spider plant feel comfortable.
In summer, spider plants grow faster and use more water. You may want to mist their leaves weekly to add extra humidity.
In winter, growth slows as the air gets drier and cooler. Let the soil dry out more before watering in colder months.
Avoid sudden indoor climate shifts by keeping a steady temperature and humidity. Dry air in your home can stress your spider plant. Grouping several plants together increases humidity around them naturally.
This simple setup improves their growing conditions during dry winters. Watch your plant’s leaves for signs like brown tips, which may mean it needs more moisture.
Keeping these conditions steady helps your spider plant thrive year-round. A little attention to temperature and humidity makes a big difference in health and growth. It costs little but returns a lush, green friend for your space.
7. Common Spider Plant Problems and How to Fix Them
Brown tips on spider plant leaves usually happen when the plant doesn’t get enough water. Underwatering dries out the leaf edges, turning them brown and crispy. Water your spider plant once a week to keep soil moist.
Avoid letting the soil get soggy or dry out completely. Check soil moisture regularly to keep watering consistent.
Yellow leaves can mean several things. It’s normal for older leaves to yellow and drop off slowly. If many leaves turn yellow at once, check the pot’s water level.
See if the pot sits in water or if the plant needs repotting. Both issues can cause yellowing leaves.
Sitting in water causes roots to rot, blocking nutrient uptake and making leaves yellow. Move the pot to drain better or repot your plant into a slightly bigger container.
Root rot is often a sign of overwatering or poor drainage. The roots darken and soften. The plant may wilt even when soil is wet.
To stop root rot, reduce watering frequency and make sure the pot has good drainage holes. Remove the plant if you see root rot signs. Cut off black or mushy roots using clean scissors.
Replant it in fresh soil that drains well. It’s best to avoid watering again until the soil feels dry to the touch on top.
Spider plants can get pests like spider mites, aphids, and mealybugs. Watch for tiny webbing, sticky leaf residue, or small insects on leaves and stems. To control pests, wipe leaves with a damp cloth to remove bugs and dust.
Use neem oil or insecticidal soap sprays, applying every 7 to 10 days until pests disappear. Use gentle treatments that won’t harm your spider plant.
Avoid direct sun right after spraying to prevent leaf burn. Let the plant dry in indirect light.
Check your plant regularly for these problems. Keep the soil evenly moist but not soggy to prevent rot and brown tips. Inspect the leaves weekly for any yellowing or pests.
Acting fast on bugs or watering problems keeps your spider plant healthy. Change watering habits or treat pests as soon as you notice problems. This helps your plant stay green.
Follow a routine: water well, repot when rootbound, and check for pests. Doing this helps your spider plant grow with few problems. Consistency keeps your plant healthy.
8. Special Considerations: Pets, Coffee Grounds, and Outdoor Care
Spider plants are safe for pets like cats and dogs. They are non-toxic. So your furry friends aren’t at risk if they nibble on the leaves.
Still, watch for chewing on the plant. This can damage it. Eating a lot may stress your pet.
Using coffee grounds can help spider plants, but only in small amounts. Coffee grounds add nitrogen, but they also increase soil acidity. Spider plants prefer neutral soil.
Mix a tablespoon of dry coffee grounds into one gallon of soil. Do this once a month.
Use used coffee grounds that are dry. Avoid fresh, wet grounds as they may burn roots.
Spider plants can live outside during warm seasons if you keep some care in mind. They do well outdoors in temperatures between 55°F and 80°F. Avoid placing them in direct, harsh sunlight since this can scorch leaves.
Find a place with bright but filtered light. Examples are near a fence or under a tree.
Protect outdoor spider plants from strong winds and heavy rain. These can damage the leaves and roots.
When the weather drops below 50°F, bring your plant back indoors to prevent cold damage. Also, check outdoor plants regularly for pests like aphids or spider mites.
Always mix coffee grounds into soil rather than sprinkling them on top to avoid root burn.
Contact a vet if your pet shows stomach upset after chewing a spider plant. Even though the plant is safe, too much of it can cause mild irritation.
Keep your plant out of reach if your pet is particularly curious. Using cat deterrents on pots can help.
Step-by-Step Action Plan for Keeping Your Spider Plant Healthy
Follow this plan to give your spider plant the care it needs. Check each step to see if your plant shows signs of good health.
- Day 1: Place your spider plant in bright, indirect light. Look for vibrant green leaves after a week.
- On day 3, check the soil’s top inch for dryness before watering. Keep the soil damp without making it wet or soggy.
- Week 2: Check humidity and temperature. Keep room temperature between 65-75°F and avoid dry air from heaters.
- Week 3: Feed with a balanced liquid fertilizer diluted to half strength. Watch for new leaf growth in 2 weeks.
- Month 1: Prune any brown or damaged leaves. Healthy leaves will have smooth edges and bright color.
- Month 2: Inspect for pests like spider mites or aphids. Treat quickly if you see webbing or sticky residue.
- Every 12-18 months: Repot your plant into fresh, well-draining soil with a pot one size larger. Look for roots growing through drainage holes to time it right.
Frequently Asked Questions
How Do I Tell If My Spider Plant Is Overwatered?
Overwatered spider plants have yellow, mushy leaves and soil stays soggy. Let the soil dry out between waterings to avoid root rot and stress.
Can Spider Plants Survive in Low Light?
Spider plants can survive low light but grow slower and look less vibrant. For best health, give them bright, indirect light when possible.
Is It Normal for Spider Plants to Produce Plantlets?
Yes, spider plants naturally grow baby plantlets on long stems. You can leave them on or cut and propagate for new plants.
How Often Should I Mist My Spider Plant for Humidity?
Mist your spider plant once or twice a week in dry rooms. This helps maintain the ideal 50-60% humidity for healthy leaves.
Can Spider Plants Tolerate Cold Drafts?
Spider plants do not like cold drafts and sudden temperature drops. Keep them away from open windows or doors in winter.
What Causes Brown Tips on Spider Plant Leaves, and How to Fix It?
Brown tips often come from over-fertilizing or low humidity. Cut back fertilizer and increase humidity to reduce browning tips.
Before You Go
Spider plants thrive with steady care around watering, light, and humidity. Start by placing your plant in a bright spot and checking its soil moisture regularly. This simple habit sets the stage for your spider plant to grow strong and healthy.