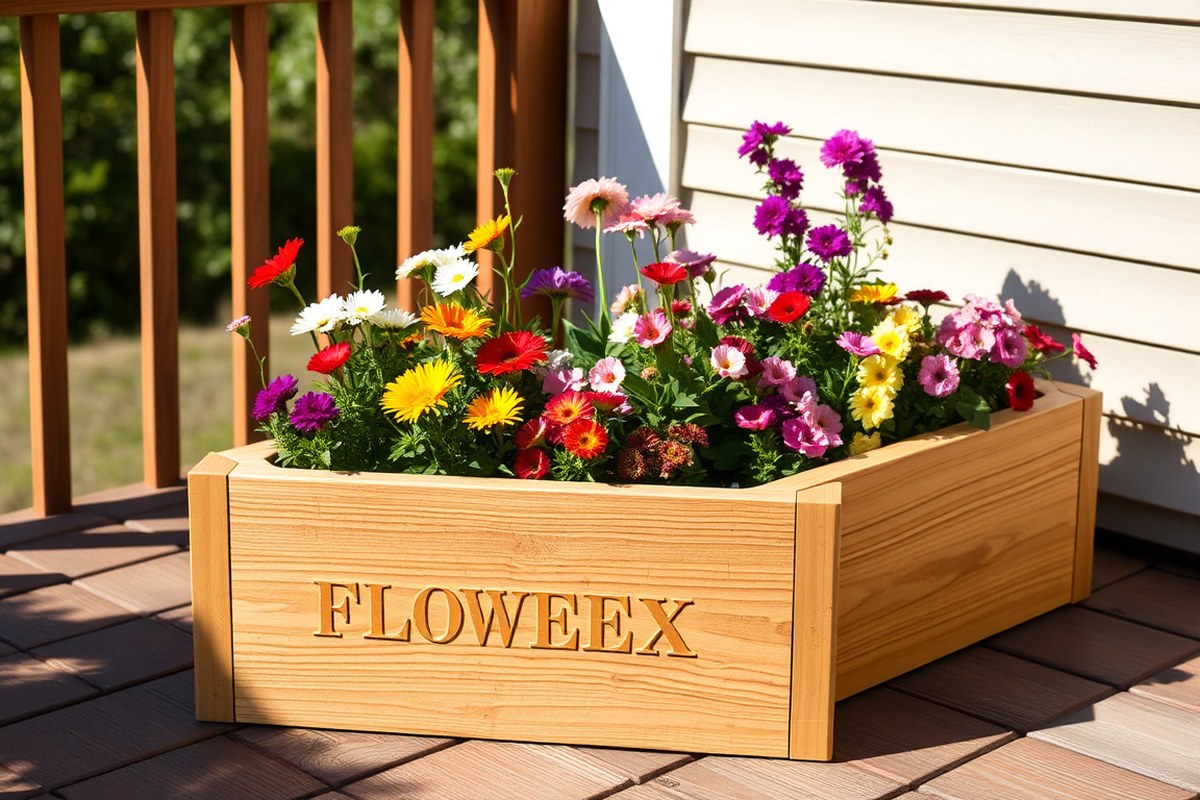
How to Make a Flower Box: A Complete Guide for Easy DIY Success
Figuring out how to make a flower box is easier than you think. You just need a few materials like wood, screws, and basic tools. Cutting the pieces right and assembling them carefully will get your box ready fast.
Start by choosing wood that fits your space and plants’ roots. Make sure the box is 8 to 12 inches deep. This gives roots enough room to grow well.
Roots need space to spread out and absorb nutrients. This helps keep your flowers healthy and happy.
Once you have the wood cut with angled corners, screw the sides together tightly. Using screws from inside the box keeps the outside clean and strong. Then seal or paint the wood to protect it from rain and sun.
Key Takeaways
- Use wood at least 8 inches deep to give roots enough space.
- Cut corners at a 45-degree angle for tight fitting sides.
- Drive structural screws from inside for a neat, sturdy build.
- Apply wood sealer or paint to protect the box outdoors.
- Plan your box size based on plant types and available space.
- Allow adhesive to cure 24 hours if you use glue in assembly.
What Is a Flower Box and Why Build One?
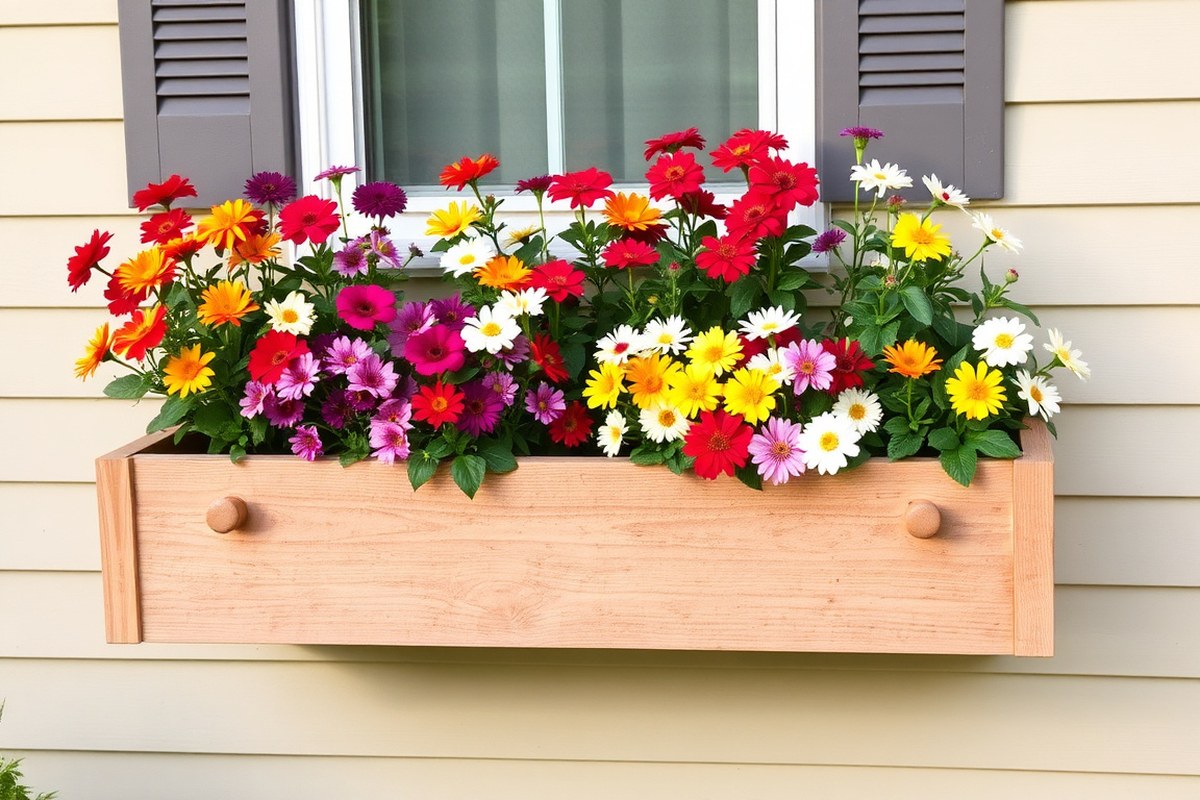
A flower box is a wooden container designed to hold soil and plants. It fits easily on windowsills, patios, or balconies to brighten up small spaces. Building your own flower box lets you customize the size and shape.
You can also pick a style that fits your home or garden. This makes it unique to your space.
DIY flower boxes usually take 3 to 5 hours to make with basic tools. Materials cost between $50 and $100 if you already have tools like a saw and drill. Making a flower box yourself saves money compared to buying one.
You get to pick the wood type and finish you like. This helps you make a box that suits you perfectly.
Flower boxes can stand alone on the ground or attach securely under windows. They work great for adding greenery to decks or porch rails too. You can place them almost anywhere that gets enough light for your chosen plants.
Popular styles range from simple modern boxes with clean lines to rustic looks using reclaimed wood. The easiest flower box is a cubic shape made with large wooden boards. It looks neat and fits many different places.
This simple design works well for beginners. You choose a flower box style based on your home’s look.
Think about how much time you want to spend on details. Simpler styles take less time to build.
When designing, think about drainage and durability. Good flower boxes have holes or layers to stop water from pooling. The wood should be sealed to avoid rotting over time.
This keeps your plants healthy and the box lasting longer. A well-made flower box holds plants securely and looks nice.
It adds a fresh, personal touch to your garden space. This makes your area more inviting.
Building a flower box lets you experiment with layers and plant arrangements. You might build a deep flower box for tall flowers. Or choose a long, narrow box to fit on a windowsill.
Different shapes fit different plants and spaces. Try different flower box designs to find what fits best.
This helps you match your gardening style perfectly. Experimenting can also make building more fun.
Choosing Materials and Tools for Your Flower Box
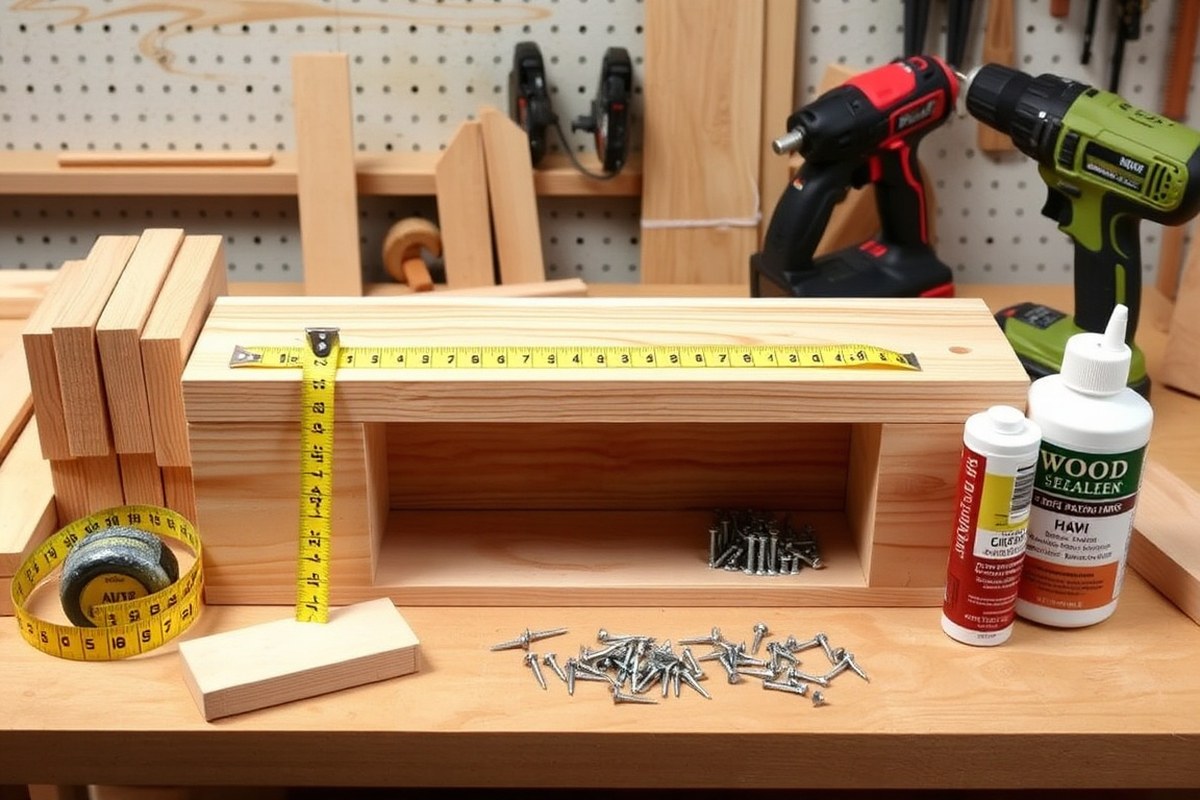
Look for wood that stands up to moisture and bugs for flower boxes. Cedar and redwood work well outside because they resist rot naturally. Pine can be cheaper but needs sealing and a good coat of paint to last.
Pressure-treated wood is fine if you avoid direct contact with food plants and seal it well. It tends to last longer but may release chemicals. So handle it carefully and use a liner if planting edibles.
When you shop for wood, pick boards with straight grains and no big knots. Rough or warped boards make your box uneven and harder to assemble.
Measure twice and cut carefully with a circular saw or handsaw. You’ll need a power drill to drive in exterior-grade wood screws that resist rust.
| Wood Species | Hardness (Janka) | Best For | Price per Board Foot | Workability |
|---|---|---|---|---|
| Cedar (Western Red) | 350 | Outdoor durability, insect resistance | $4.20, $5.80 | Easy: low tear-out, minimal blunting |
| Redwood (Heartwood) | 450 | Decay resistance, fine grain | $6.50, $9.20 | Easy, Moderate: resin may gum blades |
| White Oak | 1360 | Structural rigidity, stain uniformity | $5.90, $8.40 | Moderate: needs sharp tools, can split |
| Pine (Southern Yellow) | 380 | Inexpensive, must be sealed | $2.00, $4.00 | Easy: soft, but dents easily |
You’ll need these tools: saw to cut wood pieces (circular or handsaw works). A power drill makes screwing faster and holds boards tight.
Use 1¾ to 2½ inch exterior wood screws, not drywall screws, to avoid rust and failure. Adding weather-resistant wood glue can make joints stronger, but screws alone usually hold well.
Always sand rough edges before assembly, that stops splinters and helps paint or stain stick better. Keep landscape fabric inside the box to protect wood from constant soil moisture. Paint or stain your box to help it last longer.
This is especially true for pine or pressure-treated wood. These finishes protect the wood from weather damage.
Use screws made for outdoor use only and never scrap those from your indoor projects.
Step-by-Step Assembly Process for a Wooden Flower Box
Start your flower box project by measuring and cutting the wood carefully. Use miter cuts for neat corners and sand pieces before assembly. Build the frame first.
Then add the bottom piece. Attach trim last for a strong, neat box.
Measuring and Marking Wood Pieces
Use a tape measure to get exact lengths for your flower box parts. Mark your cut lines with a pencil clearly for all edges, especially corners. Double-check each measurement before cutting; a small mistake can throw off the whole box.
Measure the long sides and shorter ends individually. Mark each piece on the wood itself. So you don’t mix them up during cutting.
Making Precise 45-Degree Miter Cuts
Miter cuts join edges at a 45-degree angle for clean corners. You’ll need a miter saw set accurately to 45 degrees. The “three-cut method” checks your saw angle.
Cut a test piece. Flip it and look for tiny gaps.
Each trim and corner piece should have smooth, exact cuts for tight joints. Avoid rough or uneven cuts, as they leave gaps or cause weak connections.
Sanding and Preparing Wood Surfaces
Sanding smooths rough edges and prepares wood for glue and stain. Start with medium-grit sandpaper around 120 grit, then finish with 220 grit for fine smoothness. Sand all edges and surfaces that will show to prevent splinters and get a professional look.
Remove dust with a cloth after sanding to avoid weak glue bonds or blotchy stain. Take your time here as prep affects the final look and durability.
Assembling the Frame Safely and Strongly
Apply wood glue along edges before joining the box sides for extra strength. Arrange your pieces on a flat surface to keep corners square during assembly. Use 2½-inch wood screws with a power drill.
Secure long sides to shorter ends. Make sure they’re tight.
Wear safety glasses when drilling or screwing. Keep pieces clamped or held steady to avoid slipping. Tight corners without gaps mean better support and cleaner results.
Installing Bottom Panels and Decorative Trim
The bottom panels should fit inside the box frame with ¼-inch gaps for drainage. Screw several boards together if needed to create a wide enough base.
Attach the bottom with screws or nails. Keep it solid but let water drain freely.
Cut front and side trim pieces with 45-degree miters for clean corner joints. Secure trim using wood glue and finishing nails or trim head screws. Trim adds strength and a polished finish, so don’t skip it.
- Measure all wood pieces, marking straight lines with a pencil.
- Cut edges using a miter saw set to 45 degrees for corners.
- Sand all pieces smoothly, removing rough spots and dust.
- Apply wood glue on edges to be joined.
- Use a drill and screws to assemble the box shape securely.
- Measure and cut bottom panels to fit with drainage gaps.
- Attach bottom panels inside the frame with screws.
- Cut and fix decorative trim with glue and finishing nails.
Determining the Right Size and Design for Your Flower Box
Flower box depth affects root growth and overall plant health. Aim for at least 8 to 12 inches deep to avoid cramped roots.
Boxes that are too shallow stress plants. Very deep ones hold more soil but add weight and cost.
Width usually matches depth for balance and soil volume. Keep your box around 8 to 10 inches wide to support healthy roots and easy handling.
Narrower boxes dry out quickly. Wider ones may be heavy and harder to fit on ledges.
Length depends on your mounting spot, like a windowsill or deck rail. Measure the space from side to side. For a typical windowsill box, 24 inches long fits well.
A 48-inch box fits well on balcony rails and offers plenty of space. It needs support in the middle to avoid sagging. Without center support, the box may bend or break over time.
Trailing plants call for longer and deeper boxes to give vines space to spill over. Upright bloomers do fine in standard depth boxes. Mixing these plants adds layers that make your flower box pop.
You can make your box bigger or smaller by doubling the size. Halving the measurements works too, if you need a smaller box. This lets your box fit perfectly in your space.
Deciding to raise your box or use a stand depends on where you mount it. Location guides this choice to keep your box stable and accessible. Consider your space to pick the best option.
Deck boxes often look better raised or on stands to improve soil drainage and reduce pests. Window boxes usually mount below the sill. Adding a center support cleat keeps longer boxes straight and sturdy.
| Box Dimension | Typical Use | Details |
|---|---|---|
| 12″ L × 4″ W × 5″ H | Small windowsill | Uses 1×6 stock; half-scale design |
| 24″ L × 8, 10″ W × 8, 12″ H | Standard windowsill | Supports most plants roots; balanced size |
| 48″ L × 8, 10″ W × 8, 12″ H | Balcony rail | Double length; needs center support cleat |
| 8, 10″ deep & wide | General recommendation | Minimum for healthy root growth and soil volume |
Check your space measurement exactly and match box length to it. Boards sized 1×10 are about 9½ inches wide. This size matches well with the suggested width and depth for the box.
Using these boards helps keep the box a good size. Make your box at least 8 inches deep so roots stretch fully. These measures keep plants healthy and your box easy to manage.
Soil Choices and Drainage Setup for Healthy Plants
Choose a soil mix that drains well but holds moisture for your plants. A good mix combines equal parts potting soil, compost, and perlite or coarse sand. This blend provides nutrients while stopping water from pooling and causing root rot.
Soil depth depends on your plants. Shallow roots like herbs need about 6 to 8 inches of soil. Larger flowers and vegetables prefer 12 inches or more.
Drainage keeps water from sitting at roots, which kills plants fast. Start by drilling holes in the box bottom with a ½-inch spade bit.
Space these holes every 6 to 8 inches along the centerline. The holes let extra water escape to prevent soggy soil.
Put a layer of gravel or small stones at the box bottom. Use about 1 to 2 inches deep. This helps with drainage.
This layer boosts drainage under the soil. Next, line the inside with landscape or geotextile fabric. It stops soil from washing out through the holes while letting water pass.
- Drill 3 to 5 pilot holes per side panel with a ⅜-inch bit for side drainage.
- Space bottom holes evenly, about every 6-8 inches for best water flow.
- Use ½-inch deep routed channels beneath slats in heavy clay soils to help drainage.
- Fill bottom layer with 1-2 inches of gravel or small rocks.
- Cover gravel with landscape fabric to hold soil but allow water through.
- Use a roomy soil depth: 6-8″ for herbs, 12″ or more for bigger plants.
Keep soil a bit moist but not wet. Check drainage holes after rain or watering.
Add more holes or make the holes bigger to prevent pooling water. Pooling water causes root problems.
Make sure drainage holes aren’t blocked by soil or debris to keep water flowing freely.
Choosing Flowers and Plants Based on Sunlight and Box Conditions
Your flower box’s location and sunlight affect which plants will thrive. Choose flowers based on whether the box gets full sun or partial shade. Adding trailing plants can create a nice cascading effect for more visual interest.
Best Flowers for Full Sun Boxes
Full sun means at least six hours of direct sunlight each day. Plants in these conditions need to handle heat and bright light well. Selecting flowers that bloom continuously keeps your box colorful for months.
Great full sun choices include:
- Petunias, bloom spring through frost with many colors
- Geraniums, heat tolerant and maintain bright flowers
- Marigolds, bold yellow or orange flowers and pest repellents
- Zinnias, bright dome-shaped blooms that handle heat well
- Lantana, colorful flower clusters that attract butterflies
- Sweet Potato Vine, fast-growing purple or lime green foliage
- Lobelia, small blue and purple flowers that trail softly
These plants need well-draining soil and regular watering. Too little water can quickly stress full sun flowers.
Top Shade-Tolerant Plant Options
Boxes in partial or full shade need plants that handle less light. Shade means fewer than four hours of direct sun, often filtered light instead. Choose plants that grow well with indirect light to avoid weak growth.
Try these shade-friendly selections:
- Impatiens, small colorful flowers in pinks and reds
- Begonias, glossy leaves with blooms in many shades
- Ferns, add rich green texture with their fronds
- Hostas, large leaves in varied green, gold, and blue hues
- Coleus, bright patterned foliage in reds and purples
- Ivy, classic trailing vines suited for shade
- Creeping Jenny, bright yellow-green foliage that spreads
Shade plants usually need less water than sun lovers. Overwatering can rot roots in shaded flower boxes.
Trailing Plants for Visual Effect
Trailing plants spill over the edge of flower boxes for a soft look. Use them to add layers and cascade colors or texture. Mix trailing plants with upright ones to avoid a flat appearance.
Good trailing picks are:
- Sweet Potato Vine, bright trailing foliage in sun to part shade
- Lobelia, tiny flowering trails in purple or deep blue
- Bacopa, small white or pink flowers forming a delicate spill
- Ivy, evergreen vines that add structure in shade
- Creeping Jenny, chartreuse leaves that brighten partial shade boxes
Plant trailing species near the front edges of the box. This placement lets vines drape naturally without crowding other plants.
Mixing Plants for Color and Texture
Combining different plants adds depth and keeps your flower box lively. Choose species with similar sunlight and watering needs to avoid extra care hassles. Use a mix of colors, leaf shapes, and heights for a balanced display.
Try pairing an upright plant with trailing varieties for a full look. For example, place petunias in the center with sweet potato vine trailing down the edge. Shade boxes can have coleus in the back with ivy cascading forward.
Keep soil moist but not soggy, and watch for overcrowding. Too many plants in one box compete for water and nutrients.
This causes weak growth. You’ll also get fewer flowers.
Protecting and Finishing Your Flower Box for Weather Resistance
Protecting your flower box from water damage requires applying a waterproof finish. You can choose between marine urethane and epoxy coatings for long-lasting durability. Maintaining the finish by reapplying sealers regularly keeps your flower box weatherproof and attractive.
Waterproofing Options and Their Benefits
Marine-grade spar urethane is a popular option that offers good weather resistance. It protects the wood for about three to four years. You need to touch it up annually.
Focus especially on the corners for touch-ups. This finish allows the wood to breathe, reducing cracking and peeling in sunlight.
Two-part epoxy coatings last much longer, about five to seven years before needing maintenance. They create a hard, waterproof shell that prevents moisture from seeping into the wood. Epoxy finishes are thicker than other types.
You must mix them carefully to avoid bubbles. Apply evenly to prevent uneven coverage.
Use a good wood stain under your waterproof finish. It helps keep the wood color fresh. It also adds protection against UV rays.
Paint also works well but hides the natural wood grain, which may not suit your style. Both stain and paint add a layer that helps seal the wood, reducing moisture damage.
Applying Sealers and Finishes Correctly
Start by sanding your flower box smooth, then wipe away dust with a damp cloth. Apply the stain or paint first, allowing it to dry completely for at least 24 hours. This base layer improve appearance and helps your sealer stick better.
Use a high-quality brush for marine urethane or epoxy. Cover all surfaces evenly. Make sure you paint the corners and edges well.
Mix epoxy parts thoroughly before use. Work fast within its pot life.
This prevents the epoxy from hardening too soon. Apply at least two coats for best protection, letting each coat dry fully before the next.
Seal the end grains of the wood carefully, as these areas absorb the most moisture. Focus extra time on corners and bottom edges, where water tends to collect. Don’t apply finish on very hot days.
Avoid doing it during humid weather too. These conditions cause bubbling and poor adhesion.
Annual Maintenance and Touch-Up Tips
Check your flower box for cracking, peeling, or dull spots every year, ideally before spring planting. Light sanding in these areas helps new finish bind properly. Clean the surface with mild soap and water before applying touch-ups to remove dirt and mold.
Reapply wood sealer or marine urethane every one to two years. Climate and sun exposure affect how often you do this. In wetter or sunnier locations, you may need annual touch-ups to keep the wood protected.
Check epoxy finishes every five to seven years. Only recoat if you see wear or damage. Regular inspections save time and money.
Regular maintenance also includes monitoring how well your flowers drain. Poor drainage can increase moisture exposure and shorten the lifespan of your box finish. Keeping your wood dry and sealed ensures your flower box lasts more seasons with fewer repairs.
Avoiding Common Mistakes and Ensuring Safety While Building
Wearing safety gear like goggles and gloves protects your eyes and hands. A dust mask helps if you cut or sand wood indoors. Sturdy shoes prevent injuries from dropped tools or wood pieces.
Wood can split if you don’t pre-drill holes before screwing. Drill holes slightly smaller than the screw width to avoid cracks. Use a sharp saw blade and clamp wood firmly to stop crooked cuts.
Here’s a list to avoid common building mistakes:
- Double-check measurements before every cut to keep parts even.
- Use a carpenter’s square to keep corners straight and flush.
- Sand rough edges to prevent splinters and improve paint adhesion.
- Pre-drill holes for screws near wood ends to stop splitting.
- Do not over-tighten screws, which can crack wood or bend fasteners.
- Confirm the flower box sits level before final assembly to avoid wobbling.
Pressure-treated wood keeps moisture and bugs away but can contain chemicals. Some types are safe for plants if you line the box with plastic first. Use non-treated or cedar wood if you prefer to avoid chemicals completely.
Fix uneven parts by sanding or trimming carefully with a saw. Replace any damaged wood instead of forcing it. Keep your workspace clean and organized to spot problems quickly and prevent accidents.
Wear goggles and gloves every time you handle wood or power tools to avoid injury.
Step-by-Step Action Plan
Follow these steps to build your flower box and get your plants growing fast.
- Day 1: Gather your materials and tools, such as wood, screws, soil, and plants. Check that everything matches your design and size.
- Day 2: Cut and assemble the wooden pieces for your box using screws or nails. Make sure corners are square and the box is sturdy.
- Day 3: Drill drainage holes in the bottom to keep water from pooling. Confirm holes let water flow freely.
- Day 4: Line the inside with landscape fabric to hold soil but let water drain. Test fabric to avoid soil loss.
- Day 5: Fill the box with a mix of potting soil and compost for healthy plants. Level the soil surface evenly.
- Day 6: Plant flowers suited for your box’s sunlight and soil. Water gently and check plants settle well.
- Week 2: Apply a weatherproof sealant or paint outside the box to protect the wood. Inspect for full coverage and drying.
Frequently Asked Questions
How Long Does It Take to Build a Basic Wooden Flower Box?
It typically takes 3 to 5 hours of active work. This includes measuring, cutting, assembling, and finishing your flower box.
Can I Build a Flower Box Using Reclaimed Wood Safely?
Yes, reclaimed wood works well if it’s solid and free of pests. Sand it well and treat it to avoid rot and bugs before use.
What Is the Best Way to Attach a Flower Box to a Wooden Wall?
Use a right-angle attachment and drive 4-inch structural screws into wall framing. This holds the box firmly and prevents sagging over time.
How Many Wood Pieces Do I Need for a Taller Flower Box?
For a higher box with three slats per wall, cut 12 pieces of wood. This ensures enough material for all four sides of the box.
What Type of Wood Treatment Is Recommended for Outdoor Flower Boxes?
Pressure-treated wood is best for durability and resisting weather damage. It lasts longer and protects your flower box from moisture and rot.
What Difficulty Level Is Building a Flower Box at Home?
It rates about 2 out of 5, making it suitable for beginners with basic tools. Following step-by-step instructions helps avoid common mistakes.
Wrapping Up
Building your flower box gives you control over design and plant health. Start by picking healthy plants fit for your site. Take one step today, like assembling the box or buying soil, and watch your garden grow.